- Joined
- May 17, 2025
- Messages
- 30
- Points
- 68

beautyful build. I am loving fishing vessels so this is one of my favourits

 |
The beloved Ships in Scale Magazine is back and charting a new course for 2026! Discover new skills, new techniques, and new inspirations in every issue. NOTE THAT OUR NEXT ISSUE WILL BE July/August 2026 |
|
 |
As a way to introduce our brass coins to the community, we will raffle off a free coin during the month of August. Follow link ABOVE for instructions for entering. |
|


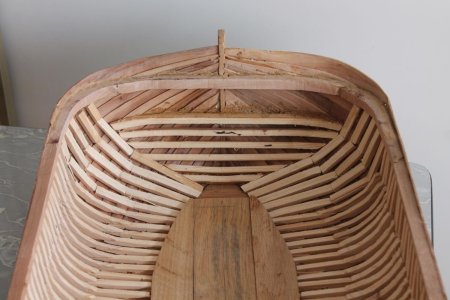
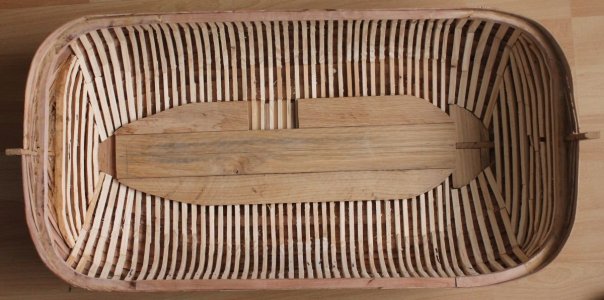


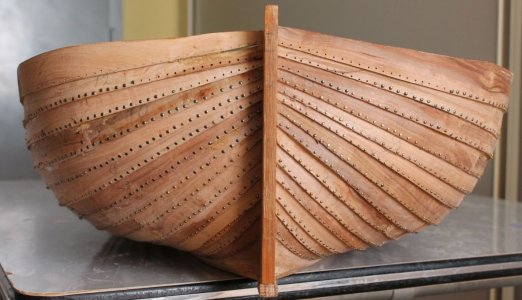
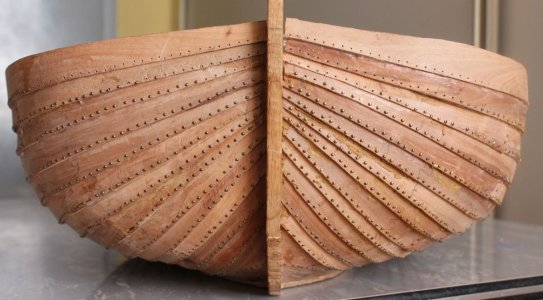

A lot of labour works, but the result is impressive, Jan. A few to go and then another chapter is done.Update 16
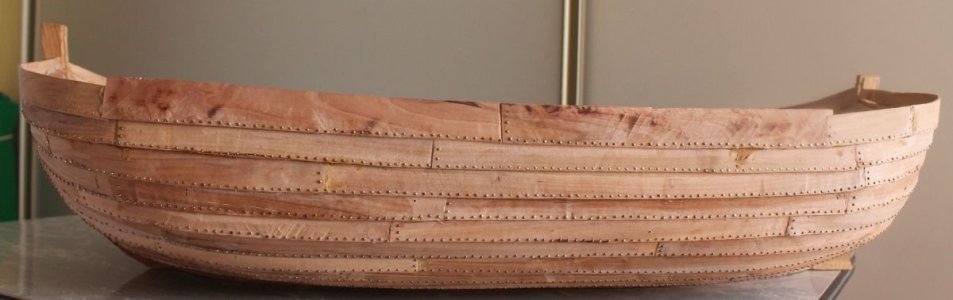
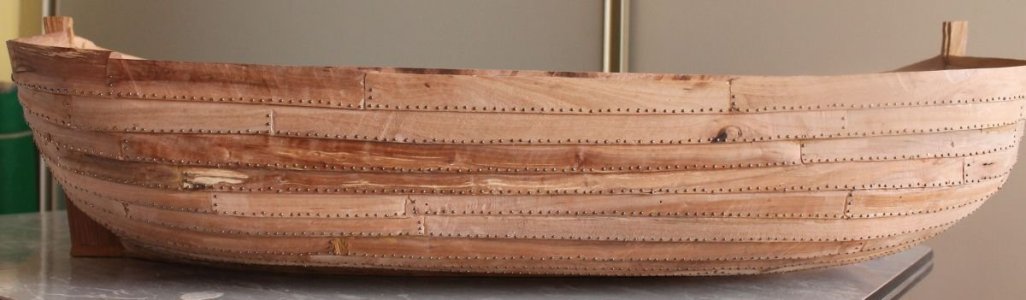
Lately, I’ve been doing nothing but carpentry. All the planks of a bomschuit are nailed together at the overlapping sections. A gangway is 85 cm on average, and I have 12 and a half of them on both sides. In reality, the nails are spaced 10 cm apart, so on the model they’re 5 mm apart. That comes to a total of 2 × 12.5 × 85 × 2 = 4,250 nails. For a standard bomschuit, it was stated that 3,500 rivet nails were needed. So that’s roughly correct.
The riveting was done as follows:
View attachment 620359
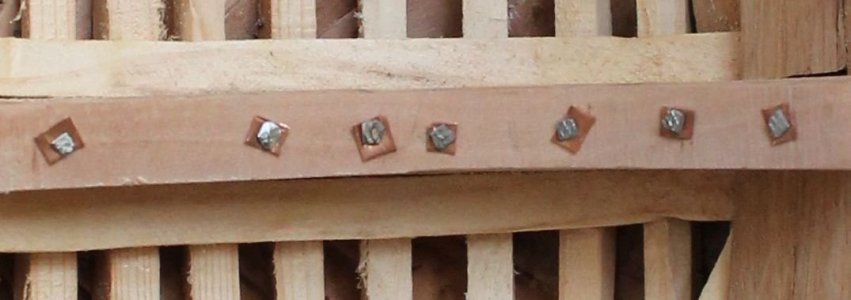
A rivet had a square cross-section with sides measuring 1 cm (3/8 “) and was galvanized at the shipyard. They were driven in from the outside toward the center. (1) Next, a “rose” was placed over the tip (a small square plate with a hole in the center). A hammer with a hole was placed over the nail tip and struck firmly with another hammer so that the two planks were sealed watertight against each other (2). Then, using the hammer with the hole, the tip was bent over and snapped off (3). Next, the broken-off tip was flattened (riveted) using two hammers alternately, while a third hammer held it in place from the outside (5).
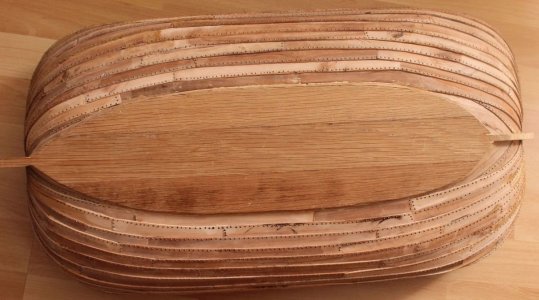
On my model, I simply hammered in two small round nails with rounded heads per centimeter, after pre-drilling the holes. This produces the following result:
The stern:
View attachment 620360
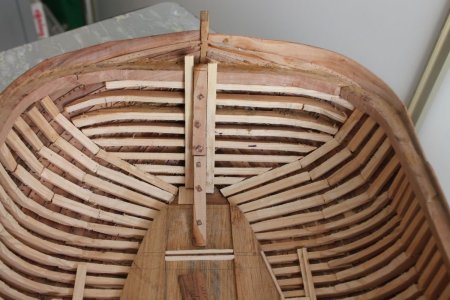
The bow:
View attachment 620361
Port side:
View attachment 620362
Starboard side:
View attachment 620363
Bottom:
View attachment 620364
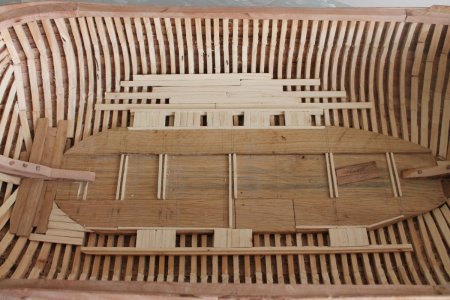
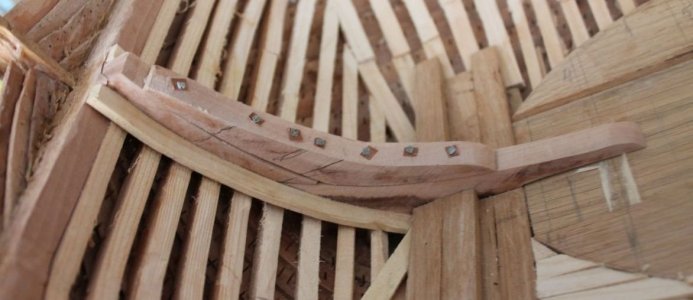
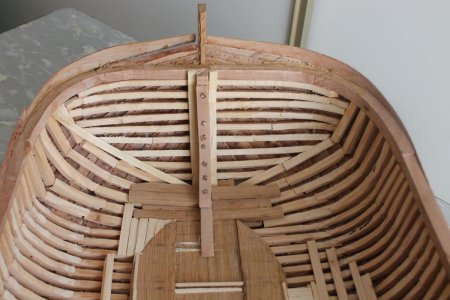
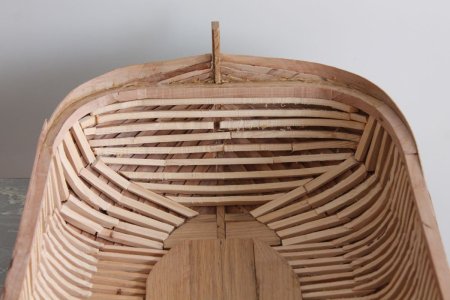
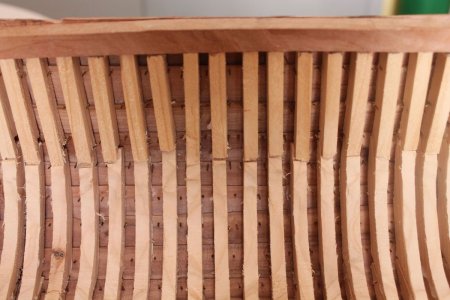
Inside:
View attachment 620365
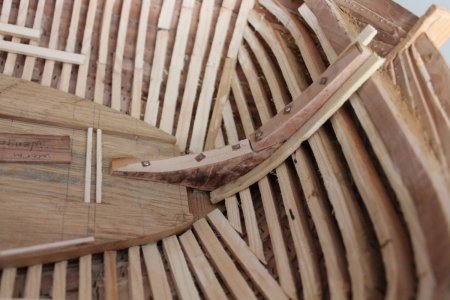
Here you can see why I attached the wooden strips first and then the nails.
If I hadn’t done that, I would have had to hammer all the nails flat first before I could install the wooden strips. That would have been much more difficult. Now you can see some of the nails sticking out of the wall, while others are nailed into the wooden strips.
The interior paneling simply goes over this. Except for a small section, which is left open to show a bit of the structure.
To be continued