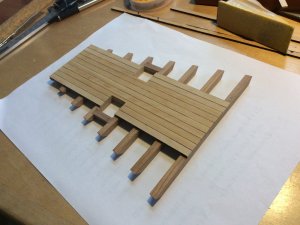
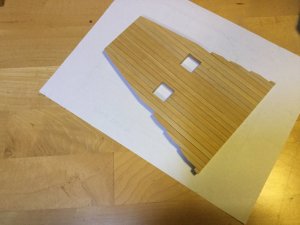
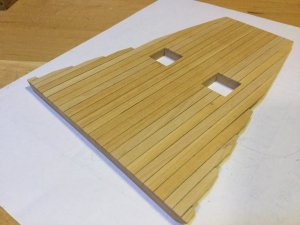
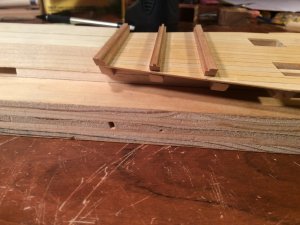
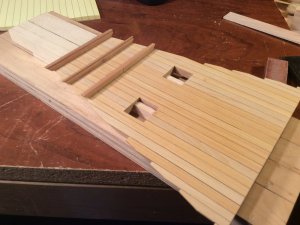
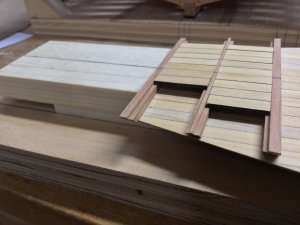
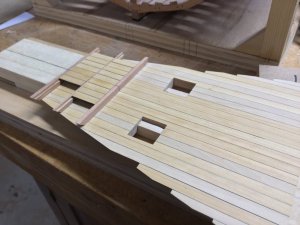
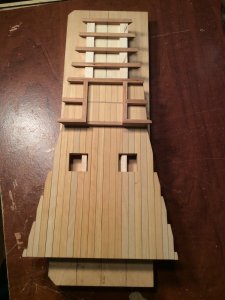
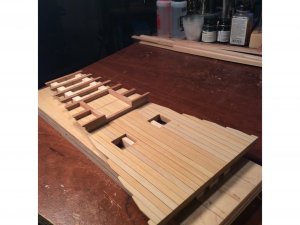
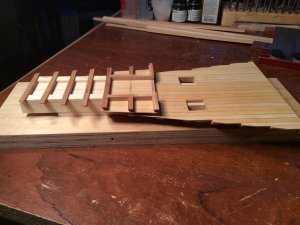
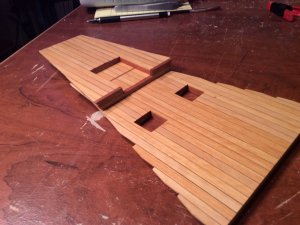
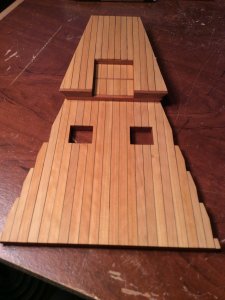
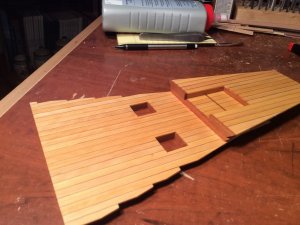
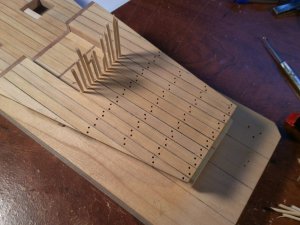
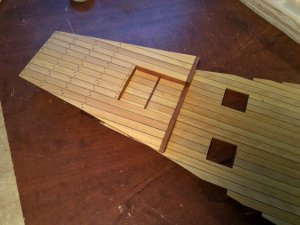
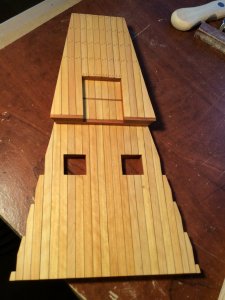
This will be a build log for my next project, a 1:32 scale model of an aft magazine including a light room, filling room and powder room. I will use a variety of hardwoods for the project, avoiding paints and stains.
The plans are, once again, drawn by Jeff Staudt.
As Jeff states in his practicum:
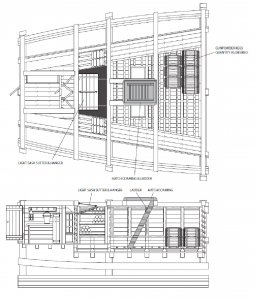
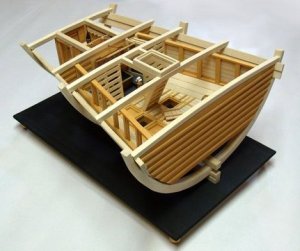
"No specific ship, rather a concept showing the various components that make up the magazine, and how it's fitted into the vessel.
She's built using a different approach. Rather than make the hull framing first and build the magazine in place, it will be added last and act as the display "cradle" for the finished model. "
"HISTORICAL BACKGROUND OF THE SHIP MAGAZINE
18th century shipwrights were faced with two major issues when designing the magazine for ships; Keeping the gunpowder and contents stored there dry, and that of safety from the danger of any open flames of candle light or being hit from shot by enemy fire during battle. Thus they were typically fitted low in the hull below the waterline.
The magazine consists of three distinct compartments. Generally speaking, they are the:
Powder Room – This large area was used to store the kegs of gunpowder. Depending on the size of the ship a large amount of highly explosive content would be kept here.
Filling Room – This room adjoined the powder room and was used to fill, store, and distribute the powder cartridges for the ships guns.
Light Room – The means to illuminate the powder and filling rooms. This area was completely isolated from the other two, with a separate scuttle, or passageway to access it.
As the build progresses I'll get into more detail of the construction of each area.
ORIENTATION OF THE MODEL
The magazine will be located in the Aft portion of the ship with the light room farthest to the rear, progressing forward to the powder room. The finished model will be displayed looking inboard from the starboard side. "
Here's a look at part of the plans and a photo of Jeff's prototype:


