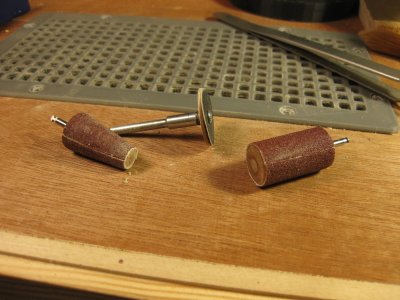
We all know these:
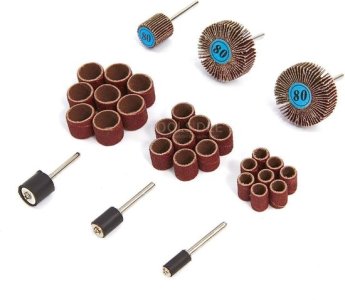
They are good and come in handy when to sand something. But for rotary carving they are also welcome. When you need to even a big piece or roughly shaping the workpiece. But they are not accurate enough for the precise work we do.
When you use them and the turning you feel a vibration and when you look close you see off-balance, it shakes a little. You can't use that when you have to be precise. It needs to be in balance, no vibrations or shaking. I decided to make my own and the sandpaper I want to be straight, no bubbles or holes. flat.
How do I make them? I will show you here.
First I take a piece of wood. Hard wood. In my case I use a piece of round nut. It can be square or whatever. You gonna shape it anyway to a round tube or cone.
example of early made small round spinning tops.
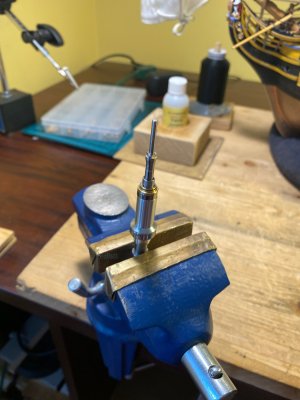
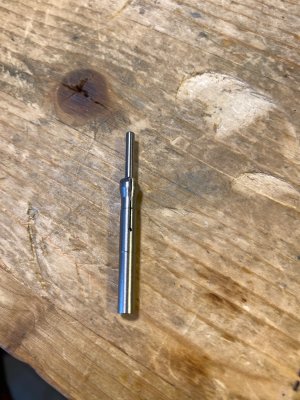
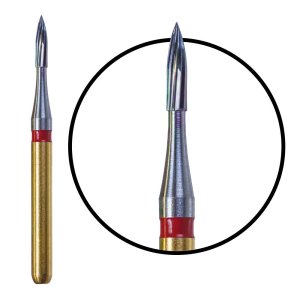
So I have a piece of wood and an old cutter I don’t use any more.
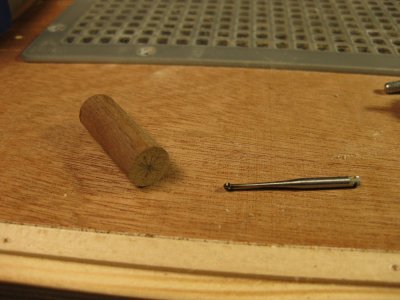
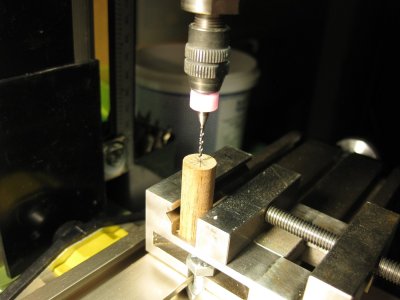
the cutter has a shaft of 2,35 mm. So I drill a hole in the piece of wood of 2,35 mm.
I break the top of the cutter and sharpen the point a little.
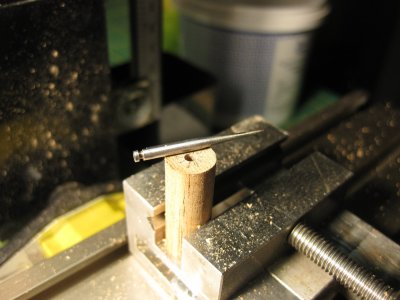
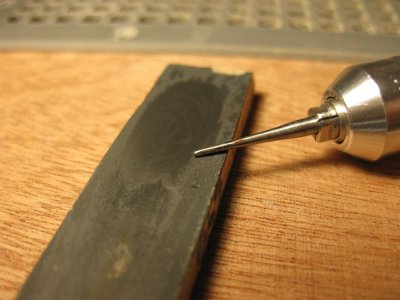
I didn’t drill the hole to deep, I keep about half a cm spare to hammer the last part of the bit in the piece of wood.
I put the cutter in my drill stand an in that way I keep everything in line. 2 comp. glue will make it hold in place.
push the cutter in the wood with the drill stand and take it out to do the last few mm. with the hammer.
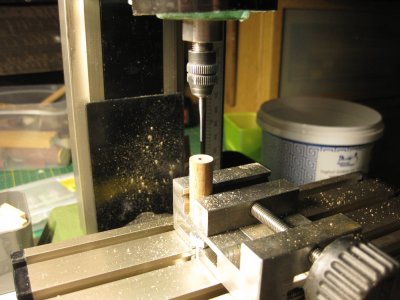
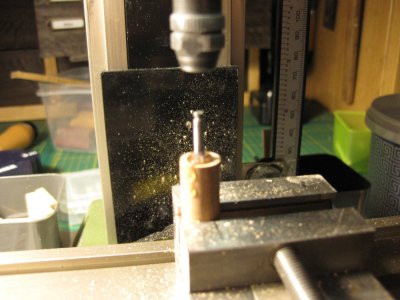
Clean the part and let the glue dry
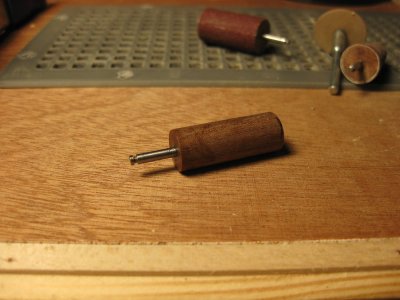
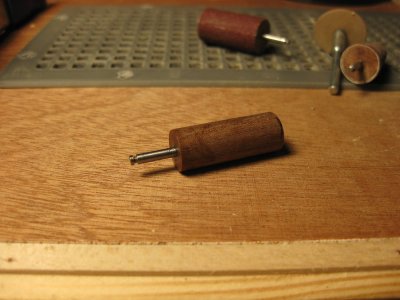
When the glue is dried you can make the top at length and put it back in the drill stand. I also put in the vice a board with sandpaper that will sand the side of the tube.
Start spinning and move the sandpaper board against it till you have made the outside straight and perfect round.

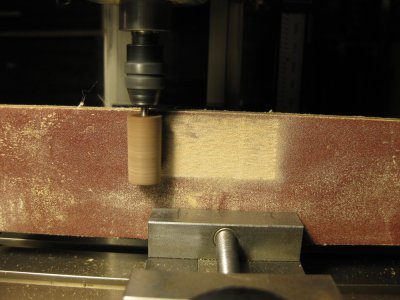
Then when it is dust free you can glue the sandpaper to it. I use not sandpaper but the one with linen on the back. It is stronger for this job. And for the glue I use contact adhesive, glue on both, sanding linen and wooden cone, then when the glue is dry put them together under the use of a little force.
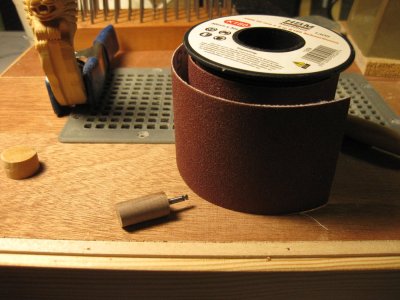
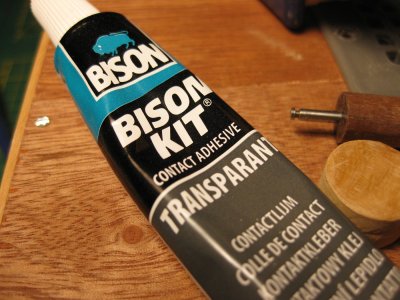
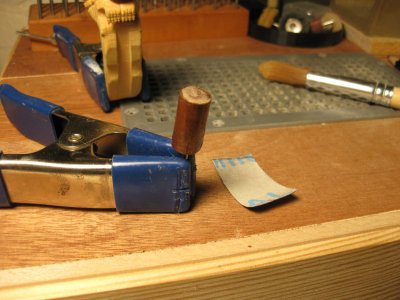
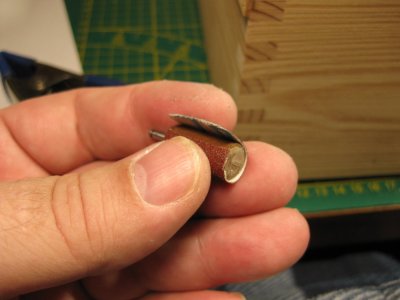
After that, let the glue harden and your precise sanding cone is ready
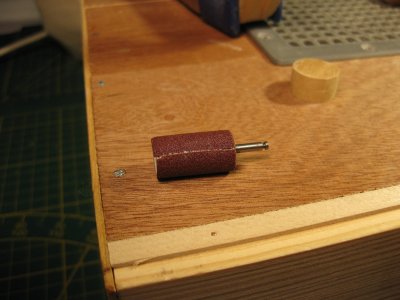
Believe me, you gonna love this one. It is very precise in use.

