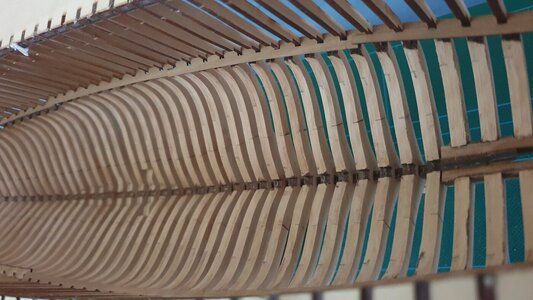
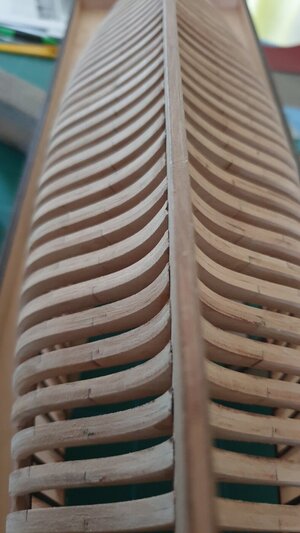
Hi Paul. I have watched your latest post and video. A nice progress.
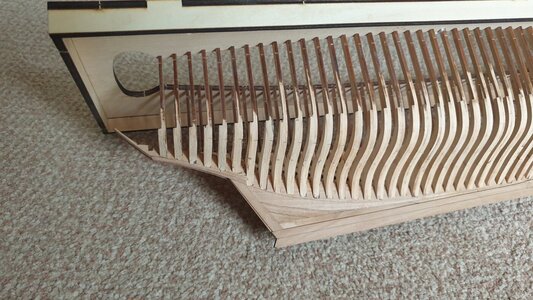
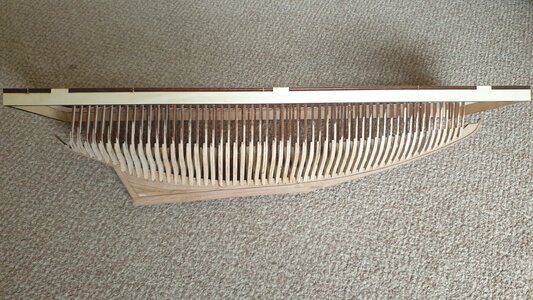
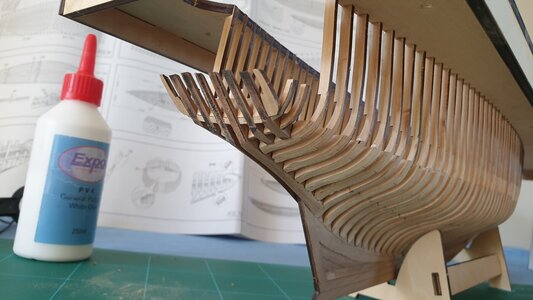
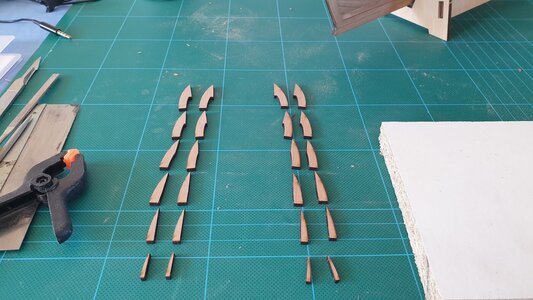
I saw the little bevel you made on the parts 18, as Johan mentioned. As an addition to his recommendation, some pictures.
Perhaps you have in mind so sand the outside of the hull with all the parts later on?
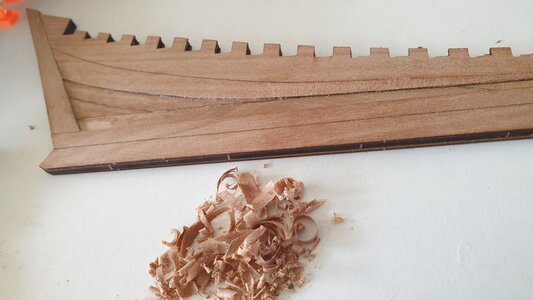
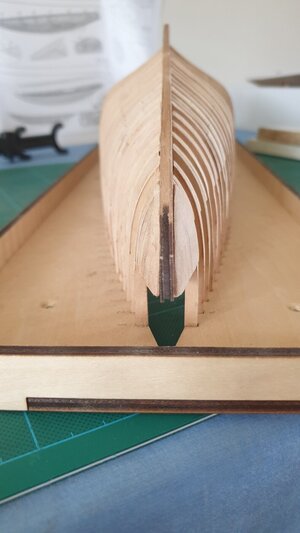
The bevel must be spread over a bigger part, up to the laser line above. In this picture, the area is in green/yellow:
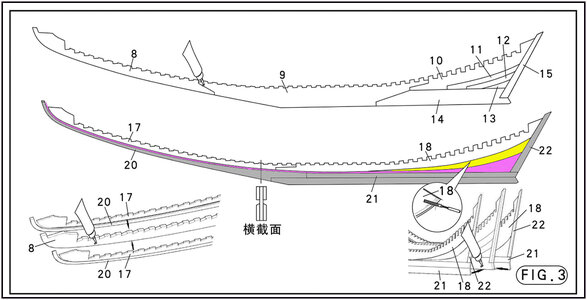
If possible, the edge must be almost rasor-sharp for a smooth transition of the hull planks.
On this picture of mine you can see it as the darker part.

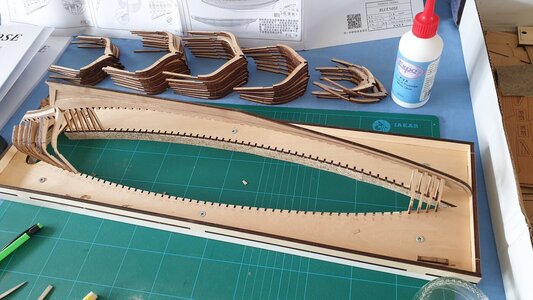
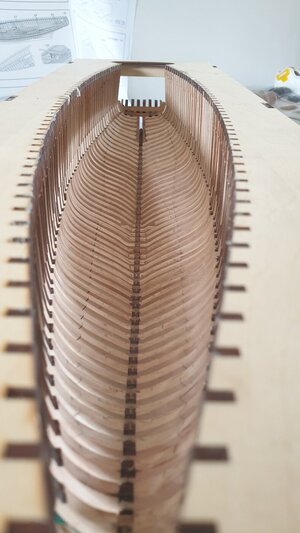
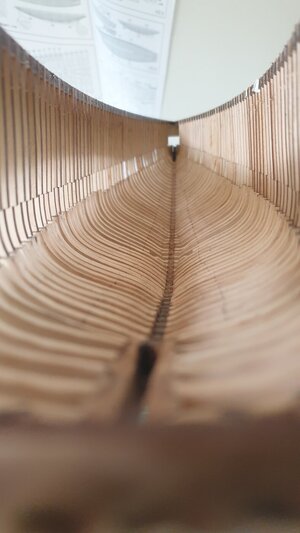
The frames will line up to the dark aria of the bevel. You can see it here:
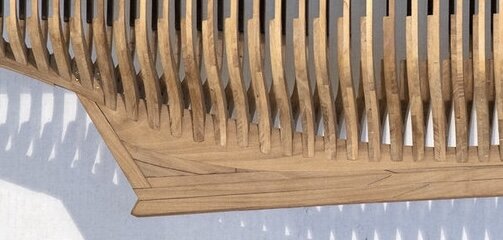
The hull planks must have a smooth transition from the deadwood of the keel, over the bevel to the lower points of the frames.
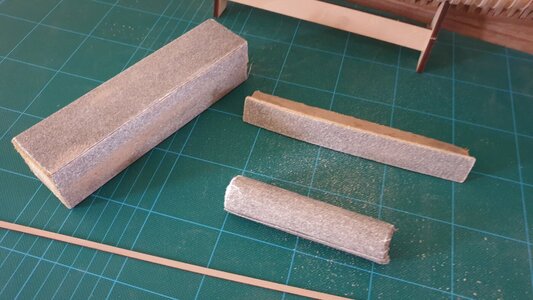
When you have the frame in place, you can sand it smooth.
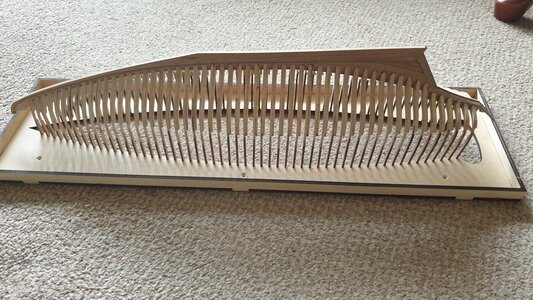
And about the amount of glue: use as less as possible. When placing the frames over the keel you will now notice that the width of the 3 parts of the keel has probably become too wide for the gap between the tooth of the frame bottom. Be careful with those tooth, the can snap off quickly by some pressure.
Regards, Peter
I saw the little bevel you made on the parts 18, as Johan mentioned. As an addition to his recommendation, some pictures.
Perhaps you have in mind so sand the outside of the hull with all the parts later on?
The bevel must be spread over a bigger part, up to the laser line above. In this picture, the area is in green/yellow:

If possible, the edge must be almost rasor-sharp for a smooth transition of the hull planks.
On this picture of mine you can see it as the darker part.

The frames will line up to the dark aria of the bevel. You can see it here:

The hull planks must have a smooth transition from the deadwood of the keel, over the bevel to the lower points of the frames.
When you have the frame in place, you can sand it smooth.
And about the amount of glue: use as less as possible. When placing the frames over the keel you will now notice that the width of the 3 parts of the keel has probably become too wide for the gap between the tooth of the frame bottom. Be careful with those tooth, the can snap off quickly by some pressure.
Regards, Peter
Last edited:


