
Šťastné narodeniny, Matus! Nech je váš život plný svetla, radosti a šťastia na mnoho ďalších rokov! 

 |
The beloved Ships in Scale Magazine is back and charting a new course for 2026! Discover new skills, new techniques, and new inspirations in every issue. NOTE THAT OUR NEXT ISSUE WILL BE MARCH/APRIL 2026 |
|
 |
As a way to introduce our brass coins to the community, we will raffle off a free coin during the month of August. Follow link ABOVE for instructions for entering. |
|
Thank you Jimsky. It is nice that you did it. Very appreciated and gramatically correct.Šťastné narodeniny, Matus! Nech je váš život plný svetla, radosti a šťastia na mnoho ďalších rokov!
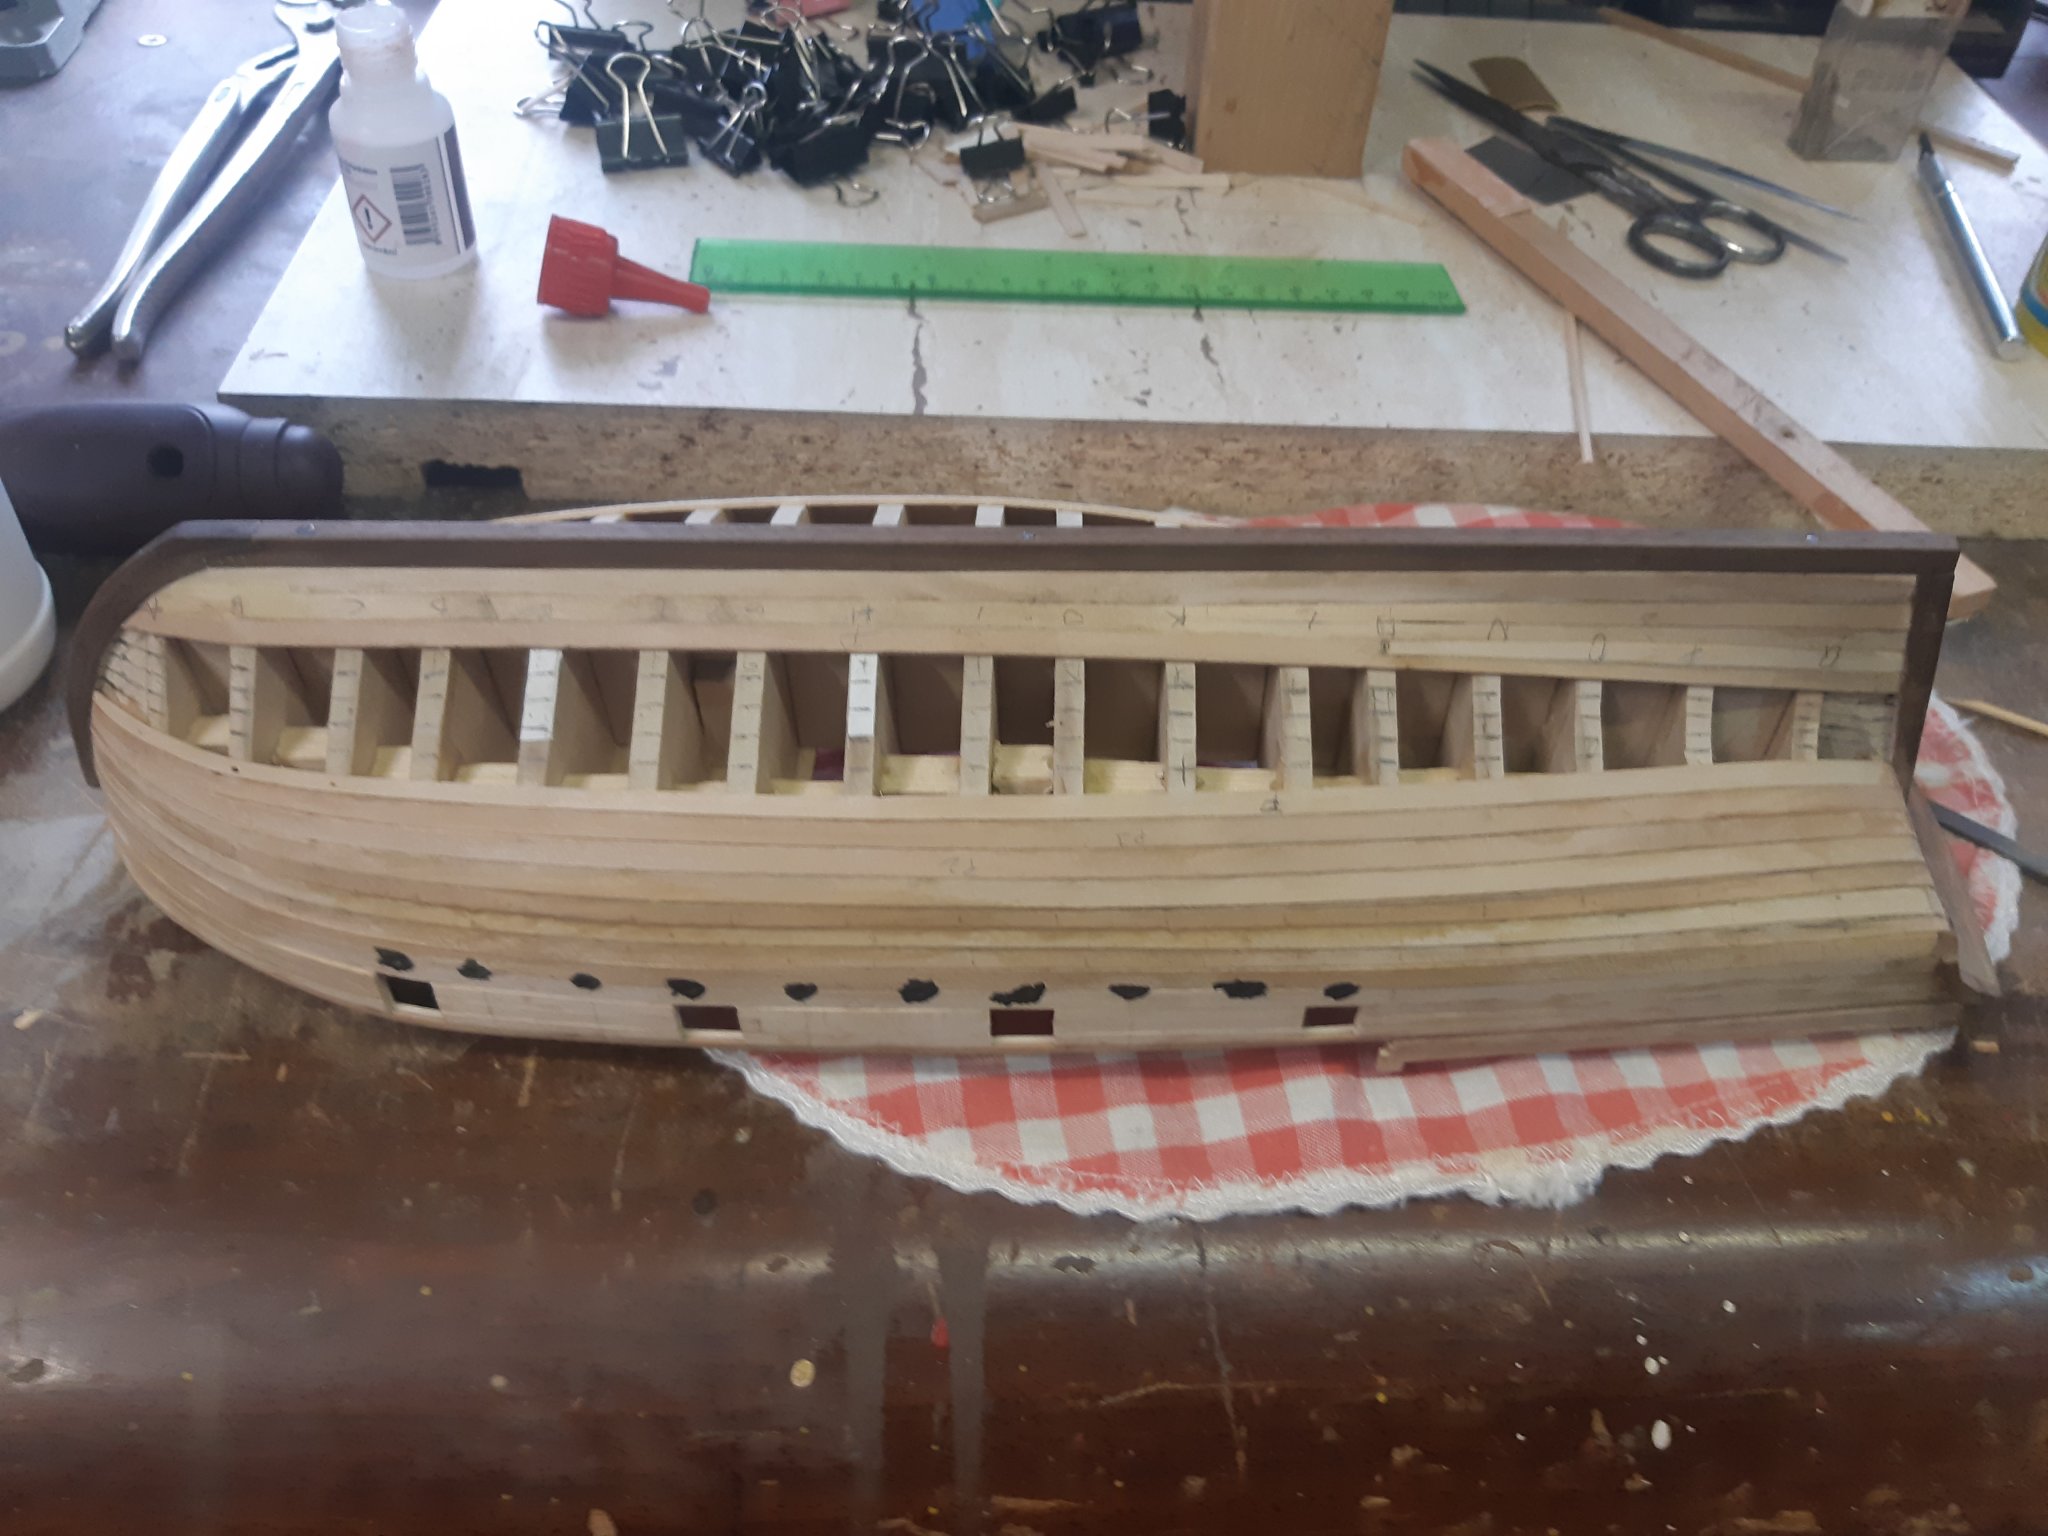
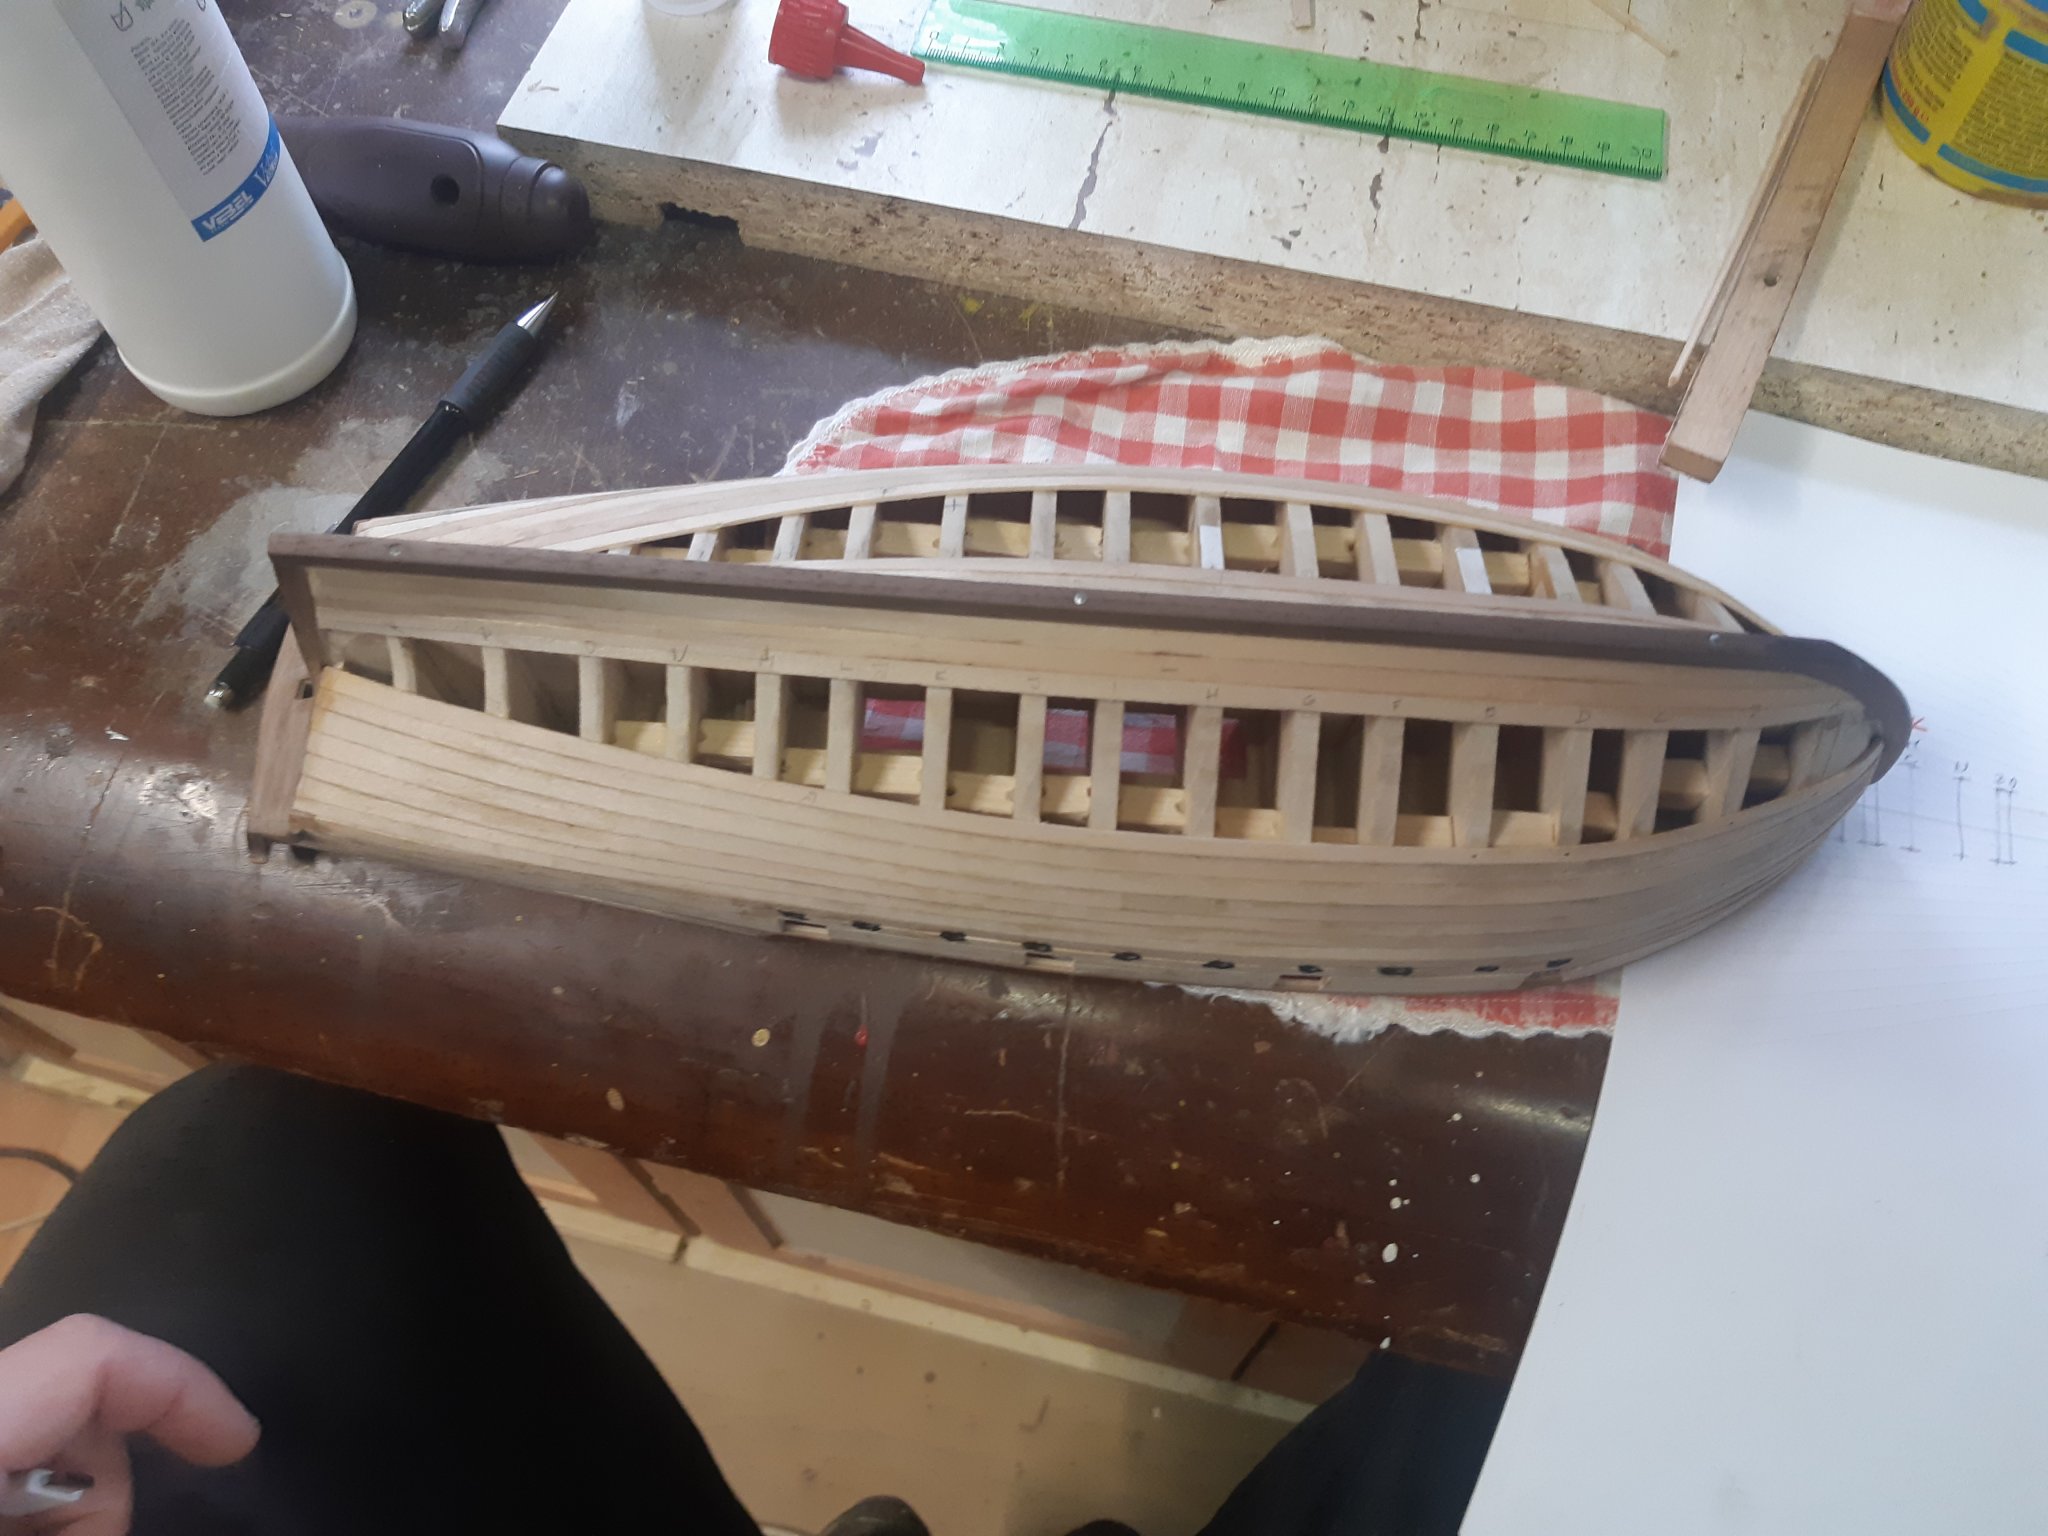
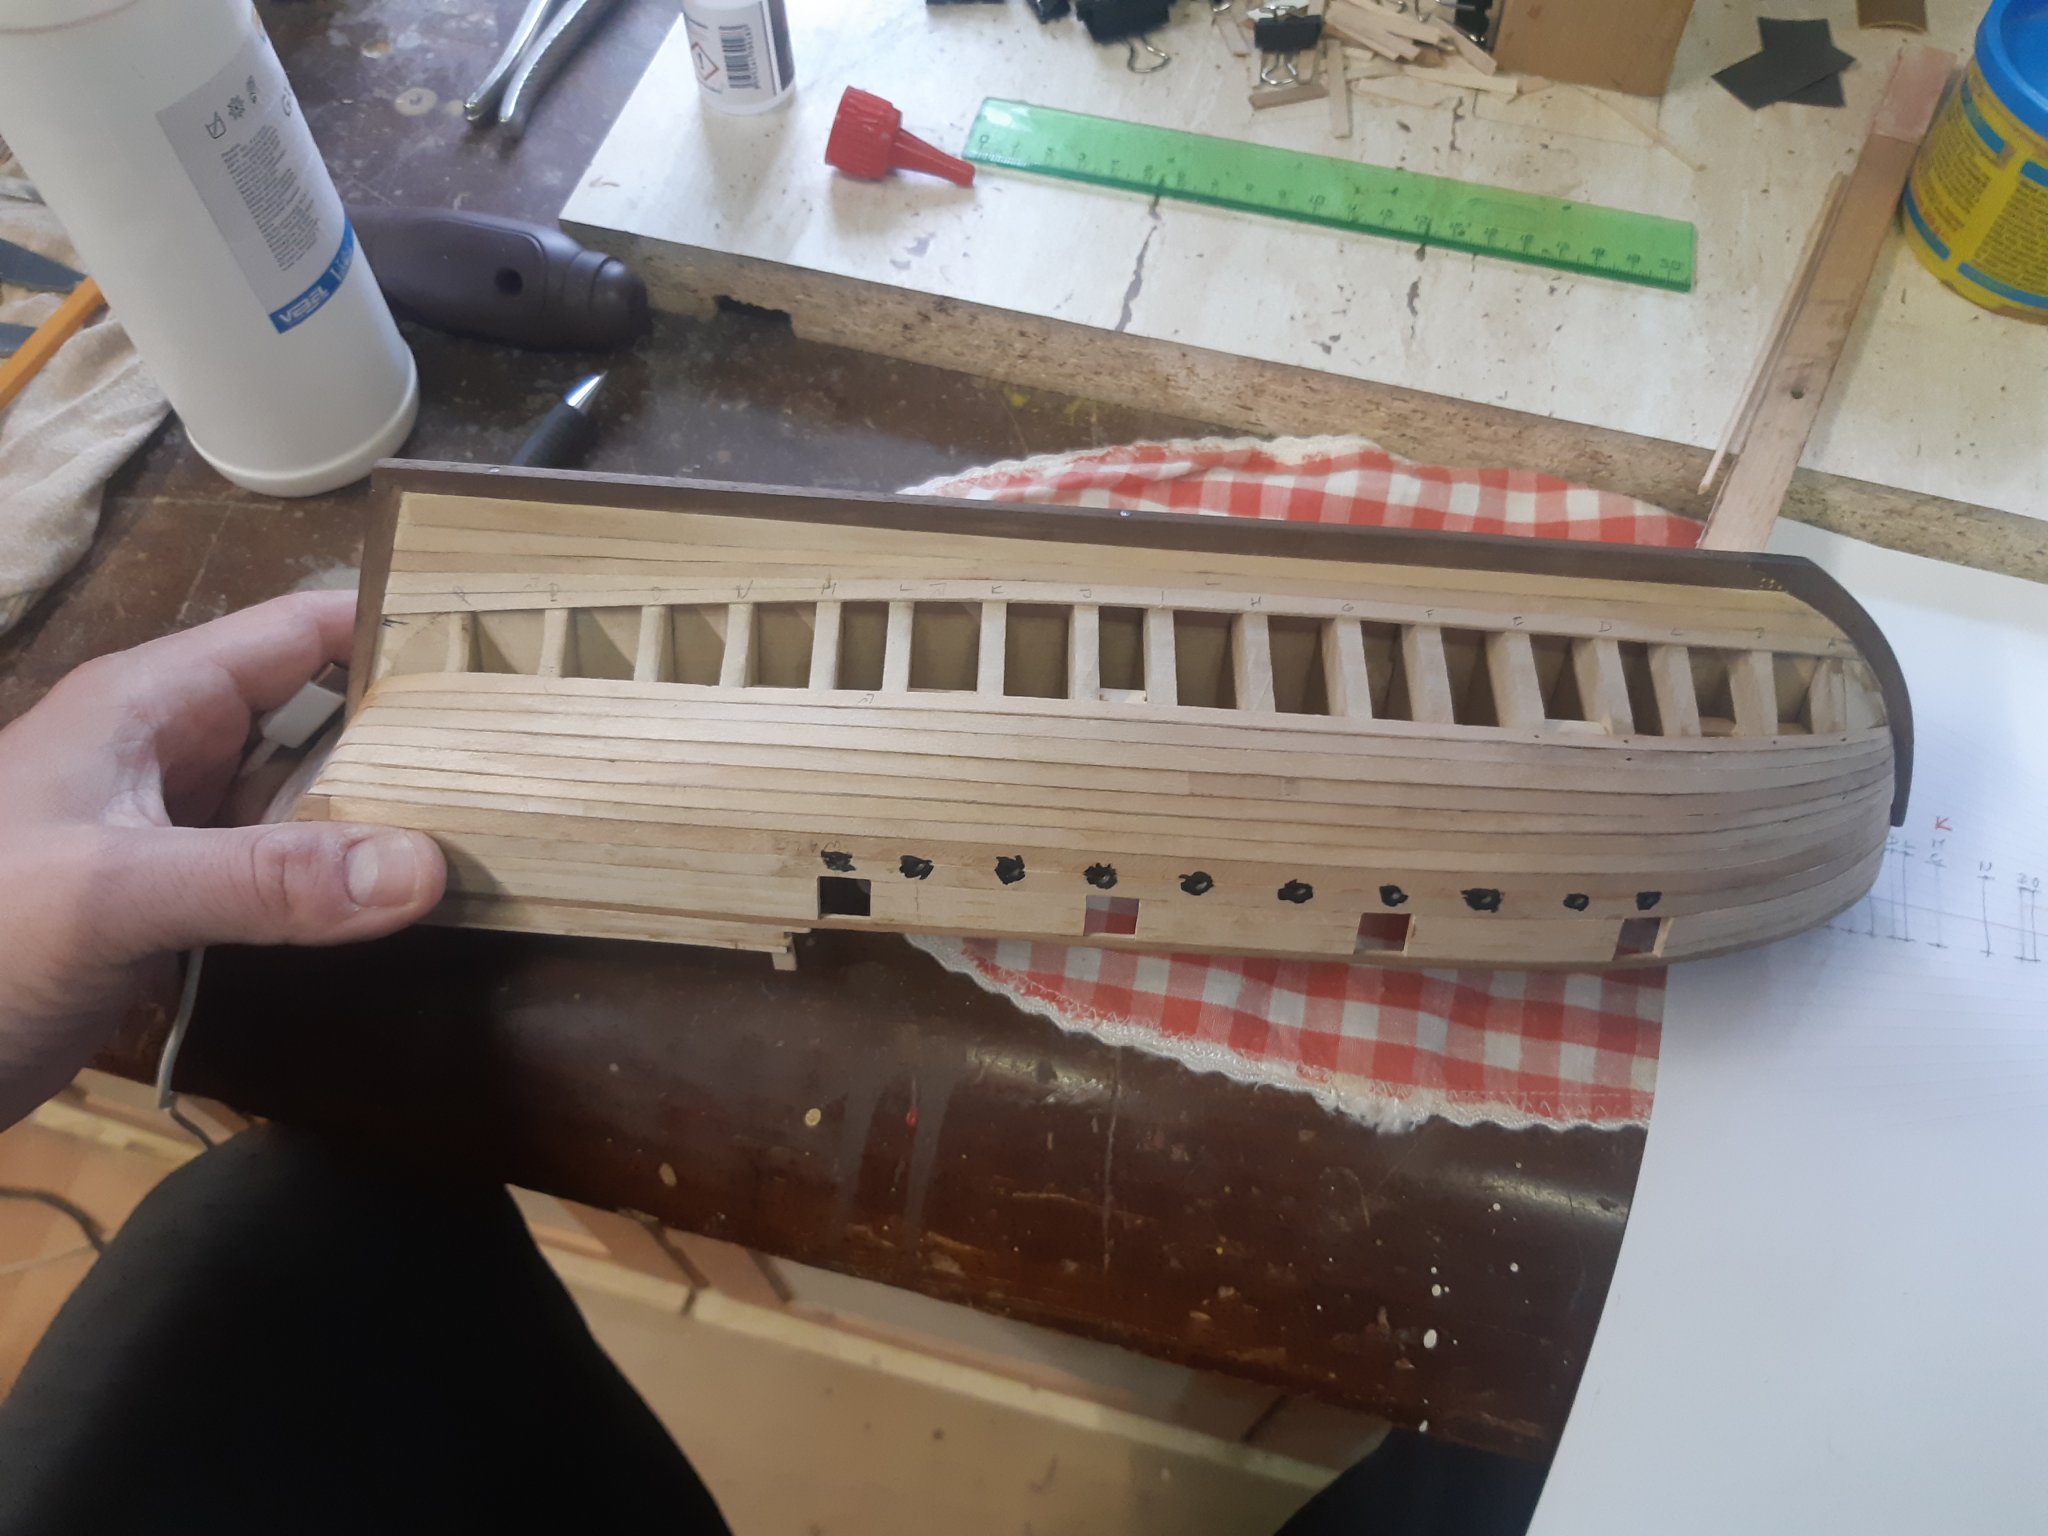
 It will be time consuming but that is it.. Here are pictures of planks.


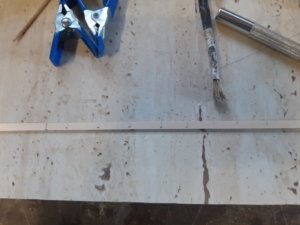
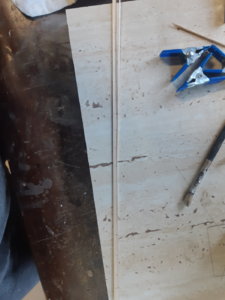
 . Just joking. This is huge success and thank everybody fot it.. Every one of them require lot of work. Every plank was measured on every bulkhead and cut with scalpel.


Thats good,as the first layer do not worry too much for mistakes,try to do your best to create an even surface for the second planking.Yes, but I repaired it in next layer and the space which occured I filled wit sanding dust and glue.


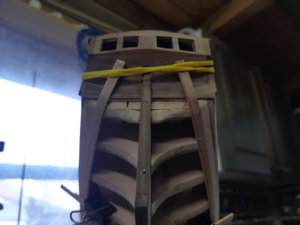
Hi Kkonrath,Might I ask what brand of keel clamp are you using, or is that a scratch built clamp.
I like the design with padded boards to hold the keel.


Yes I undesŕstand now...I was asking about the tool used to hold the keel of ship while you work on it, with swivel in stand.
. No it is scratch built. If you go on first page of this log you can find how I produced it. It was the first thing, because I was waiting for actual model.


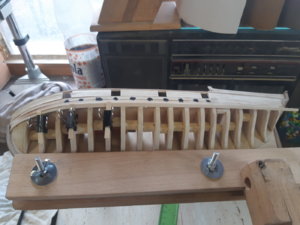
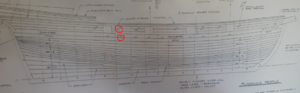
 . Firstly I measured widths on every bulkhead. Transfer it to width plank paper and find out the width of each plank. Here is the process.
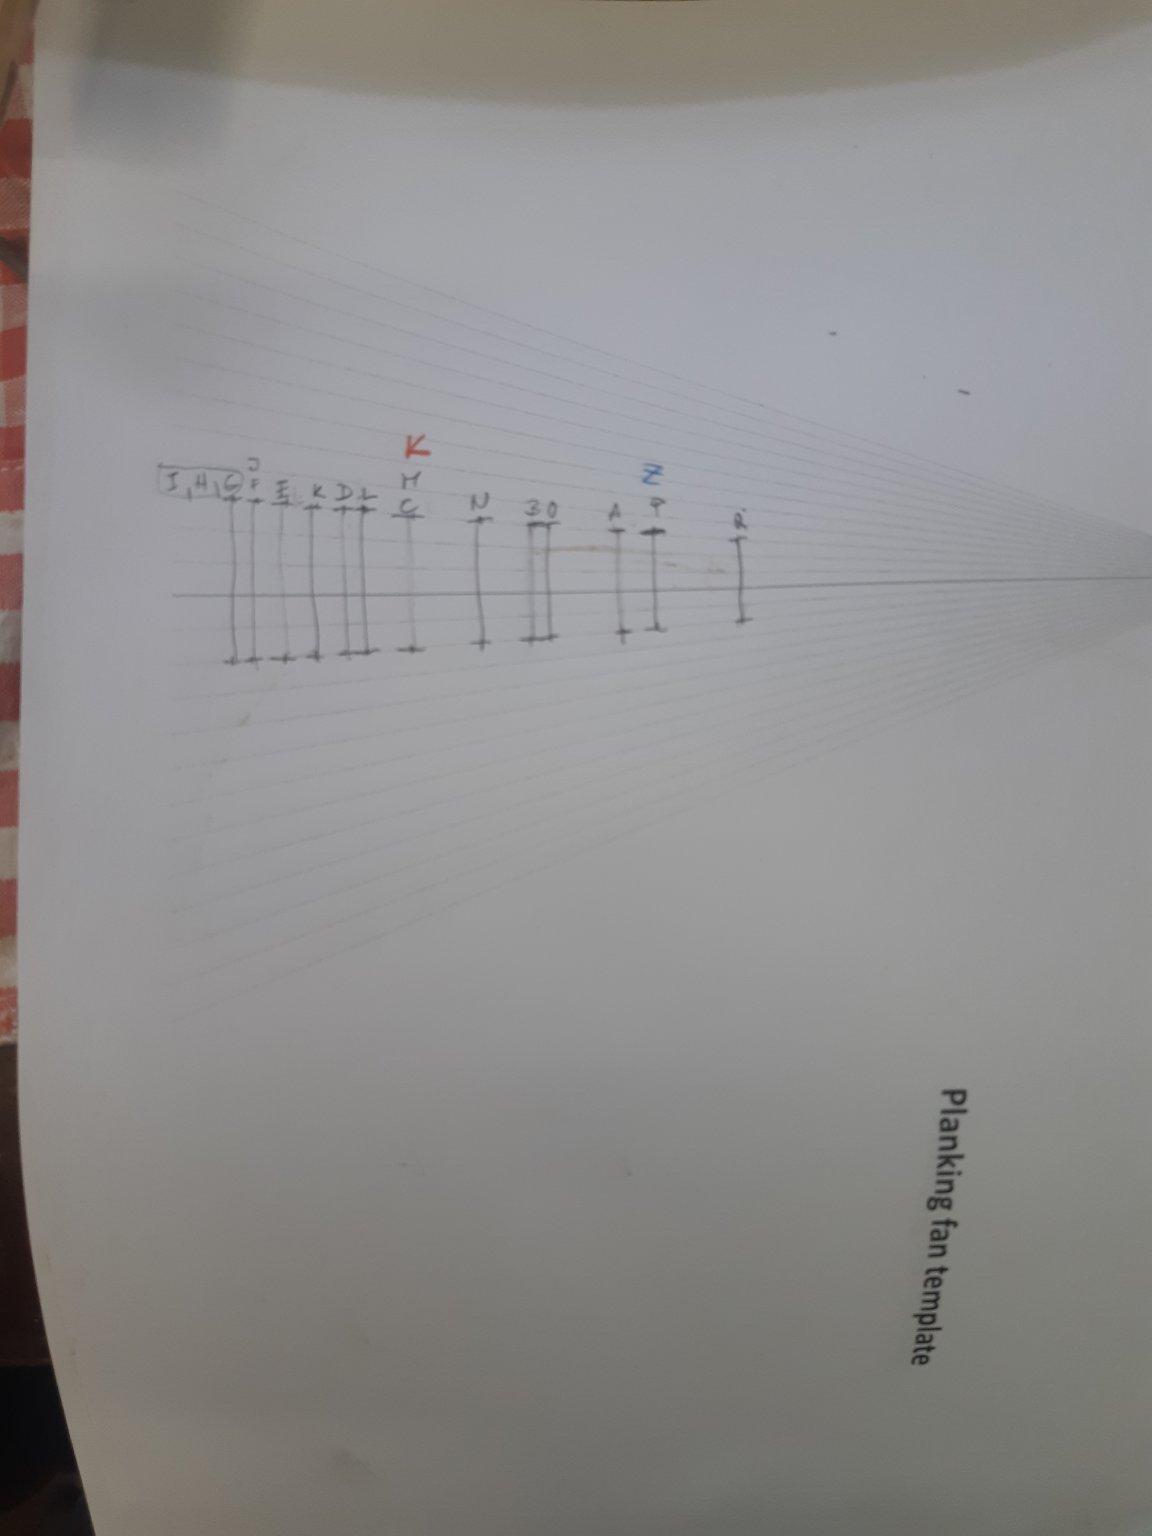


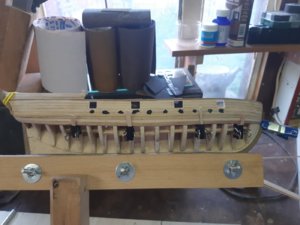
Hull planking looks great - you nailed it. Makes you wonder - who needs a second layer, when the first one is done so nicely. Thanks.Dear fellow modeleres,
hello again. To much happening right now, but still time spent in my workshop is precious for me. It is so peacefull in there. With my wife we are going to sign mortgage loan for our piece of dream land on Friday. Hope everything will go well. Maybe after I will post some pictures from it for you.
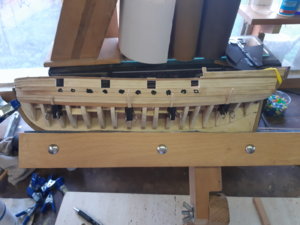
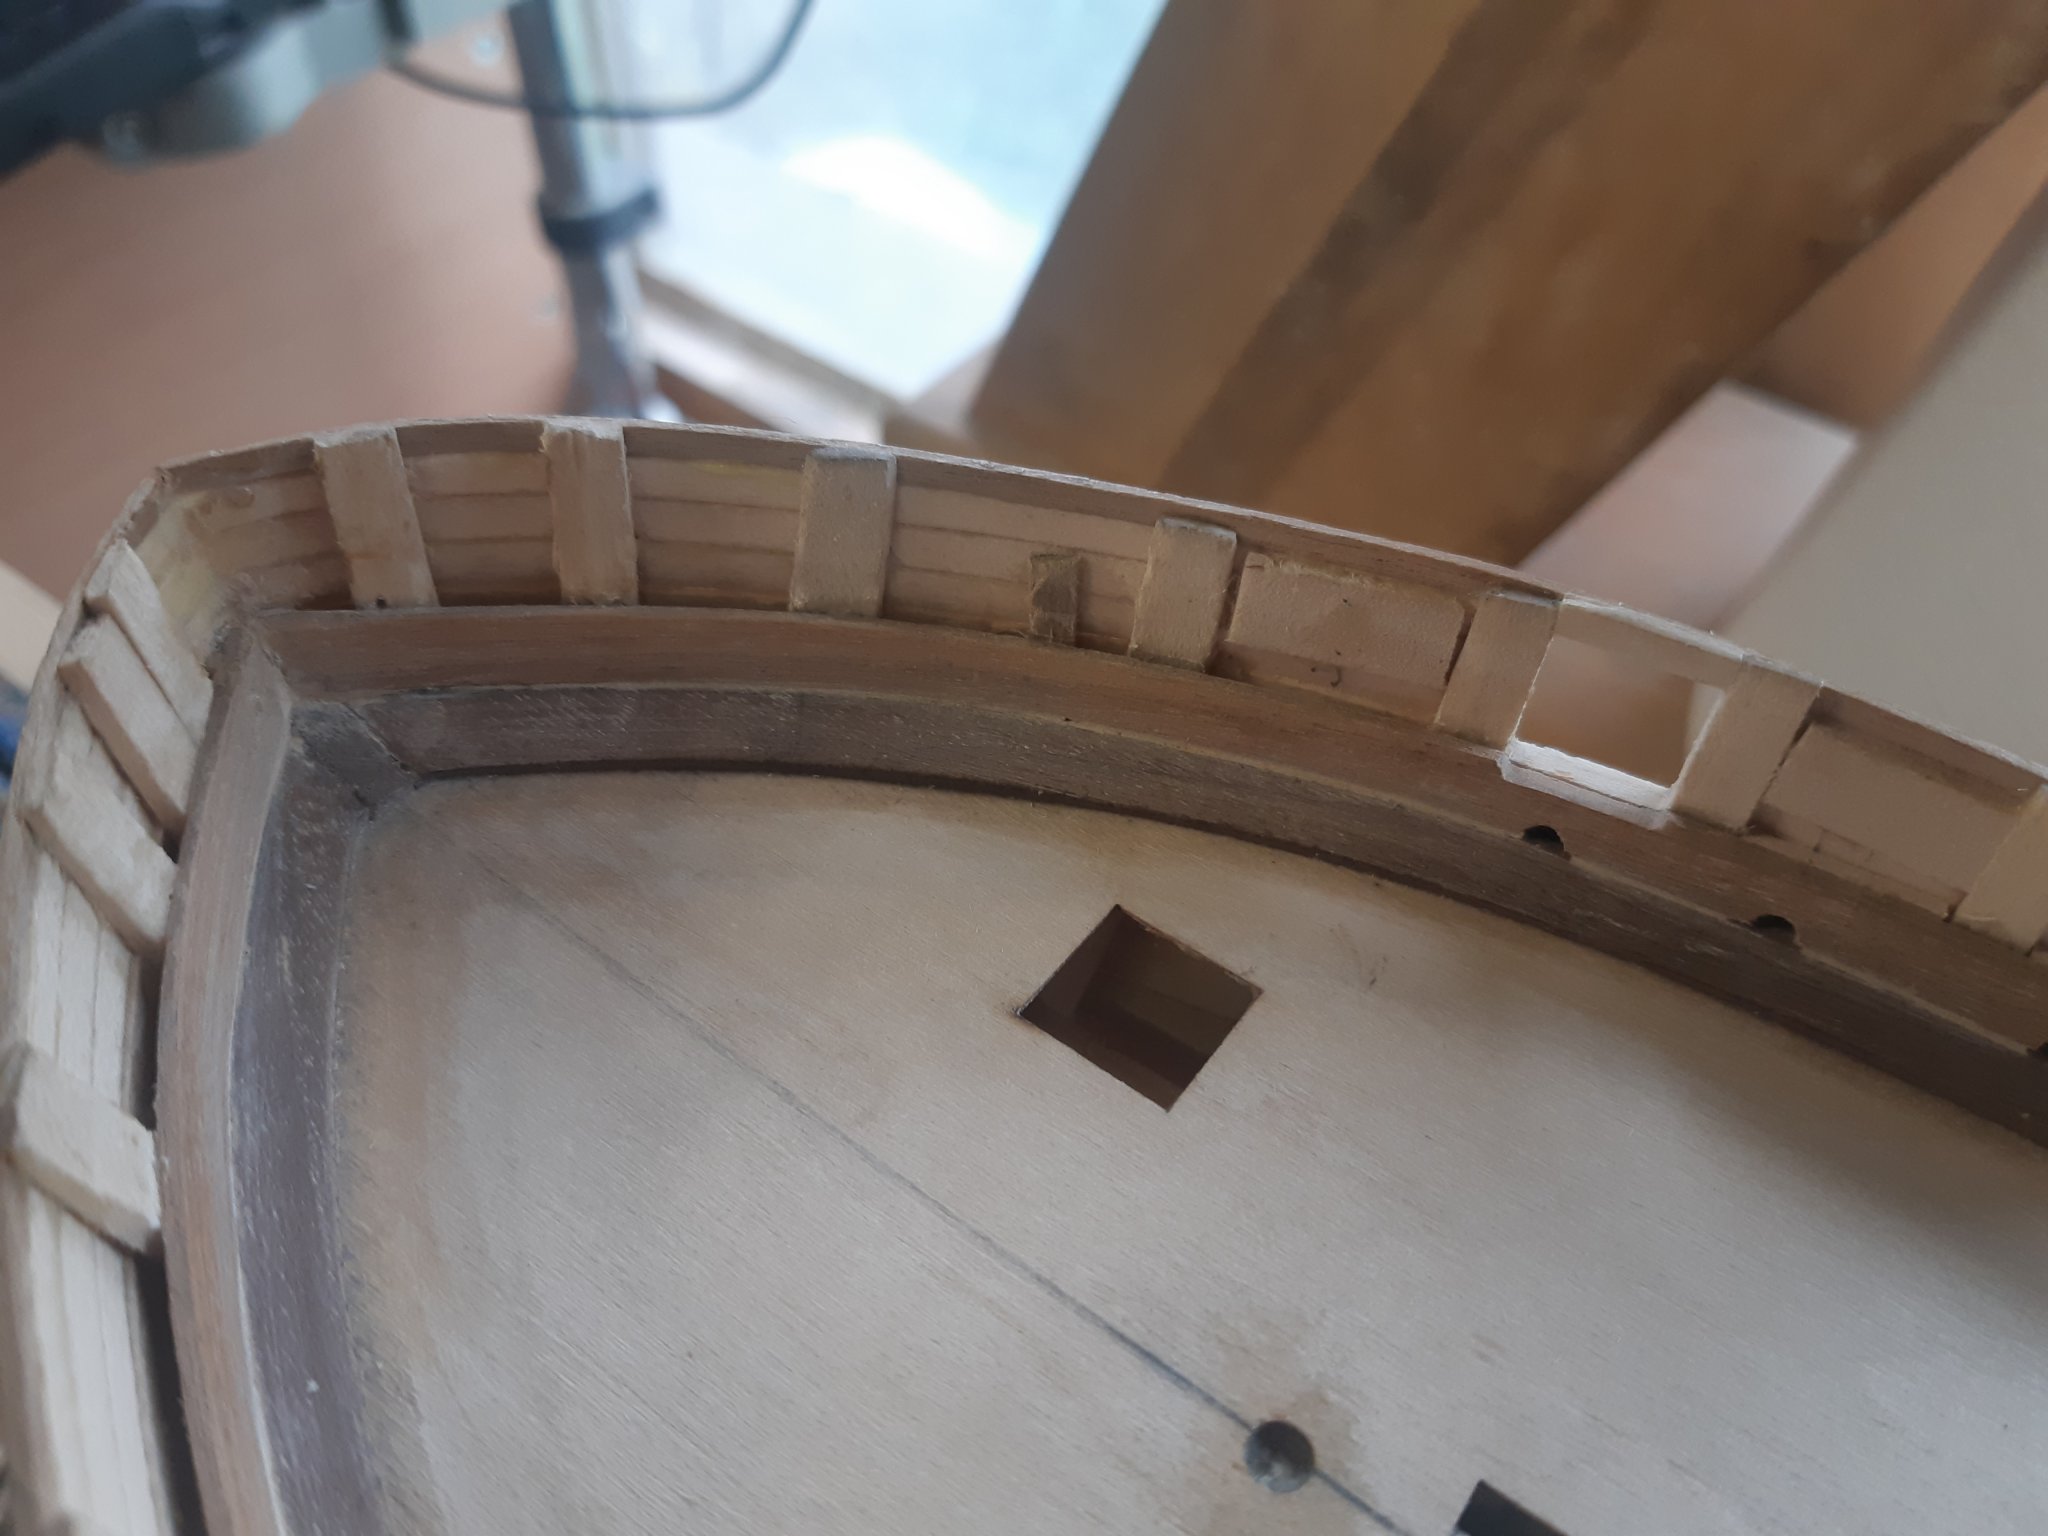
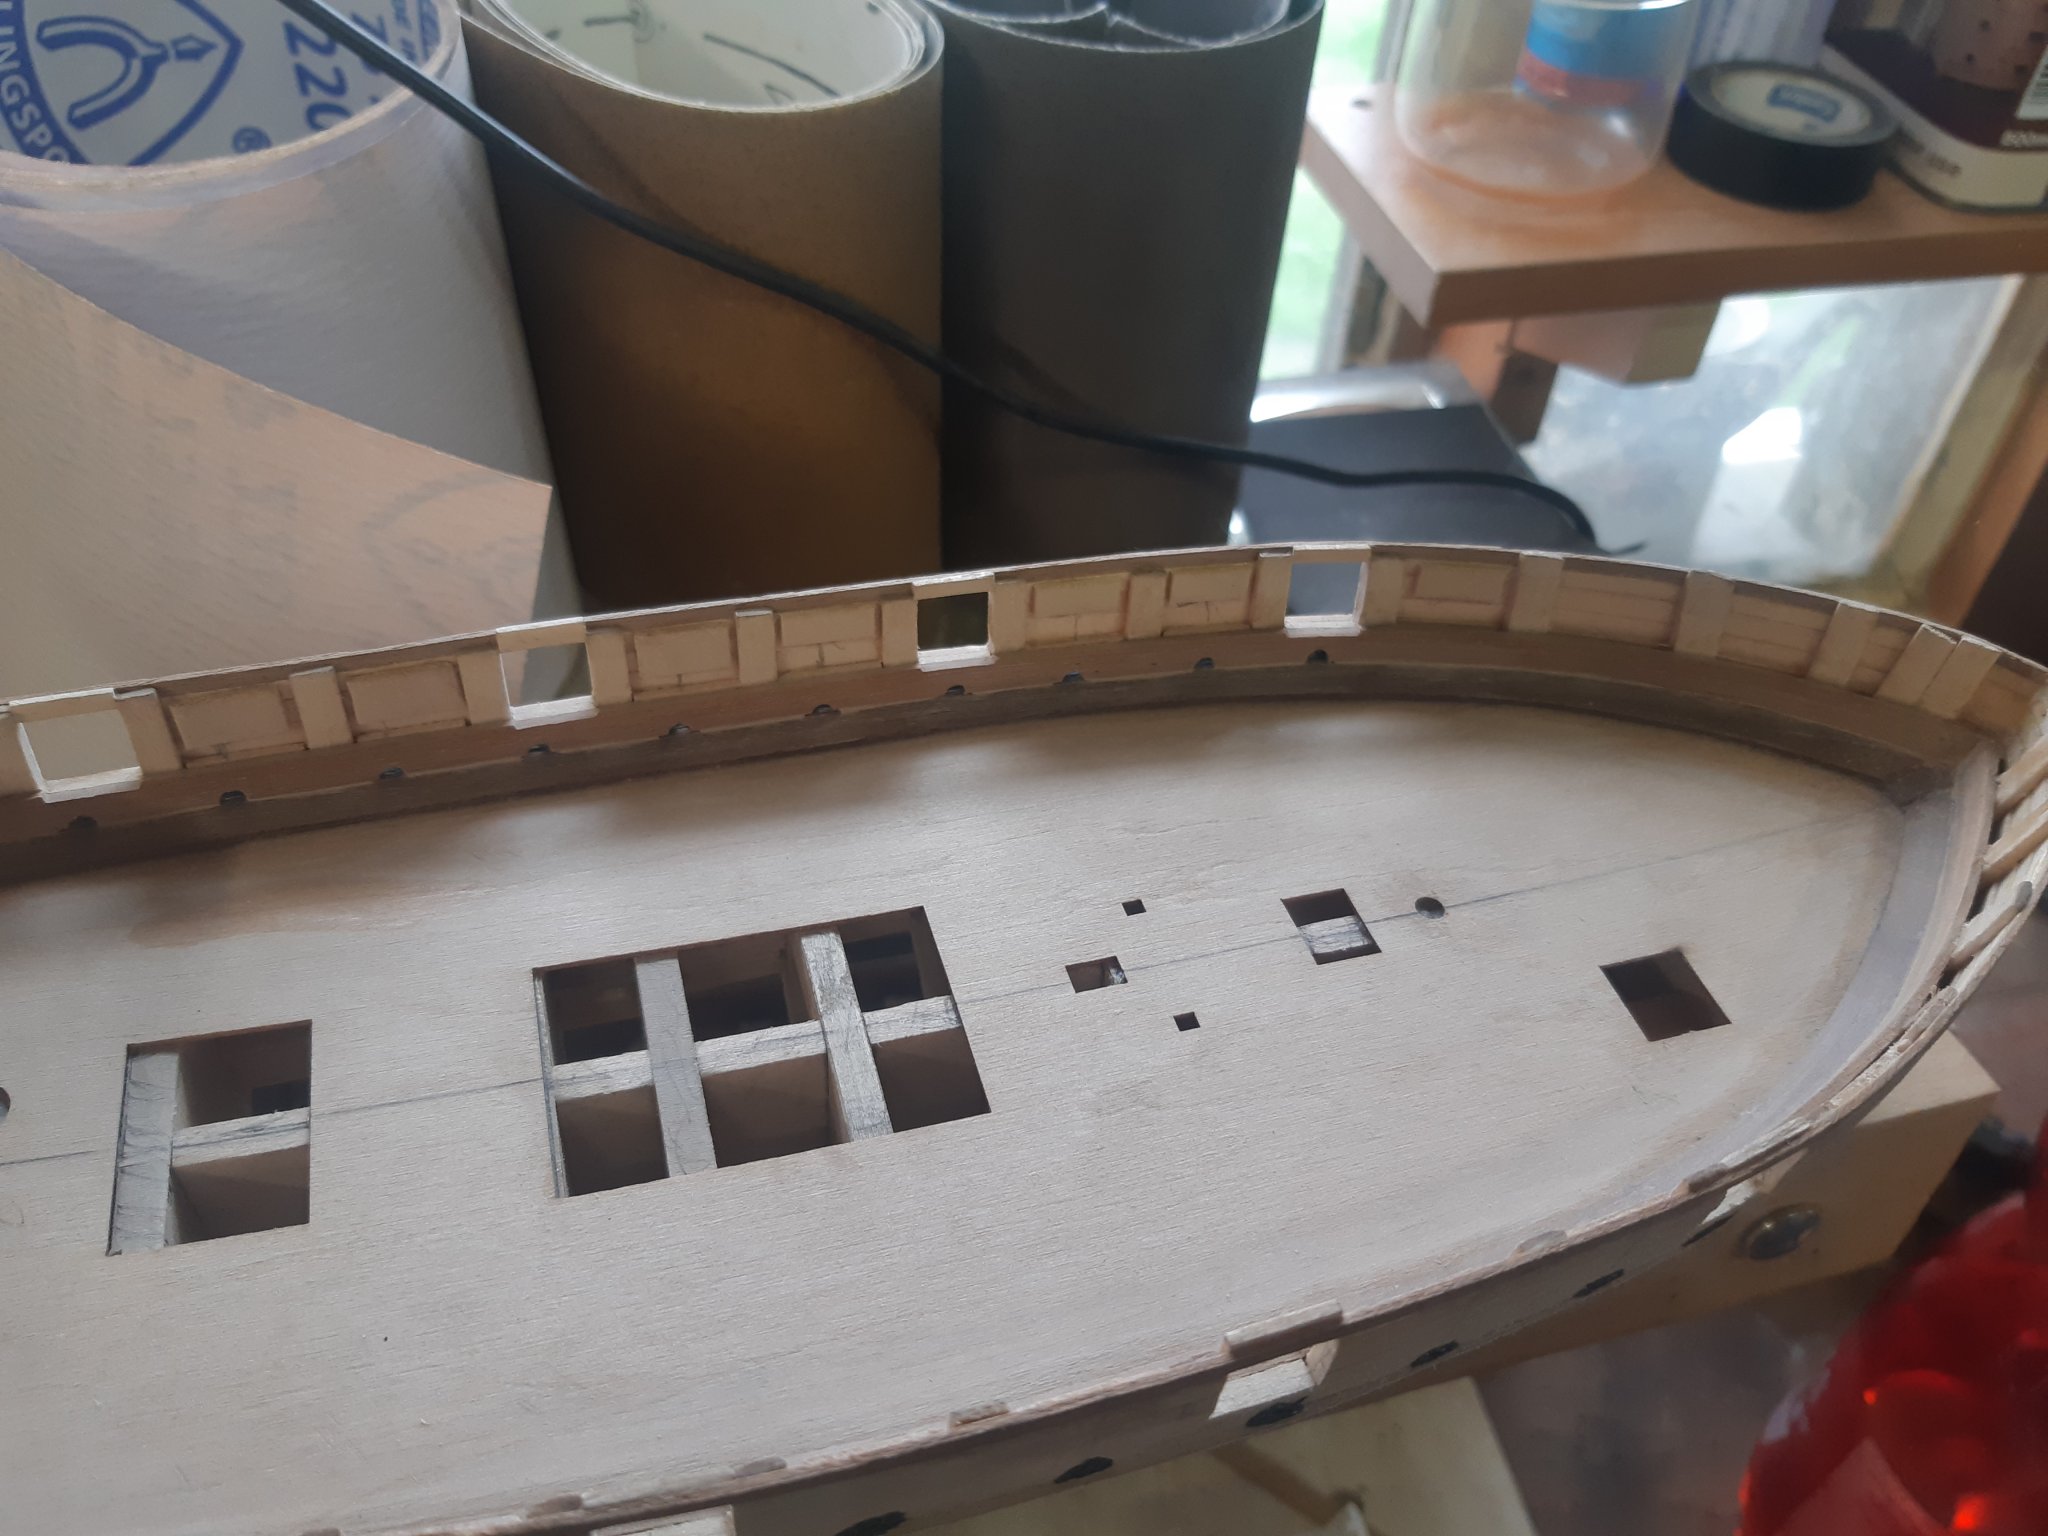
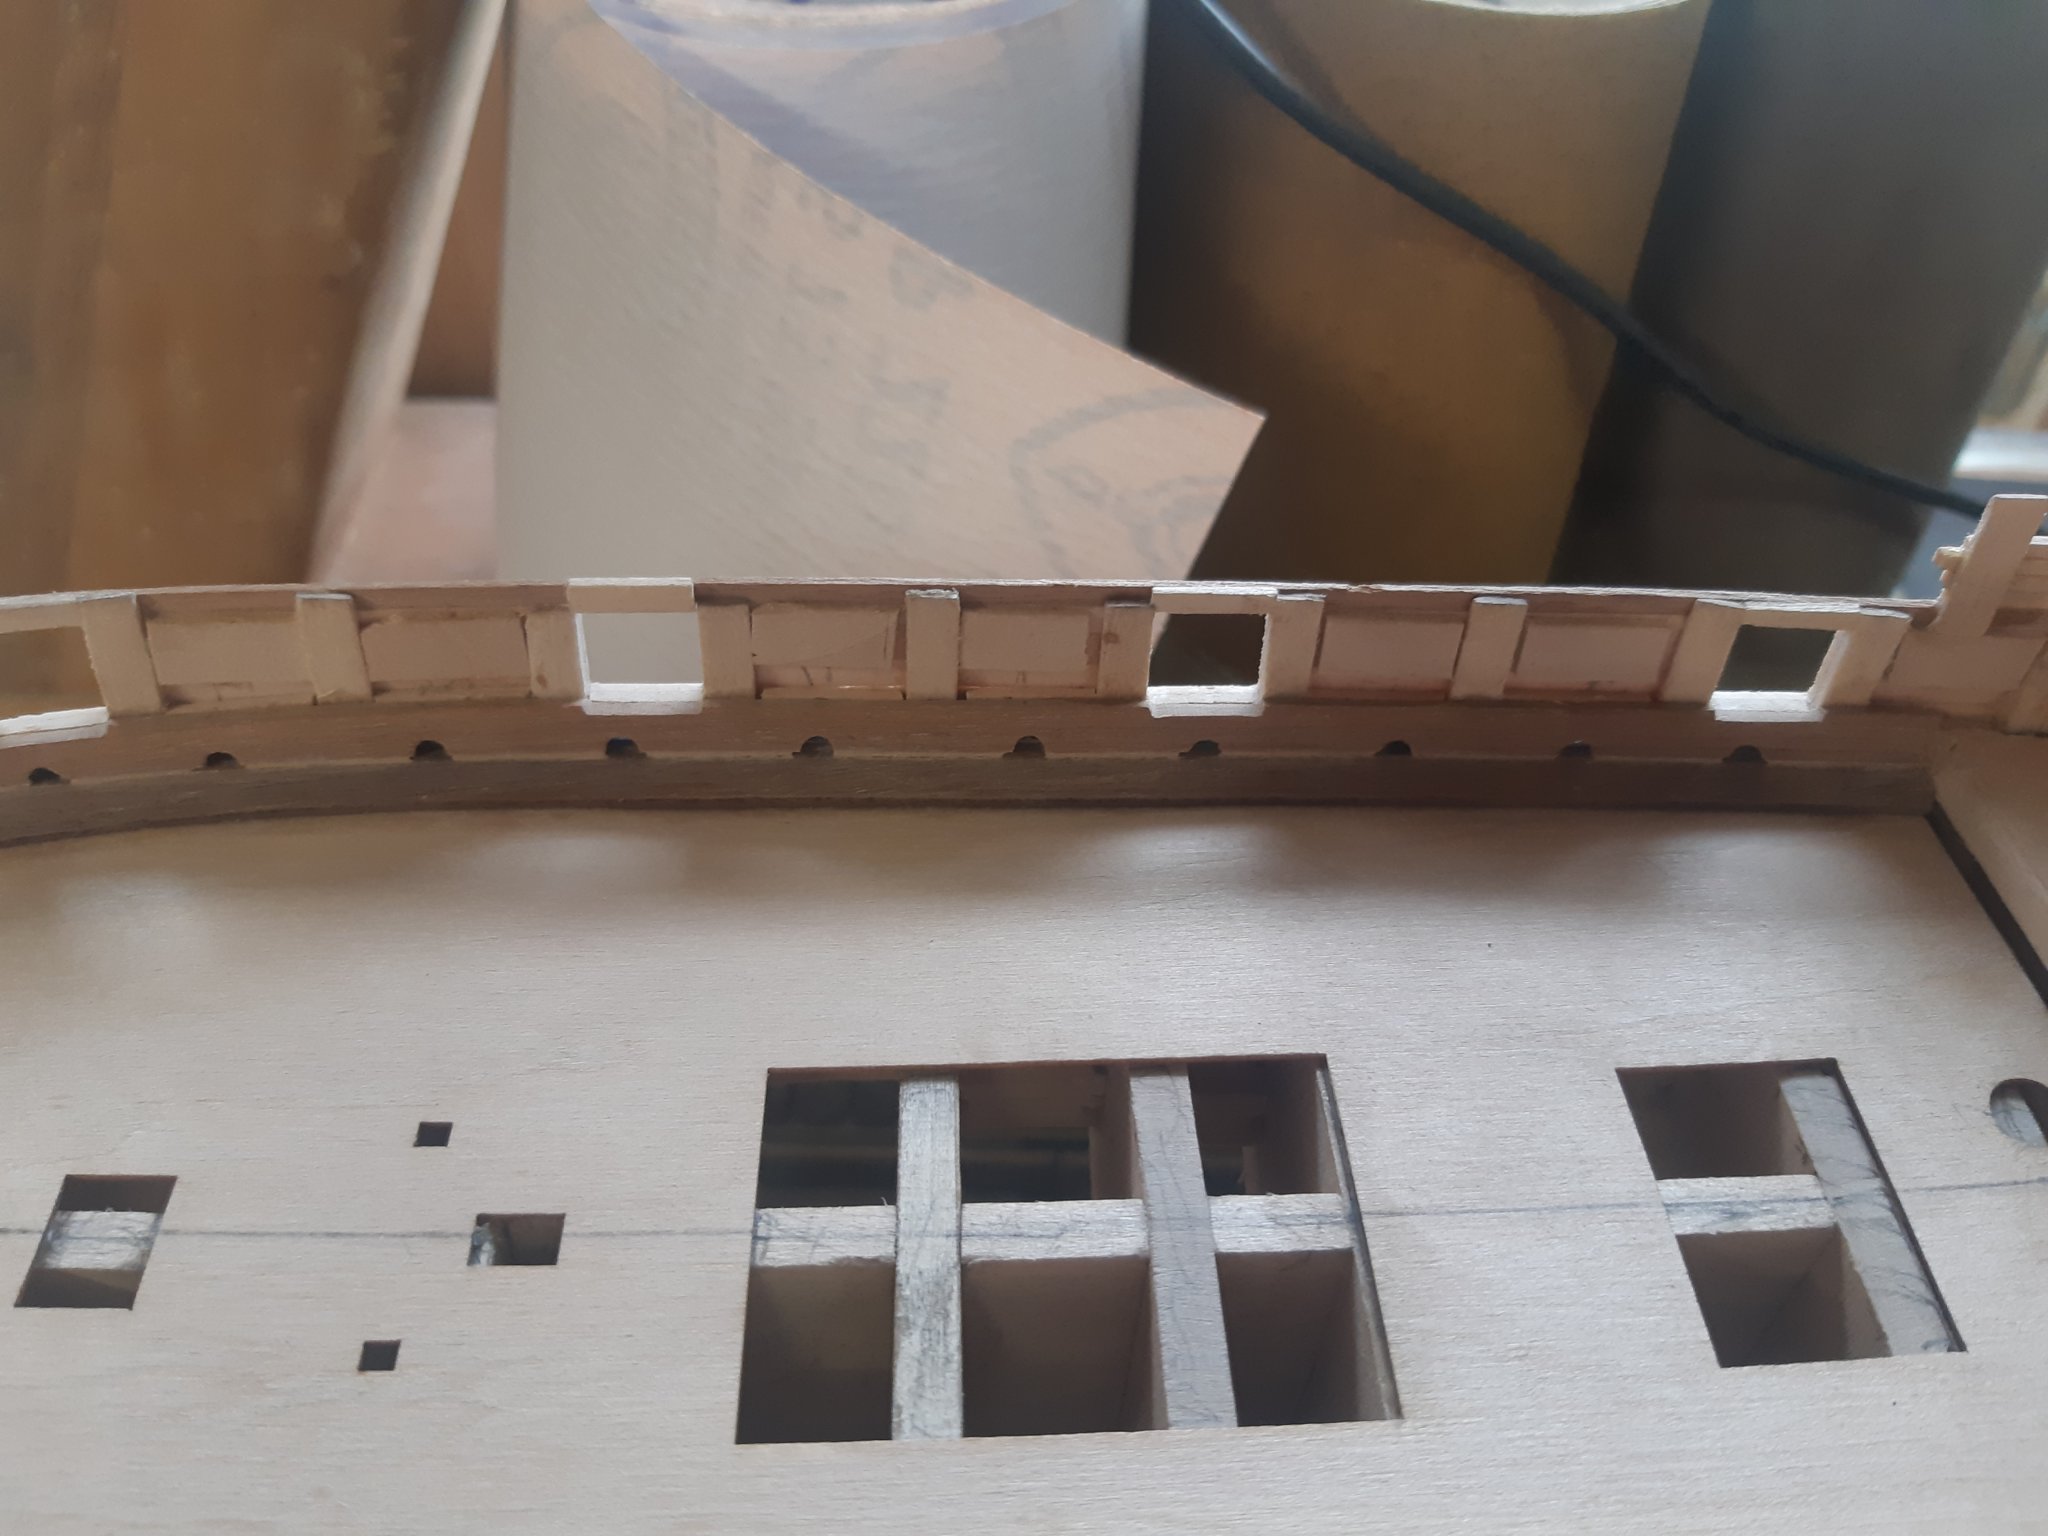
But back to my build. Finally I have finished belt A and belt C of my hull planking. Still belt B to be planked. As the place to be planked is differnet on every bulkhead I started using proper method of planking
I am planning to do the second layer similar with the first execpt errors of course and the lenght of planks will be maximum of 10 cm.
Here are pictures of progress.
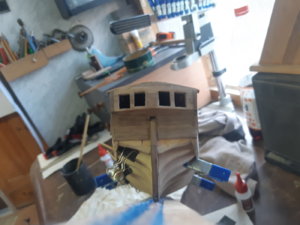
I also successfully glued the planks above waterways. As the walnut plank was more thick I used steam and hot water to bend it properly. Th walnut is not so high quality but after using some putty and fine sand paper result is nice looking. Here are pictures.
Till next time my friends.
Thanks Gennaro,Hull planking looks great - you nailed it. Makes you wonder - who needs a second layer, when the first one is done so nicely. Thanks.

