Armed Virginia Sloop 1:48

Šťastné narodeniny, Matus! Nech je váš život plný svetla, radosti a šťastia na mnoho ďalších rokov! Birthday-Cake
 
Dear fellow modelers,

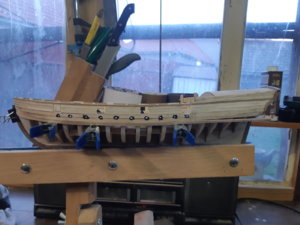
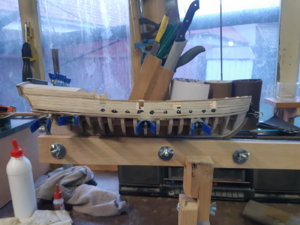
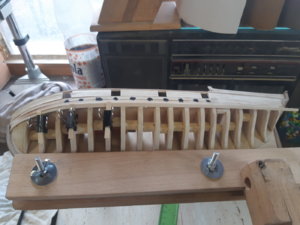
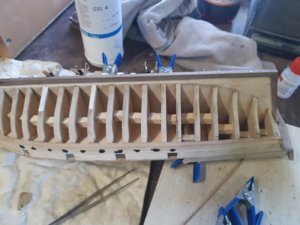
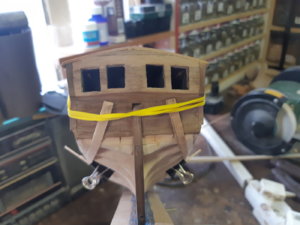
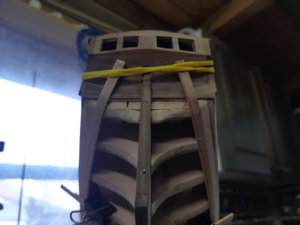
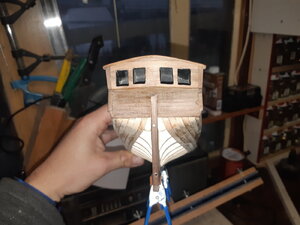
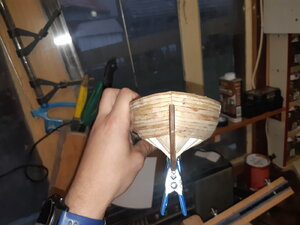
yesterday was again blast in my workshop. What I did for few last days was that I was preparing myself for next step. Planking below the wale. I read lot of materials how to do it. But what I found was that basically when I will use provided plans and trim every plank according to it, it will work and I do not need to do any calculations. :D It will be time consuming but that is it.

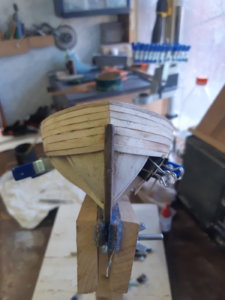
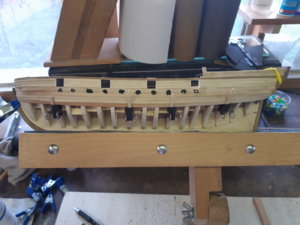
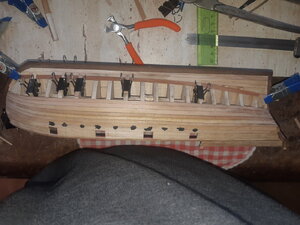
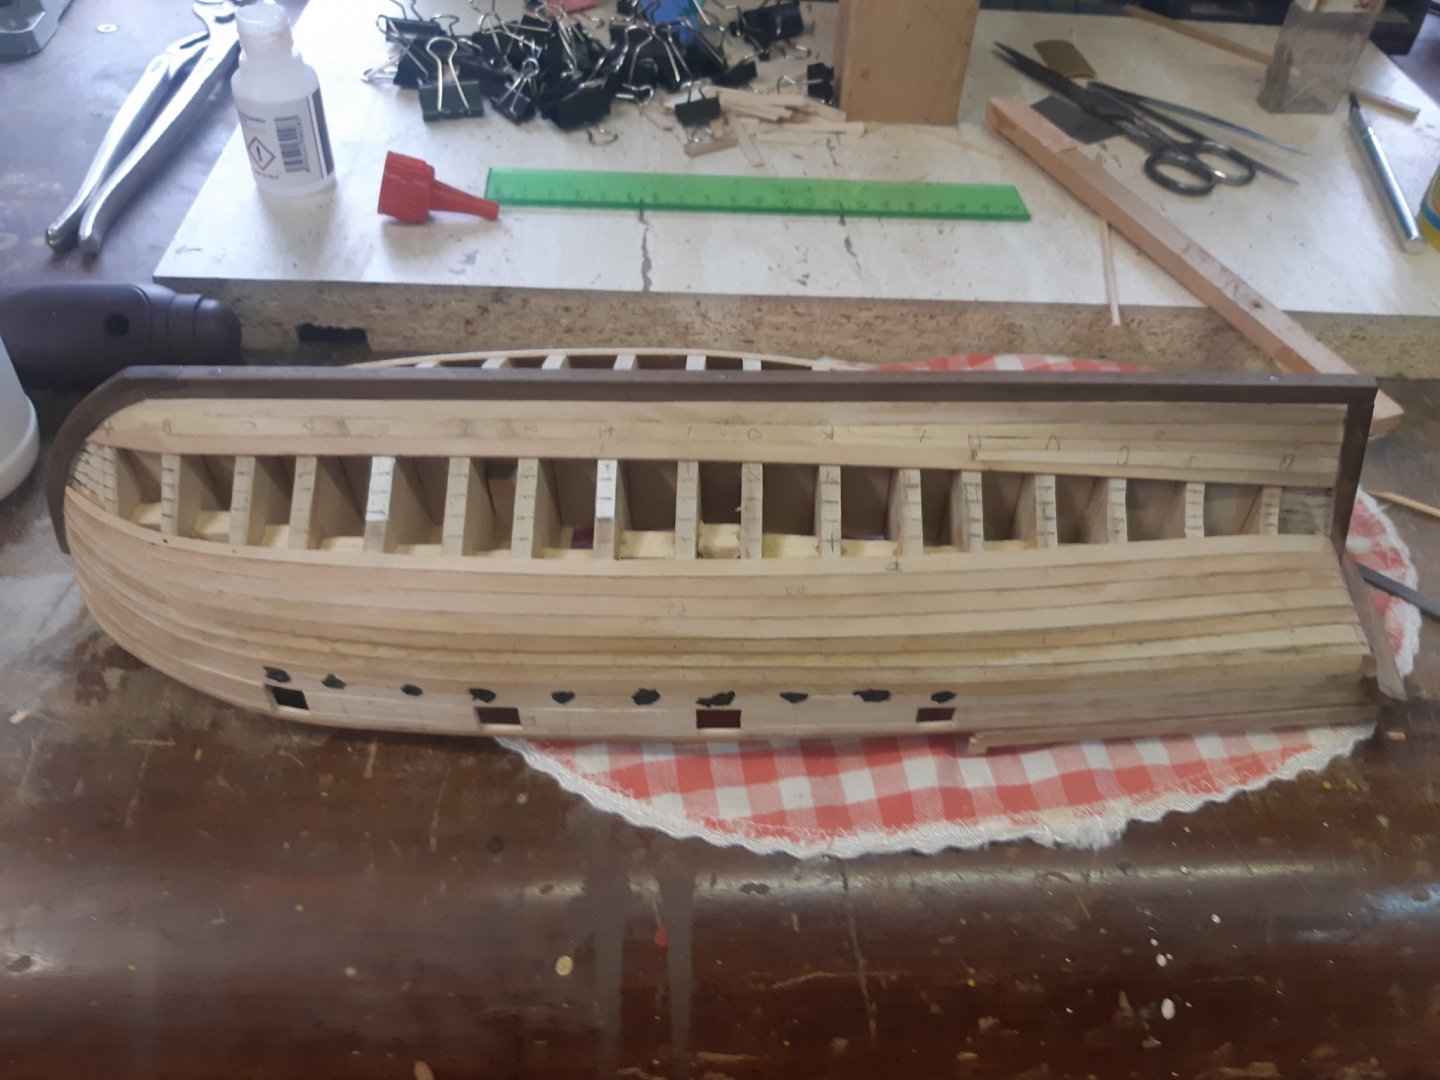
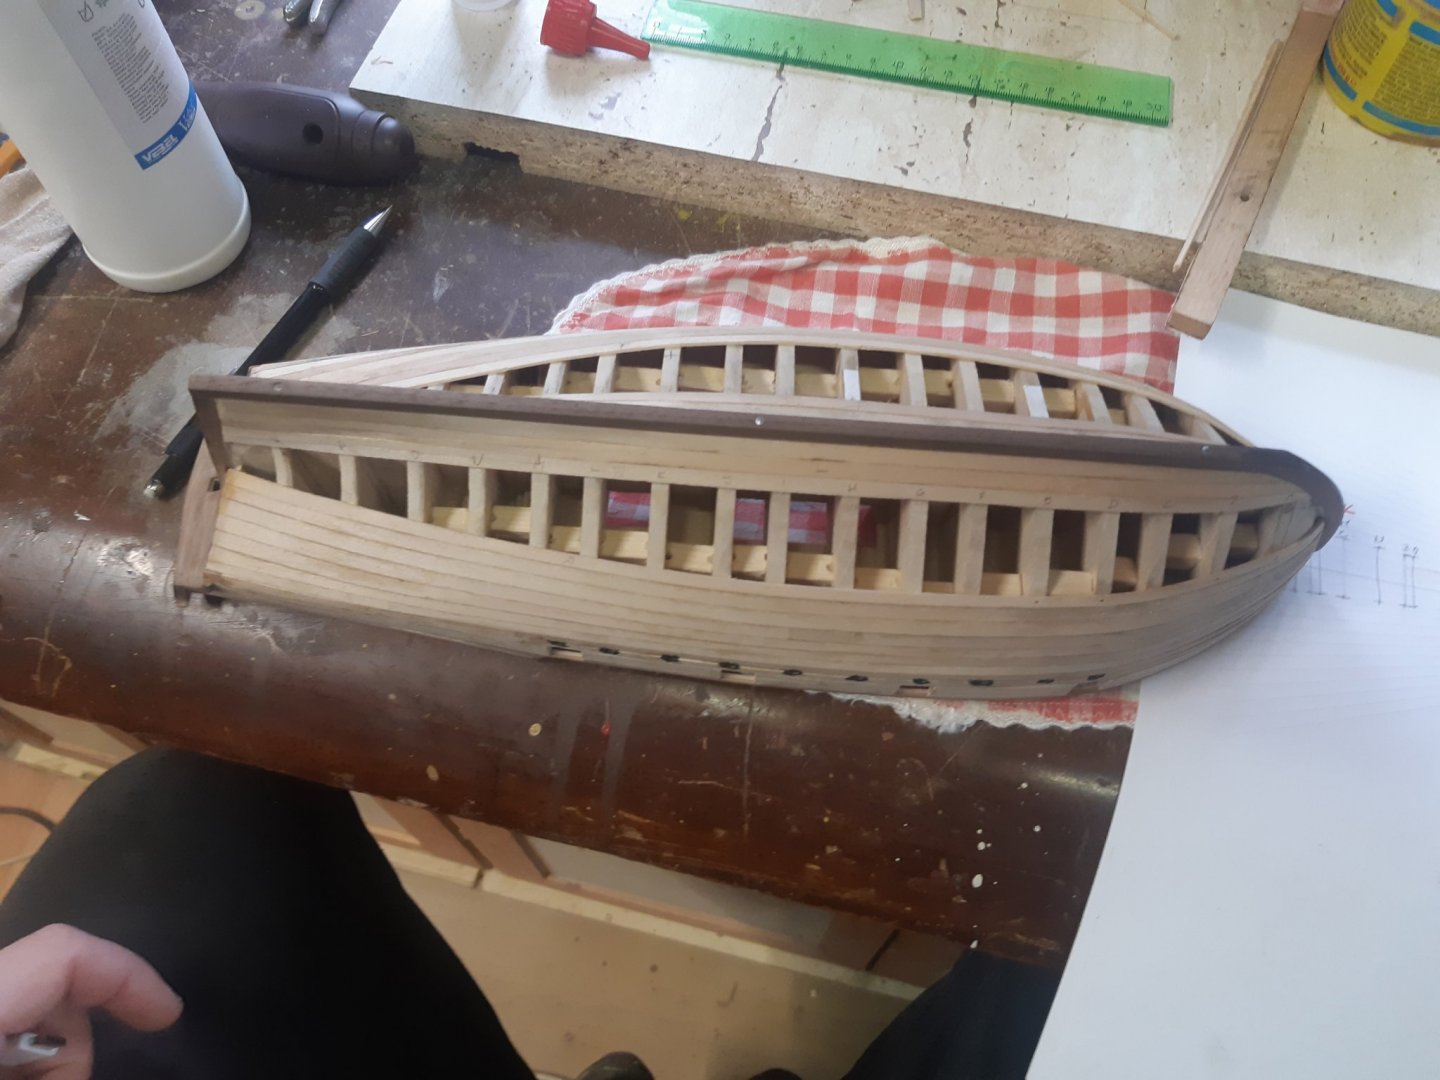
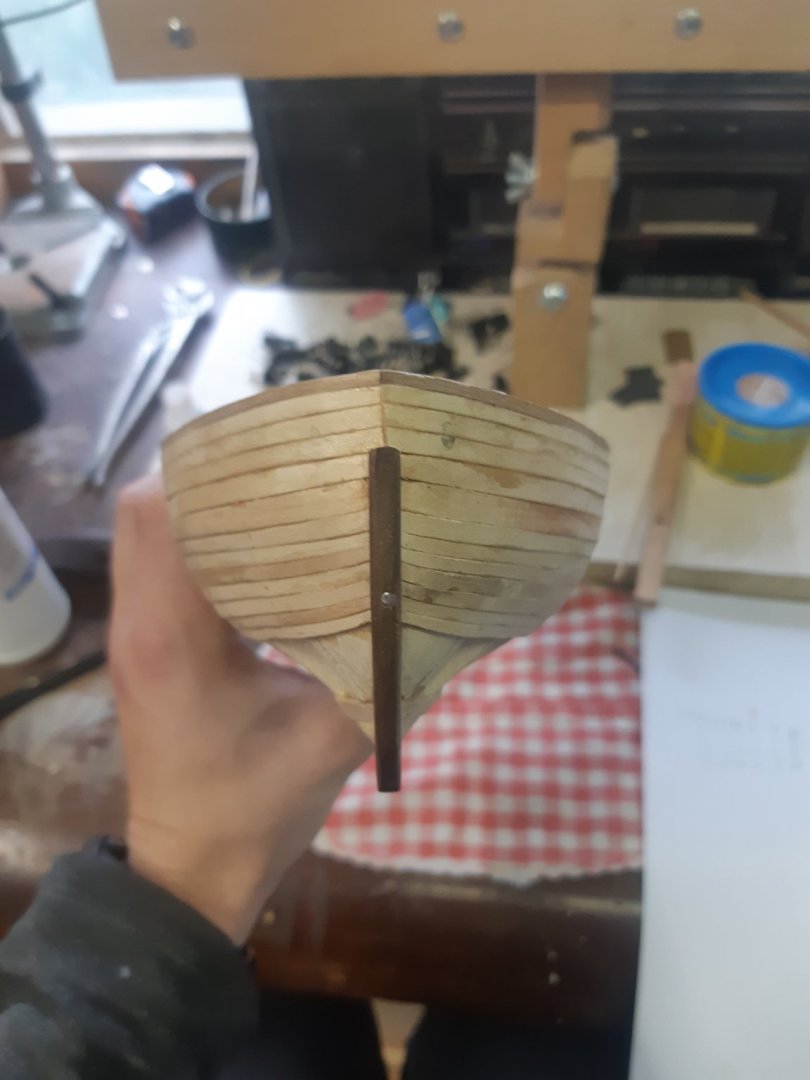
So what I did was trimmed the first plank below wale. I used my steamer for bending of the wood. There is one disadvantage that I need to let the wood dry on the ship. Still it have taken 3 hours to do that. Step by step, plank by plank :D. Here are pictures of planks.
20200423_192136.jpg20200423_192154.jpg

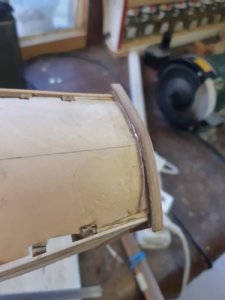
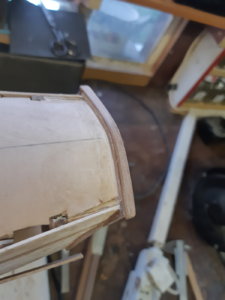
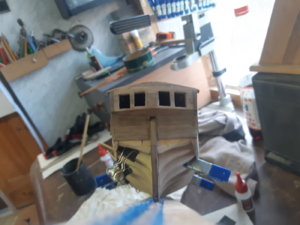
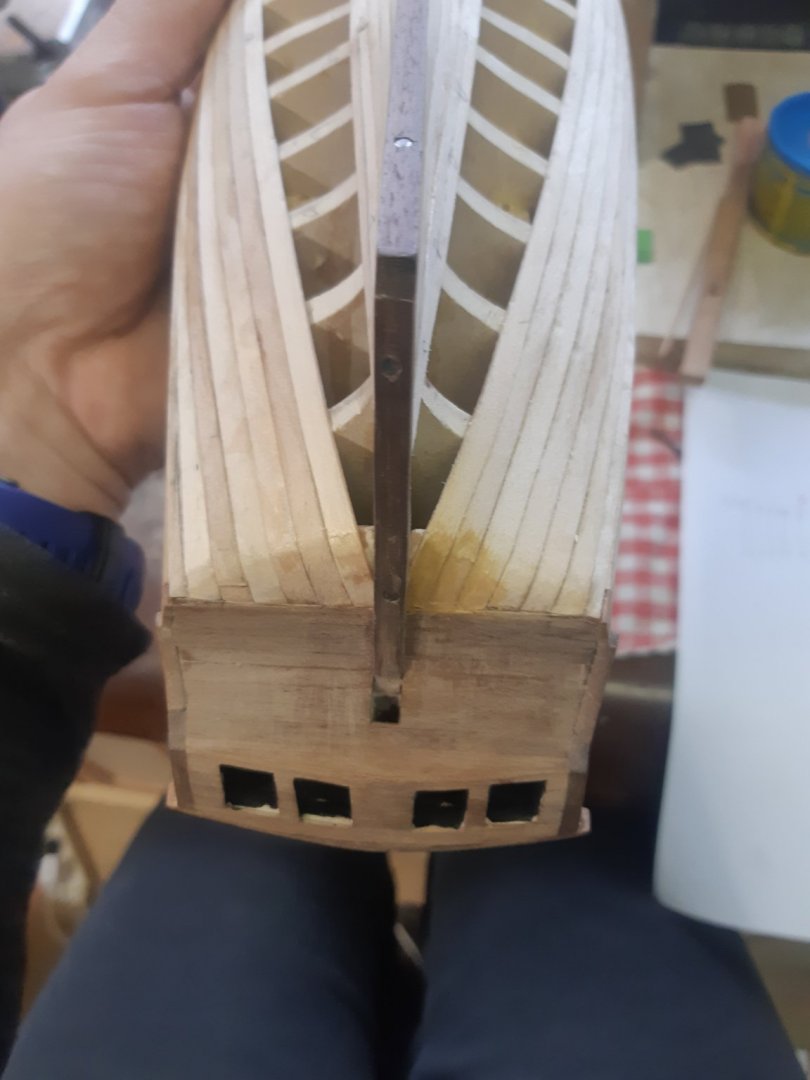
I also added the shimmin plank to stern part under taffrail and sanded it flush. Here are pictures from process.
20200423_190023.jpg20200423_191824.jpg20200423_192127.jpg

Happy with the result.

Total building time 113 hours.

Till next time.
 
Dear fellow modelers,

...step by step plank by plank it is going.

4K view on my log. It is not Uwek History of Naval log with 1 mil. view but as the saying goes - it is not much, but it is honest work :D. Just joking. This is huge success and thank everybody fot it.

Here is a picture from forming the planks. Before I started I thought that plank will fit as they are, small mistake :D. Every one of them require lot of work. Every plank was measured on every bulkhead and cut with scalpel.
20200424_181048.jpg
20200424_182441.jpg


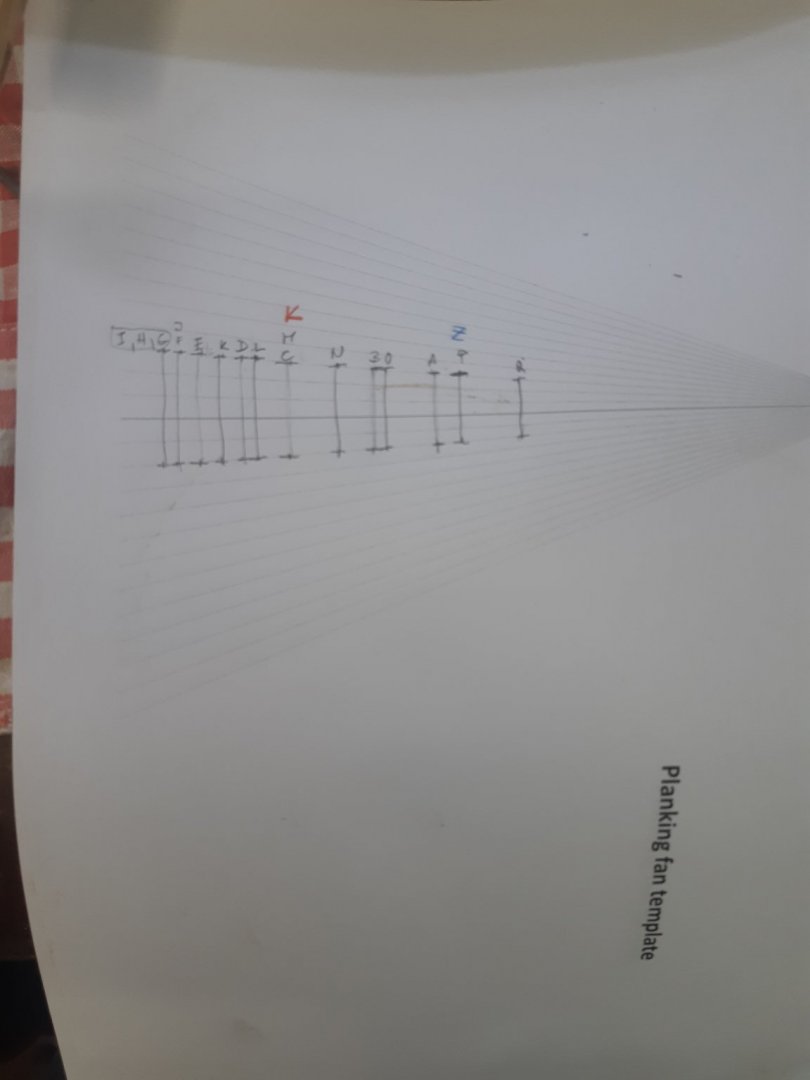
Today I was staring at plans in my workshop for 2 hours. Finally I understood that this is not real width of planks because this is side look - blue color. Do not mind red color, it is from before. What I will do I will measure start and end of plank because there is perfect detail in plans and the rest of the plank will be just my good feel of plank flow.
1587832934803.png

Here are some pictures from proces.20200424_181052.jpg
20200424_172825.jpg20200424_173906.jpg20200424_175044.jpg
20200425_171227.jpg20200425_171324.jpg20200425_171358.jpg20200425_171437.jpg94392668_2539942276320589_7283969907849428992_n.jpg

Till next time.

Thanks for all the likes.
 

Attachments

  • 20200424_172825.jpg
    20200424_172825.jpg
    185 KB · Views: 0
  • 20200424_173906.jpg
    20200424_173906.jpg
    146.3 KB · Views: 0
  • 20200424_175044.jpg
    20200424_175044.jpg
    142 KB · Views: 0
  • 20200424_181048.jpg
    20200424_181048.jpg
    181.5 KB · Views: 0
  • 20200424_181052.jpg
    20200424_181052.jpg
    198 KB · Views: 0
  • 20200424_182441.jpg
    20200424_182441.jpg
    175.7 KB · Views: 0
  • 20200425_171227.jpg
    20200425_171227.jpg
    185.5 KB · Views: 1
  • 20200425_171324.jpg
    20200425_171324.jpg
    140.4 KB · Views: 1
  • 20200425_171358.jpg
    20200425_171358.jpg
    156.8 KB · Views: 1
  • 20200425_171437.jpg
    20200425_171437.jpg
    103.1 KB · Views: 0
  • 94392668_2539942276320589_7283969907849428992_n.jpg
    94392668_2539942276320589_7283969907849428992_n.jpg
    164.1 KB · Views: 1
  • 1586595519236.png
    1586595519236.png
    385.3 KB · Views: 2
Hi guys,
I have one question. There is one small issue with planking and I would like some advice.
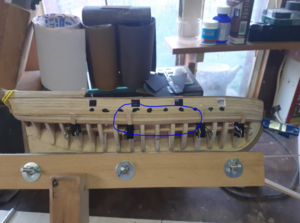
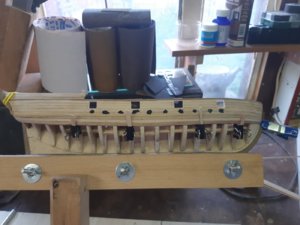
Here are two pictures of side of ship. There is small warp on one side - blue color. How this occuer is basically I am sanding planks by hand, so imperfection. The important question is how I should repait it?

This side is OK.
20200425_171227.jpg

Here is the issue:

1587833904944.png94392668_2539942276320589_7283969907849428992_n.jpg

Any advice?
 
This is the first layer so not a big issue,by warp you mean is your plank wavy?
 
Dear Fellow modelers,

I am back again. A lot of new things are happening in my life. With my wife, we are going to buy piece of land here near my hometown, so lot of dealing with banks.
Therefore I did not had lot of time for building, but still there was little bit of progress.

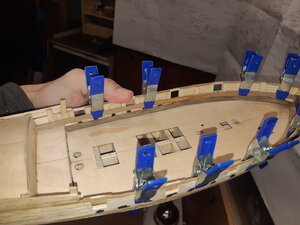
In following pictures you can see how I progressed. I already finished belt A. I decided to continue with gardboard, anf finish the belt C, after that I will do belt B.
20200513_193256.jpg20200513_193241.jpg20200513_193315.jpg20200513_193304.jpg20200513_193330.jpg20200513_193339.jpg

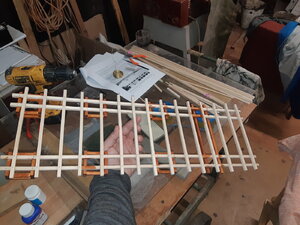
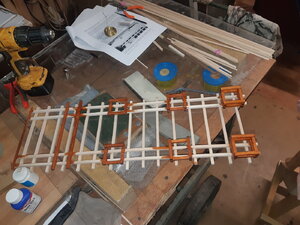
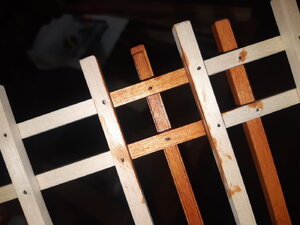
I also made progress on launching ways. I nearly finished building them. I decided to paint it with cherry varnish. I also used brass wire to make nails.20200513_194522.jpg20200513_194513.jpg20200513_194536.jpg

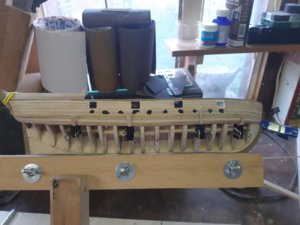
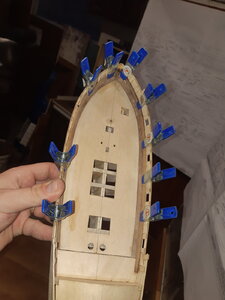
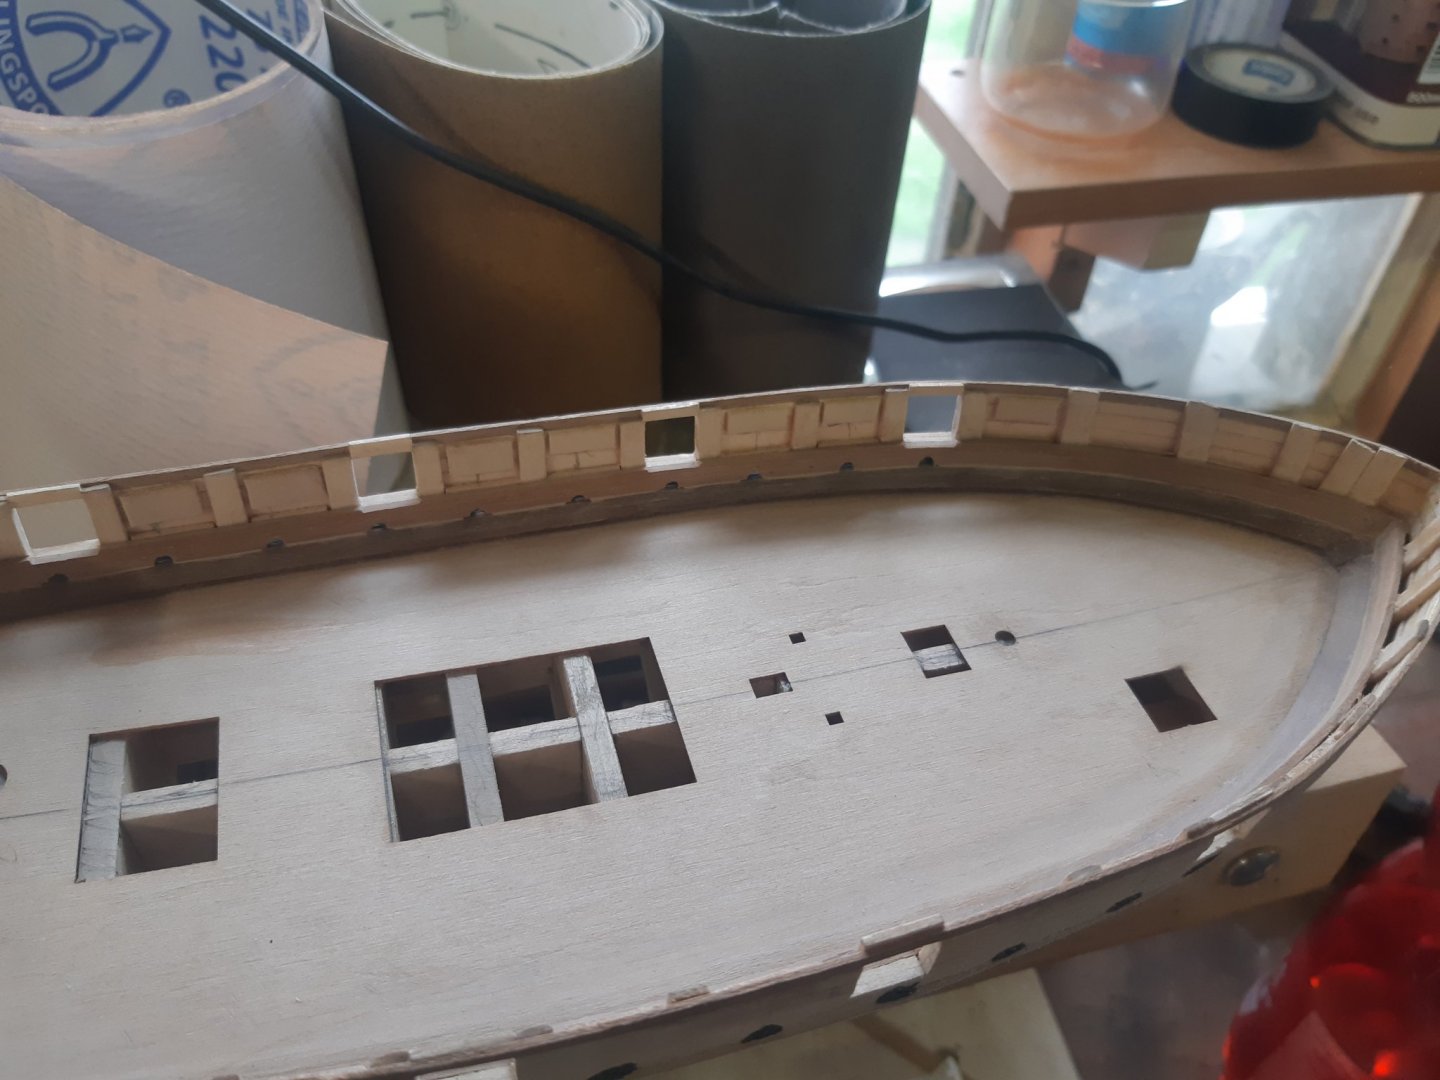
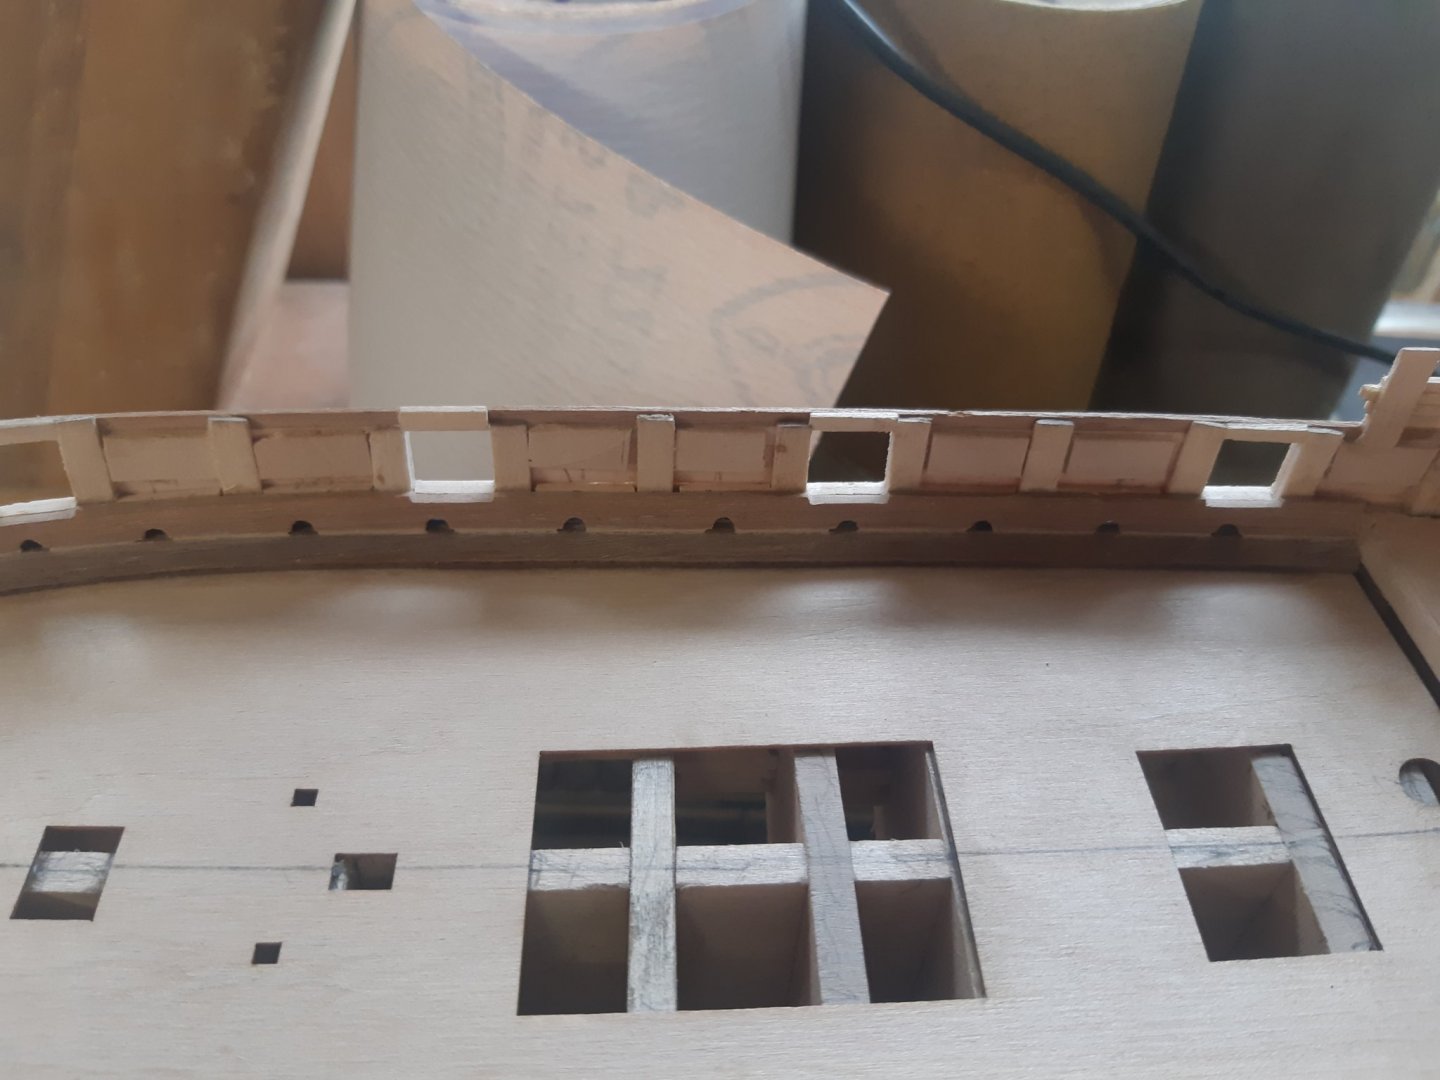
I also steamed and fitted first plank from inside of deck. It is just rought fit.
20200513_194501.jpg20200513_194450.jpg

Till next time.
 
Might I ask what brand of keel clamp are you using, or is that a scratch built clamp.

I like the design with padded boards to hold the keel.
 
Might I ask what brand of keel clamp are you using, or is that a scratch built clamp.

I like the design with padded boards to hold the keel.
Hi Kkonrath,

can I ask you what do you mean by keel clamp or padded boards? I do not recognize the word connection and google translator is not helping.

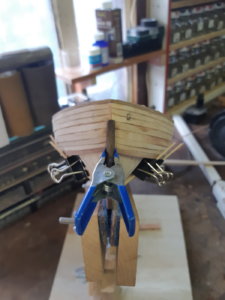
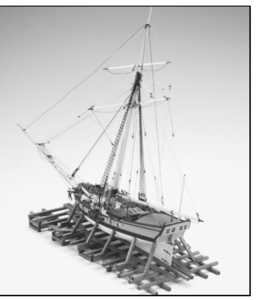
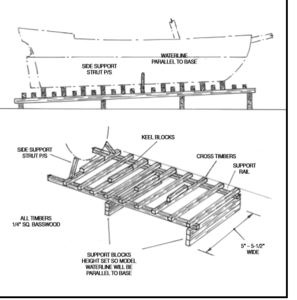
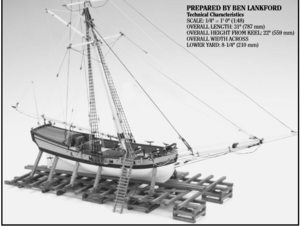
If you are asking about the holder for the final model of ship I am using wood provided by kit but I modified it. In plans you are suppose to put togedher picture below:
1589656572440.png

But I liked this idea better. These are pictures from cover of building manual.
1589656622721.png
1589656637948.png

Of course I will finish the holder after everything from hull is done, so I will have final measures.
 
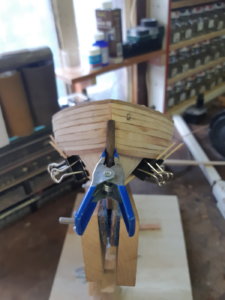
I was asking about the tool used to hold the keel of ship while you work on it, with swivel in stand.
Yes I undesŕstand now...:D. No it is scratch built. If you go on first page of this log you can find how I produced it. It was the first thing, because I was waiting for actual model.

During time I change it little bit. I added the pads because it was scratching the keel. And also I added bigger screws because it is easier to tighten it with hand.
One more thing I was thinking about was to add capability of turning 360 degree with whole model. This is more technical as you sometimes need exact degree of how you would like to have model turned. Now I am only turning the whole holder as it is around.
 
Dear fellow modelers,

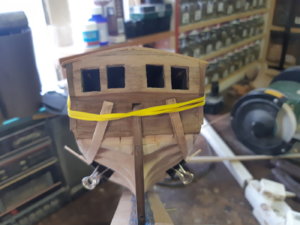
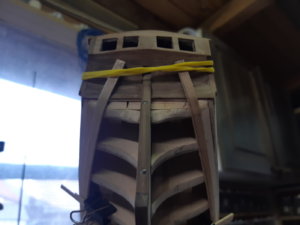
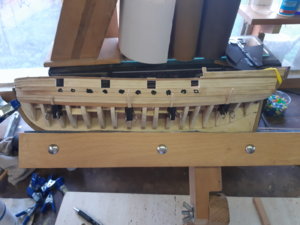
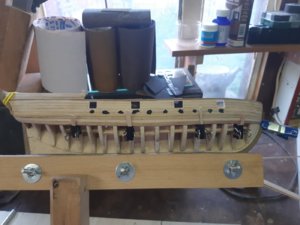
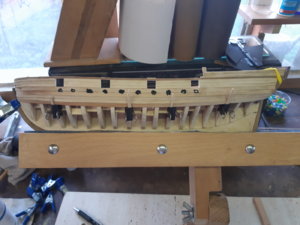
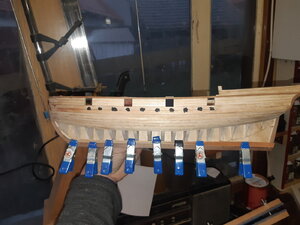
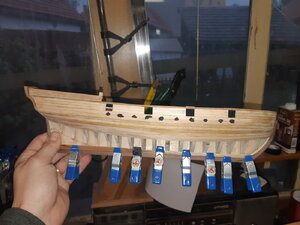
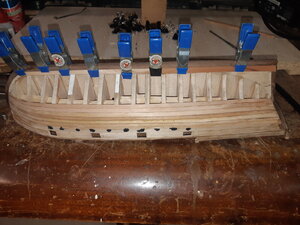
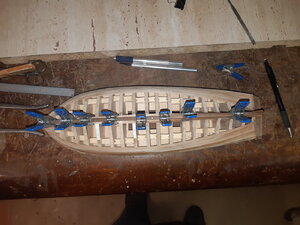
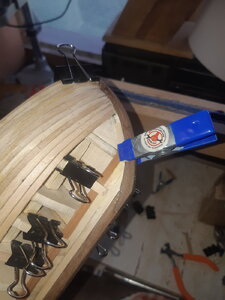
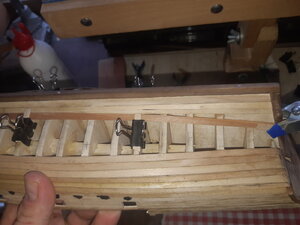
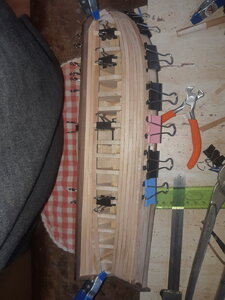
again some progress in planking of the hull. In the pictures you can see the progress. I also added first stealers from both sides. Hope will finnish very soon with first layer of planking. I also glued the first spirketing plank (first plank above waterway from inside) on left side.

Here are some pictures from progress.

20200524_160953.jpg20200524_161048.jpg20200524_161015.jpg20200524_161005.jpg

Total building time 147 hour.

Till next time.
 
Dear fellow modeleres,


hello again. To much happening right now, but still time spent in my workshop is precious for me. It is so peacefull in there. With my wife we are going to sign mortgage loan for our piece of dream land on Friday. Hope everything will go well. Maybe after I will post some pictures from it for you.


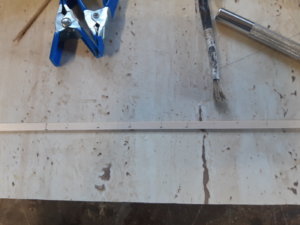
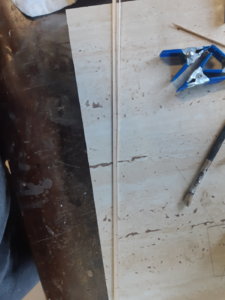
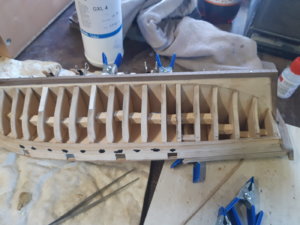
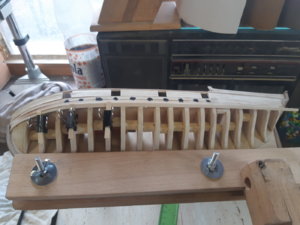
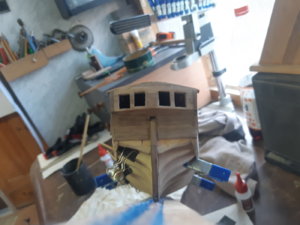
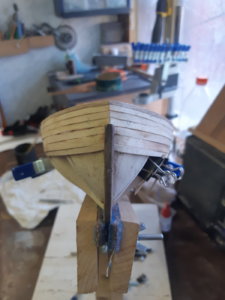
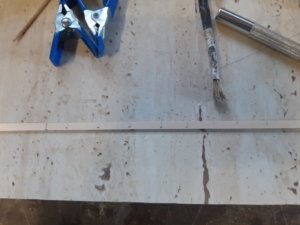
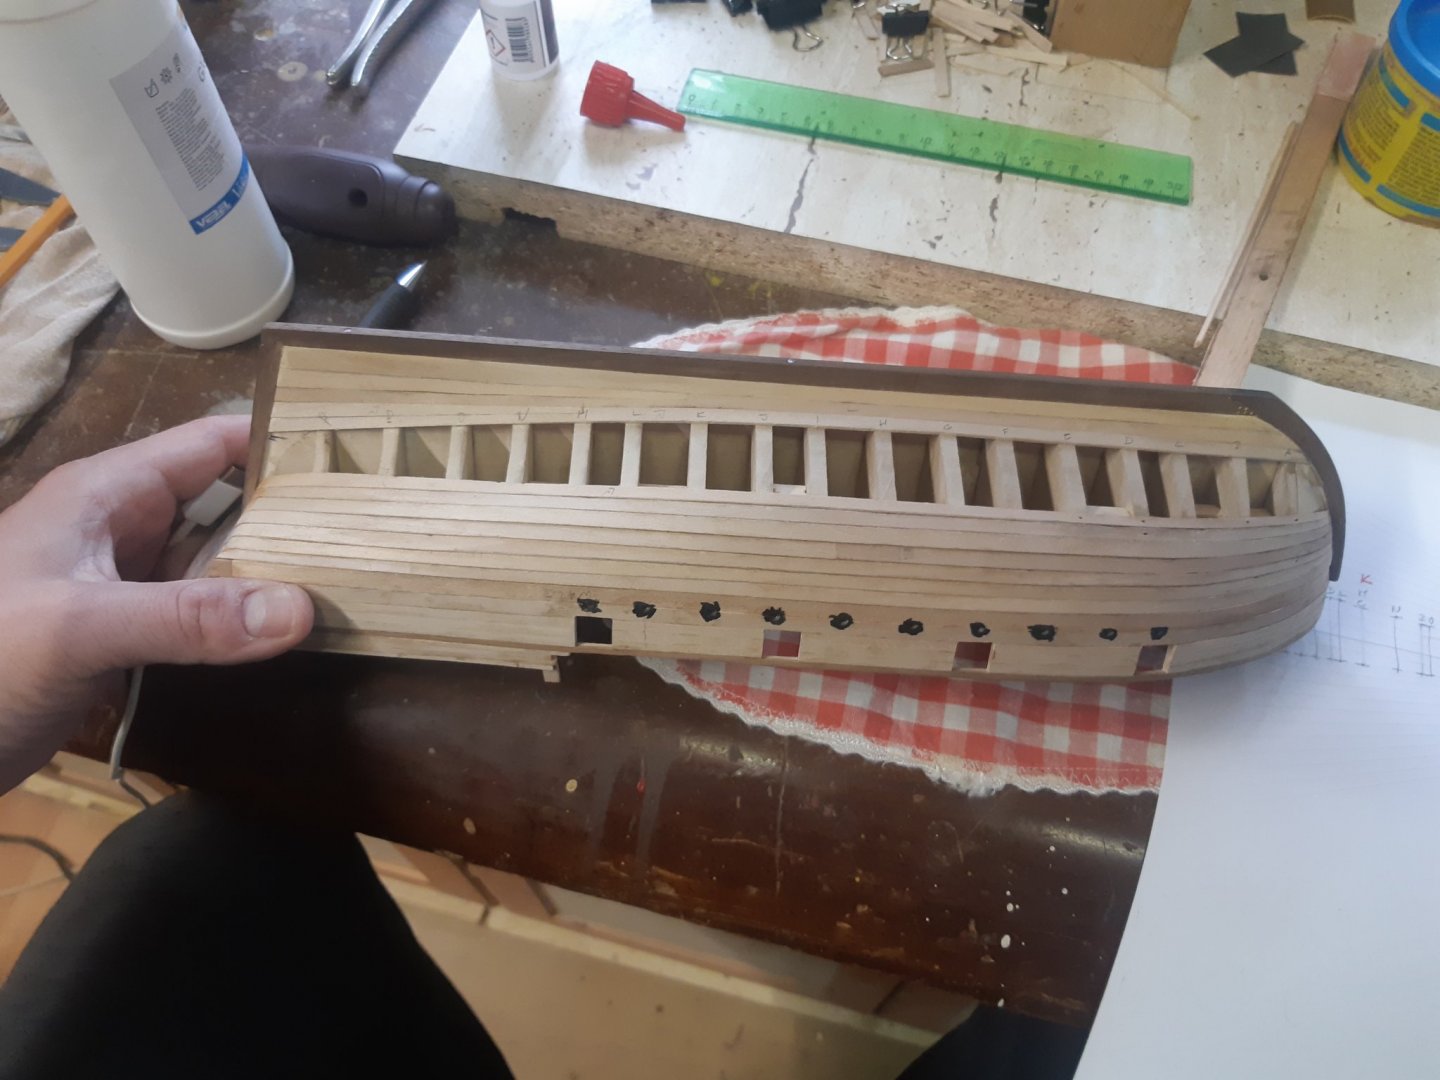
But back to my build. Finally I have finished belt A and belt C of my hull planking. Still belt B to be planked. As the place to be planked is differnet on every bulkhead I started using proper method of planking :D. Firstly I measured widths on every bulkhead. Transfer it to width plank paper and find out the width of each plank. Here is the process.


I am planning to do the second layer similar with the first execpt errors of course and the lenght of planks will be maximum of 10 cm.


Here are pictures of progress.


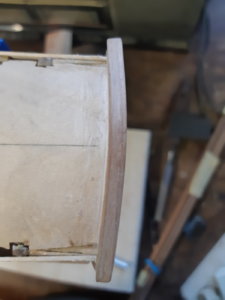
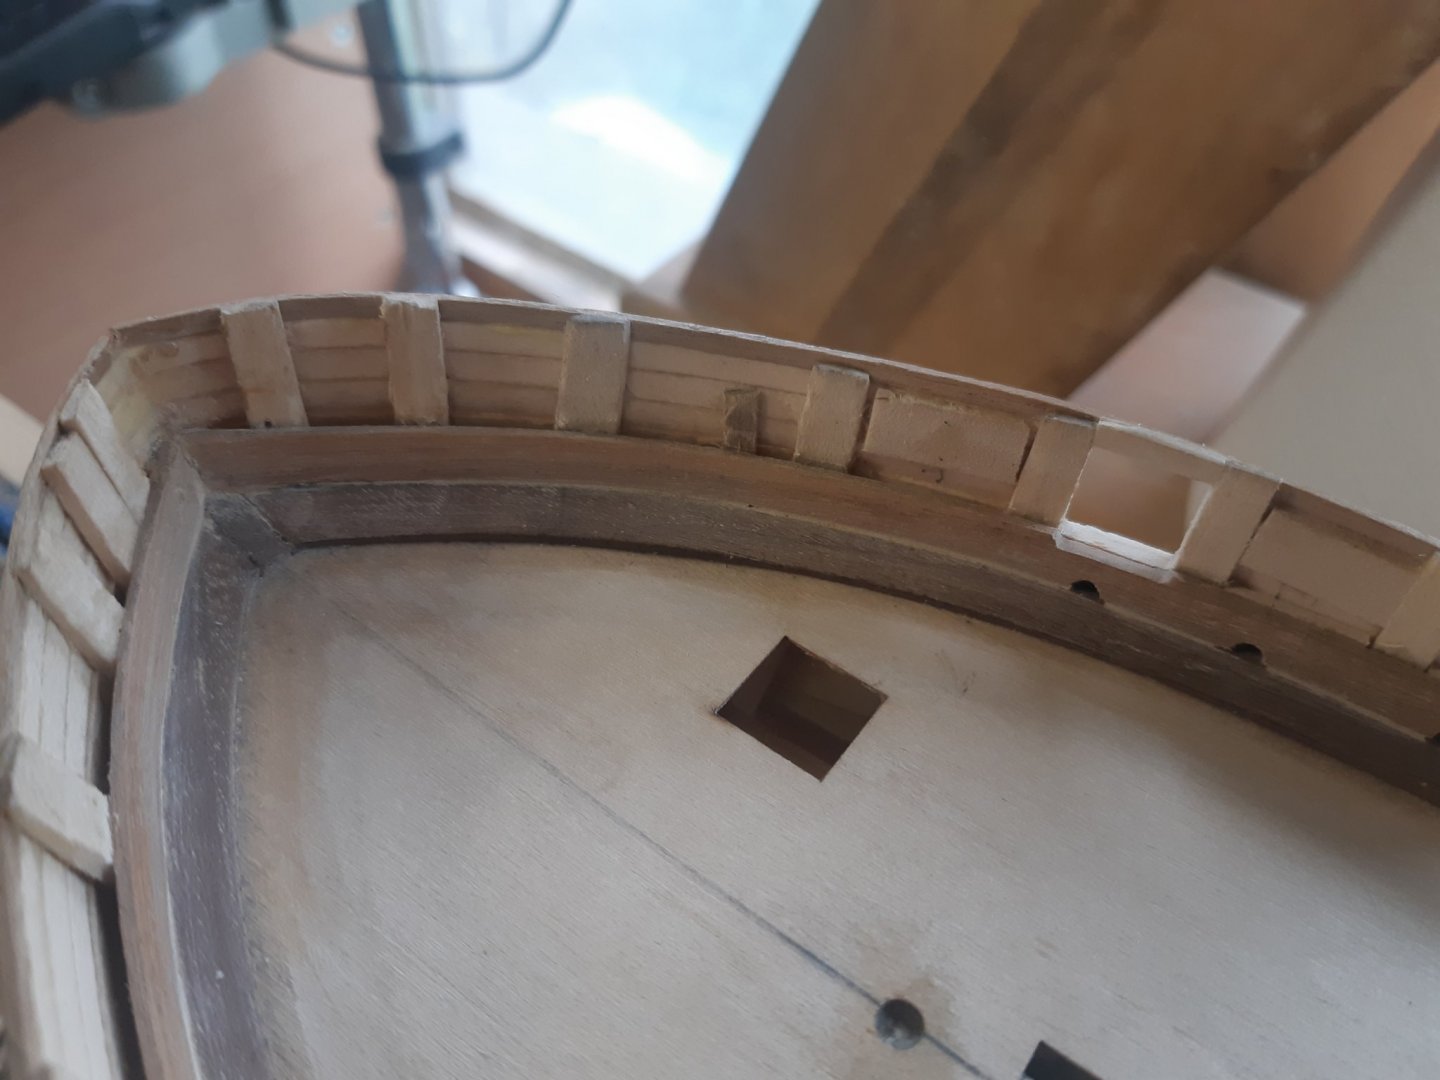
I also successfully glued the planks above waterways. As the walnut plank was more thick I used steam and hot water to bend it properly. Th walnut is not so high quality but after using some putty and fine sand paper result is nice looking. Here are pictures.


Till next time my friends.
Hull planking looks great - you nailed it. Makes you wonder - who needs a second layer, when the first one is done so nicely. Thanks.
 
Hull planking looks great - you nailed it. Makes you wonder - who needs a second layer, when the first one is done so nicely. Thanks.
Thanks Gennaro,
probably the pictures are not showing it but the first layer is full of errors. I learn a lot during completition and probably still will until i finish it. I will try to evoid issues, errors and inaccuracies during second layer.
 
Back
Top