Video #1 - Part 1
Hello to all my fellow modellers.
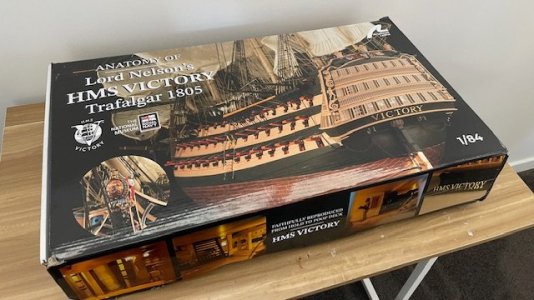
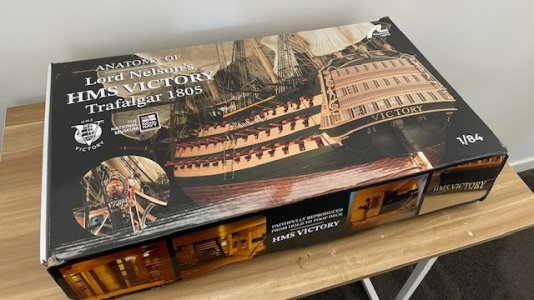
And so the journey begins. I’ve been looking forward to starting this model since it arrived on my doorstep in February.
But lets get the elephant out of the room straight away; this will only be my second wooden ship model. Now I can already hear some of the seasoned wooden ship builders saying “why would you choose to take on such a long, complicated and challenging project when you don’t have the experience of this side of the modelling genre”. Indeed without question I cannot argue with that point of view.
However I would like to clarify why I’m going to challenge myself and give it my best shot.
My wife and I are returning to my homeland in September as part of a European Holiday. A few days of that holiday we will be spending in Portsmouth visiting a couple of friends, so I thought that it would be interesting to take a look at the Victory in her dockyard home. I started looking at utube clips of the Victory under restoration when Mrs J said, “You need to build a model of that!” I said maybe one day and thought nothing more of it.
Imagine my surprise when the postman delivered a surprise retirement present. I’m absolutely certain she has no idea of the scale of the challenge now in front of me and probably I don’t either.
So I have the kit, I either look at the box for the next few years and I’m now in my sixties or I just give it a go.
Please feel free to correct my nautical terminology when I fail, I’m sure the odd left, right, back and front will slip in. Hey I’ve only just found out the navy don’t use crows nests. Isn’t education a wonderful thing!
Thrusters on full!
As you maybe aware there are no conventional printed instructions with this kit, AL have adopted a 80 plus set of utube videos to follow. I wasn't sure at first but after watching them all at least 3 times, some more! I think they are OK.

These are the glues I will be using, thin, medium and thick CA and my preferred wood glue.
Notice I have decanted some wood glue into a smaller bottle from the dollar shop as it makes applying a lot easier.

As I am using thick CA glue to assemble the keel I took the advice of another modeller and glued the parts on some baking paper.
There was next to no sticking. But I will be using the wood glue when time is not a factor or wood glue is more appropriate.
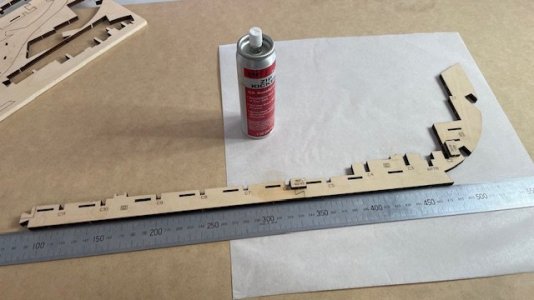
It's probably important to get the keel straight and square at this point so I'm working on a flat MDF board.
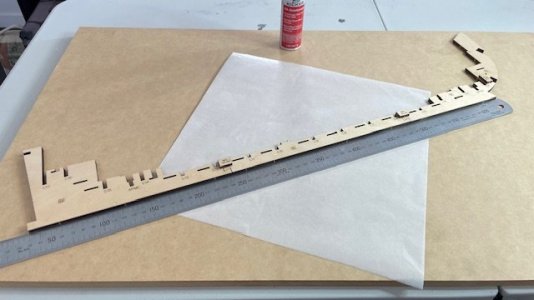
A long steel rule keeps things straight.
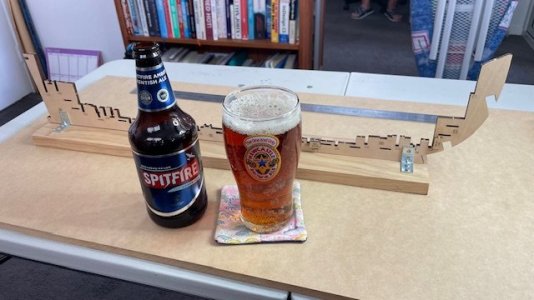
I believe that this point in a ships construction is called “laying the keel” and should be celebrated accordingly. Who am I to disagree?
I wanted to celebrate the occasion with an English Ale brewed in Victory’s resting place in Hampshire. But here in Australia English ales are limited somewhat. But I did manage to get a Kentish ale more than suitable for the occasion.
In a strange stroke of irony I am building the greatest fighting vessel of its era HMS Victory, whilst celebrating the occasion drinking an English ale celebrating IMHO probably the greatest fighting aircraft of ever made; the Spitfire.
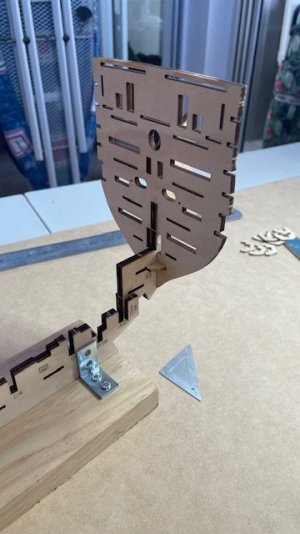
I do realise the kit comes with a working base, but for the hull construction I thought I would make something a bit more sturdy.
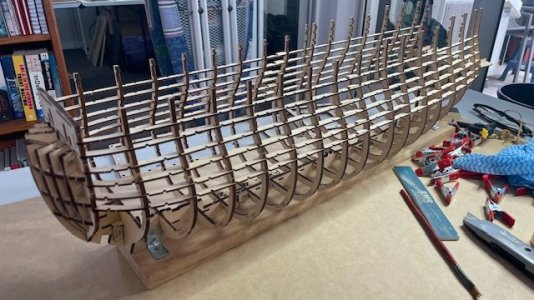
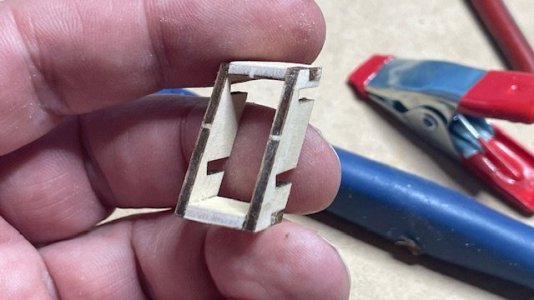
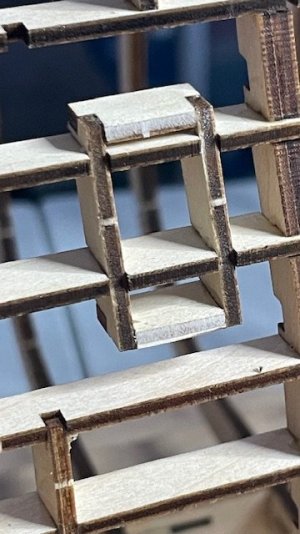
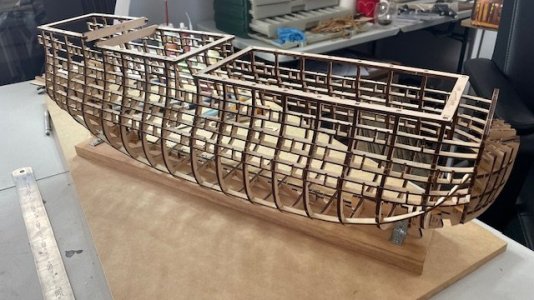
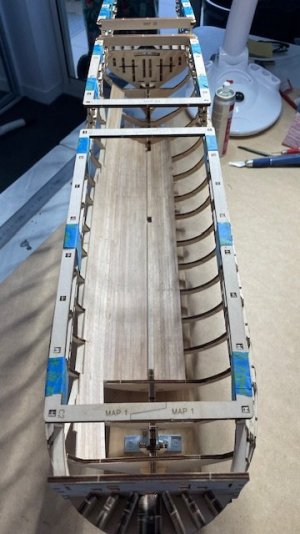
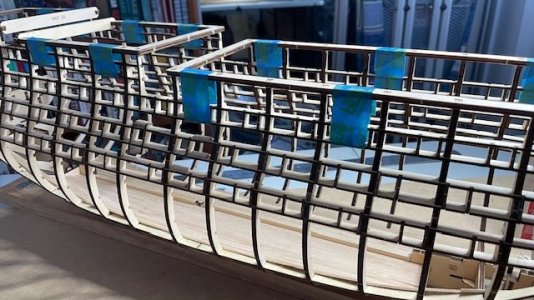
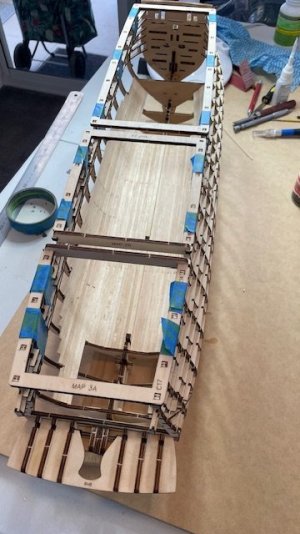
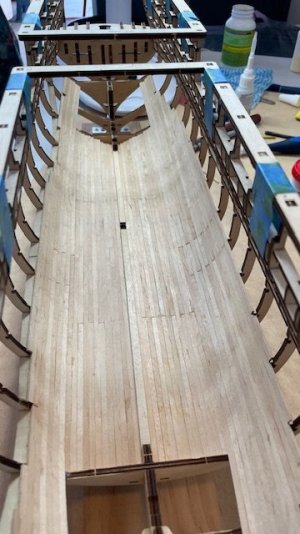
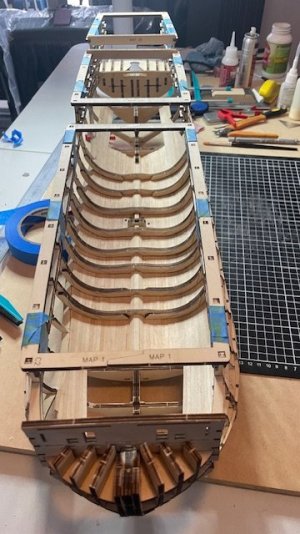
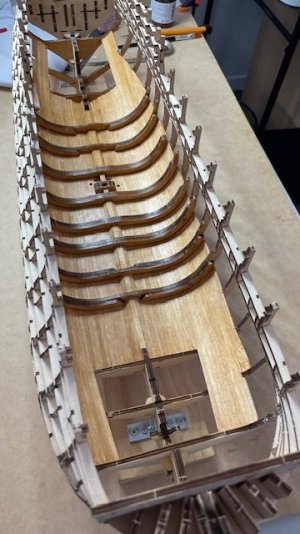
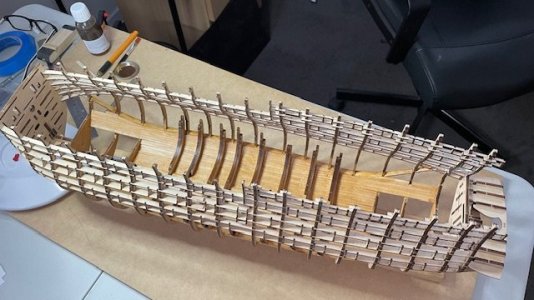
Each of the bulkheads fits into a slot which in turn is secured with a peg type piece.
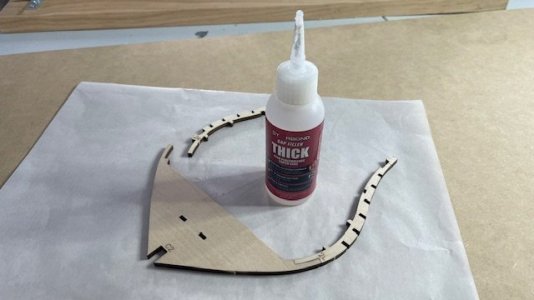
Nearly all the bulkheads come in 3 parts with a good area of overlap to glue.
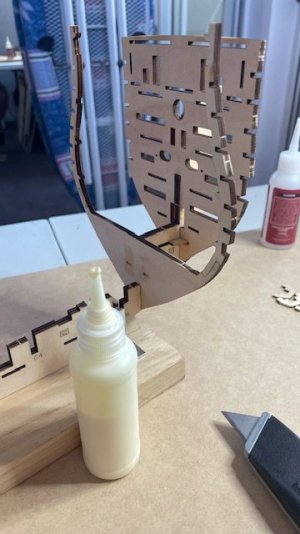
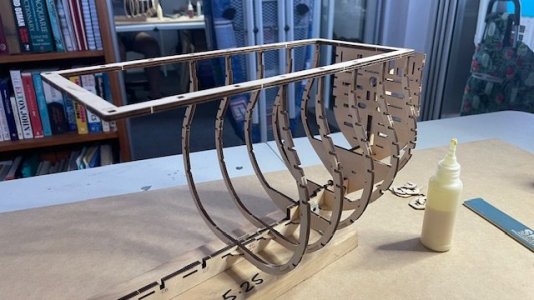
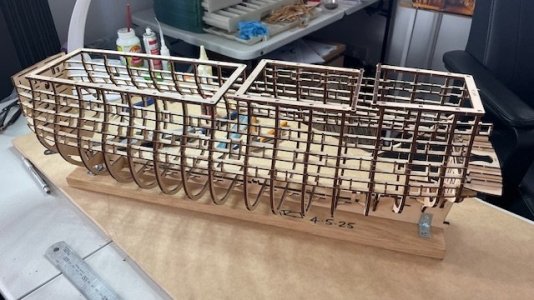
The kit supplies 3 jigs to place on the top of the frames mainly for protection when all the frames are in place. But I thought
using them to help alignment may be worthwhile.

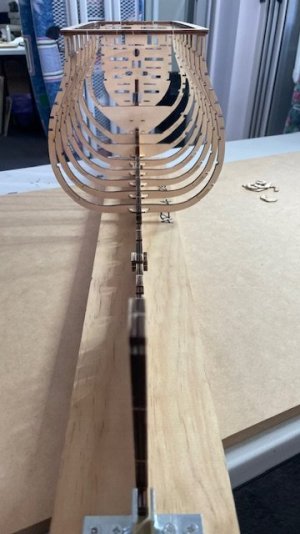
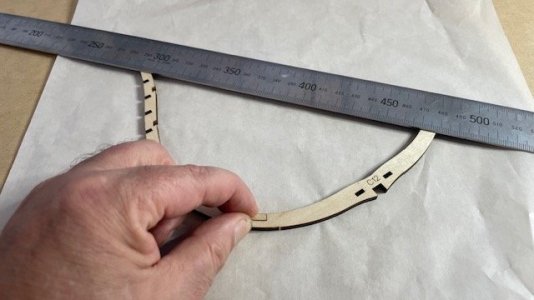
I used a steel rule once again to ensure the parts lay very flat whilst the glue set.
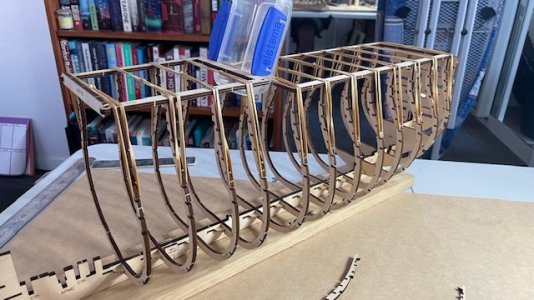
Note the use of an expensive modellers tool used to encourage the frames to set square.
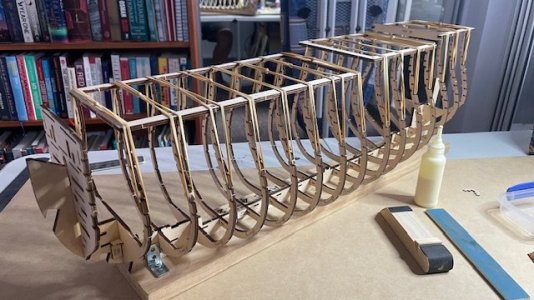
I followed the instructions and used rubber bands to hold everything together.
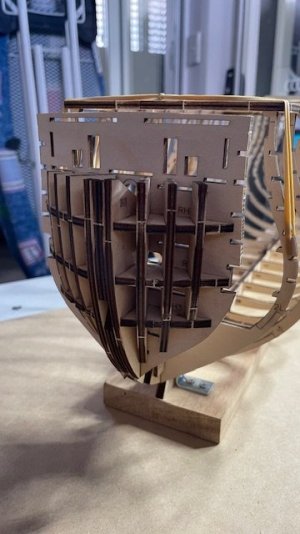
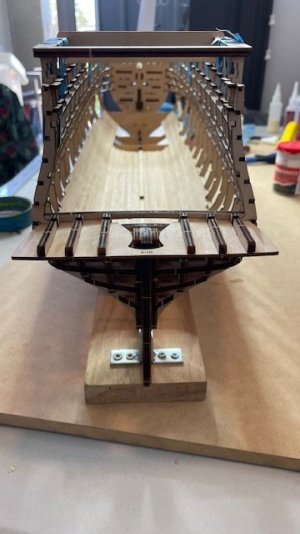
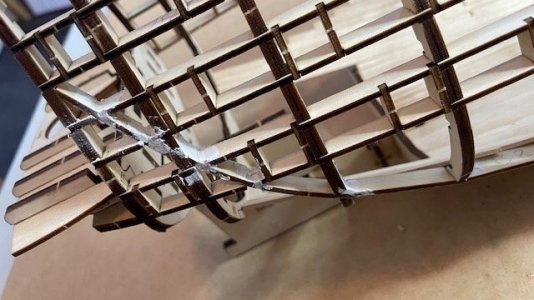
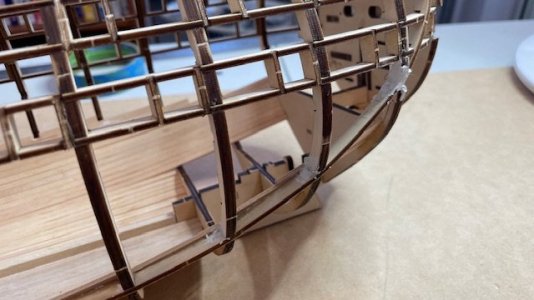
The fit of the bow parts was perfect, well done AL.
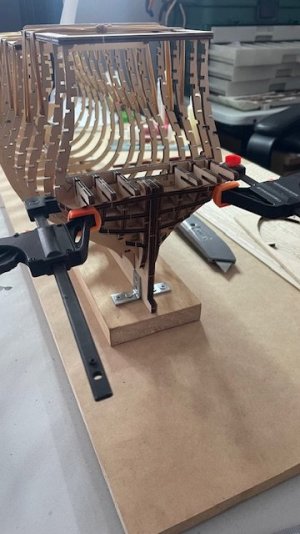
The only part which I had some trouble getting to fit was part RH7 which needed a bit of clamping. This was mainly due that this parts
needs to bend slightly.
Well that's as far I got on my first day and still lots to do on Video #1
Thanks for watching
T
Hello to all my fellow modellers.
And so the journey begins. I’ve been looking forward to starting this model since it arrived on my doorstep in February.
But lets get the elephant out of the room straight away; this will only be my second wooden ship model. Now I can already hear some of the seasoned wooden ship builders saying “why would you choose to take on such a long, complicated and challenging project when you don’t have the experience of this side of the modelling genre”. Indeed without question I cannot argue with that point of view.
However I would like to clarify why I’m going to challenge myself and give it my best shot.
My wife and I are returning to my homeland in September as part of a European Holiday. A few days of that holiday we will be spending in Portsmouth visiting a couple of friends, so I thought that it would be interesting to take a look at the Victory in her dockyard home. I started looking at utube clips of the Victory under restoration when Mrs J said, “You need to build a model of that!” I said maybe one day and thought nothing more of it.
Imagine my surprise when the postman delivered a surprise retirement present. I’m absolutely certain she has no idea of the scale of the challenge now in front of me and probably I don’t either.
So I have the kit, I either look at the box for the next few years and I’m now in my sixties or I just give it a go.
Please feel free to correct my nautical terminology when I fail, I’m sure the odd left, right, back and front will slip in. Hey I’ve only just found out the navy don’t use crows nests. Isn’t education a wonderful thing!
Thrusters on full!
As you maybe aware there are no conventional printed instructions with this kit, AL have adopted a 80 plus set of utube videos to follow. I wasn't sure at first but after watching them all at least 3 times, some more! I think they are OK.


These are the glues I will be using, thin, medium and thick CA and my preferred wood glue.
Notice I have decanted some wood glue into a smaller bottle from the dollar shop as it makes applying a lot easier.

As I am using thick CA glue to assemble the keel I took the advice of another modeller and glued the parts on some baking paper.
There was next to no sticking. But I will be using the wood glue when time is not a factor or wood glue is more appropriate.

It's probably important to get the keel straight and square at this point so I'm working on a flat MDF board.

A long steel rule keeps things straight.

I believe that this point in a ships construction is called “laying the keel” and should be celebrated accordingly. Who am I to disagree?
I wanted to celebrate the occasion with an English Ale brewed in Victory’s resting place in Hampshire. But here in Australia English ales are limited somewhat. But I did manage to get a Kentish ale more than suitable for the occasion.
In a strange stroke of irony I am building the greatest fighting vessel of its era HMS Victory, whilst celebrating the occasion drinking an English ale celebrating IMHO probably the greatest fighting aircraft of ever made; the Spitfire.

I do realise the kit comes with a working base, but for the hull construction I thought I would make something a bit more sturdy.
Each of the bulkheads fits into a slot which in turn is secured with a peg type piece.

Nearly all the bulkheads come in 3 parts with a good area of overlap to glue.


The kit supplies 3 jigs to place on the top of the frames mainly for protection when all the frames are in place. But I thought
using them to help alignment may be worthwhile.


I used a steel rule once again to ensure the parts lay very flat whilst the glue set.

Note the use of an expensive modellers tool used to encourage the frames to set square.

I followed the instructions and used rubber bands to hold everything together.

The fit of the bow parts was perfect, well done AL.

The only part which I had some trouble getting to fit was part RH7 which needed a bit of clamping. This was mainly due that this parts
needs to bend slightly.
Well that's as far I got on my first day and still lots to do on Video #1
Thanks for watching
T


