XXXX not proper beer . ThanksExcellent choice of refreshment - glass too
. Whatever happened to 'XXX'


 |
As a way to introduce our brass coins to the community, we will raffle off a free coin during the month of August. Follow link ABOVE for instructions for entering. |
 |
 |
The beloved Ships in Scale Magazine is back and charting a new course for 2026! Discover new skills, new techniques, and new inspirations in every issue. NOTE THAT OUR FIRST ISSUE WILL BE JAN/FEB 2026 |
 |
XXXX not proper beer . ThanksExcellent choice of refreshment - glass too
. Whatever happened to 'XXX'


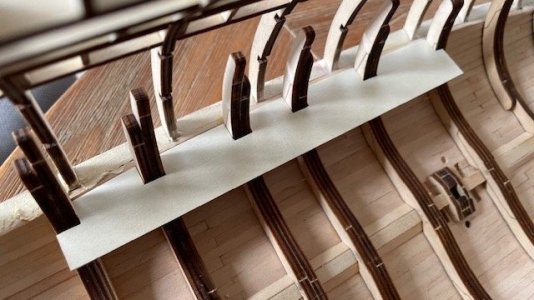
ThanksNice hack on fitting the riders with the orlop deck as your guide!
Thank youBeautiful to watch the progress, Tony.

Thanks MikeTony your workmanship and attention to detail is to be commended. I'm loving your build. Magic Mike


Way to go Tony. Very very cool and what an interesting build. Cheers GrantVideo 3 Complete
Hi everyone.
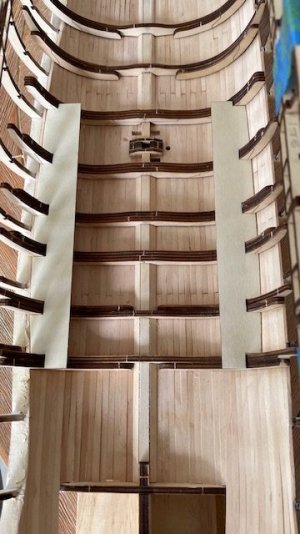
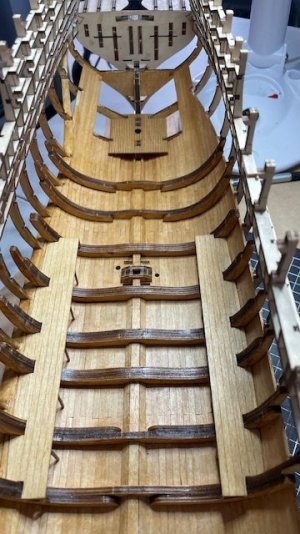
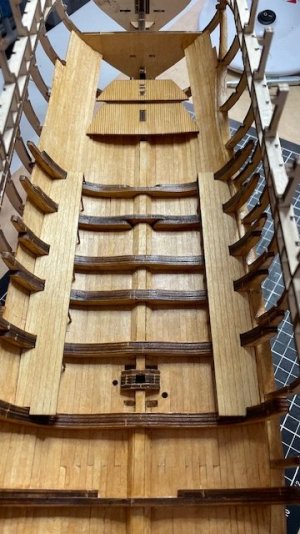
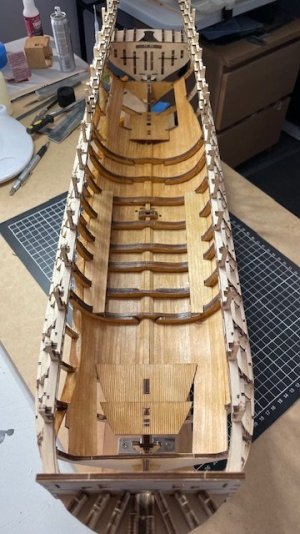
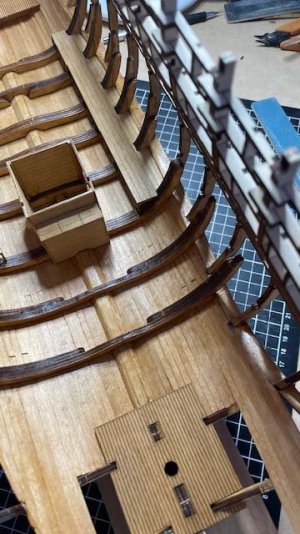
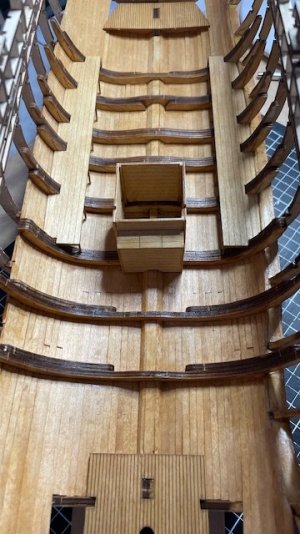
Starting to build up the hold.
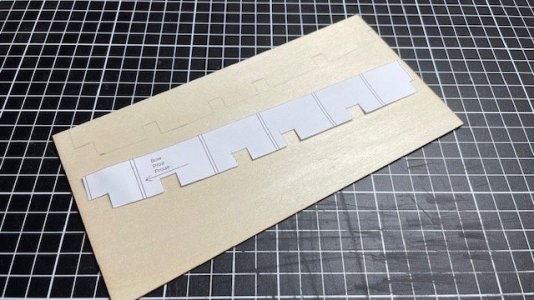
The instructions ask you to glue together multiple 4mm strips to make a couple of 300mm x 300mm sheets. Then using the paper templates provided cut out all the various components. This to me seems a very complicated and long winded approach to this part of the build. Also I have read a couple posts from people saying that the glued up sheets fall apart when you are cutting the parts out.
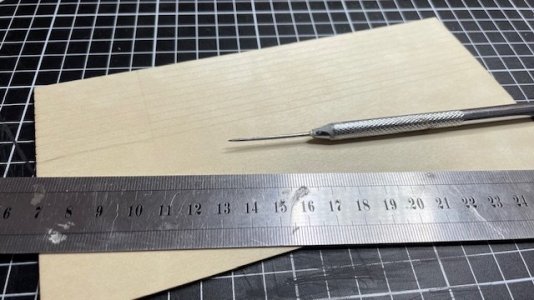
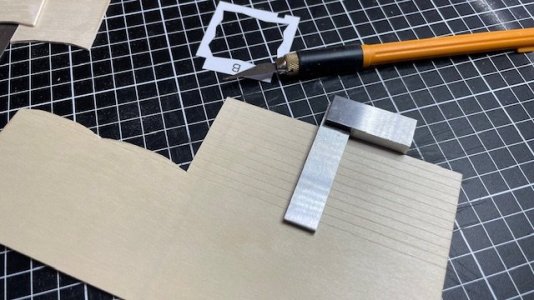
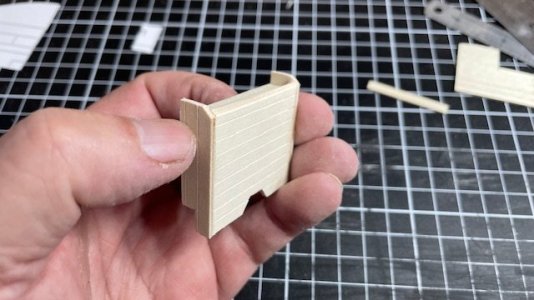
So not wanting to give myself more work I have taken a different approach. I bought a few small sheets of 1.5mm boxwood instead. I scored the sheets in 4mm intervals to represent the planks (on both sides) and will use these as my base sheets.
Another modeller did suggest that Boxwood may not be suitable for this approach as it does not display much grain, but having tested a small piece I though it looked OK to me.
View attachment 519560
View attachment 519559
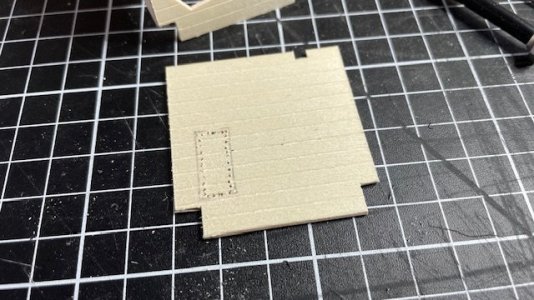
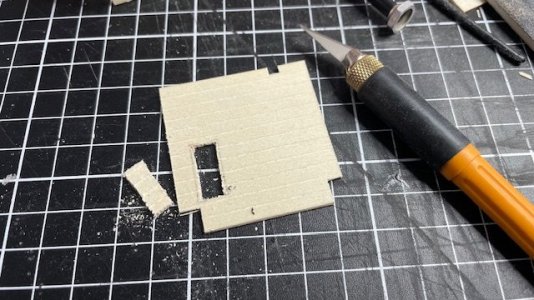
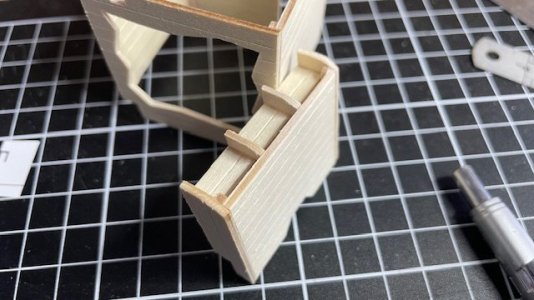
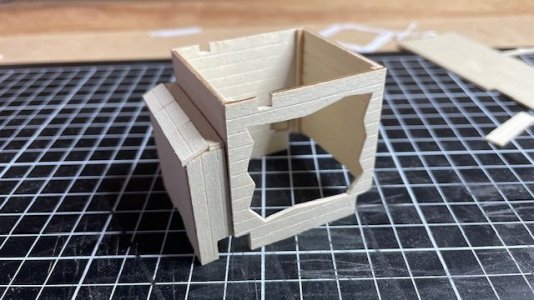
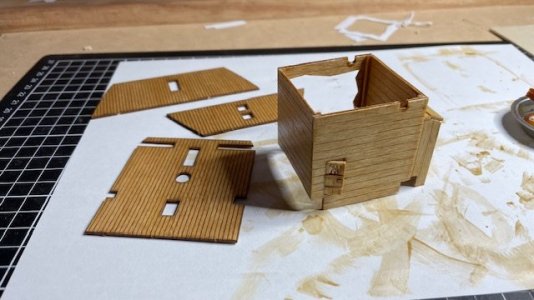
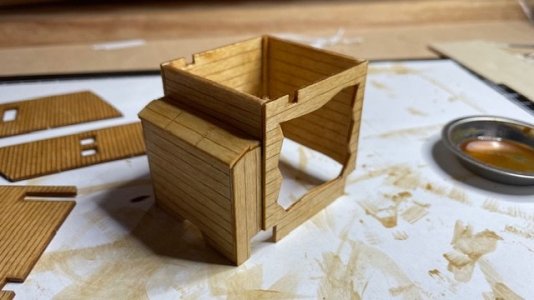
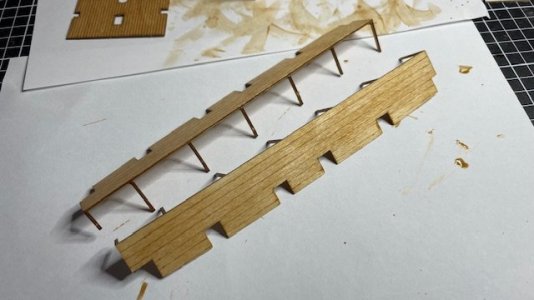
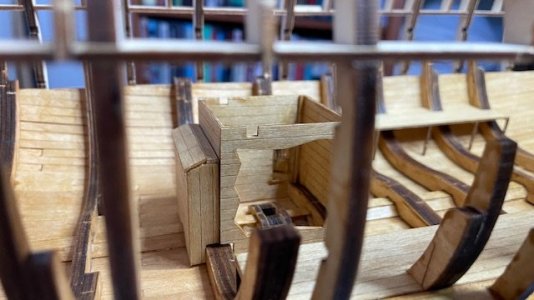
Here I begin to make up the Pump Well Room/Shot Locker.
View attachment 519561
View attachment 519562
View attachment 519563
View attachment 519564
View attachment 519565
View attachment 519566
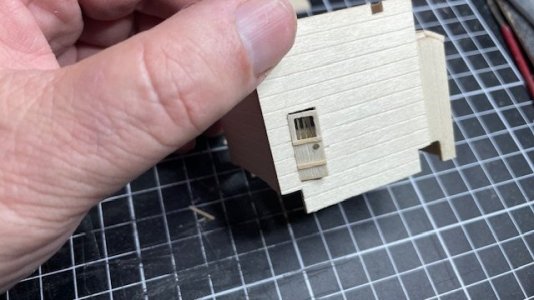
I did add a little detail to the door of the pump well room but in hindsight it was a waste of time as the door will not be seen.
View attachment 519567
View attachment 519568
View attachment 519569
View attachment 519556
View attachment 519558
The time I spent ensuring the rib alignment was correct paid off when I test fitted the side walks.
View attachment 519557
View attachment 519570
View attachment 519571
View attachment 519572
View attachment 519573
View attachment 519574
View attachment 519575
View attachment 519576
The pump house is not glued yet as I want to test fit it with a beam above in place.
Thanks for watching
T
Interesting kit. I went to the AL site to follow the video instructions. Two comments from those: The yellow ochre they used appears to be almost pinkish. Is that the case or is the color washed out by the video? The second comment is about the gentleman doing the build (and please, there is no judgement on my part here, only an observation). He has the hairiest hands I have ever seInteresting kit. I went to the AL site to follow the video instructions. Two comments from those: The yellow ochre they used appears to be almost pinkish. Is that the case or is the color washed out by the video? The second comment is about the gentleman doing the build (and please, there is no judgement on my part here, only an observation). He has the hairiest hands I have ever seen.
Thanks GrantWay to go Tony. Very very cool and what an interesting build. Cheers Grant
Hello Tony. It is very interesting video. When I did my Victory I attempted to match this research however when she dried it came out more salmon than expect. Still looks very cool though. If I had to do it again I would stick with the yellow Ochre. Cheers GrantHi
I'm actually colour blind so commenting on colour is difficult for me. I believe it is generally thought that her Ochre colour was quite yellow, but recent research has revealed her true colours with the ochre being more terracotta. Here is a link to a very interesting video on this.
Regards
Tony

Another modeller did suggest that Boxwood may not be suitable for this approach as it does not display much grain, but having tested a small piece I though it looked OK to me.

I did add a little detail to the door of the pump well room but in hindsight it was a waste of time as the door will not be seen.

Hi GrantHello Tony. It is very interesting video. When I did my Victory I attempted to match this research however when she dried it came out more salmon than expect. Still looks very cool though. If I had to do it again I would stick with the yellow Ochre. Cheers Grant
Hi RussActually Tony, I think using boxwood would be better than using something with "more grain", given the way you are doing it. The reason for gluing up multiple strips is so that any visible diagonal grain does not traverse across the planks, thereby making it look like exactly what you are doing - simulating planks on a single sheet. That is one of my own pet peeves with pre-printed (or lasered) decks. any dark streaks in the wood carry over from one plank to the next - which would not happen in full scale. The relatively featureless boxwood, combined with the shadowed lighting within the hull (even with it being open) will hide the fact that it is one sheet. You may not want to do that with highly visible deck furniture, however.
HiAh, but you will know it’s there.
Your build looks really good. I admire anyone who takes on a huge project like this. I lack the fortitude to see it through but will enjoy your work.

