• SUBSCRIBE TO SHIPS IN SCALE TODAY!

    The beloved Ships in Scale Magazine is back and charting a new course for 2026!
    Discover new skills, new techniques, and new inspirations in every issue.

    NOTE THAT OUR NEXT ISSUE WILL BE July/August 2026
  • Win a Free Custom Engraved Brass Coin!!!
    As a way to introduce our brass coins to the community, we will raffle off a free coin during the month of August. Follow link ABOVE for instructions for entering.

Artesania Latina Anatomy of Lord Nelson’s HMS Victory Trafalgar 1805

Thanks for the heads up Allan, appreciate the information. To be honest it will be my first attempt at doing copper plates so I want to keep it as simple as possible, so I intend just to butt them up. The plates do not come with the Kit, they are the Caldercraft plates used on their 1/72 Victory. So they will be slightly oversize on my 1/84 model. They were easy for me to source here in Australia and a good price too. Plus being slightly bigger I need less. The detail appear to be just raised dimples. If I succeed in getting the plates down as well as AlanOES then I will be a happy man.
 
Nice tidy work as usual Tony Thumbsup
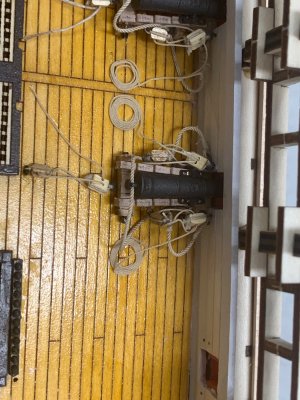
Just one thought, I hope the extra height you’ve add around the cables doesn’t effect the way the ship sits on the display base, where I assume the cables will have to pass through to reach the switch bank
 
Nice tidy work as usual Tony Thumbsup
Just one thought, I hope the extra height you’ve add around the cables doesn’t effect the way the ship sits on the display base, where I assume the cables will have to pass through to reach the switch bank
I've checked the base it should be OK, but thanks for the heads up. Thumbsup
 
Video 22 - Part 2
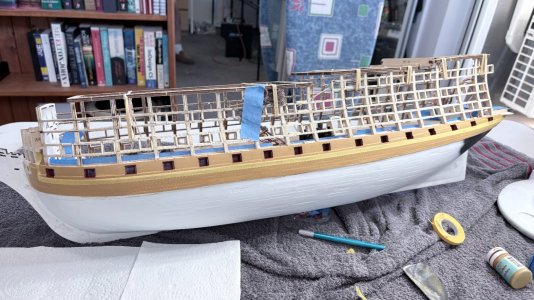
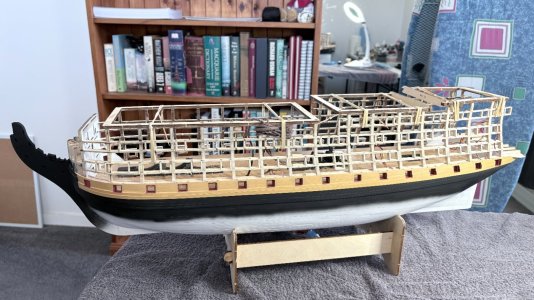
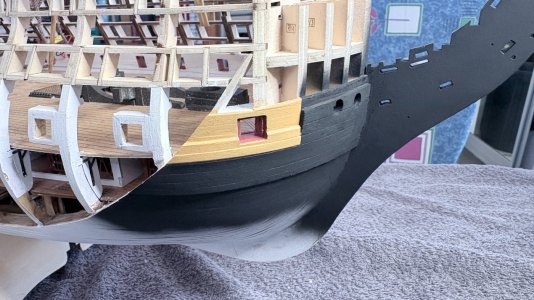
I decided to paint my Victory in what many people would call the 'traditional way'. I fully understand that science has proved that at Trafalgar she was painted in a more terracota colour but I like the old yellow ochre scheme so "My Model" :).

IMG_6649.JPG

IMG_6651.JPG

IMG_6652.JPG

IMG_6654.JPG

IMG_6655.JPG
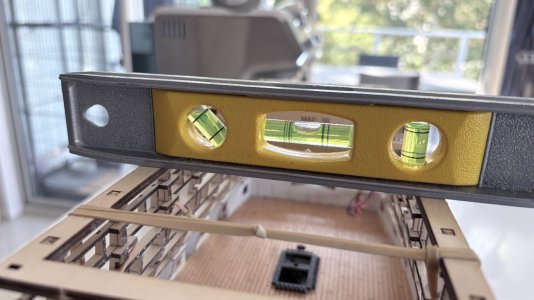
Taking AlanOES's sensible advice I set up Victory on her stand on our kitchen bench and using some shims of paper under the stand to get her to sit square.

IMG_6656.JPG
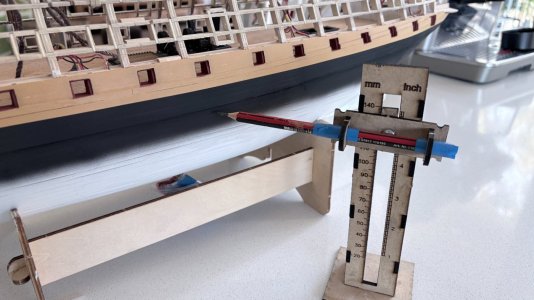
Then I marked out the waterline.

IMG_6657.JPG
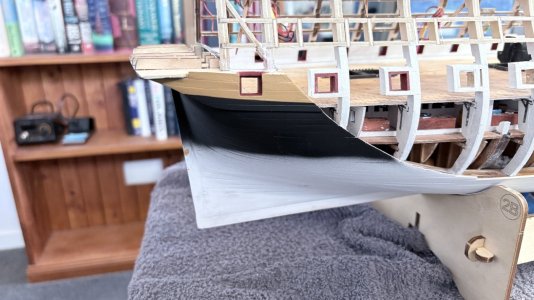
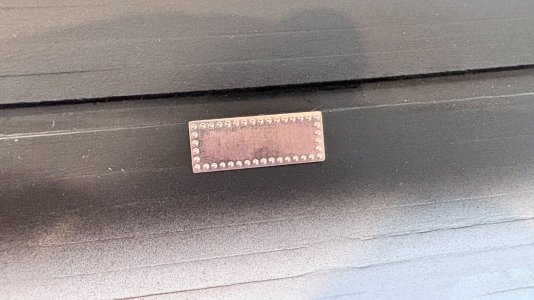
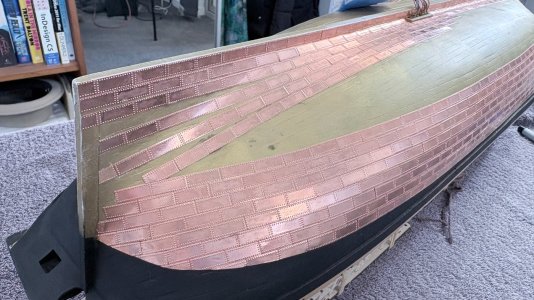
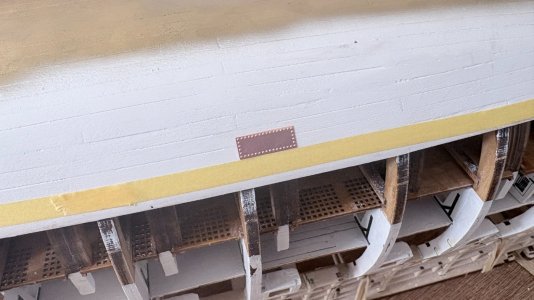
Then came something I had been looking forward to but not without some apprehension... the copper plates.

The plates I am using are the Caldercraft ones used for their 1/72 Victory so slightly oversize. The reason being that they were easily accessible here in Australia at a good price. Plus being slighly oversize I needed less.
For reference I used the plating plans AlanOES had used as a rough guide. But because my plates are larger it is only a rough guide.

IMG_6658.JPG
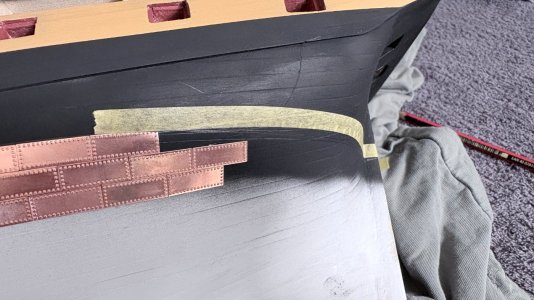
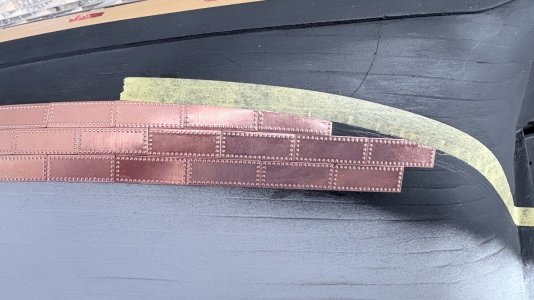
Apart from damaging the paintwork the first 3 rows went down well.

IMG_6659.JPG
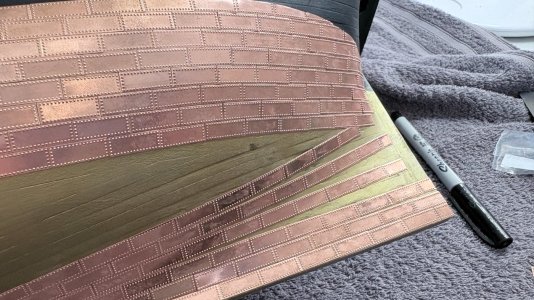
I did find that running a strip of tape along the pencil line made marking and trimming the plates that needed cutting a lot easier.

IMG_6660.JPG

IMG_6661.JPG
A couple of small fiddly bits to cut but I will probably leave all the small fiddly bit until the end.

IMG_6662.JPG

IMG_6663.JPG
So far so good.
Thanks for looking
T
 
Video 22 - Part 2
I decided to paint my Victory in what many people would call the 'traditional way'. I fully understand that science has proved that at Trafalgar she was painted in a more terracota colour but I like the old yellow ochre scheme so "My Model" :).

View attachment 616860

View attachment 616861

View attachment 616862

View attachment 616863

View attachment 616864
Taking AlanOES's sensible advice I set up Victory on her stand on our kitchen bench and using some shims of paper under the stand to get her to sit square.

View attachment 616865
Then I marked out the waterline.

View attachment 616866
Then came something I had been looking forward to but not without some apprehension... the copper plates.

The plates I am using are the Caldercraft ones used for their 1/72 Victory so slightly oversize. The reason being that they were easily accessible here in Australia at a good price. Plus being slighly oversize I needed less.
For reference I used the plating plans AlanOES had used as a rough guide. But because my plates are larger it is only a rough guide.

View attachment 616867
Apart from damaging the paintwork the first 3 rows went down well.

View attachment 616868
I did find that running a strip of tape along the pencil line made marking and trimming the plates that needed cutting a lot easier.

View attachment 616869

View attachment 616870
A couple of small fiddly bits to cut but I will probably leave all the small fiddly bit until the end.

View attachment 616871

View attachment 616872
So far so good.
Thanks for looking
T
Lovely work Tony,
Although I am painting mine in the new colour scheme ( because I got the paints free from AL) I’m still not convinced by “the science “
Keep up the great work
Alan
 
Lovely work Tony,
Although I am painting mine in the new colour scheme ( because I got the paints free from AL) I’m still not convinced by “the science “
Keep up the great work
Alan
Thanks Mate. I have read that the repainted Victory has already changed colour so I I'm not losing any sleep over it.
 
Video 22 - Part 3
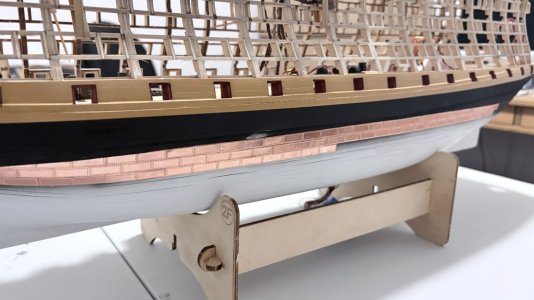
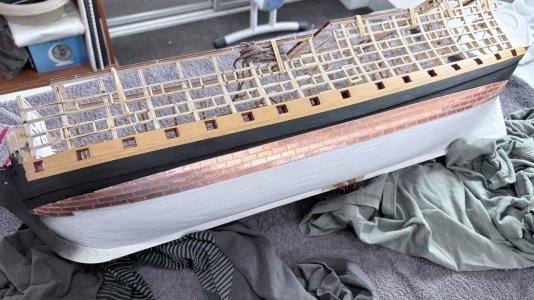
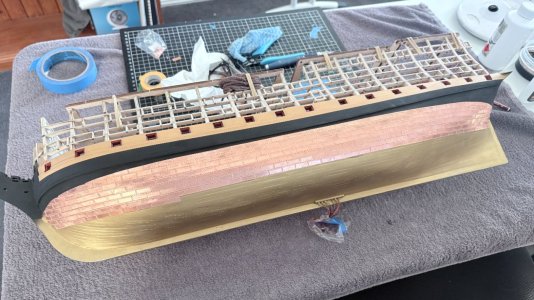
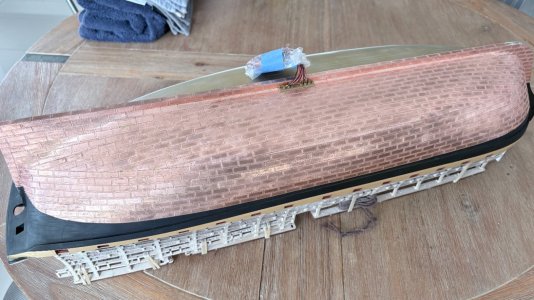
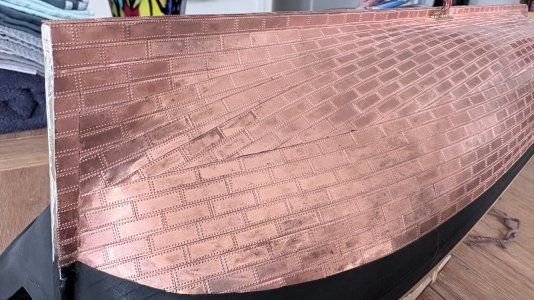
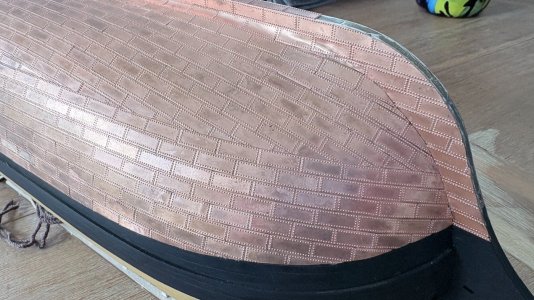
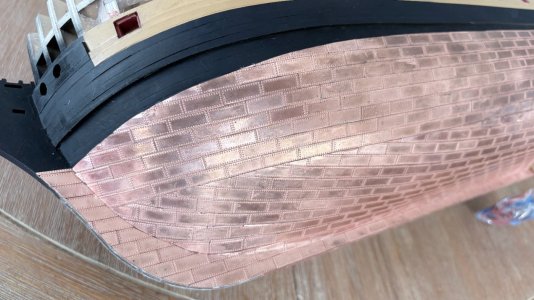
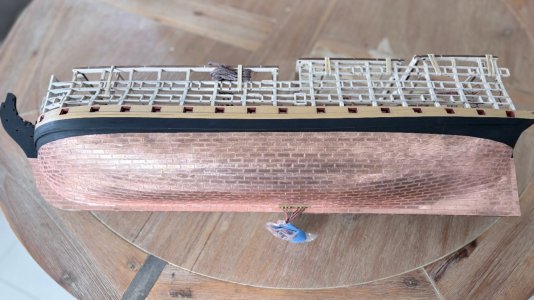
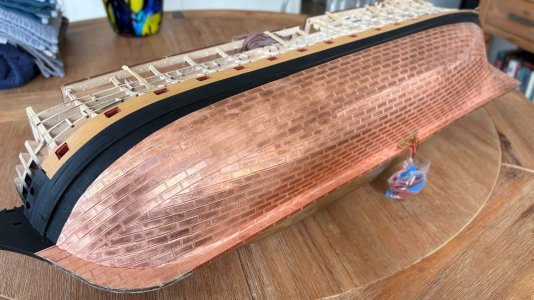
The completion of the port side of the hull. The process went OK apart from some discolouration on some of the copper plates. I have tried acetone to clean them but that did nothing. I will try other things later.

IMG_6665.JPG

IMG_6666.JPG
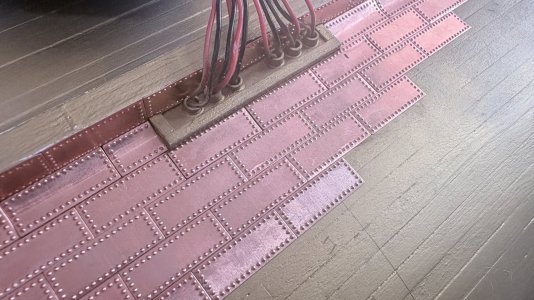
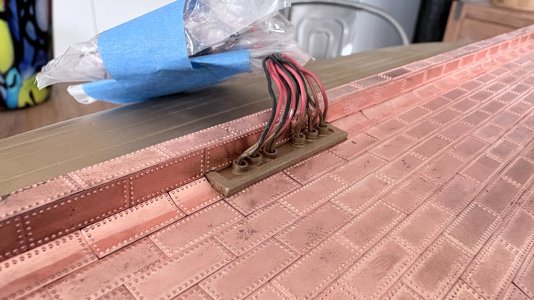
The area around the wiring came out well.

IMG_6667.JPG

IMG_6668.JPG

IMG_6669.JPG

IMG_6726.JPG

IMG_6727.JPG
Here you can see the discolouration. :mad:

IMG_6728.JPG

IMG_6729.JPG

IMG_6730.JPG

IMG_6731.JPG

IMG_6732.JPG

IMG_6733.JPG

IMG_6734.JPG
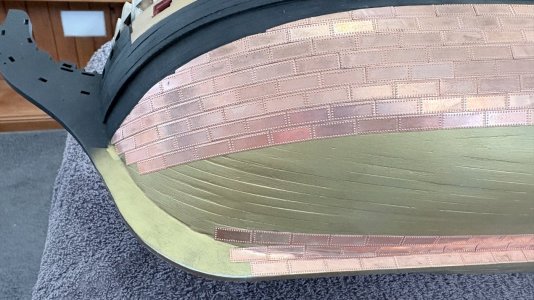
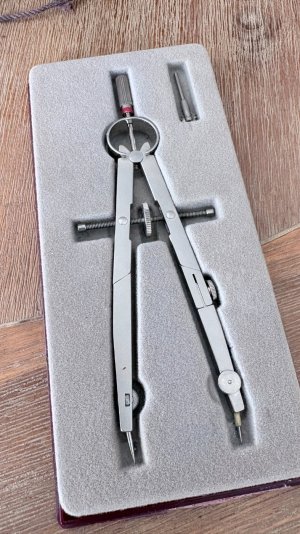
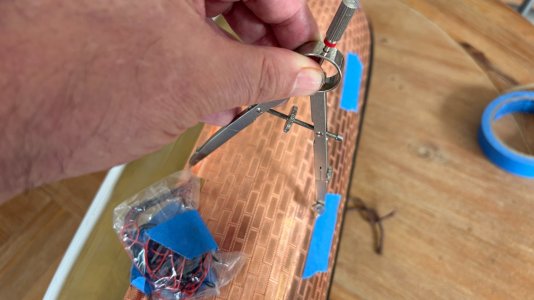
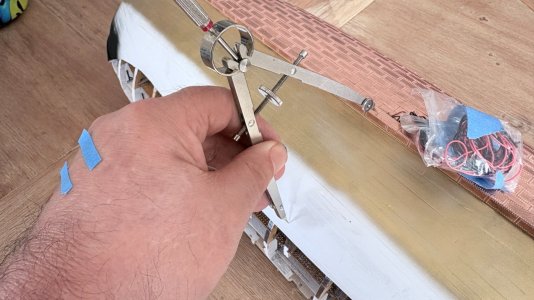
With the port side complete I now turned my attention to the starboard cut out side. Because of the cut out there is no pencil waterline to guide my first row of plates so I needed to come up with a solution to this problem. I needed to identify the last full row of plates on the port side and transfer their position to the starboard side. To do this I enlisted the help of an old friend. When I started my apprenticeship as a Graphic Artist way back in 1978 my Grandmother bought me this bow compass. So it's now about 48 years old and still looks new. I've tried to remember the last time I used it, probably when Apple Macs and electronic drawing programs such as Adobe Illustrator and FreeHand burst onto the scene. That's when all the real skill left the trade.

IMG_6735.JPG
I placed the compass in the middle of the hull on the keel and opened up the compass to the top of the last full row of plates.

IMG_6736.JPG
Then I simply turned the compass 180° and made a mark on the hull.

IMG_6737.JPG
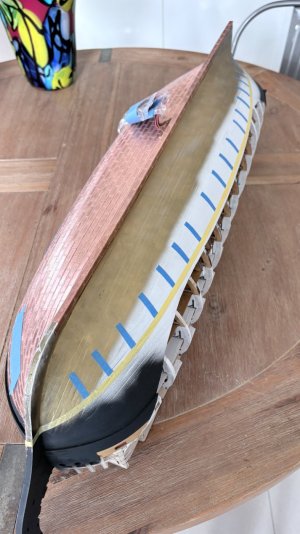
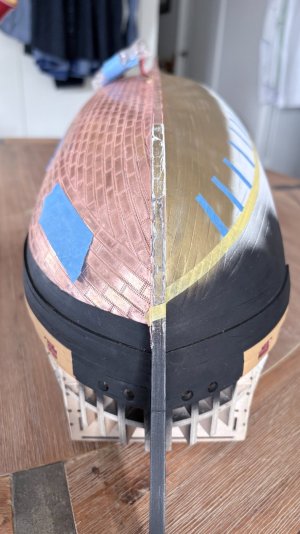
I did this at regular intervals across the hull and placed strips of tape where the marks were and used these to bend a long length of 6mm tape down the side of the hull replicating the top of the row of plates.

IMG_6738.JPG
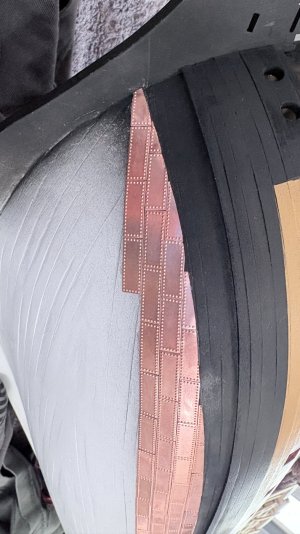
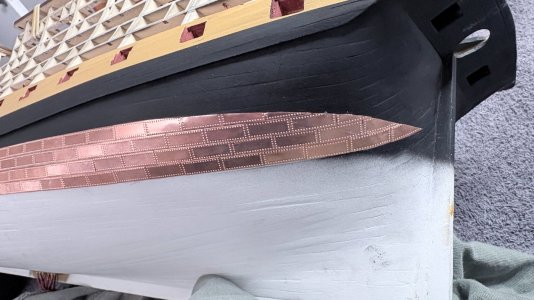
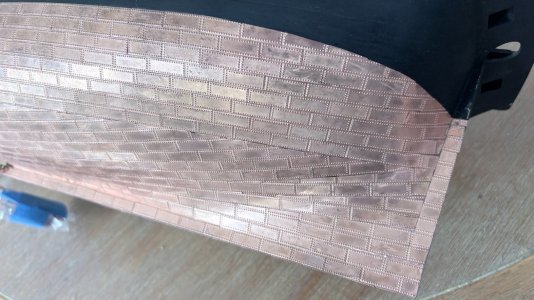
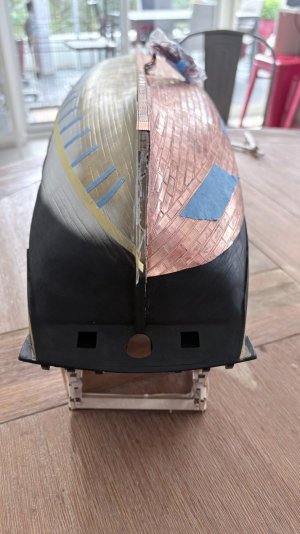
Here you can see the perfect mirror of where the plates will finish at the bow.

IMG_6739.JPG
And at the stern.

IMG_6740.JPG
With the blue tape removed I can now begin to fill in the starboard side. Deep joy more plates. I used about 900 plates on the port side so I have 800 left from the 1700 I bought. Should be enough I hope.

Thanks for dropping by.
T
 
Last edited:
Coming along quite nicely. I used regular nail polish remover to clean up my plates. Worked pretty good but I was mainly trying to remove excess crazy glue.
I’m not sure it they make different strengths of acetone so be careful.

I’ve been tied up gardening and visiting family in eastern Canada so all I’ve been doing in my spare time is making rope coils the 30 upper deck cannons.

IMG_9952.jpeg
 
Coming along quite nicely. I used regular nail polish remover to clean up my plates. Worked pretty good but I was mainly trying to remove excess crazy glue.
I’m not sure it they make different strengths of acetone so be careful.

I’ve been tied up gardening and visiting family in eastern Canada so all I’ve been doing in my spare time is making rope coils the 30 upper deck cannons.

View attachment 619591
Thanks Jim. I've been using 100% pure acetone which is basically all nail polish remover is. I read that lemon juice and salt makes a good cooper cleaner so I may give that a go. Nice work on he coils. Once I fish the plates it will be cannon time.
 
I’ve been tied up gardening and visiting family in eastern Canada so all I’ve been doing in my spare time is making rope coils the 30 upper deck cannons.
Just as an FYI for the future as AL and others seem to always get this wrong. Assuming the upper deck cannon were 12 pounders or even 18 pounders the rigging for both the running out tackle and train tackle used two single blocks for each line, not a double and a single. (Caruana, The History of English Sea Ordnance, page 386) The blocks were likely about 8 inchesd long. Based on studying contemporary stores lists Caruana wrote that guns smaller than 32 pounders all used pairs of singles, not doubles and singles.
Allan
 
Video 22 - Part 3
The completion of the port side of the hull. The process went OK apart from some discolouration on some of the copper plates. I have tried acetone to clean them but that did nothing. I will try other things later.

View attachment 619568

View attachment 619569
The area around the wiring came out well.

View attachment 619570

View attachment 619571

View attachment 619572

View attachment 619573

View attachment 619574
Here you can see the discolouration. :mad:

View attachment 619575

View attachment 619576

View attachment 619577

View attachment 619578

View attachment 619579

View attachment 619580

View attachment 619581
With the port side complete I now turned my attention to the starboard cut out side. Because of the cut out there is no pencil waterline to guide my first row of plates so I needed to come up with a solution to this problem. I needed to identify the last full row of plates on the port side and transfer their position to the starboard side. To do this I enlisted the help of an old friend. When I started my apprenticeship as a Graphic Artist way back in 1978 my Grandmother bought me this bow compass. So it's now about 48 years old and still looks new. I've tried to remember the last time I used it, probably when Apple Macs and electronic drawing programs such as Adobe Illustrator and FreeHand burst onto the scene. That's when all the real skill left the trade.

View attachment 619582
I placed the compass in the middle of the hull on the keel and opened up the compass to the top of the last full row of plates.

View attachment 619583
Then I simply turned the compass 180° and made a mark on the hull.

View attachment 619584
I did this at regular intervals across the hull and placed strips of tape where the marks were and used these to bend a long length of 6mm tape down the side of the hull replicating the top of the row of plates.

View attachment 619585
Here you can see the perfect mirror of where the plates will finish at the bow.

View attachment 619586
And at the stern.

View attachment 619587
With the blue tape removed I can now begin to fill in the starboard side. Deep joy more plates. I used about 900 plates on the port side so I have 800 left from the 1700 I bought. Should be enough I hope.

Thanks for dropping by.
T

Looking good Tony
I used a similar method but just measured points along the hull with a cloth tape so it followed the shape of the hull nicely
Will you be varnishing the plates when done
I used a spray matt varnish
 
Back
Top