You are using an out of date browser. It may not display this or other websites correctly.
You should upgrade or use an alternative browser.
You should upgrade or use an alternative browser.
Artesania Latina "Swift - 1805" - 40th Anniversary of Purchase Build [COMPLETED BUILD]
- Joined
- Apr 3, 2023
- Messages
- 130
- Points
- 88

Today was sanding day. Tapering all the masts, bowsprit, boom and gaffs. Last year, when I built the "Red Dragon", I used a battery powered drill, thick gloves, and sandpaper to taper the masts down to size. I was going to do the same thing, but with crappy weather and not trusting myself not to damage the dining room table, I decided to take a different path. It actually worked out pretty well. Holding one end of the wood dowel, I used my small hand sander with 80 grit paper and went to town... Long strokes, bearing down towards the tip, while at the same time rotating the dowel with my left hand. Then once I got the taper diameter down to where I needed it, I swapped out the 80 grit for some 240 and sanded them perfectly smooth. Certainly no where near as fast a process as using the drill, but it worked surprisingly well. Another technique to use in the future...
With the foremast, I just sanded horizontally to get an even diameter at the top inch of the mast, and then used an x-acto knife to gradually whittle down the beveled ledge below it. Again, more careful sanding to round off that chiselled part, but overall, success and no blood loss in the process. I consider that a win-win kind of evening.
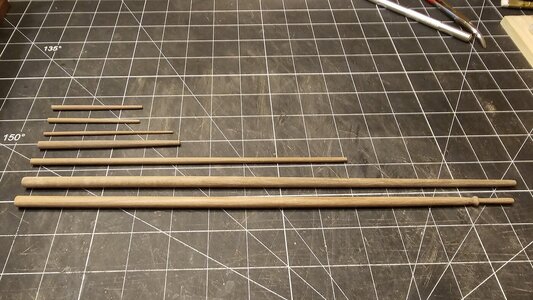
With the foremast, I just sanded horizontally to get an even diameter at the top inch of the mast, and then used an x-acto knife to gradually whittle down the beveled ledge below it. Again, more careful sanding to round off that chiselled part, but overall, success and no blood loss in the process. I consider that a win-win kind of evening.

- Joined
- Apr 3, 2023
- Messages
- 130
- Points
- 88

- Joined
- Apr 3, 2023
- Messages
- 130
- Points
- 88

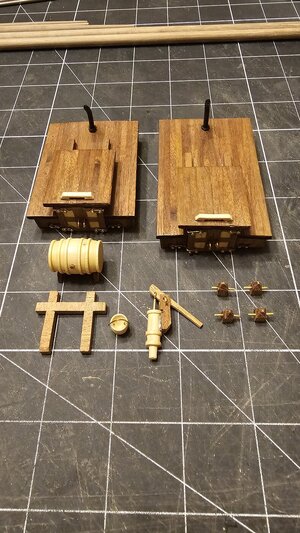
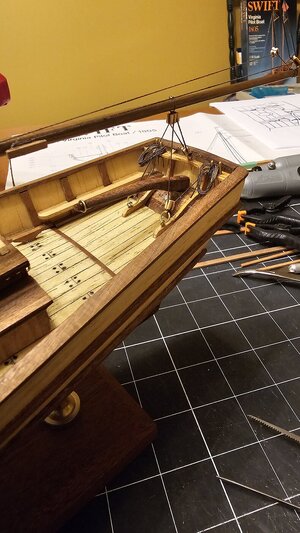
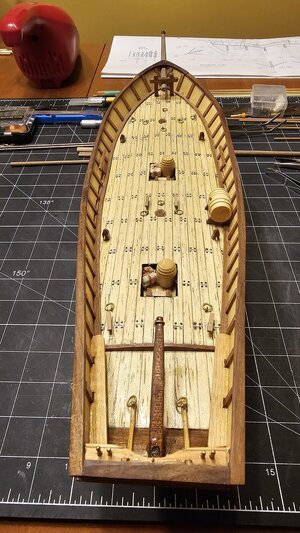
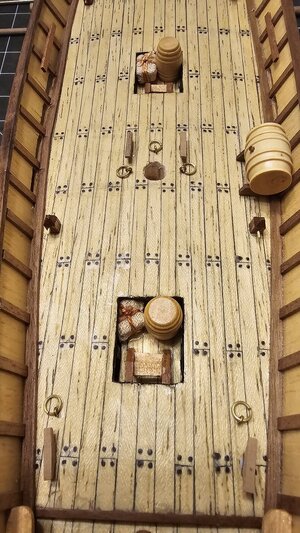
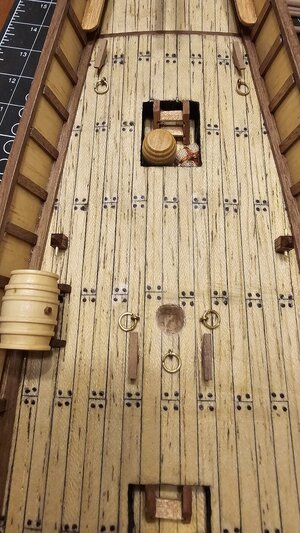
Bowsprit installed, as well as the miscellaneous deck items. I decided to add some detail to the inside of the cabin areas, so I made some "bales" of mystery product, and a couple of barrels... and installed some steps to get down to them. When the cabins are installed, when you slide back the top access hatch, you can see them sitting down below. The barrels were easy as I had some spare ones kicking around from my "odds and sods" box of stuff. For the bales, I cut the basic rectangular shape out of scrap wood, and then used some gauze that I stained with espresso to use a the jute or burlap covering them. Lastly, a bit of thick embroidery thread to tie up the bundles... and voila! C'est c'est très bien, je pense. lol I'd like to take credit for the idea, but when I looked at the plans for the newer version of this kit, they now have a much larger and more detailed below deck cabin space. I liked the concept, so did what I could with what I had to work with. If it's seen it earlier on in the build, I think I'd have actually cut deeper into the interior and made a wider opening to take advantage of the full size of the cabins. The openings in the deck are less than half the width of the cabins and also less than half the length. So lots of space to work with if you decided to go that route.


- Joined
- Apr 3, 2023
- Messages
- 130
- Points
- 88

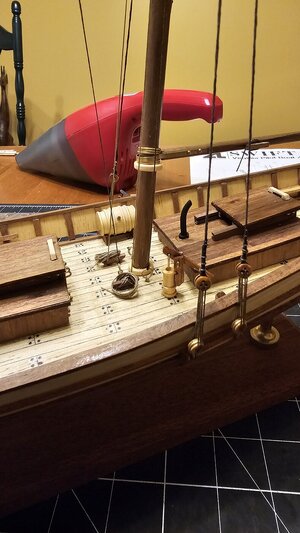
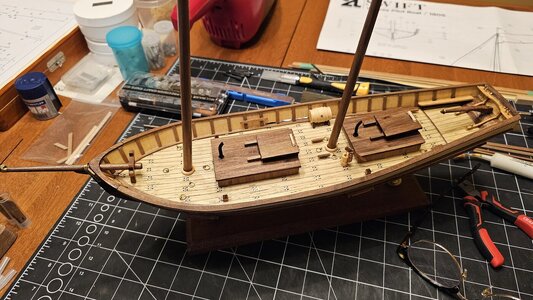
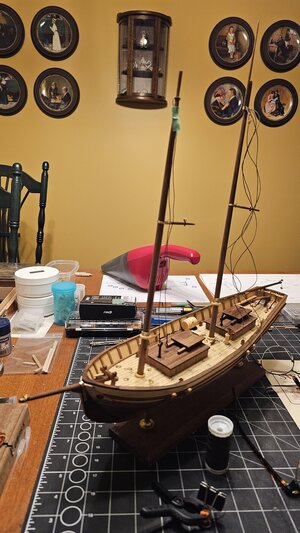
Cabins installed. But more importantly, the masts are now in place... and nicely lined up to proper angle and perpendicular to the centre line of the ship. This is always one of the parts that makes me nervous in a ship build.... getting the masts straight and lined up properly. The other one is when I use the brass pedestals to mount the hull to the display base. If it's not level and even, it's a bugger to fix.

- Joined
- Apr 3, 2023
- Messages
- 130
- Points
- 88

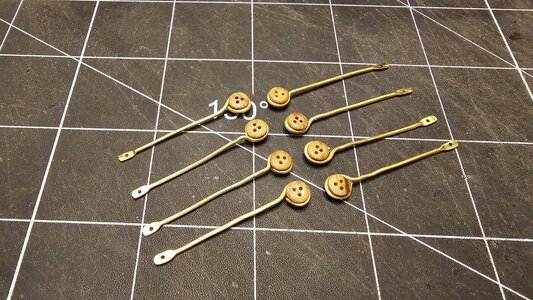
I built my deadeye "strops"... I used the round end of a 1/4" drill bit to round over the brass rod, and used fine tip pliers to squeeze it tight around the deadeye. A drop of cycanoacrylate to keep the deadeye from rotating around in the strop. Then I drill a small hole in the bottom of each strop to eventually take a brass pin nail.

- Joined
- Apr 3, 2023
- Messages
- 130
- Points
- 88

So now I'm done with all the hull and deck work. The boom and gaffs are rigged up with their respective blocks and pulleys. No more excuses... Time to get 'friggin' with the riggin'". We're in the home stretch now...
I bought this little gizmo a few decades ago. It makes wrapping/seizing my lines much easier to do. I've got to add a drop of oil to it though... this afternoon it was squeaking so bad it was giving me a migraine.
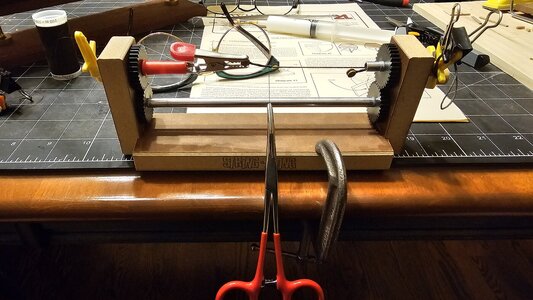

I bought this little gizmo a few decades ago. It makes wrapping/seizing my lines much easier to do. I've got to add a drop of oil to it though... this afternoon it was squeaking so bad it was giving me a migraine.

- Joined
- Apr 3, 2023
- Messages
- 130
- Points
- 88

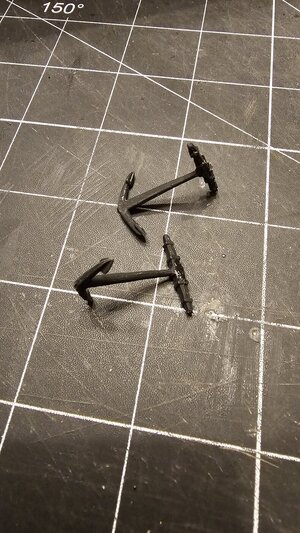
So while trying to drill holes in the top of one of the included cast white metal anchors, I managed to break the end off. Grrrrr... This is what the stock anchors look like now, missing their tops... so no way to rig a line through them without fudging some sort of fitting epoxied to them.
In the bigger picture of things, maybe a blessing in disguise. I'd purchased some flat brown paint so I could make the stocks look like wood. But since now broken... after a bit of hunting around, I found replacements from Amati. Very close to same size as the ones provided with the kit, but the Amati ones came with an actual wood stock, plus pre-formed square brass rings to put around the stock... and the ring was pre-drilled to accept a brass ring to attach a rope to. So perhaps fortuitous happenstance. Here's what the Amati anchors look like completed and installed in the bow of the Swift:
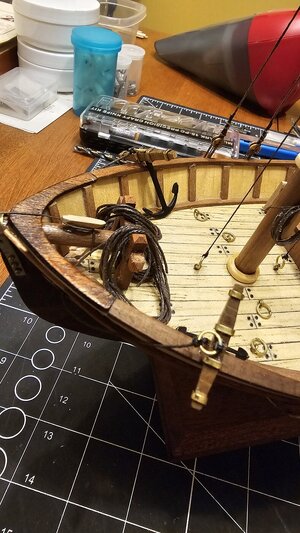

In the bigger picture of things, maybe a blessing in disguise. I'd purchased some flat brown paint so I could make the stocks look like wood. But since now broken... after a bit of hunting around, I found replacements from Amati. Very close to same size as the ones provided with the kit, but the Amati ones came with an actual wood stock, plus pre-formed square brass rings to put around the stock... and the ring was pre-drilled to accept a brass ring to attach a rope to. So perhaps fortuitous happenstance. Here's what the Amati anchors look like completed and installed in the bow of the Swift:

- Joined
- Apr 3, 2023
- Messages
- 130
- Points
- 88

Now that the Swift is complete, she's been sold to a Canadian owner and now flies a Canadian flag. The costs to ship her up here were horrendous, but I'm happy with my acquisition. Now I just have to find a decent body of water to sail her in, and that's not something I'm going to find anywhere close to Calgary. lol 
Without further adieu, here's the final result of this build. Later this weekend, I'll be posting more photos in the completed model section of the forum. Now I'll take the summer off to pursue other activities, and then come winter, it will be time to get back on the Victory build...
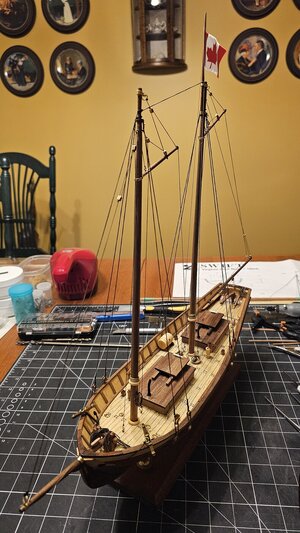
Without further adieu, here's the final result of this build. Later this weekend, I'll be posting more photos in the completed model section of the forum. Now I'll take the summer off to pursue other activities, and then come winter, it will be time to get back on the Victory build...

My congratulations for finishing this fine model - enjoy the summer 

