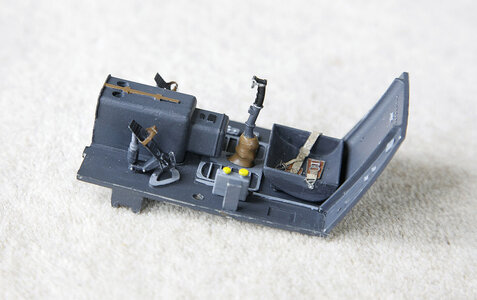
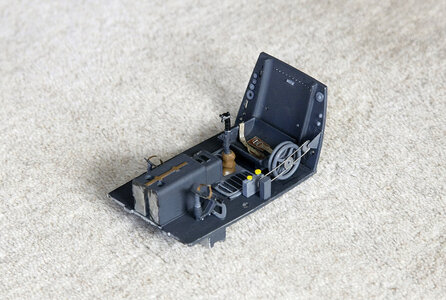
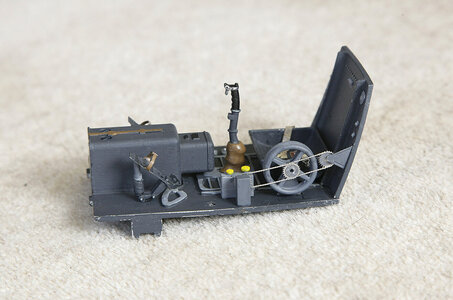
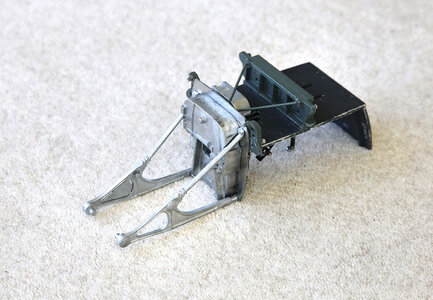
Hello. I am about halfway through a build log of a Euromodel kit, HMS Ajax and I’ve decided to take a break from it for a few weeks and do something completely different. I’ve chosen to build the Artesania Messerschmitt BE 109 G, and have been asked to do a build log on it, I was initially reluctant to do so, firstly as this was supposed to be down time and secondly because I have never done anything like this before and at present haven’t a clue about this type of build or fine scaling. You must accept that this build won’t be a very detailed step by step account but rather a sort of progress report on how a complete novice to this type of build manages just following the step by step instructions, all 295 pages of them.
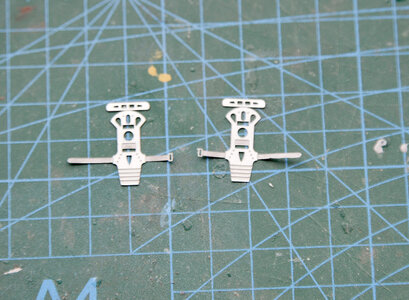
On opening the box I was pleasantly surprised at the superb quality and detail of the photo etch, I have never seen the likes of before. It is made from some sort of steel which I soon learned was like building with razor blades, I need to be very careful and buy some more plasters. The metal cast parts are very good quality with hardly any flash but with good detail. The instructions and part list comes on disc, I’ve printed them out for convenience all 295 pages. I have never seen instructions this detailed before, good for a novice like me, they assume you know nothing and lead you through each part step at a time, even showing you the order of bending the holding tabs when there is a line of them. The whole package instils confidence that you will end up with a successful build.
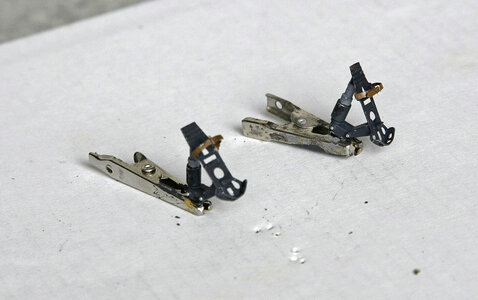
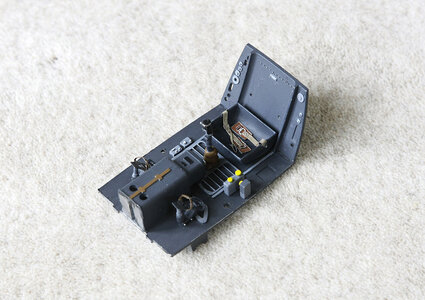
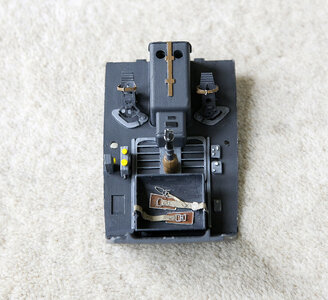
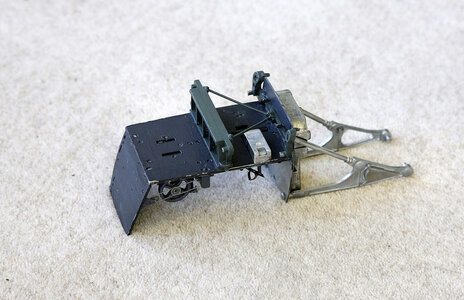
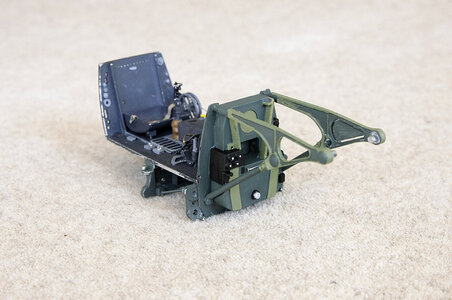
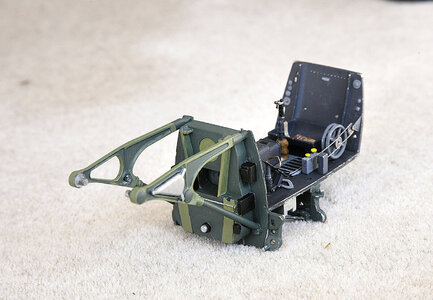
I had already started before I decided to do this log so the pictures show the early stages of the build. The open frame is held together by tabs on one surface which pass through slots in the part to be joined then bent flat, the accuracy of fit is very impressive. I did have one slight issue and that was some of the slots were a tight fit and as with all photo etch if you use too much force the whole thing buckles and is difficult to get perfectly back into shape again, I did it once on a frame and learned my lesson. To avoid this I slightly opened every slot. The width of a scalpel blade was just right, I filed one to size, covered the handle with heat shrink for grip, to support the thin PE. I cut a slot in a piece of wood laid the PE over the slot and just pushed my scalpel through, it worked a treat and the tabs now pass through easily but are still snug. See photo. The other photos show what’s in the kit and where I’m up to at the moment.
View attachment 225287
View attachment 225288
View attachment 225289
View attachment 225290
View attachment 225292
View attachment 225293
View attachment 225294
View attachment 225295
View attachment 225296
View attachment 225297
View attachment 225291


