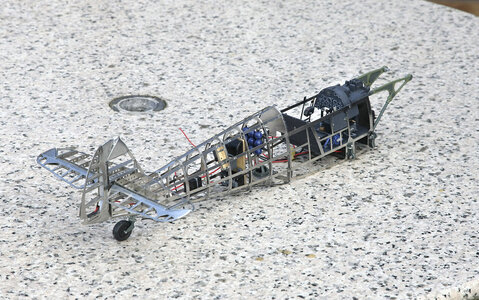
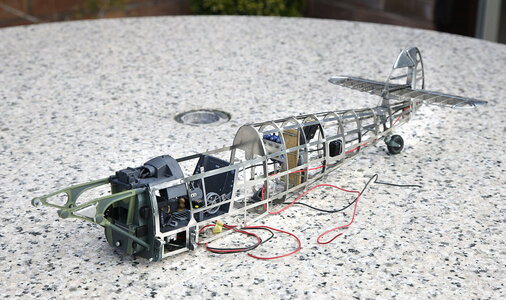
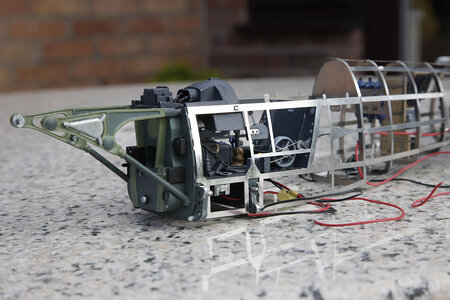
Artesania Messerschmitt BE 109G [COMPLETED BUILD]

Hey Ken - We have the real thing at the Virginia Beach Military Aviation Museum. I think it's the only museum that flies all their planes. I go by there occasionally when they fly the birds so if you are interested in a specific detail, cockpit etc. I might be able to get you some photos. I'm checking now to see what model 109 they have. Let me know if you are interested. CharlieView attachment 226292View attachment 226291View attachment 226290
Hi STGCS, Nice collection that you have there, There aren’t many 109s left, I think that we shot most of them down so it’s good to have one, look after it. Thanks for your offer and I’ll keep it in mind. At the moment I’m not thinking of super scaling, It’s difficult enough for me to just do the kit version for now.
 
Hi Ken,
I have really enjoyed your diversion into model planes and have subsequently visited the A L Site and seen a couple of their videos, it seems to me that working with the metal you have just got the one chance to get it right and it’s difficult to fix up a mistake later with a spot of epoxy and some sandpaper as one can on a wooden boat..
I am fascinated by WWII planes as I grew up with my father in the RAF in fighter command Bentley Priory at Stanmore and my best friend at school’s father being an Air Vice Marshal running an Air Warfare school at Old Sarum near Salisbury. As kids we were allowed to play in a large hanger that contained quite a few ‘ out of service’ warplanes. We could climb into and pretend to be “pilots” (completely unsupervised), by memory there was at least one Messershmitt, a Heinkel, a Spitfire and a Hurricane and a Blenheim light bomber, a treasured memory from 75 years ago.
I am tempted to follow your example to make a small break from boat building. Congratulations on very careful build. Tony
 
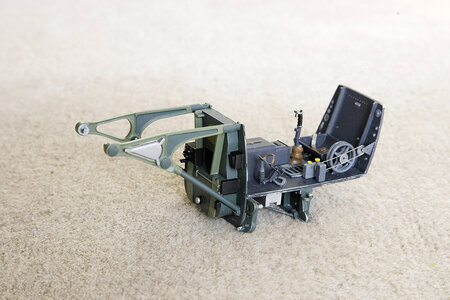
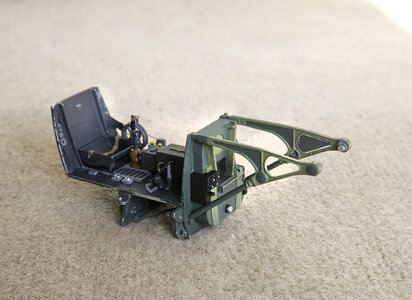
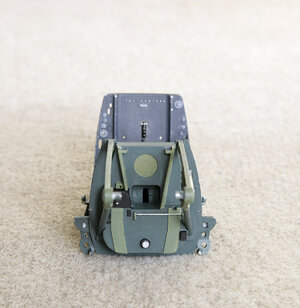
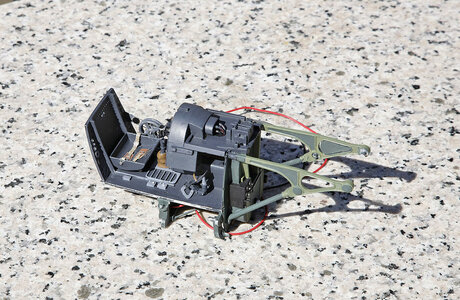
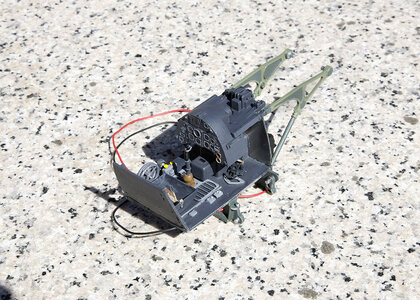
Hi, A short follow on from yesterday. I’ve given the engine mount its second coat and it now looks much better. I’d painted it on my bench and thought that it looked ok but after photographing it and seeing it on screen I realised that I needed to do better. That’s one good thing about doing a log; you get to see your work before completion and can improve along the way. I’ll touch up the cockpit sides when I’ve finished handling it.

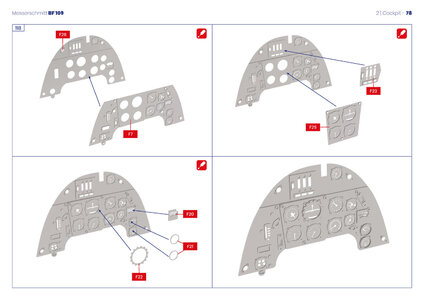
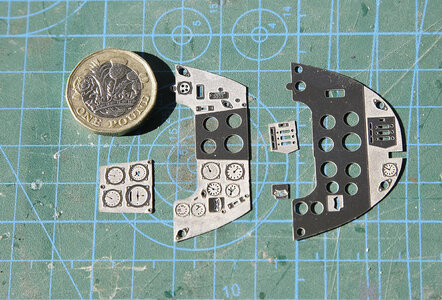
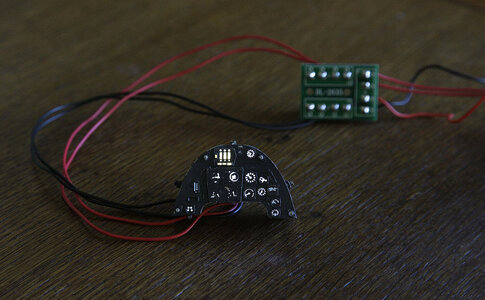
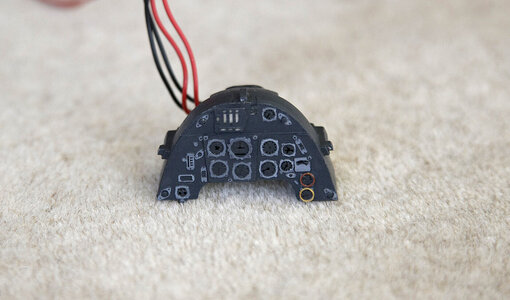
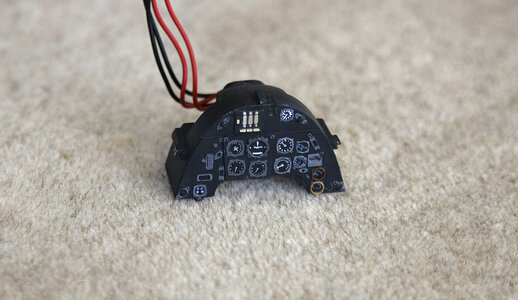
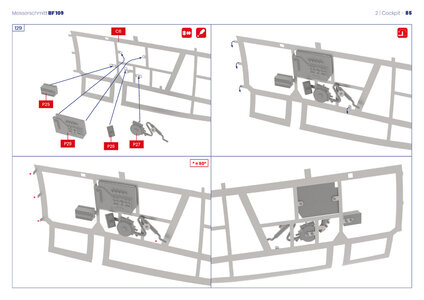
The next stage is the instrument panel. This is made up from several PE parts, as you’ll see they are extremely detailed, the etching for the instruments goes right the way through, it has two LED behind and these and will shine through the lettering and symbols. The lettering apertures are so fine that I think that there may be an issue with the paint blocking them,. The instrument bezels are painted in a different colour than the panels, I’ve bought some 000 brushes but it’s all so fine I think that I’m going to have a problem, but I’ll do my best.

040.jpg

041.jpg

042.jpg

078.jpg

039.jpg
 
Last edited:
Hi Ken,
I have really enjoyed your diversion into model planes and have subsequently visited the A L Site and seen a couple of their videos, it seems to me that working with the metal you have just got the one chance to get it right and it’s difficult to fix up a mistake later with a spot of epoxy and some sandpaper as one can on a wooden boat..
I am fascinated by WWII planes as I grew up with my father in the RAF in fighter command Bentley Priory at Stanmore and my best friend at school’s father being an Air Vice Marshal running an Air Warfare school at Old Sarum near Salisbury. As kids we were allowed to play in a large hanger that contained quite a few ‘ out of service’ warplanes. We could climb into and pretend to be “pilots” (completely unsupervised), by memory there was at least one Messershmitt, a Heinkel, a Spitfire and a Hurricane and a Blenheim light bomber, a treasured memory from 75 years ago.
I am tempted to follow your example to make a small break from boat building. Congratulations on very careful build. Tony
Hello Tony, Thank you for commenting on my log, sharing some of your personal experiences with was a nice touch and gives my log a more intimate feel. I hope that you enjoy the rest of my posts.
 
Hello, Again thanks for your likes. I've just finished, painted and fitted the rest of the dash console. I think that's the cockpit interior complete until its fitted inside the frame much later. Again all pieces fitted perfectly and it was well illustrated in the instructions.
That's it for a few days as lockdown has been lifted, the sun is shinning, I'm off to get my hair cut at last and I'm meeting friends for a drink at our local pub, life doesn't come much better.

046.jpg

047.jpg
 
Hi STGCS, Nice collection that you have there, There aren’t many 109s left, I think that we shot most of them down so it’s good to have one, look after it. Thanks for your offer and I’ll keep it in mind. At the moment I’m not thinking of super scaling, It’s difficult enough for me to just do the kit version for now.
Found out it is a 109G. pilot told me it lands smooth but the takeoff can be very tricky. Really nice job.
 
Hello, Just a quick update. I’ve made up and fitted the tail wheel. The top fits into a hole previously built into the structure, the lower part fits into a hooked shape mount again built in, it is locked into place with another hooked shaped piece which is then secured in place with the usual slot/tab arrangement. I needed to touch up the paint once fitted as again it just rubbed off when handled.

I’ve shown a picture of the spinner and prop to give an idea of scale.

View attachment 226034

View attachment 226035

View attachment 226036

View attachment 226037

View attachment 226038
What do you use to glue,CA? dont like that glue,getting sick!
 
Hi Larsa. Yes I use cyno, there’s really no alternative. I use it very sparingly, I use a fine capillary tubing for thin, a hypodermic needle for medium and a fine applicator for thick so there’s no excess fumes.
 
Hi Ken.
I am impressed by the details. But also by your work on those tiny parts and painting.
Enjoy the meeting with your friend. Hopefully by us in a few weeks.
Regards, Peter
Hi Peter, Thanks for that. By the way I’m more than a little impressed with you work on the Ducati, keep that one going. Although the 109 kit is very good I think that Pocher is one level up. This kit was another of my friends offerings, when he saw it he asked if I would like to make one, of course I said yes to the opportunity of making something different at no cost to myself. I hope that when his Ducati arrives he’ll think it beyond his ability and ask me to make that kit as well.
 
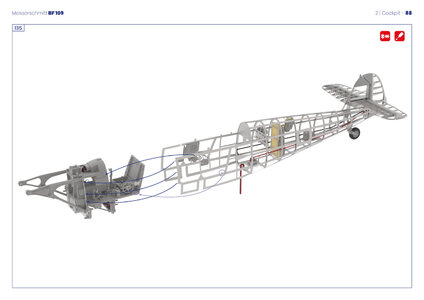
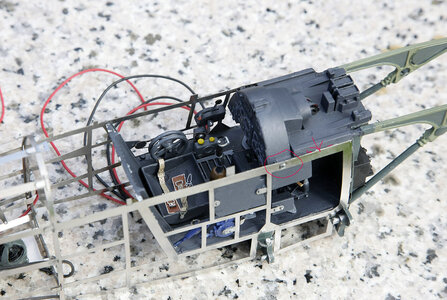
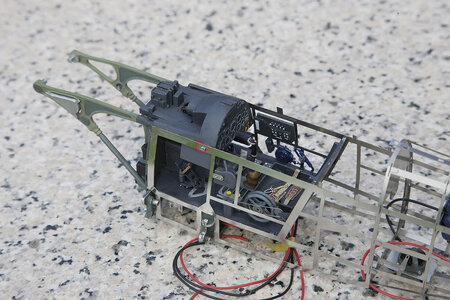
Hello Everyone. I’ve made major step forward on the build, I’ve married the cockpit unit to the frame, and it was far from easy. First I needed to make more cockpit components. Radios, oxygen control unit throttles and fix them to the inner sides of the frames before continuing. There are several mounting points, three tabs into the front firewall, one in the floor, two lugs protruding from the cast parts which fit into slots in the frame, and the floor and angled seat back also need to be exactly in line with their adjacent parts of the frame and glued into place. Needless to say that it didn’t fit, most did but the moulded lug on the upper cowling was about 1mm too low, no amount of force would get it to slot in at the same time as the rest of the attachment points. This had come about because when I’d attached the upper cowling to the instrument cluster being no click type accurate joint, there had been a slight amount of rocking type play and I had fixed it about 1 degree from level thus the slight misalignment. I really had no choice but to disassemble the cowling and mount the lower part of the cockpit separately. When set I then attach the cowling lug to the frame and then whilst the whole thing was in the right place glue everything back together. Once I’d decided to do it this way it was fairly straight forward and no alignment issues arose. Knowing this I would when originally fixing the cowling to the instrument unit used contact glue which would have had enough give to get the fixing points into place, hindsight!

The only issue that I was left with as will imagine was the need to re paint quite a few areas of the cockpit, but having done that it’s all good and I’m back on track.

I've circled the offending tab.

085.jpg


088.jpg048.jpg

049.jpg

050.jpg

051.jpg

052.jpg
 
Last edited:
Back
Top