- Joined
- Sep 28, 2020
- Messages
- 287
- Points
- 168

Wonderful!
 |
As a way to introduce our brass coins to the community, we will raffle off a free coin during the month of August. Follow link ABOVE for instructions for entering. |
 |
 |
The beloved Ships in Scale Magazine is back and charting a new course for 2026! Discover new skills, new techniques, and new inspirations in every issue. NOTE THAT OUR FIRST ISSUE WILL BE JAN/FEB 2026 |
 |


Hi Jeep, I know exactly what you mean. As I mentioned earlier, this was not my type of modelling, I'am making it for a friend so I didn't need to buy it. Now I'm loving it and if they ever bring out a Spitfire I'll be first in the queue, I'll even use my own money.You know, every time that I look at this I feel that I really, really , really need one. So I had better stop looking.
Can you tell me what the power source for the lighting will be ? Then I will stop my looking.....for sure... right !

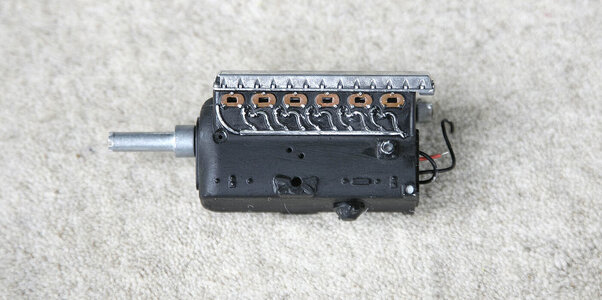
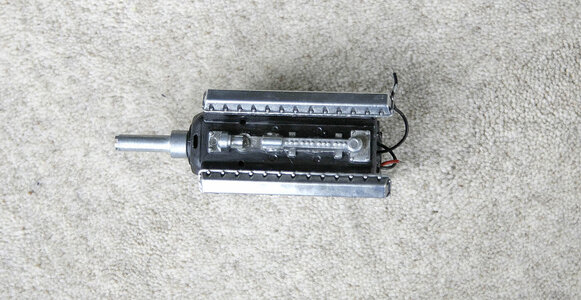
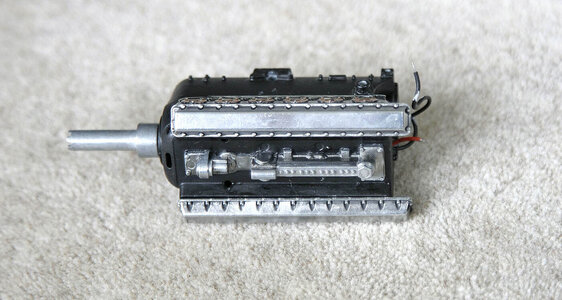

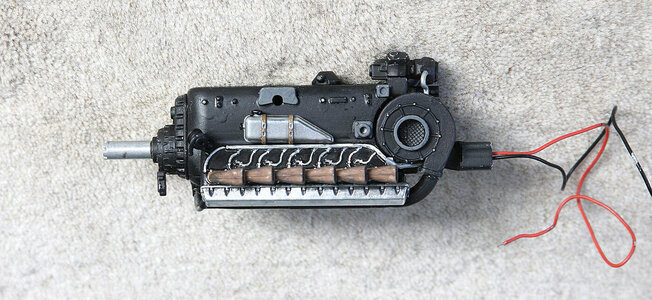
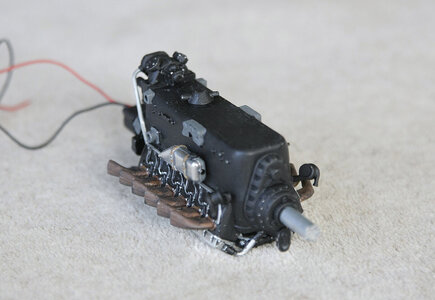
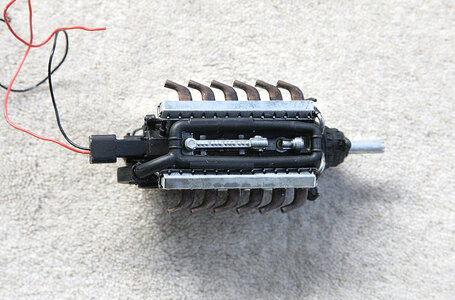
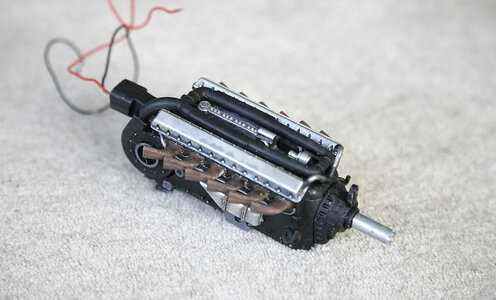
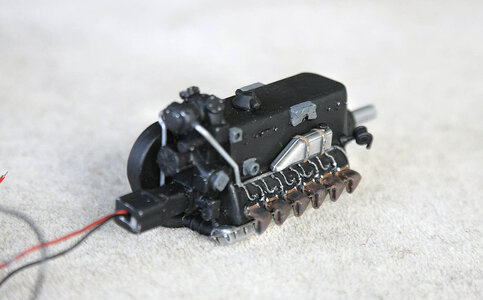

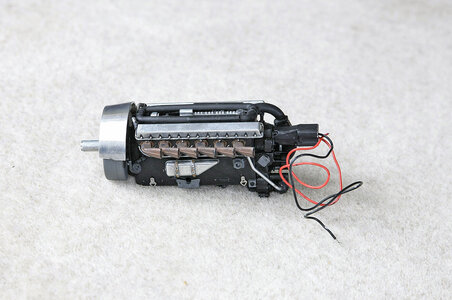
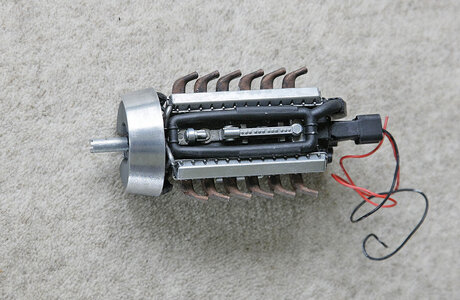
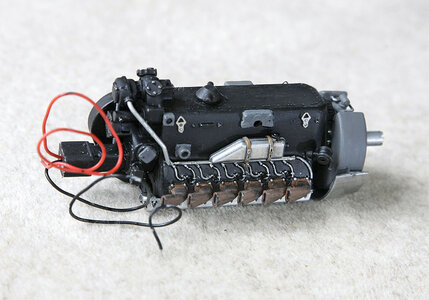
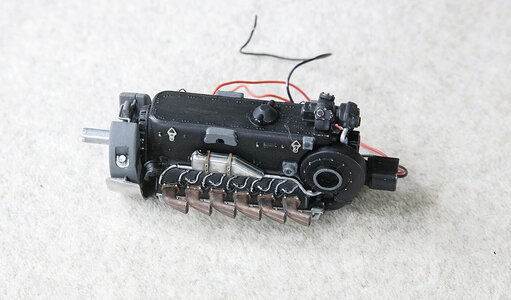


Hi Amac, I enjoyed doing these, as they would be prominent even with the cowling in place I wanted to get them to look good. I played with my paint a bit to get the colour, I used Humbrol enamel, I ended up using copper, brown, red and a bit of black, when set I dry brushed some streaks of black. To finish off I mixed talcum powder into some acrylic varnish, nice and thick and painted that on to get a rust textured finish. I was pleased with the result and as I said it was fun doing.I think you have the colour of the exhausts just right.

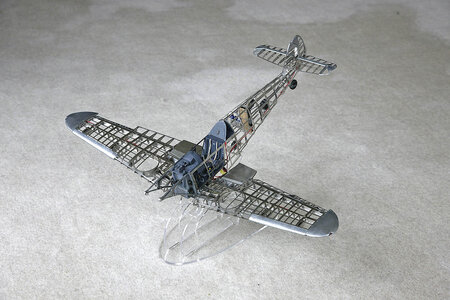
Hello everyone and thank you for following and showing your interest in my log.
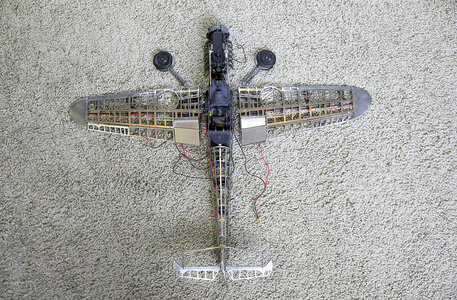
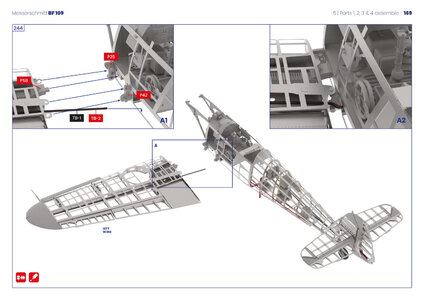
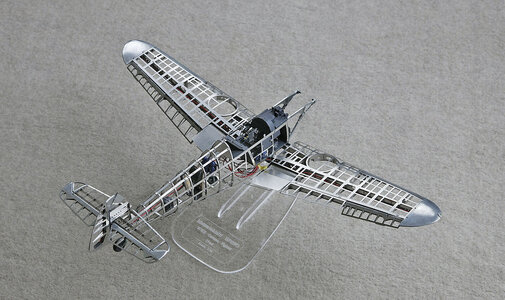
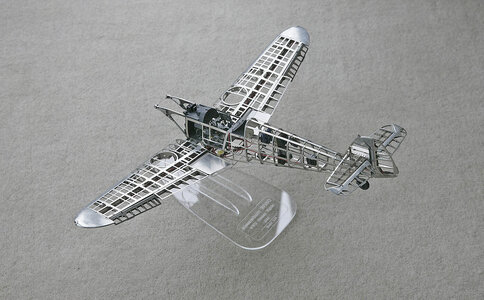
Again just a short update, the wings are now attached so it’s now looking like a real aircraft. This was quite a difficult task and needed rather a lot of force. There were three small rods built into the chassis, two horizontal and one vertical, the wing was built with tabs which corresponded with the rods and when slid together held the wing in place. A washer was placed behind the horizontal tabs to stop it sliding off, the wings weren’t glued on but because they were such a tight fit there was no movement at all, so tight that I thought that I could never get them on, I daren’t file the rods down for fear of introducing play so brute force, leverage and a big hammer was the order of the day.
View attachment 231250
View attachment 231251
View attachment 231252
View attachment 231253
This reminds me a lot of my plastic airplane modeling days!Hello everyone and thank you for following and showing your interest in my log.
Again just a short update, the wings are now attached so it’s now looking like a real aircraft. This was quite a difficult task and needed rather a lot of force. There were three small rods built into the chassis, two horizontal and one vertical, the wing was built with tabs which corresponded with the rods and when slid together held the wing in place. A washer was placed behind the horizontal tabs to stop it sliding off, the wings weren’t glued on but because they were such a tight fit there was no movement at all, so tight that I thought that I could never get them on, I daren’t file the rods down for fear of introducing play so brute force, leverage and a big hammer was the order of the day.
View attachment 231250
View attachment 231251
View attachment 231252
View attachment 231253

Hi Tony, I’m sure that they’ll bring out a Spitfire, I’ll buy one if they do. I think that Germany is probably their biggest sales market, hence the 109. I know that a big hammer sounds a bit drastic but I find that I have better control of the force needed by using a heavy hammer with light taps rather than a light hammer with heavier blows. The wing was well supported and I used a long thin punch to get the force on the exact spot, the structure is indeed surprisingly strong. You’ll see one of the problems, looking at the picture of the instructions you’ll see that part 58, the feed from the ammunition tray sticks out about 7mm and needs to slot into a hole in the chassis however when you position the tabs over the horizontal rods and try to slide them forward this tray prevents you from doing so, you can either fit the ammo feeder or slide in the tabs but you can’t do both. I had to remove the ammo tray and re fit it later, not easy as it was now inside the wing structure with very little access. The other fit issue was when the tabs where on the horizontal rods you needed to lift the wing a little to get the top tab over the vertical rod, coming up at a slight angle I couldn’t get the hole to completely get over and line up, but eventually with force I managed. Once over it slid into place and became a good tight fit, if I had filed it for an easier fit when in place there would have been play and the wing would have had slight movement, not good. I hope that you can understand my explanation.Looks awesome with the wings fitted, I don't like the thought of using a large hammer on such a delicate looking structure, but I know from experience working on full size aircraft parts once assembled they're incredibly strong. Check out the photos of the Boeing 787 wing stress test to see how far they can be bent. Do you think they will ever bring out a Spitfire to complement this one?

Hi Dean, I know exactly what you mean, I’ve done it myself. I think that if it was fully sheeted it would have needed it but there’s so much going on already that I don’t think it would enhance it and to have painted dots on that lovely surface to me would spoil it.This reminds me a lot of my plastic airplane modeling days!
I think it would look really nice if there were rivets added at all of the metal intersections.
I know it would be a lot of work, but you could use drops of glue and paint them. It would really make it look realistic!
Nice work on the engine, Ken.Hello All. Thanks again for your likes, Jan, I've got to credit the quality of the kit for much of the detail. Paul, yes the painting is coming on, I feel that I've learned a bit as I've gone along and now feel more comfortable doing it, and the change to enamel seems to have worked. Shota, thanks for taking the time to make a nice comment.
Todays progress shows the completion of the engine and the port wing which I was waiting for the part to finish. I couldn't resist laying out the pieces to give me an idea of how the completed build might look
Ken
View attachment 230897
View attachment 230898
View attachment 230901
View attachment 230904
View attachment 230905

Now wouldn’t that be something, might disturb the neighbours though.Nice work on the engine, Ken.
I would love to here those 12 open exhaust pipes and see the fire coming out ......
Regards, Peter
I understand, but to me it looks too smooth. But it’s not my model...lol.Hi Dean, I know exactly what you mean, I’ve done it myself. I think that if it was fully sheeted it would have needed it but there’s so much going on already that I don’t think it would enhance it and to have painted dots on that lovely surface to me would spoil it.
