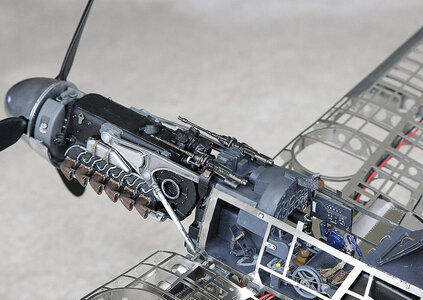
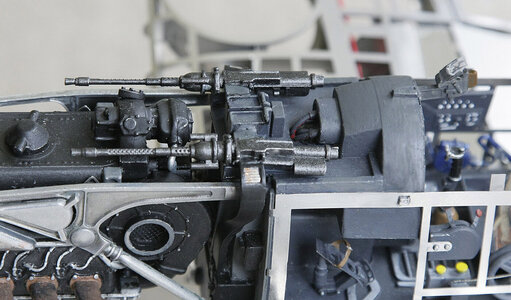
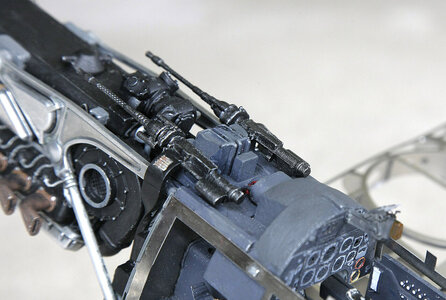
Artesania Messerschmitt BE 109G [COMPLETED BUILD]

Hello, Thanks again to all those who have shown an interest in the log.

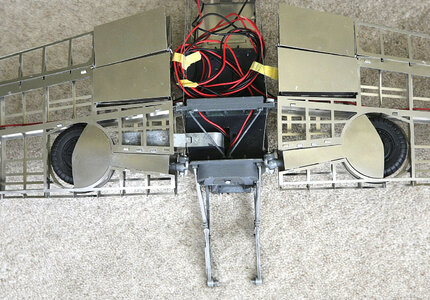
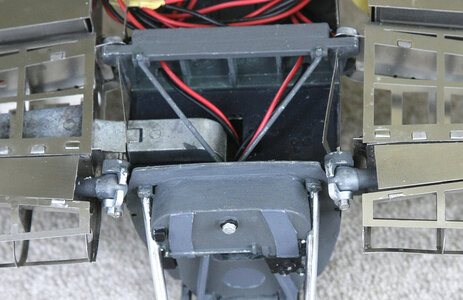
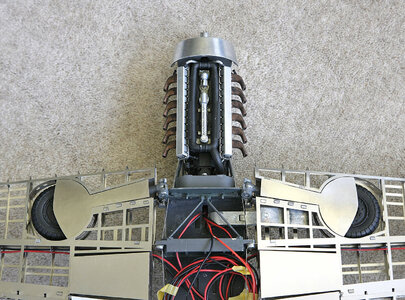
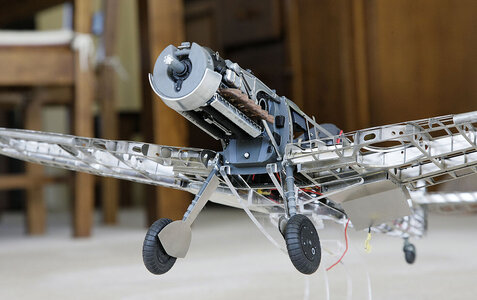
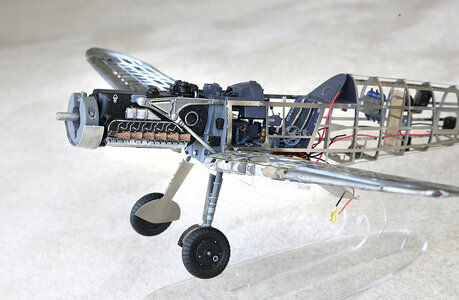
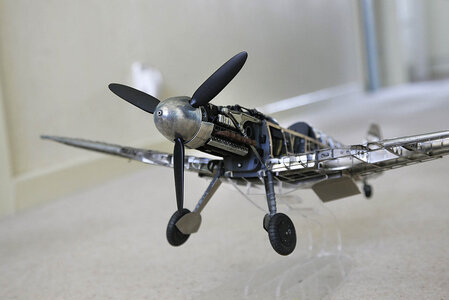
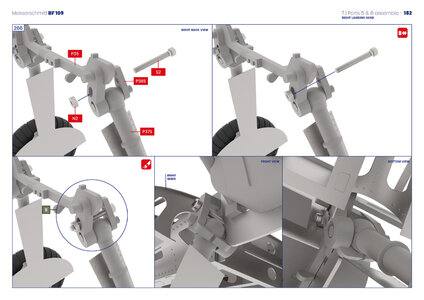
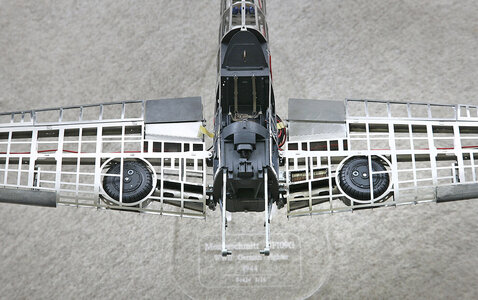
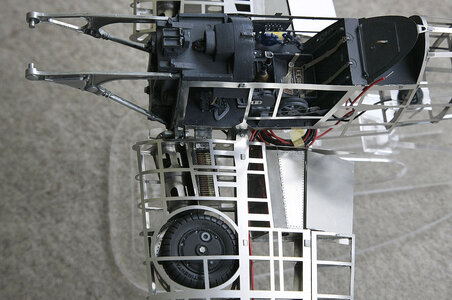
Today’s update shows the completion of the undercarriage, the instructions show how they are attached, it looks a bit confusing but when you have the actual parts in hand it becomes very clear. When they retract they not only move upwards but they also move slightly to the rear as well, this made lining up the wheel fairings a bit tricky. The fairings were fitted earlier; there were no locating pins to get their position exact, but just placement marks, I got them about right, or so I thought. When you look at the photos you’ll see that the fitting of the fairing into the wing is so exact that even at only .5mm out it will foul as mine did. I ended up removing the fairing, then when the undercarriage was in the wing I re-fitted the fairing so that it was correctly positioned.

I’ve realised that I haven’t taken pictures of the undercarriage lowered but I’ll correct that in my next post, the fitting of the engine.
182.jpg106.jpg

107.jpg

108.jpg

109.jpg
 
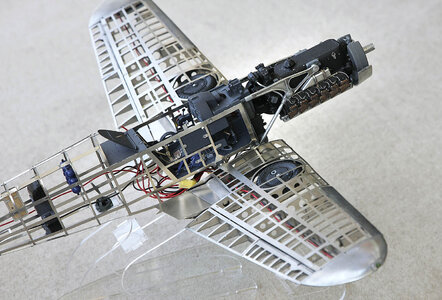
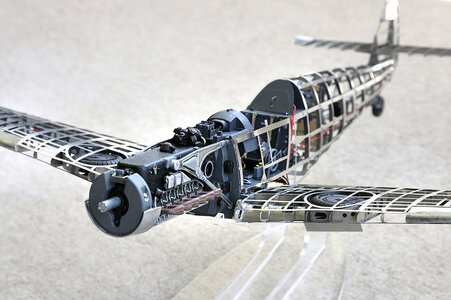
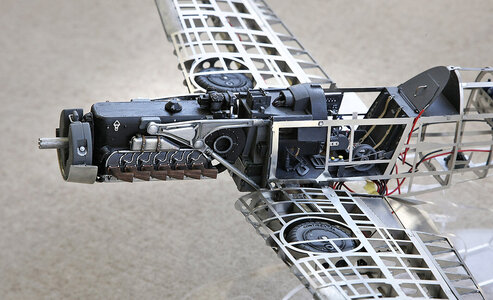
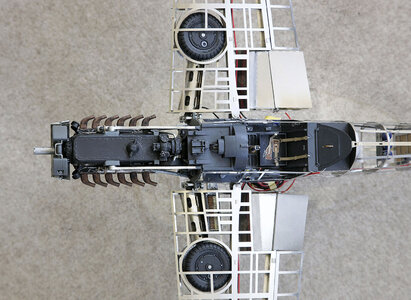
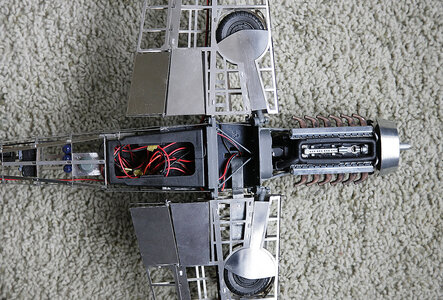
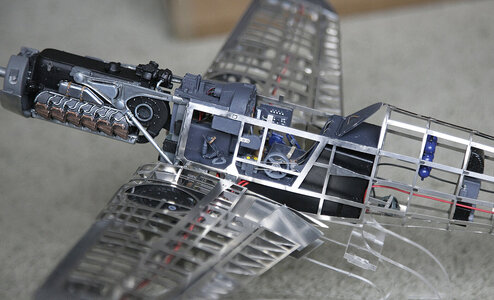
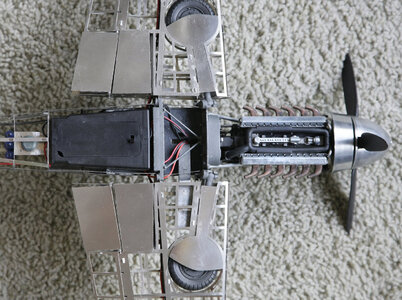
Hello All, The latest update is having fitted the engine to the frame. There were no issues at all, a perfect fit and no struggle, it’s starting to look real. As I mentioned earlier some of the pictures are showing a lowered undercarriage. Whilst fitting the wings and undercarriage the paint on the underside of the chassis ended up scratched so although I doubt that much of it will be seen my next job will be to tidy up that area.

110.jpg

111.jpg

112.jpg

113.jpg

114.jpg

115.jpg

116.jpg
 
Oooh! Now she is looking fantastic!

Will the wiring get hidden somewhere/somehow?
Hi Paul, yes the wiring and switches will be contained in a unit that slides into the space in the chassis under the cockpit, the lower part of which will be flush and form the underside of the fuselage. I’ve mentioned it before but the design is brilliant and everything has been thought out, no loose ends.
 
Hello All. Again thank you very much for your likes and kind comments. Yes Allan, I’m looking at it now sat on my bench and it does look impressive, it’s also surprisingly heavy, it’s the type of model that people will walk over and look at.

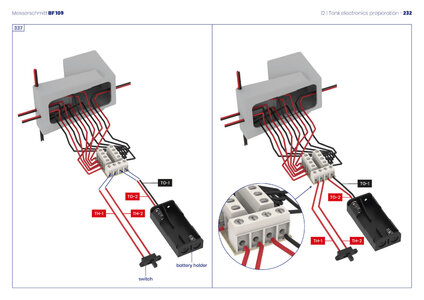
Although out of sequence with the instructions I decided to see how the wiring, batteries, mother board and switch would all fit into place without being seen. I know some of you were also curious, even I was a bit sceptical. The answer turned out to be quite simple, fit everything inside the fuel tank, I hadn’t realised that what I had previously thought was just a housing for the electrics was in fact when made up a fuel tank. There will be a bottom to the tank with only a recessed slide switch showing held in place by small magnets. I can carry on now quite happily.

232.jpg

118.jpg

119.jpg
 
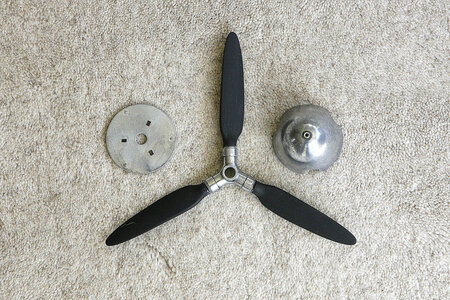
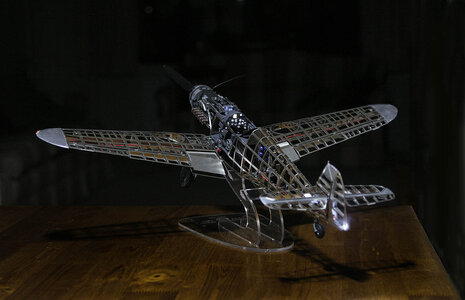
Hello All, Thanks for joining me on this journey and for your likes. I’m still making rapid progress and I think that at this rate I’ll be finished in a couple of weeks. Today’s post is showing you the completion of the electrics, I’m not convinced with the hatch cover and slide switch but that’s what it is, if it was for me I’d spend some time on it and make a better electric housing unit, I might do so anyway. I have also made up the propeller and taken it for a night flight.

Next will be a couple of machine guns and a very detailed reflector sight.

117.jpg

121.jpg

120.jpg

122.jpg
 
Last edited:
Really a highly interesting kit - do you have any idea, of how many hours you worked on this model until now.
Only to calculate the price per hour of fun......
 
Ken,
I think you have done a great job on the detail painting, and bringing out the best in the model.
However I can't get past all the tabs that are sticking out everywhere on the frame. For me it kills the realism, and makes it look like a toy. It's a shame they couldn't have found a better way to join it, sans the tabs.
But that is not a reflection on your work, once again I think you have done a great job on the kit.
After seeing these photos, it is not something I would be interested in due to the tabs. I prefer the wood frame models myself, like the Sopwith Camel or Nieuport 28 Rickenbacker.
Thanks for sharing your build.
 
Last edited:
Really a highly interesting kit - do you have any idea, of how many hours you worked on this model until now.
Only to calculate the price per hour of fun......
Hi Ewe, Thanks again for showing an interest in my build. That is a question I’m sure many of us ask ourselves when trying to justify buying a kit. This is a super and very different kit and if money was not an issue it would be a good enjoyable build for most modellers. I don’t know the amount of hours that it has taken so far, or will take to complete but in my opinion the cost/time ratio comes out as not great value, a boat kit at this cost would normally take me six to nine months to make, I think that this will take me about ten weeks, the difference being that with a boat you need to make most parts but with the 109 you are only assembling it, and no rigging! I didn’t have to buy this kit, I am making it for a friend so this wasn’t an issue for me but I’ve really enjoyed it and if they bring a Spitfire out I think that I’ll buy one, to hell with the cost.
 
Ken,
I think you have done a great job on the detail painting, and bringing out the best in the model.
However I can't get past all the tabs that are sticking out everywhere on the frame. For me it kills the realism, and makes it look like a toy. It's a shame they couldn't have found a better way to join it, sans the tabs.
But that is not a reflection on your work, once again I think you have done a great job on the kit.
After seeing these photos, it is not something I would be interested in due to the tabs. I prefer the wood frame models myself, like the Sopwith Camel or Nieuport 28 Rickenbacker.
Thanks for sharing your build.
Hi Dean, Thanks for you very kind complementary comments. I agree with you about the fixing tabs but because of the nature of the build I can’t see any other viable way. I will add that they aren’t as noticeable as they appear on the photos. Close ups are cruel at the best of times but because of the low contrast in the colours much of the fine detailing is lost, to counter this I up the contrast and sharpen quite a bit, this shows everything up in high definition, you get the detail on screen but it is not how it looks to the naked eye. I see dust specs, brush marks and scratches which I can’t see just looking at the model and with the array of detail the tabs aren’t as distracting as you may think. It is though a very interesting model even if it is not a scale replica.
 
Last edited:
Hello Everyone. And thanks for your continued interest.

As I mentioned this next update is showing the two machine guns along with their ammo feeders. That’s it for today folks, so only the pictures for now, you can get a better idea of the reflector sights on these pics

123.jpg

124.jpg

125.jpg
 
Hello Everyone. And thanks for your continued interest.

As I mentioned this next update is showing the two machine guns along with their ammo feeders. That’s it for today folks, so only the pictures for now, you can get a better idea of the reflector sights on these pics

View attachment 232919

View attachment 232920

View attachment 232921
Looking good Ken! I find it odd they would have mounted the machine guns to fire through the prop, verses mounting them on the wings. Always seemed like a scary proposition to me, like on the biplanes. ;)
 
This is a question of concentracion of your firepower at one point . If you Put them into the wings you have to adjust them to a point some hundred yards ahead of your aircraft.If you are too far from this point, your bullets will spread. The other point is, the more the heavy guns are located in the center or the aircraft, the better the rolling rate. Like an icedancer pulling her arms towards her body for quicker rotation of her pirouette .
 
This is a question of concentracion of your firepower at one point . If you Put them into the wings you have to adjust them to a point some hundred yards ahead of your aircraft.If you are too far from this point, your bullets will spread. The other point is, the more the heavy guns are located in the center or the aircraft, the better the rolling rate. Like an icedancer pulling her arms towards her body for quicker rotation of her pirouette .

I can only agree with Gebirgsmarine, that is the reason why this weapon constellation was chosen by Messerschmitt. Because the G-Version from G-6 on even had a large caliber 30 mm MK 108 instead of the 15 mm MG 151 in the hub. In addition, two MG 17 Prozent 13 mm MG 131 were installed above the engine, synchronized by the propeller circle firing ( as on the biplanes). They also often had 2 MG 151 under the wings.
 
This is a question of concentracion of your firepower at one point . If you Put them into the wings you have to adjust them to a point some hundred yards ahead of your aircraft.If you are too far from this point, your bullets will spread. The other point is, the more the heavy guns are located in the center or the aircraft, the better the rolling rate. Like an icedancer pulling her arms towards her body for quicker rotation of her pirouette .
That all makes good sense! The focal point of fire, and I hadn't considered the center of gravity and roll rate, which as you pointed out is crucial to control. The same is true for CG on vehicles. And I suppose I should have remembered all the fighter jets with machine guns mounted on the nose of the fuselage! They even have some aircraft that automatically offset the rudder when firing, to compensate for the guns mounted on the side trying to pull the aircraft off center. ;) All very interesting design points.
 
However, it should be noted that the P-51 Mustang was very successful and had machine guns mounted in the wings, 3 per side. I suppose wing mounted are better for straffing fire, which will work on aircraft as well as with ground support. So I can see pros and cons with both.
 
Last edited:
Back
Top