Astrolabe - Mantua 1/50

Joined
May 6, 2020
Messages
265
Points
168

Location
Melrose, Scotland
I'll try and keep a dribble of progress pictures coming. I started this model in 1990 and stopped in 1991. I understand the kit has changed slightly since. Sadly, I don't think the instructions have. However inspired by this new-fangled interweb thingy that we didn't have back in the day, i have seen what can be achieved, and while I can't/won't emulate the better versions I have seen, I hope to do a better job than I had in mind when I dug the part-build off the shelf a few weeks ago.
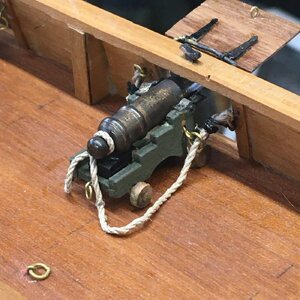
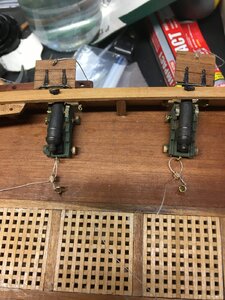
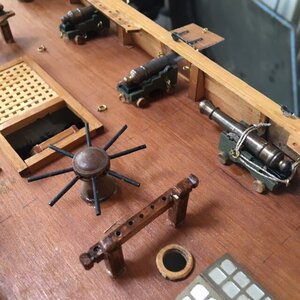
I am waiting for some more supplies to arrive so I can finish the gun rigging. The kit shows no recoil ropes, but does have tackle - having put in one recoil rope, I don't think I'm going to manage to get the running-out tackle into place, perhaps doing it at an earlier stage might have helped. I did say it's not going to be museum accuracy, didn't I. But perhaps better than Mantua had in mind - for instance I spotted today that there is no suggestion of bowsprit shrouds anywhere in the plans.
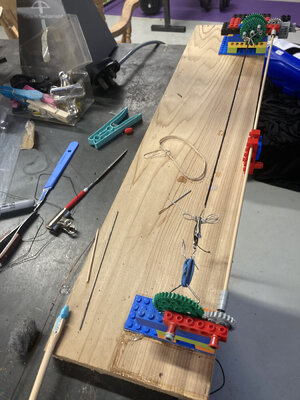
And I'm just realising how much more string I'm going to have to order to complete this - serving takes miles of the 0.25mm stuff, and the selection of 3 sizes included really isn't enough of a range. Or length. Wish me luck!
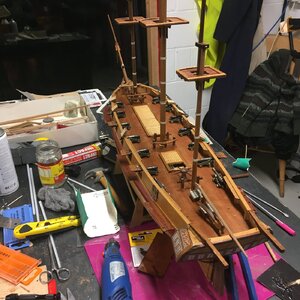
Some random pictures so far.
IMG_7627.JPG
Img_7641.jpg
This rope has now been removed pending a larger diameter one:
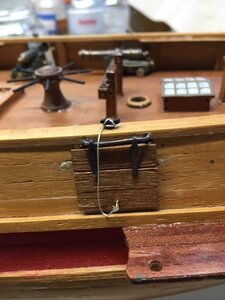
Img_7635.jpg
Bowsprit saddle for forestay:
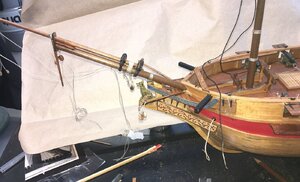
Img_7642.jpgImg_7593.jpg
 
Tales from the sharp end.
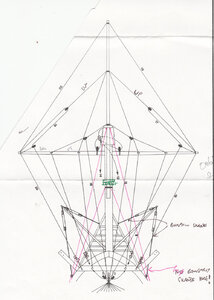
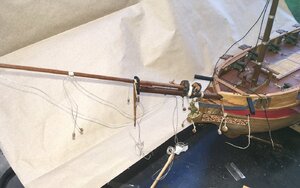
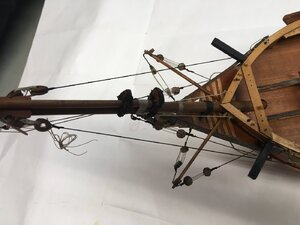
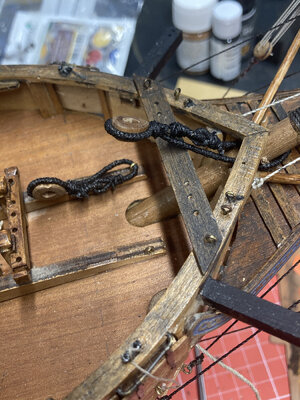
I'm making a bit of progress on the bowsprit and bumpkins, mainly sticking ithem on and starting the standing rigging. The plans do not show any bowsprit shrouds, so I am adding them. The plans/instructions show some simplified rigging, e.g. the Foremast stays just lashed to the bowsprit, so I have added saddles to attach them. I am also going to add in the tackles for the martingales; again, they are shown as tied off to rings on the bulwarks.
I am puzzled by the purpose of two un-named ropes. they start fixed to the tip of the jibboom, and tie on to the outer end of the spritsail yard before terminating........ As illustrated in the plan, they fix the spritsail yard stopping any sternward movement of the ends of the yard, so it cannot be swung round to the wind. I suspect that this is incorrect. On the attached diagram it is items 19 & 20. The parts from the yard ends to the bulwarks (on which I have drawn blocks) look as if they are the equivalent of braces, but functionless with the yard tethered from the jibboom. I suspect this is more of the simplification of the kit. Onwards and upwards, matelots!
Bowsprit rigging.jpg
 
Img_7730.jpgIMG_7731.JPG

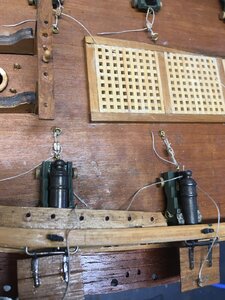
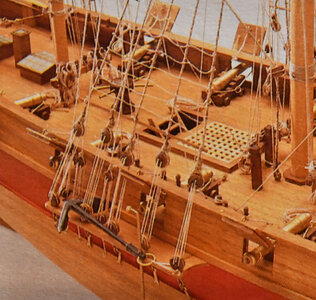
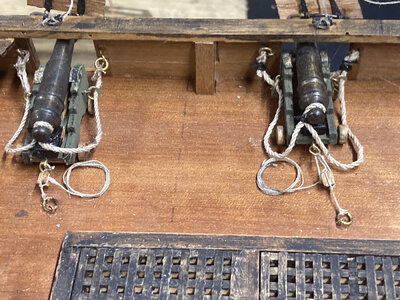
I decided to add the gun tackle as the instructions just show the gun-carriages tied direct to the loops. I'm not really happy with the effect and am having a pause on it to come up with a plan. I haven't finished off the rope ends to anything as I'm not sure what'll look best. It certainly isn't going to look either authentic or practical - there isn't the space for the guns to be run in anyway. I won't have the space with my skills and materials to model the run-out tackles; I'm prepared to settle for just the recoil ropes and not look to closely/distract admirers to something else!
 
Small amounts of progress. I decided to start doing some rigging to see how it goes. I still have some deck work to finish if I take fright!
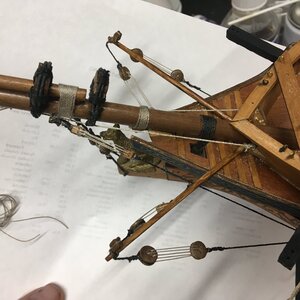
today I threaded the deadeyes to complete the bobstays, added hearts for the outer bowsprit shrouds and tied off the martingales. I decided not to do the blocks for the martingales to keep it a bit simpler in a busy area; the tackles for the jibstay will terminate on the same points.Img_7766[1].jpg
 
Progress on rigging the bowsprit. I'm slow because it's all new techniques to me, and I occasionally shoot myself in the foot (cutting the lanyard as well as the spare tail after doing a deadeye, for instance!). I've also learned the need to make sure the rigging is pointing in the right direction when putting CA on the knot (see starboard bumpkin stay). I don't think using double bl ocks was the right thing on the inner jibstay shroud. I've used hearts on the outer ones, and probably should redo the inners with them too; or deadeyes. Still, all good sport and I will get slicker!
.IMG_7772.JPG
 
Last edited:
Sorted the inner Bowsprit shrouds and added the outer ones. I need to look up how t reeve the lanyards on hearts properly. I'm using shoe polish to tar the ropes. Slowly getting the hang of tensioning and finishing the rigging. I'll be good by the end and want to redo some of this! I need to get my cannon recoil ropes in place now before the foremast goes in. I think the spritsail yard would be a bit vulnerable if I mounted it now,so that can go on much later. I could run some running rigging through the blocks on the end of the bumpkins eventually - it would help tension the shrouds properly, but probably wouldn't be technically correct as there'll be no sails.
Img_7785.jpg
 
Now back in the UK from travels and it's time to revisit the boatyard.
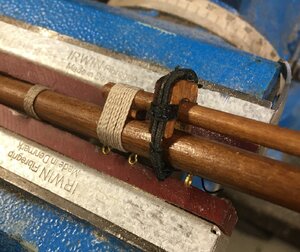
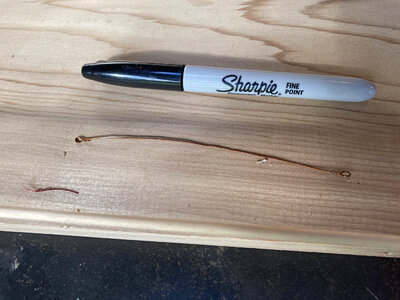
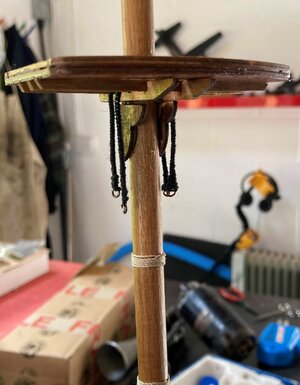
To be honest I can't remember what I was fiddling with last time, but I remember I am not happy with the gun-related tackles, so they need sorted soon. My mind alighted on the Burton pendants for some reason, so I started there. I have a thing about the gravity effects on ropes looking right, and I want the pendants to hang naturally, not stick out at an odd angle. To this end I have tried making them of wire, I tried lacquered copper wire from an electric motor winding (from the man-shed vacuum - mental note 'buy a new one'!).and also some stainless seizing wire I had lying around. I think the copper is better, the serving stayed on it better although I need to improve the serving machine/technique a bit. The serving problem for me is satrting it right at the loop, when I've done it before I have been starting part way down a piece of cord. The end loops don't look right yet, I hope a bit of black paint might do the trick. I need to tidy up the serving hairiness too, but these were first efforts as a proof of concept. I think I can get them to hang straighter with some practice. And yes, that cheek needs to come off and be done again doesn't it! :rolleyes:IMG_8467.jpegIMG_8473 (2).jpeg
 
Well, I've been side-tracked after watching Shelk's videos. I thought I was firmly into the rigging, but I'm now spending a bit of time toning down the 'orangeness' of the kit. Unfortunately I can't do anything about the deck because of all the furniture glued in place already. I'm experimenting with various stains/paint/weathering fluid to see what I can do.
This is the effect I don't want!
773ae.jpg
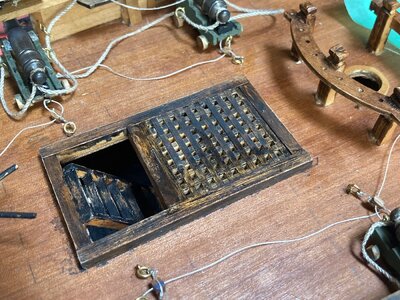
Here's the companionway ladder and deck grating.IMG_8528.jpg

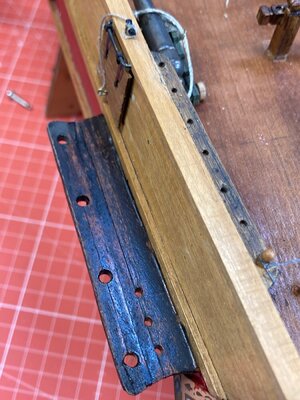
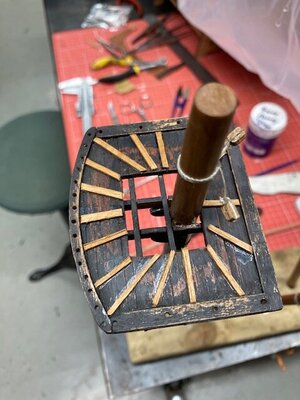
Experiments on channels and pin racks.
IMG_8530.jpg

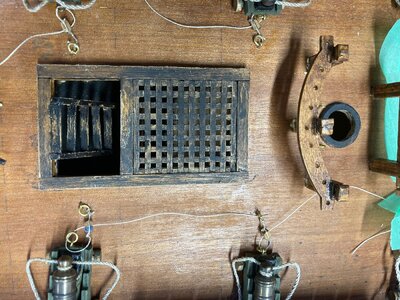
And here is another view of the deck. Fore grating now getting similar treatment.
IMG_8534.jpg

It's all another learning curve!
 
Tinkering away at various little bits currently. I discovered an anomaly in the plans - the 2 sheets showing the rigging are different scales! I knew they weren't 1:1 scale, I had measured one at 90% so was working to that, then I had two side by side and saw the difference Deck levels are lined up:-
IMG_8558[1].jpeg

I've done some more colour work, or shelking as I call it, I've used a grey neutral wash to tone down the rails:

IMG_8553[1].jpeg

and on the ship's boat I've tried a black over flaking compound on the originally red hull - a bit too much black remaining I think.
IMG_8551[1].jpeg

On it's decks I've tried steel wool-in-vinegar solution to tone the wood down a bit, good result from 2 coats but I hate the smell of vinegar! Still work to do on the plastic bits.

IMG_8552[1].jpeg

I can see fitting the deadeyes coming over the horizon soon, so I soldered them up, they still rotate in the wire, so I can line them up properly later.
IMG_8554[1].jpeg

And added some rust to the anchors.

IMG_8555[1].jpeg
 
Those photos make the hull look horrible - maybe I need to paint or finish it differently, it's work I did 30 years ago!
Any suggestions?
 
Last edited:
It looks like you have taken the photo in very bright light and that always makes things look worse. Look at it in daylight and if you are still unhappy with it perhaps try a soft dark furniture wax applied with fine wire wool.
 
I've put some of the rope coils on the decks with the guns. Far from full authentic gun rigging, but only you and I know, eh?

IMG_8707.jpeg

Installed the lower hearts for the mainstay and main preventer stay. The plans and instructions are very coy about where they go, so I was creative.
IMG_8704.jpeg

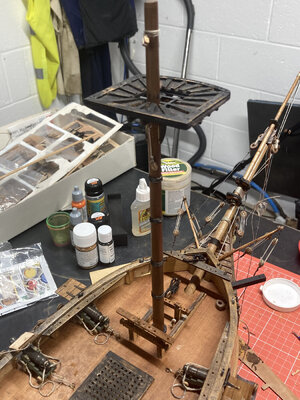
Grasped the moment and stepped the foremast today. Running out of things to do otherwise. Ignore the wood filler, it's for the house!
IMG_8705.jpeg
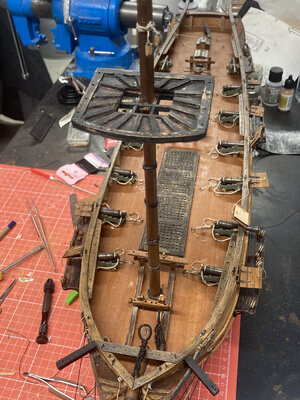
IMG_8706.jpeg

Started serving my first shroud pair. Foremost shroud is served all the way down isn't it? Whatever, I served too long, an need to do it again. I eyeballed it as I didn't want to risk touching the mast as I'd just glued it.
IMG_8703.jpeg
 
Last edited:
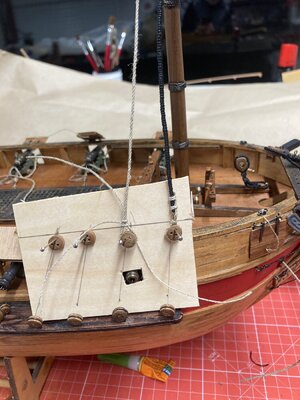
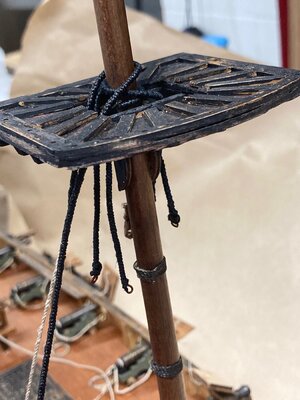
A move into uncharted territory today - started on the shrouds. I'm sure I'll want to come back and re-do the first ones, but they'll be buried under the others at the trees, so I'd better have several goes before I try the second pair! It's 4 degrees in the mancave at the moment, so time / enthusiasm is limited; mind has turned to browsing insulation possibilities!
IMG_8730.jpgIMG_8731.jpg
 
Last edited:
Back
Top