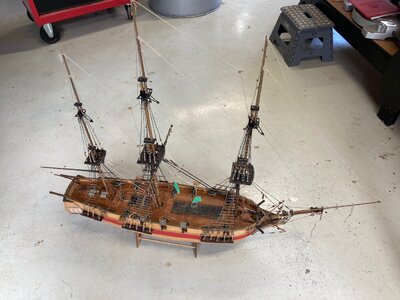
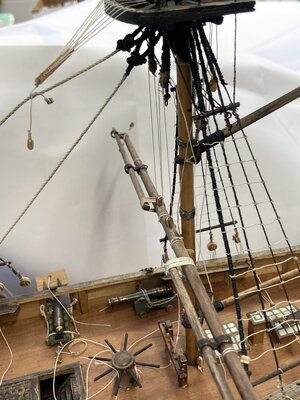
Astrolabe - Mantua 1/50

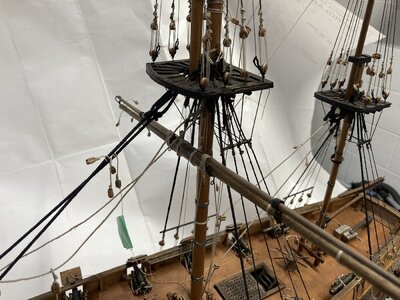
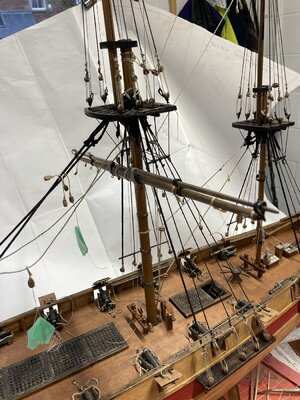
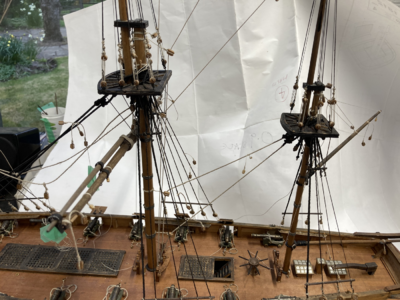
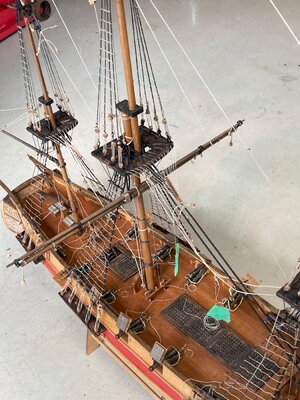
I've been progressing the rigging. This is taking some working out because I now realise that the rigging plan is extremely simplified for the kit, and I've been trying to improve on it. I have a copy of Peterssen, which is not always a help as it is an English ship illustrated not French, and it looks like there are significant differences;- for instance, the mizzen topgallant and royal braces are shown in the kit to run forwards to the main top, while Peterssen shows them running aft to the spanker gaff. Moreover, the kit has them as ropes tied to the yards at one end and to the mast at the other, with no pretence at adjustability! So there's a lot of 'freedom of expression' allowed!
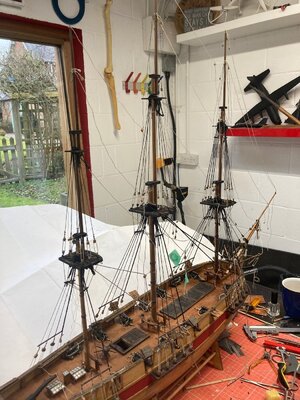
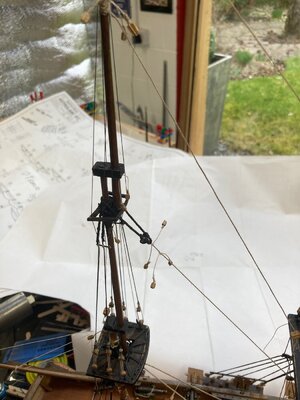
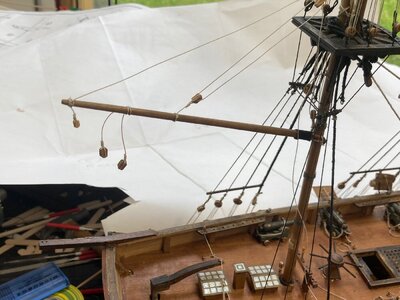
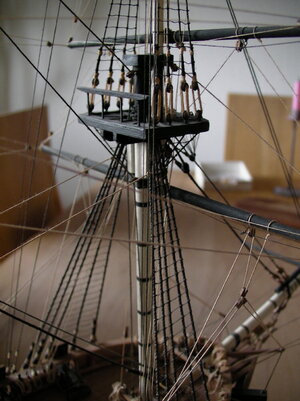
I've got nearly all the standing rigging done barring backstays and ratlines - I'm leaving all that to last for accessibility to the deck for running rigging.IMG_8564.jpg
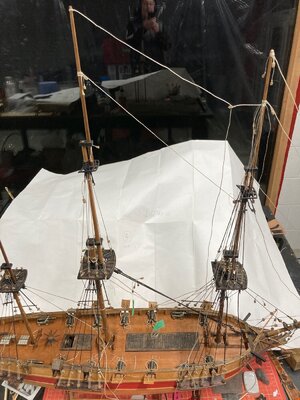
IMG_8572.jpg


Here I'm trying to make the forestays & jibstays a bit more authentic, the kit just has them all tied off to the bowsprit.
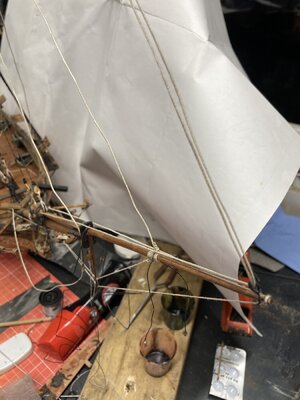
IMG_8559.jpg

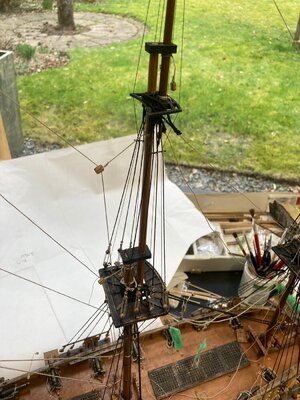
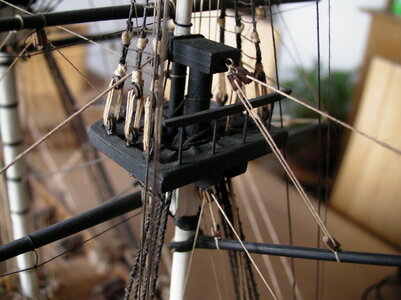
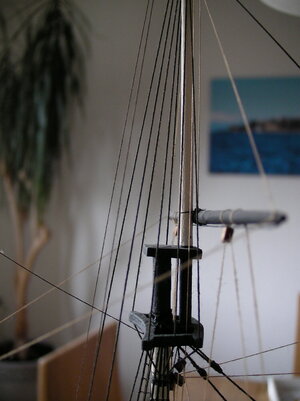
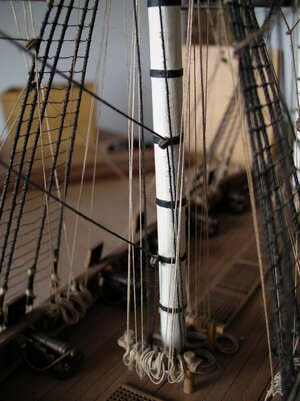
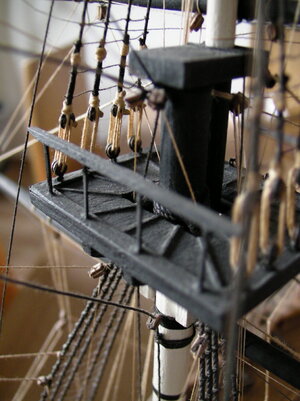
The kit had the topgallant shrouds tied off at the futtock staves, while other texts have them threaded through there and made off at the topmast futtock plates. I have tried to emulate that, and made figure-8s of cord to imitate the lashings. Incidentally, I read that futtock staves are made of rope - I had assumed that they were wood or metal like sheer poles.
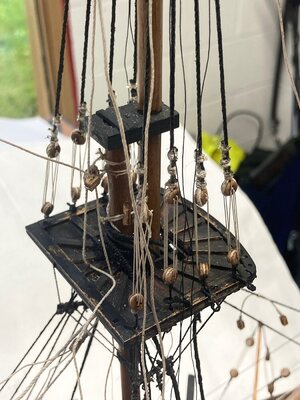
IMG_8573.jpg


The kit plans show no ratlines on the topgallant shrouds - is this correct? How do you get up to the royal yards without them?

I got a bit fed up with rigging in the cold weather, so turned to trying my hand at other bits. Here's a couple of assembled parrals (commercial items). Gravity can make for a long period on the floor trying to find all the bits when you get it wrong! How do parrals run over the wooldings?
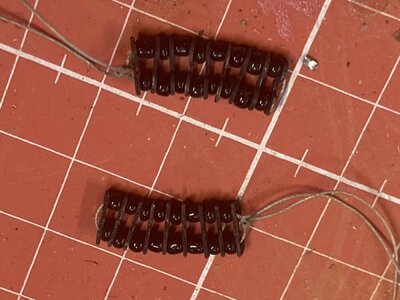
IMG_8556.jpg

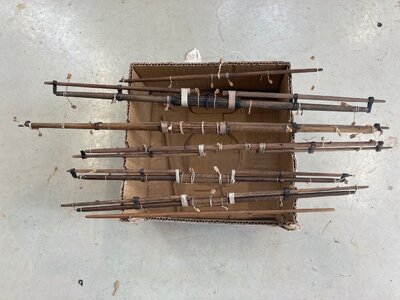
I also made my first yard - the fore course. Again, the kit illustration is fairly basic, so I've improved it (in my eyes anyway!) Nice to be doing some woodwork again.
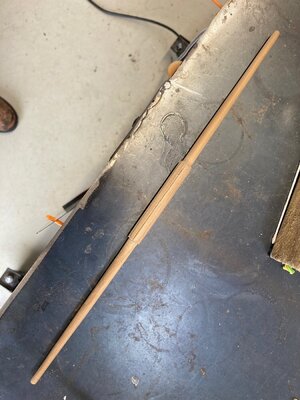
IMG_8538.jpg

IMG_8544.jpg

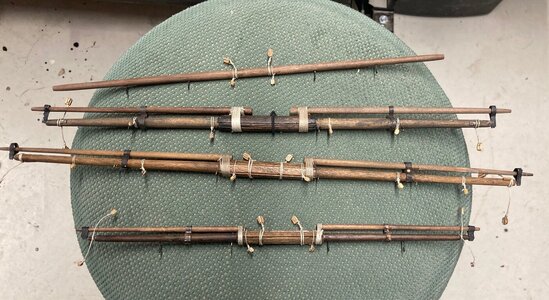
The supplied parts for the stunsail booms are brass wire for the outboard supports and string for the other attachments, which didn't seem correct, so I constructed inner irons from some copper strip. This improved things but I wasn't happy with outer end, so i painted a strip of paper matt black then glued it over the brass wire fitting. Happier now, but you can see I'm a long way from properly authentic!IMG_8551.jpg
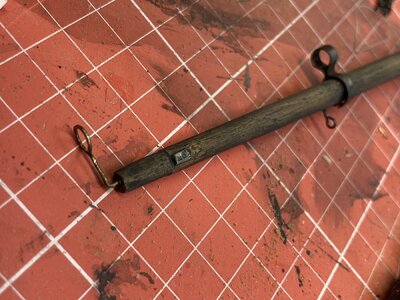
IMG_8554.jpg

I'm dreading the anti-gravity footropes; they'll take a bit of experimentation to make them sag satisfactorily.
 
Last edited:
Today's session curtailed because of allergy to the sanding dust. Lesson learned!
Some pictures of rigging progress - topgallant shrouds finished.
IMG_8592.jpg
IMG_8593.jpg

First attempt at some running rigging - to see how it goes. Some of the rope routes seem to need to go round the edges of tops and rub the edges of lubber holes, which can't be right. Or is it?
IMG_8594.jpg
 
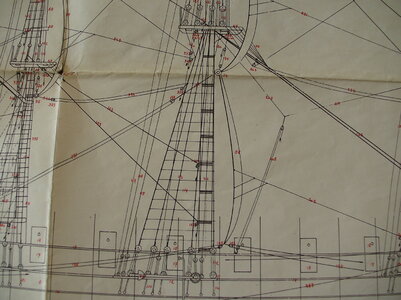
Today I got to where I should have started! I received the package from the French Maritime Museum with a 1/100 scale plan of L'Astrolabe, pictures of the contemporary model in their museum collection and a booklet with some details and simple instructions for modelling. The plan includes all rigging and belaying diagrams, hull lines, colour schemes, yard details and mast and deck layouts. In English! It seems they too had some problems working out what it was like, with the contemporary description of an officer who sailed her for years contradicting the contemporary model, although they also say that due to its major refits it is possible both were true at different times.
Still, I am where I am (75% completed) and what I am (unskilled fantasist with delusions of skill), so I will adapt what I can, and continue on my happy way. IMG_8650[1].jpg IMG_8651[1].jpg
 
Last edited:
Still thinking about her bottom. No sniggering at the back there. I spotted this bronze glitter in the DIY shop and thought I'd try it.
IMG_8709.jpg So I mixed some in with the copper paint.
Here's the result IMG_8710.jpg Not great - better in real life than in a photo.

First yard being hoisted! Another landmark event.
IMG_8712.jpgIMG_8713.jpgIMG_8711.png

And just to give you a laugh, I was tying off the stays to their eyebolts, holding them taught and putting a dab of CA on to hold it while I knotted it permanently. A new bottle of thin CA, which kept dripping on the deck and didn't seem to hold very well. I realised today I'd been using CA De-bonder by mistake. Hey Ho!
 
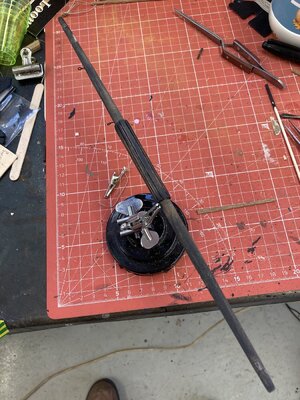
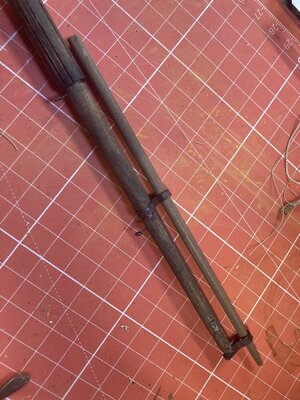
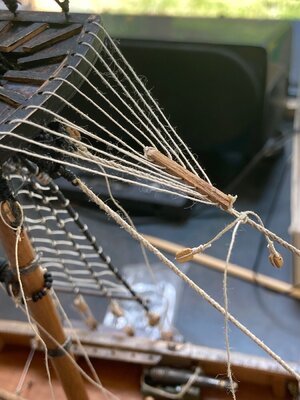
I have realised that I need to do the ratlines before the yards get in the way, so I made a start. Must admit to not looking forward to this bit! I made a tool with two lolipop sticks sanded to 9mm wide separated by a 0.7mm slip of wood to use as a spacer between ratlines.
IMG_8716.jpg

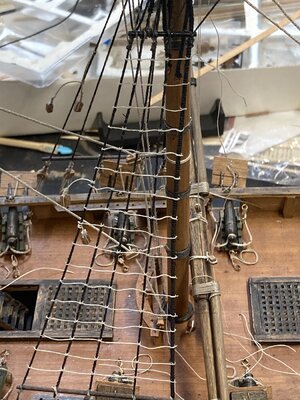
Then starts the task of trying to make the ratlines realistic in sag. Here's the first attempts.

IMG_8717.jpg


A couple of other thoughts.
Cannon port doors are realy vulnerable during building, and externally accessible. Why do they get fitted as part of the hull construction? I would leave them to virtually the last item after rigging is finished in future as they get knocked off and damaged too easily.

Having got the French museum plans and had a chance to study them, I can see a couple of inaccuracies that crept in to the model build that has been an inspiration to me (Arthur's version on modelshipbuilder http://modelshipbuilder.com/e107_plugins/forum/forum_viewtopic.php?3817.0 ). One is the bowsprit gammoning which he considered could not run down the outside and under the decorative boards on the bow - it seems that on the original they did. The second is that the ship did indeed have stunsail booms on the mizzen course yard, so I have added them to mine.

Onwards & upwards!
 
True to form, I have conflicting data! French museum information says ratlines 6mm apart, Mantua say 9mm. Wider spacing = less to do, so that's what I'm going with.
I've now done 150 ratline knots, so 50 to go before I'm comfortable, according to Kurt! The knotting is straightforward, trying not to pull the shrouds in and get the correct sag is a challenge. I have removed and replaced some already.
IMG_8722.jpg

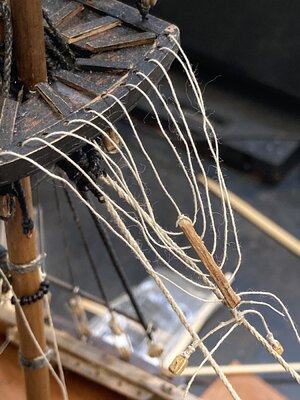
In the meantime I'm having a shot at the crow's feet and euphroes. 3 to do and I've made about a dozen euphroes so far. Second attempt at rigging the mizzen one and it's not too bad but you need far more thread than you think! but need to sort out tensioning evenly prior to finalising. All that pulling the thread through the holes on the platform and euphroe sure raises the fuzz. Need to plan a n answer to that too.
IMG_8721.jpg
 
Hi Jimmy!

The French construction plan scale 1:100 shows a ratline every 5 mm (scale 1:50 = 10 mm). At the main mast total 19 pieces below. On the museum photo there are 25 pieces. If I count the museum photo, there is a ratline every 0,76 mm.

This agree with "Mondfeld" (original 35-38 cm) and "Boudriot" (original 38-40 cm) 38 cm= 0,76 mm (scale 1:50).

The French construction plan is too roughly drawn.

Best regards
Thomas
 
Thanks Thomas, I think you mean 7.6mm, not 0.76. The text document that comes with the plan is where it says ratlines every 3mm (at 1/100 scale) so 6mm at 1/50.
All this variation in data from different sources is great because you can never be wrong!
 
I agree here with the given information by Thomas and would follow Boudriots information
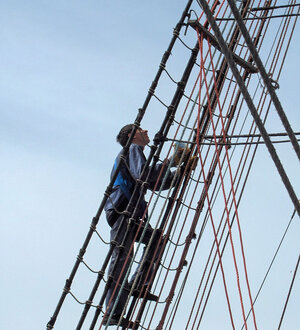
A seaman has to be able to climb up safely (as much as possible)

800px-Mir(22).jpg

ratlines are nothing else than a ladder - nowadays we have a distance between 28cm (so much less than the information given by Mondfeld and Boudriot)
 
Steel's "Elements & Practice" says 13 inches, which is 33cm.
Interesting that as the human body has grown bigger over the years, our ladder steps are coming closer together!
 
Steel's "Elements & Practice" says 13 inches, which is 33cm.
Interesting that as the human body has grown bigger over the years, our ladder steps are coming closer together!
safty is getting more and more important, also the individual life is counted higher than in the past.
and ladders have to be used also by old guys like us - in the past I guess the oldest seaman climbing up the mast was around 40.....
 
Hi Jimmy!

Of course 7,6 mm is correct!

SANY1171.JPG
The French construction plan was probably revised. It shows considerable differences to your latest plan in the number of ratlines to my 40 years old old plan! I would stick to the museum model and thus at the same time to the information of Boudriot.

Cheers
Thomas
 
Last edited:
Hi Jimmy!

Of course 7,6 mm is correct!

View attachment 226090
The French construction plan was probably revised. It shows considerable differences to your latest plan in the number of ratlines to my 40 years old old plan! I would stick to the museum model and thus at the same time to the information of Boudriot.

Cheers
Thomas
It certainly has changed - yours shows 19 ratlines on the mainmast, my plan from AAMM shows 32! I have installed 17 ; I think I'll stick with that.
 
The ratlines are finished, and as I feared, it's not pretty! Unfortunately (or fortunately!) I can't take them off to do them again! If I did, I'd do them a bit closer together (see discussion above). I have still to finally go over them with PVA to get the sag right. Hopefully they'll improve a bit. First model F*kups I call them.
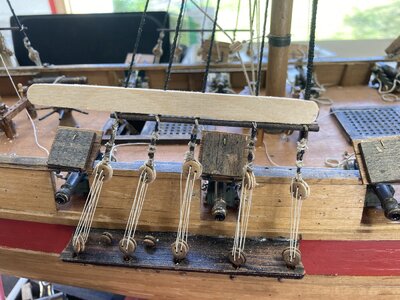
I've been spending the time dressing the yards, well, the lower ones so far. I've added some blocks for running rigging as I think they're tooo bare otherwise, even though I don't intend to add much RR.
IMG_8776.jpg

I've tensioned the mizzen crowfoot, ugly isn't it? After this photo I flamed them to get the fuzz off - jeez that was close! Not a lot of space to get in and keep the flame moving! The mainmast crowfoot has been done with a different make of thread, and it hasn't fuzzed up with the threading through the narrow holes.
IMG_8772.jpg

Main crowfoot added and main course yard hung on its jeers.
IMG_8777.jpg

IMG_8778.jpg
 
Great and detailed job on rigging, Jim! But...if you don't mind, your macro revels fuzz on the thread. Maybe, if it is not too late, you can replace it? Another way, but dangerous is to use lighter flame (super, super-fast, alone the thread). The fuzz is a perfect place to accumulate dust and hard to get rid of it, later.
 
After 11 months of work and other stuff, I've finally found my way back to do some more progress. Trying to remember what I was doing and where I'd got to on different areas has been a challenge, not helped by my adding more bits. The more I do, the more I see that could be done; it's difficult to know where to draw the line because I can always see a way of making it better (read 'complicated'). Working from both the Mantua plans and the AAMM plans doesn't help - e.g. the halyards for the upper two yards go through sheaves in the mast, but the kit plan had me adding stropped blocks for them, so they have to come off and the mast drilled.
I've been fitting out yards, hanging yards and adding some more rigging.
I'm using wire for the footropes on the yards - I can make it drape more realistically than thread.IMG_8717[1].jpg
IMG_8722[1].jpgIMG_8721[1].jpg

IMG_8721[1].jpg
 
Back
Top