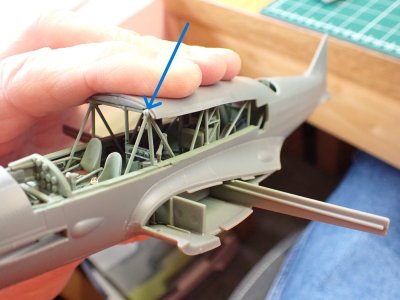
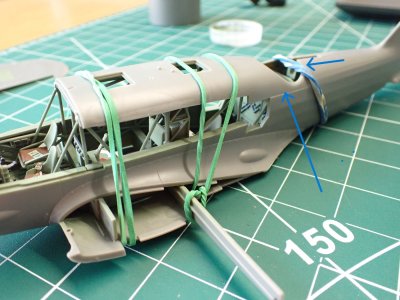
This morning's work has been a plodding session tidying up some seams. Although the fit of the kit is very good I have still managed some minot misalignments, maybe 0.1mm or less but they would still be visible and there's no denying that a visible seam, especially facing upwards and catching the light completely ruins the appearance of a model. What's the point of drilling out gun barrels and weathering the paintwork when you can't hide the fact that it's plastic, badly glued together.
I find that it takes just as long to clean up the seams on a well engineered kit as on a limited-run job that fits like a cheap suit ("It fits where it touches, Sir.") This is because filling a 2.0mm gap is quick and easy, it's sorting out the last 0.00001mm that takes the time.
View attachment 509697
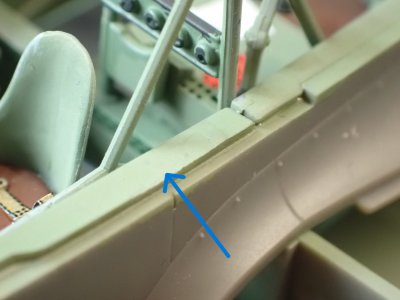
This is underneath so slightly lower priority, but it's going to be sprayed silver dope which tends to show up the surface irregularities a lot. It's also got a nice fabric-over-stringer texture that I wanted to keep if possible. This is the scraper stage. I use scalpels with the cutting edges peened over like a cabinet scraper by drawing them over the back of another blade. You only need the tiniest hook for removing very thin shavings. Use the lightest pressure too and a blade with an appropriate curve.
View attachment 509698
Switching to sandpaper I used a shaped rubber eraser as a sanding block. That's 600 grit for stock removal then 1200 for smoothing and then nylon tights/pantyhose for polishing.
View attachment 509699
Where I managed to make some melted plastic extrude from the join there's no need for filler but I messed up here through lack of practice.
View attachment 509700
Superglue is a fast and effective filler for small divots like these. You have to be careful sanding it back because it's harder than the surrounding plastic making a solid sanding pad of some sort essential if you want to avoid an ocean wave effect.
View attachment 509701
I lost a lot of surface detail, notably three lines of rivets, so I put them back in with this tool from Trumpeter.
View attachment 509702
My rivets are finer than the kit ones but I don't think it will be too obvious under primer and paint.
View attachment 509703
Drat! More divots on the spine.
View attachment 509704
And after the treatment. I've lost some of the stringer detail but I'll accept that, grudgingly, in order to keep up momentum.
View attachment 509705
With the seams attended to, I popped inside and fitted a set of aftermarket lap straps. I believe that only the pilot was strapped in; the other two just held on tight!
I'm conflicted about aftermarket goodies. Sometimes I rail against them as de-skilling the hobby and providing an easy fix for the wealthy and other times I think that they can make a huge difference, as here, for little money and less time. Perhaps I only hate the stuff I can't afford, which is a deplorable attitude to take and I should be ashamed of myself.

[Oh these big pictures - I see so much that I
could have improved. That rudder bar arrangement with all the clips and bearings might have been magnificent with some ally tape and careful painting.]


 ing is one of my hobbies. Now that it's frequently broken by old man's maladies I find that my sleep is sprinkled* with amazing dreams. I am often aware that I am dreaming and sometimes I'm able to decide what to do next. Last night's bedtime scan of SoS included a thread about LED lighting on models and then I read a few chapters of World War Z, a zombie/sci-fi novel. In the consequent dream I found myself being irritated by zombies who were in the way while I was working at wiring up some industrial type lighting in an old railway tunnel. Not a nightmare, more of a comedy. You simply can't rely on a zombie to hold a torch for you. Come to think of it, I worked with some similarly useless zombies before I retired.
