Winter, as handling epoxy in an unheated garage matters, seemed to last almost till the end of April.
Finally the temperatures and my time have coincided enough that I may finally get this ostrich egg finished.
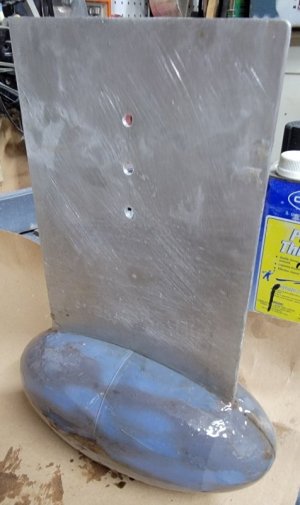
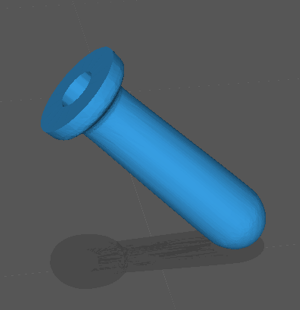
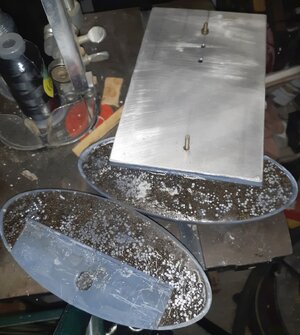
It seems the plastic egg deformed a little from the weight, so the two halves don't lay flat to each other. If I do this again, and for you folks thinking of using this method, I will model ribs inside the bulb to stiffen it, and fashion some sort of cradle to sit on that supports it so the bulb doesn't try to flatten out as the epoxy and lead set-up.
There were also pockets in the bulb that resin hadn't gotten to and I could hear the shot rattling around inside. (If there's a next time, I'll mix shot and resin separately and pour the mix in the bulb.) What sounded like the biggest of these pockets was behind the flange? I modeled in for the plate to slide into. I opened the holes here to pour more resin in and hopefully fill this void.
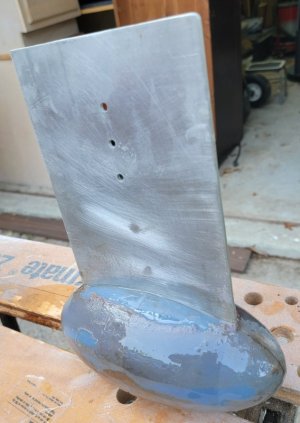
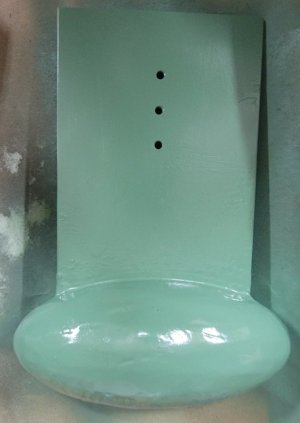
I re-drilled to holes for the pin that will keep the bulb from sliding off the plate, and cut about a 3 inch length of 3/16" brass rod for the pin.
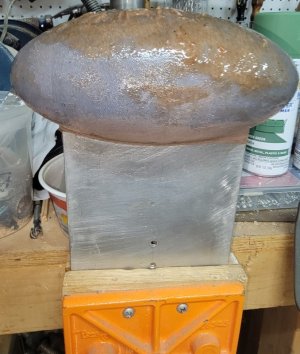
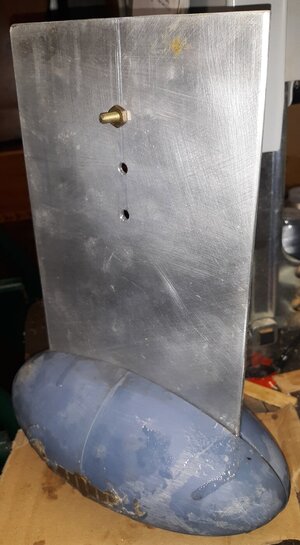
I mixed very fine sawdust from my band-saw with the epoxy to make a paste of it, and buttered both sides of the bulb, placed the pin, and plate, and put the other half on.
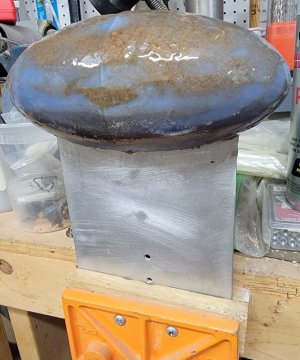
I used a sliver of wood as a wedge to hold the seam on top, where the plate enters, as close as I could, making something of a gap at the bottom. The epoxy butter filled this in fairly well, but the seam's open almost all the way around, which I'll fill with more epoxy butter.
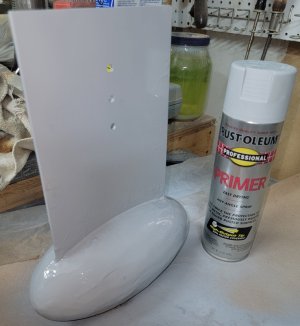
The bulb also needs some clean-up from epoxy runs and cardboard that stuck to it; and I intend to wrap it in glass cloth as that'll be stronger than the resin alone if the boat should hit a rock or something.


Last edited:


