• SUBSCRIBE TO SHIPS IN SCALE TODAY!

    The beloved Ships in Scale Magazine is back and charting a new course for 2026!
    Discover new skills, new techniques, and new inspirations in every issue.

    NOTE THAT OUR NEXT ISSUE WILL BE July/August 2026
  • Win a Free Custom Engraved Brass Coin!!!
    As a way to introduce our brass coins to the community, we will raffle off a free coin during the month of August. Follow link ABOVE for instructions for entering.

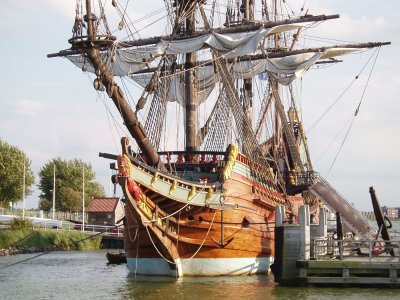
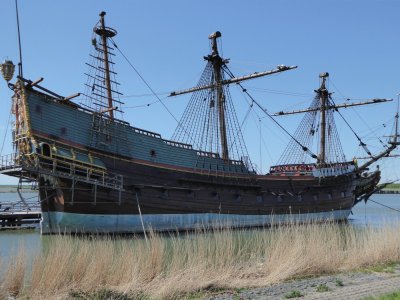
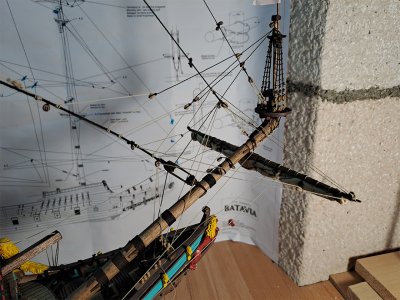
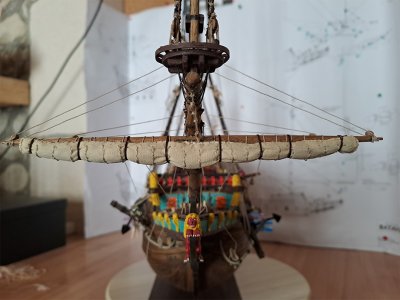
Batavia 1628 (1:72) Kolderstok Build log

Clemens,

Great idea to add sails. Lots of extra thinking required Cautious as you know.

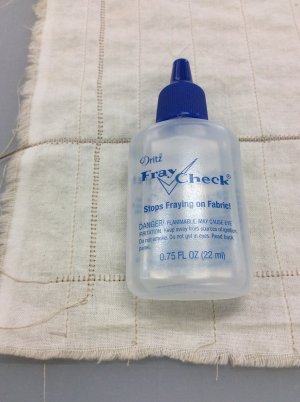
A suggestion -- after I hemmed the sails for the Santisima - I wet the edges with this product. Let it dry (invisible BTW) then used a fabric cutter to cut off the excess. Worked really great.

Please-- I don't like to add my images into other member's logs - so please PM me I will certainly remove the image of the sail

Good luck with the sails your work is so excellent....


Regards,
3 copy.jpgIMG_0274 copy.jpg
 
The update for week 26-2026.

Thanks for your comments as well. But... John, in our case, we made a plan and are making the sails with hems and without glue.
Just the fabric and thread. My wife does the hems, then I mark the "panels" with a hard pencil, after which she sews the panels on.
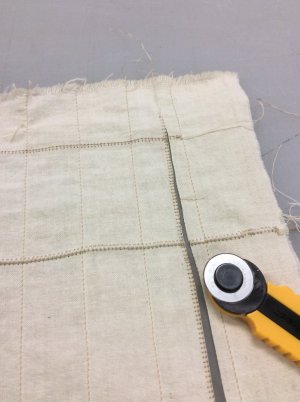
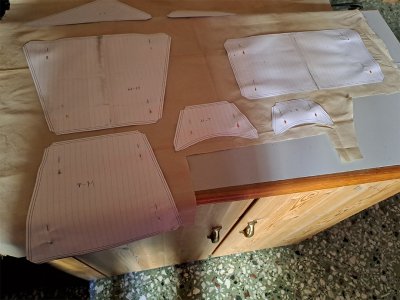
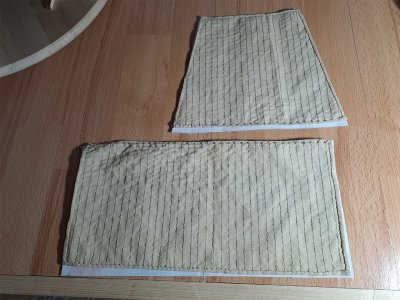
The samples were first pinned to the fabric and all in the same direction. (3 had already been cut out here)
20260628_001.jpg

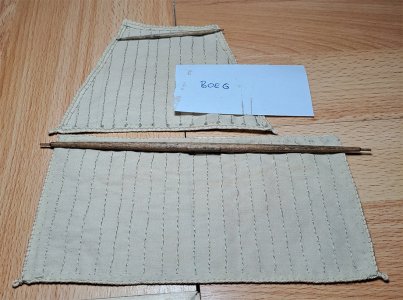
The first and second are the sprit sails. Hemming around it and the stripes drawn.
20260628_002.jpg

Next, both sprit sails, which are now both ready for my work.
Due to the shadow, the yarn looks very dark, but that is certainly not the case. See the last photo of this post. In detail.
20260628_003.jpg

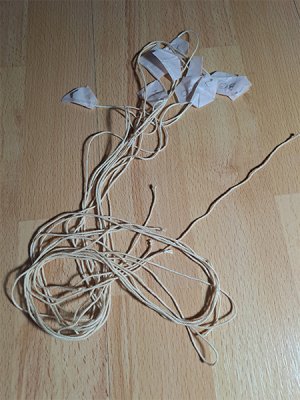
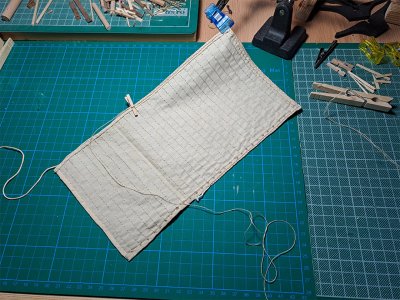
Determined the length of all sails and the bolt ropes with some excess length.
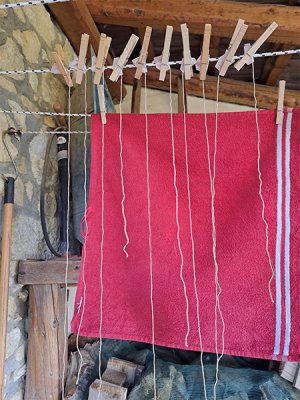
We thought these were a bit too light from the kit and they were given "tea treatment". Earl Gray to be precise.
The test showed that with 10 minutes in the dark tea, it would do the job.
So on the line to dry for the night. All labeled so as not to get confused.
20260628_004.jpg 20260628_005.jpg

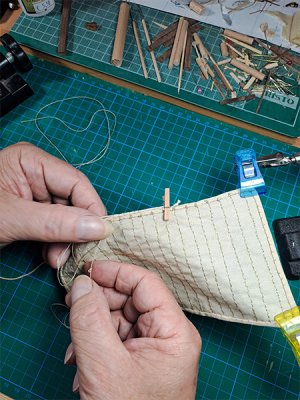
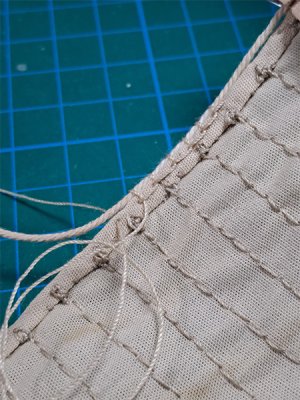
Then I started with the bottom sprit sail and bold rope. And as can be seen in detail, I do not put the blanket stich on the top, as indicated in the kit description, but one on the side on the hem.
Just practice and be careful where you stick the needle. Also practiced that first on a test piece.
20260628_006.jpg 20260628_007.jpg

It requires patience, just like the ratline knots. I hope that patience will be rewarded.

More next week, and we will see how far we have come.

Have a great building week.
 
The update for week 26-2026.

Thanks for your comments as well. But... John, in our case, we made a plan and are making the sails with hems and without glue.
Just the fabric and thread. My wife does the hems, then I mark the "panels" with a hard pencil, after which she sews the panels on.
The samples were first pinned to the fabric and all in the same direction. (3 had already been cut out here)
View attachment 615356

The first and second are the sprit sails. Hemming around it and the stripes drawn.
View attachment 615357

Next, both sprit sails, which are now both ready for my work.
Due to the shadow, the yarn looks very dark, but that is certainly not the case. See the last photo of this post. In detail.
View attachment 615358

Determined the length of all sails and the bolt ropes with some excess length.
We thought these were a bit too light from the kit and they were given "tea treatment". Earl Gray to be precise.
The test showed that with 10 minutes in the dark tea, it would do the job.
So on the line to dry for the night. All labeled so as not to get confused.
View attachment 615360 View attachment 615361

Then I started with the bottom sprit sail and bold rope. And as can be seen in detail, I do not put the blanket stich on the top, as indicated in the kit description, but one on the side on the hem.
Just practice and be careful where you stick the needle. Also practiced that first on a test piece.
View attachment 615362 View attachment 615363

It requires patience, just like the ratline knots. I hope that patience will be rewarded.

More next week, and we will see how far we have come.

Have a great building week.
A very nice handmade sails, making those sails, Clemens.
Regards, Peter
 
Last edited:
There was a topic at at another log regarding making sure that we all post in English after the original language is AI translated given that English is this site's preferred tongue

Seems that IA is still learning ROTF or Google translate are still works in progress.
Deleted the original post bij myself. 'Subject' adjusted.
PS: Sorry for polluting the log.
Regards, Peter
 
Last edited:
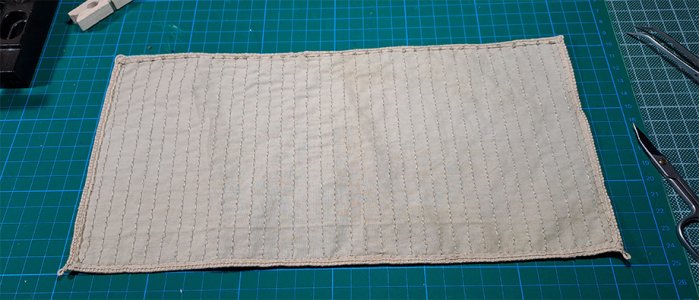
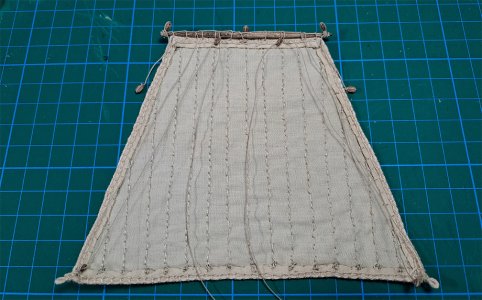
The update for week 27-2026.

This past week, only sail work on the Batavia. My wife on the rolled hems and panels, and me on bold rope.
The festoon stitches are progressing steadily. Patience and also lots of breaks. ;)

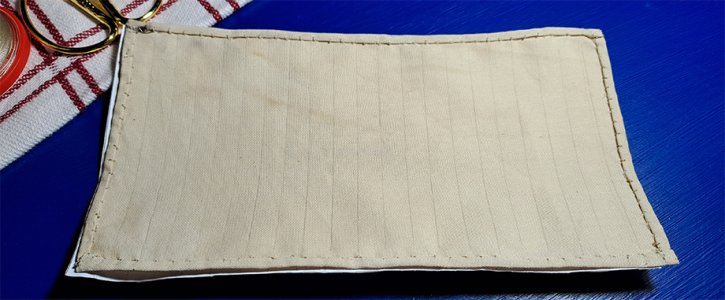
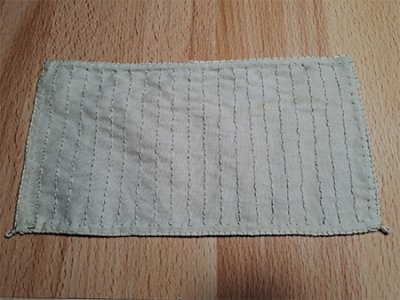
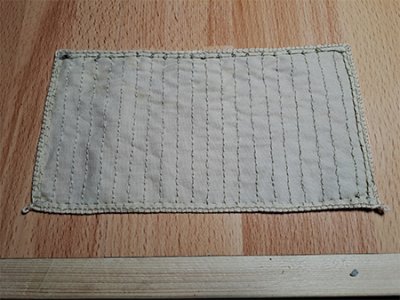
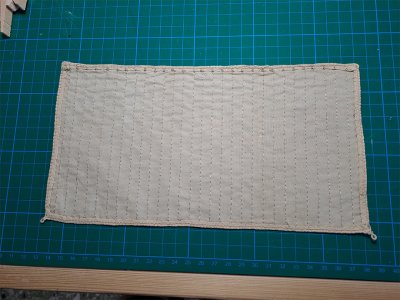
The front and back of the bottom sprit sail.
20260705_002.jpg 20260705_001.jpg

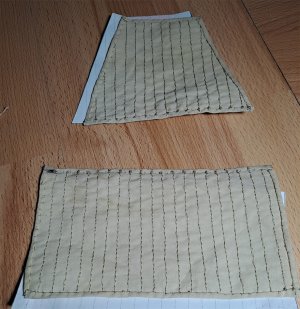
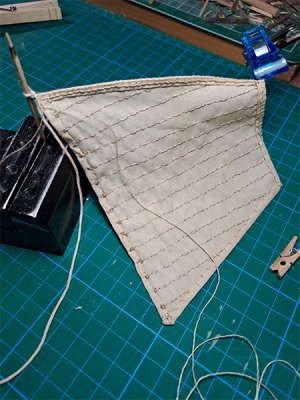
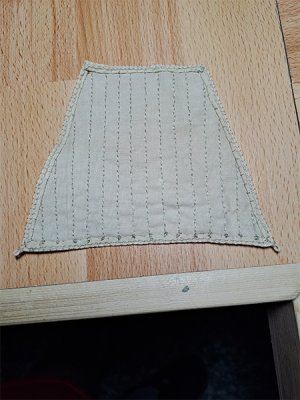
And the upper/top sprit sail. 1 photo of it in progress and the other ready.
20260705_003.jpg 20260705_004.jpg

It looks like there is a curve in it, but there isn't. The edge is slightly raised. It doesn't lie flat.
Right now I am working on the Fore sail and my wife on the Main sail. After all, they all need to be done. ;)

Have a great building week and until the next update.
 
The update for week 27-2026.

This past week, only sail work on the Batavia. My wife on the rolled hems and panels, and me on bold rope.
The festoon stitches are progressing steadily. Patience and also lots of breaks. ;)

The front and back of the bottom sprit sail.
View attachment 616875 View attachment 616876

And the upper/top sprit sail. 1 photo of it in progress and the other ready.
View attachment 616877 View attachment 616878

It looks like there is a curve in it, but there isn't. The edge is slightly raised. It doesn't lie flat.
Right now I am working on the Fore sail and my wife on the Main sail. After all, they all need to be done. ;)

Have a great building week and until the next update.
A lot of work with good progress, Clemens.
Regards, Peter
 
Last edited:
Great idea -- It deserves a much better historical display - even though it is a replica...

Reminds me of the Cutty Sark - that now has an incredible out-of-the-water museum display.
PS: one of our very important members was involved in the building of its new display

AND next year the Oseberg will finally get its marvelous new museum as well.
Vasa - of course - visited by more than a million every year..

Regards,
 
The update for week 28-2026.

Thanks for the nice images, likes and comments.

Had been busy with the sails all week.
My wife with the Fore topmast sail and Mainsail. Stitching roller hems and panels.
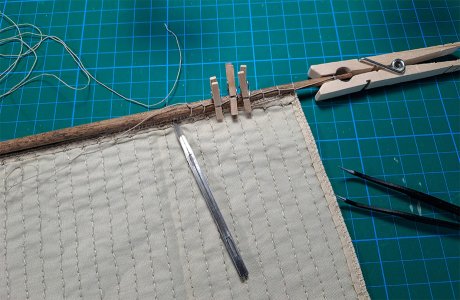
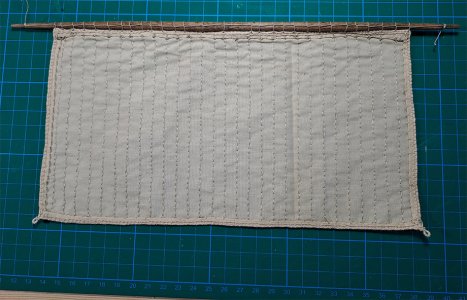
Me personally with just the Fore sail. Bold rope and blanket stiches. ;)
So no exciting photos this week. Just what we did.
20260712_001.jpg

Fore sail under construction.
20260712_002.jpg

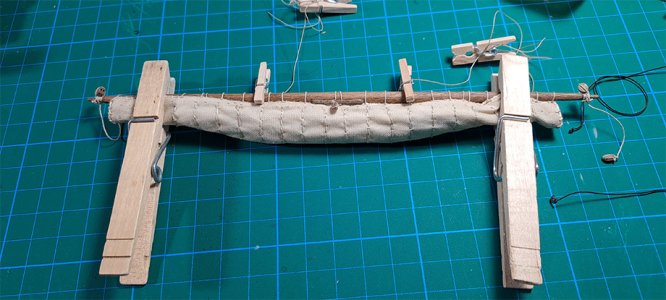
Foremast sail and main sail fitted with "panels".
20260712_003.jpg

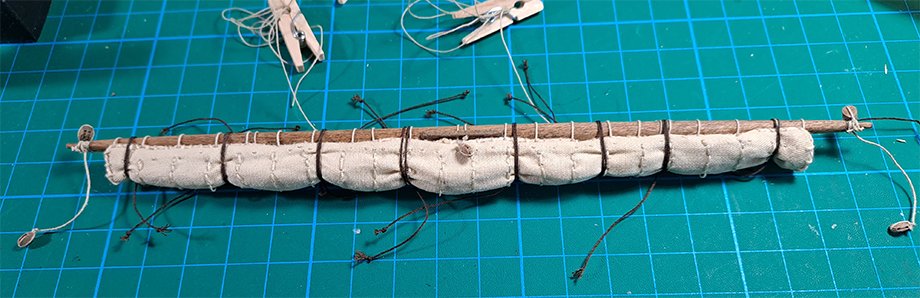
Foresail ready and fitted with bold rope.
20260712_004.jpg
Until the next update and stay cool. Beer
 
Back
Top