-

Win a Free Custom Engraved Brass Coin!!!
As a way to introduce our brass coins to the community, we will raffle off a free coin during the month of August. Follow link ABOVE for instructions for entering.
-

PRE-ORDER SHIPS IN SCALE TODAY!
The beloved Ships in Scale Magazine is back and charting a new course for 2026!
Discover new skills, new techniques, and new inspirations in every issue.
NOTE THAT OUR FIRST ISSUE WILL BE JAN/FEB 2026
You are using an out of date browser. It may not display this or other websites correctly.
You should upgrade or use an alternative browser.
You should upgrade or use an alternative browser.
Black Swan
- Thread starter GIG1810
- Start date
- Watchers 26
-
- Tags
- black swan occre
- Joined
- Dec 5, 2022
- Messages
- 1,119
- Points
- 443

Hey Paul,What a beautiful outcome at this scale! I can't wait to see it finished.
Thanks for your nice comment. That feels good and I will continue to do everything I can to make it a beautiful little model. Just like you, I can hardly wait when I can finally finish it. I have to slow myself down, otherwise I won't work properly. We'll both have to be patient a little longer.
Best regards
Günter

- Joined
- Dec 5, 2022
- Messages
- 1,119
- Points
- 443

Hey Grant,Good afternoon. I agree with Paul. Stunning work at this scale- kudos. Cheers Grant
Thank you very much for your great praise. It is a great honor for me to receive praise from such a great model maker as you are. Thank you very much.
I am very pleased that you like it and I hope that it continues with the construction.
Cheers
Günther

Hi Günther, you are doing a fine job on your Black Pearl transformation into A Royal Navy ship. I love your animated helper who shows up from time to time as well.
- Joined
- Dec 5, 2022
- Messages
- 1,119
- Points
- 443

Hey guys,
another little update.
This is a small step for mankind, but a big step for Günther.
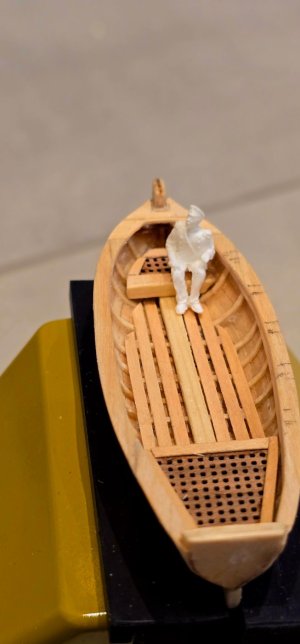
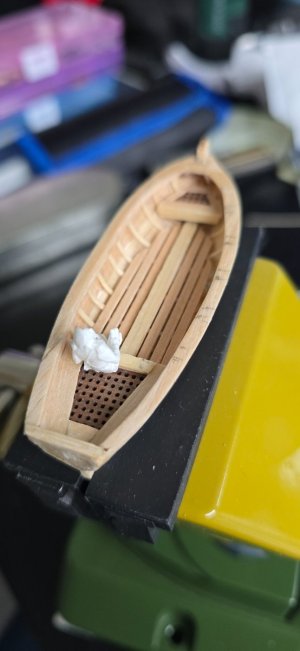
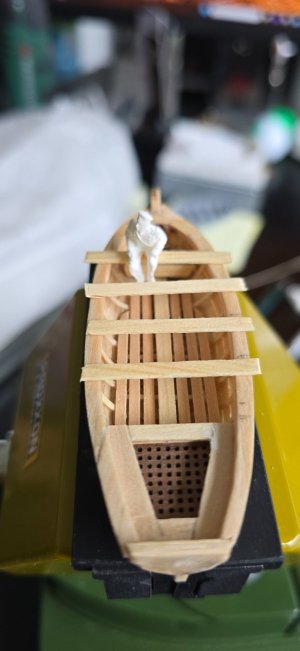
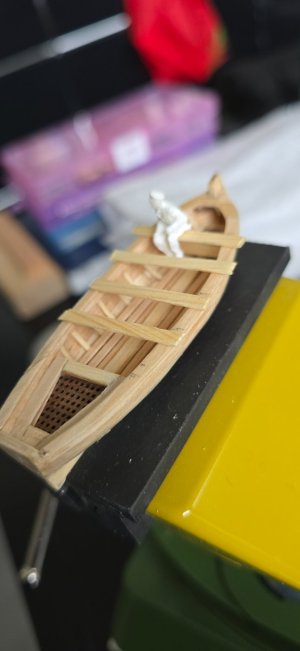
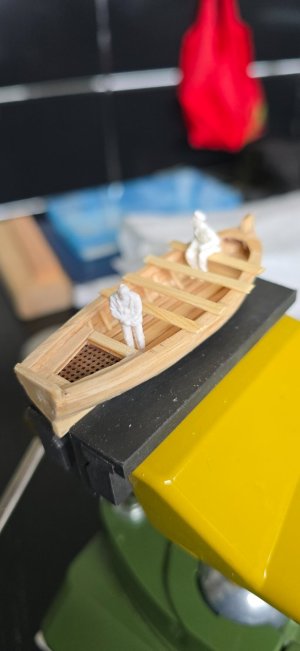
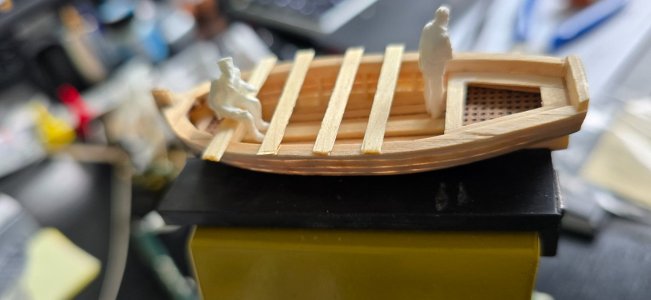
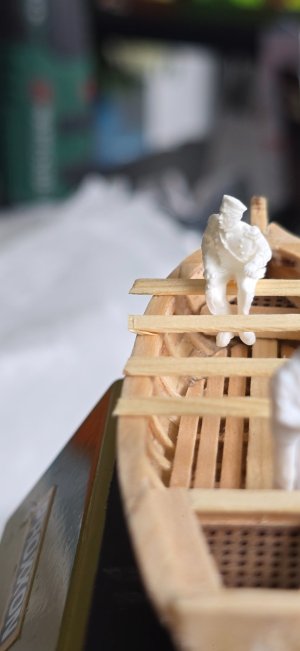
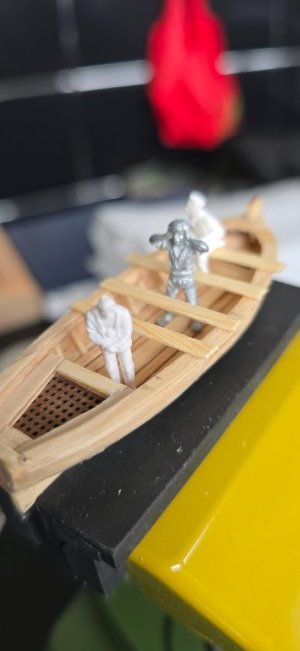
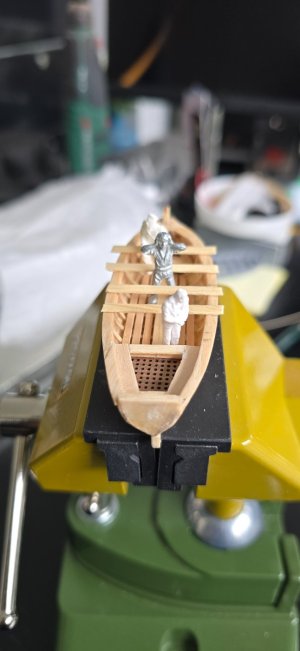
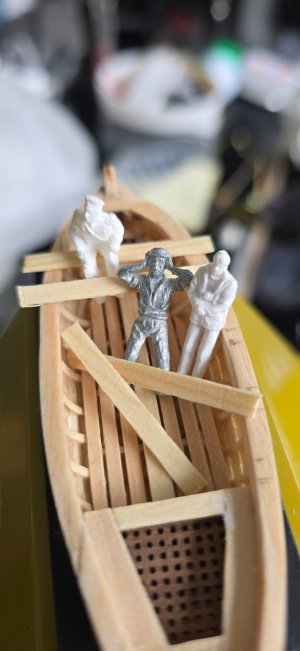
After a lot of fitting, cutting and sanding, I was able to fit the rear seat of the Lifeboat and I'm really happy that it fit. The next step was to adjust the seat boards.
The seat boards have a width of 2.5 mm and a thickness of 0.5 mm. Unfortunately, these thin planks always have the problem of splintering or breaking quickly. Gluing them together is also difficult, as they bond very quickly to the substrate due to their thinness.
However, the seat planks still need to be sanded so that they fit.
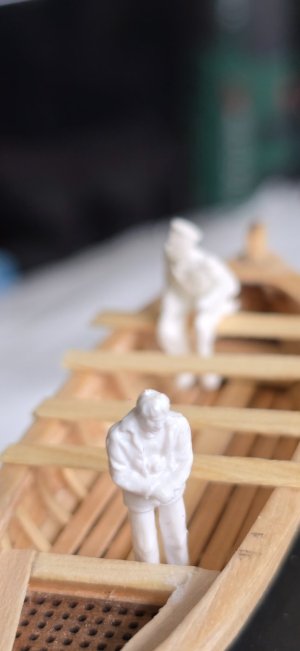
My sailors were delighted with the fantastic lifeboat and wanted to sit in it straight away and row up and away.
But Mr. McRoudy once again prevented the worst.
Cheers
Günther


- Joined
- Dec 5, 2022
- Messages
- 1,119
- Points
- 443

Hey guys,
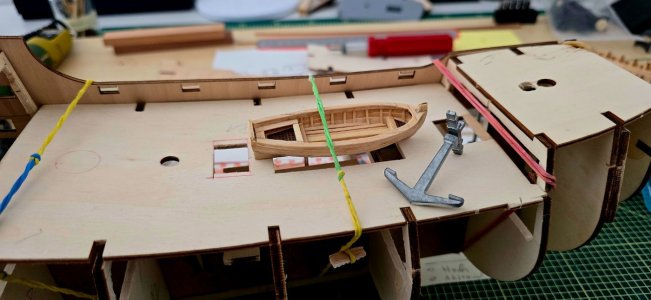
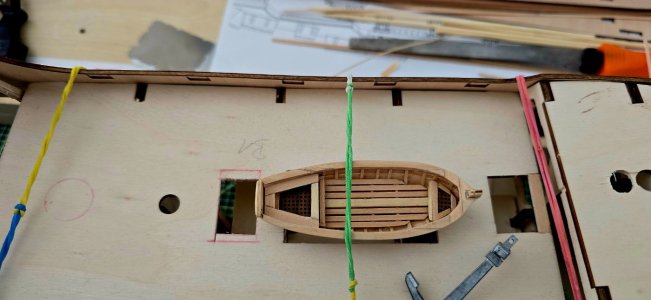
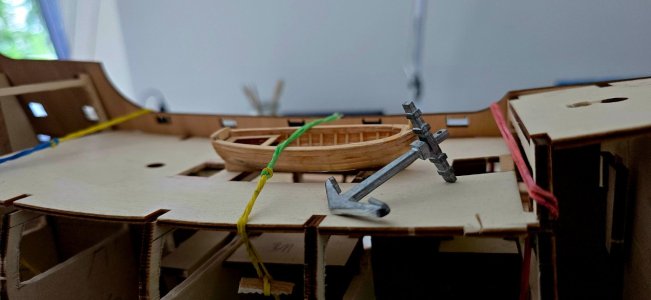
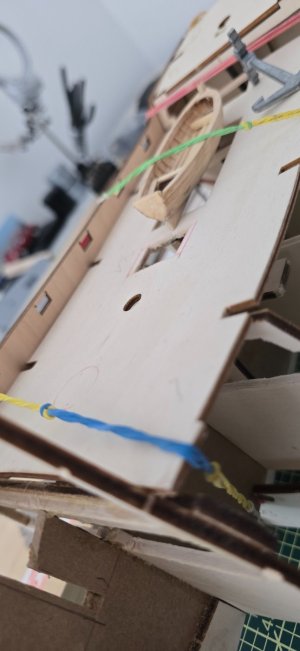
I had some time today and tried out how the lifeboat will look on the Athena. I just positioned it and I have to say, a grin ran down my face. I was really pleased that it fits in terms of length. The OcCre dinghy looks terrible, like a huge nutshell on board the beautiful Athena. She's still in the construction phase, where it doesn't look so nice. But, don't worry Mr. McRoudy and I will make her beautiful...
Cheers
Günther


- Joined
- Dec 5, 2022
- Messages
- 1,119
- Points
- 443

Hey guys,
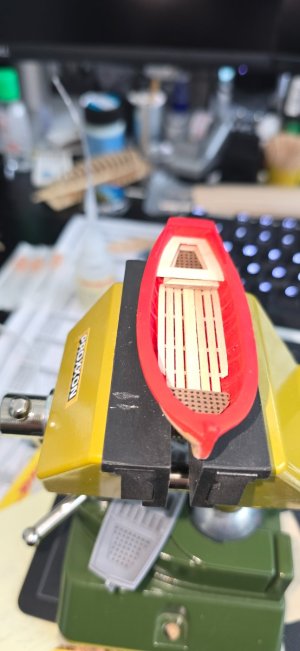
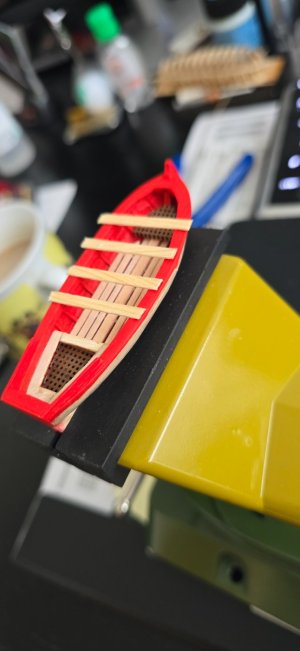
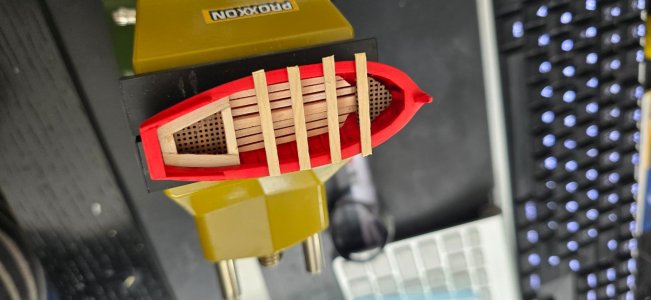
I've already done a bit of painting and my Lifeboad has been given its first coat of paint. I thought it was really nice to see the Lifeboat in paint for once. Unfortunately, I made a mistake when sanding and had to redo the bottom of the boat. It's really a lot of work as all the parts are so small. I also had to redo the seat boards. Unfortunately, the old wood splintered too much.
There is a saying in Germany: “The squirrel eats hard”. I hope you know what I mean. In other words, even if it is a lot of work, it will be worth it in the end.
Of course, everything is still loose and unfinished.
In that sense.
Cheers Günther


- Joined
- Dec 5, 2022
- Messages
- 1,119
- Points
- 443

Hello guys,
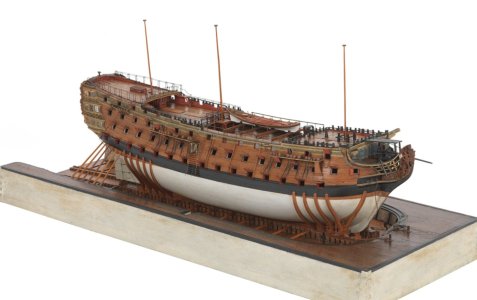
so now a little update from me too. The work on my dinghy for the Athena is almost finished. Now I have to paint and assemble everything. For the colors of the dinghy I have kept to the dinghy of the old Victory. I decided to use the colors of the Victory from Artesania Latina (AL). Sh. photo. (Source: Marine Museum).
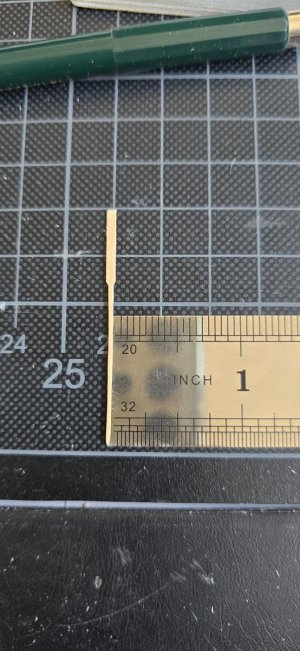
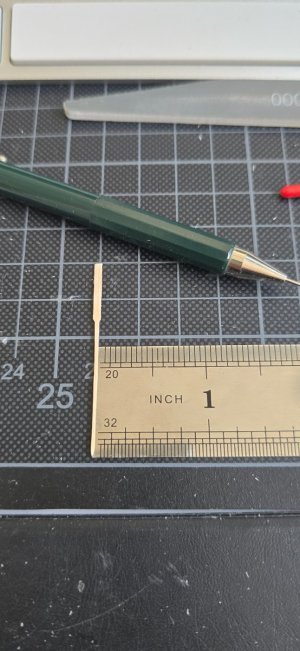
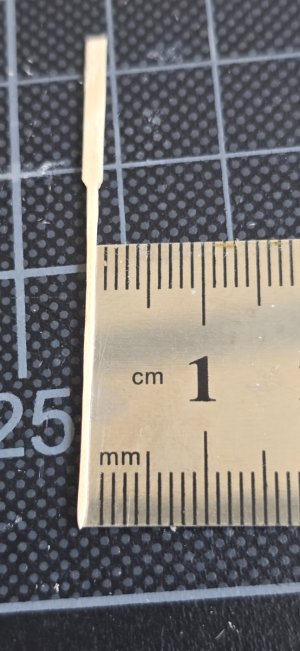
I wanted to show you that I have finished the rudder blades and how tiny they are. Making the rudder blades was a real pain in the ass. But I really wanted to have wooden rudder blades for the dinghy and also in the right 1/75 scale. I used up countless toothpicks. My wife was already starting to bet with me that it wouldn't work. She said with a kind look of pity as she saw me suffering so much. She's the best woman in the world....But see for yourself..... “Where there's a will, there's a way”!!!
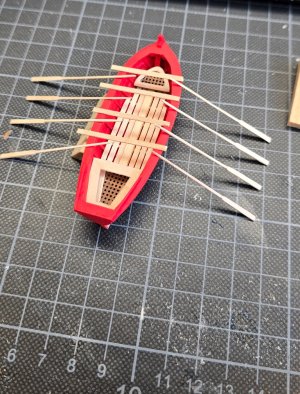
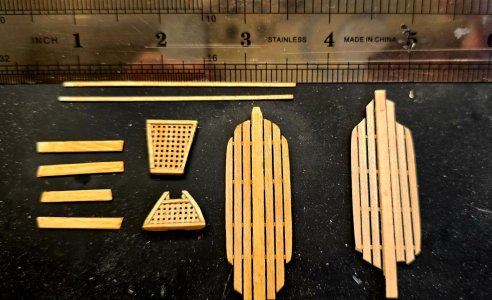
I also stained the wooden steps and protective boards for the dinghy. But I have to say that I'm still not sure whether I'll leave it like this or paint everything red like the original. In the pictures you can see what the wood looked like in its natural state on the right and the stained wooden boards on the left.
It was important to me to create a natural wood tone so that it didn't look like an artificial product.
What do you think, is it better to paint it red or leave it as it is?
I look forward to your comments and suggestions.
Best regards
Best regards
Günther


Last edited:
Those look fantastic! But pity on the poor soul that proves his wife wrong 

Great work at such a small scale Günther.
- Joined
- Dec 5, 2022
- Messages
- 1,119
- Points
- 443

Hey Daniel,Great work at such a small scale Günther.
Thank you very much for your great comment. I'll keep working hard and I hope I'll be able to realize the Athena as beautifully as you did with your wonderful model.
Best regards
Günther

Hi Gunther,
The little boat is turning out very nice! Can you help me understand your thinking on the seat planks? Or do they remain unfinished?
The little boat is turning out very nice! Can you help me understand your thinking on the seat planks? Or do they remain unfinished?
- Joined
- Dec 5, 2022
- Messages
- 1,119
- Points
- 443

Hey Paulus,
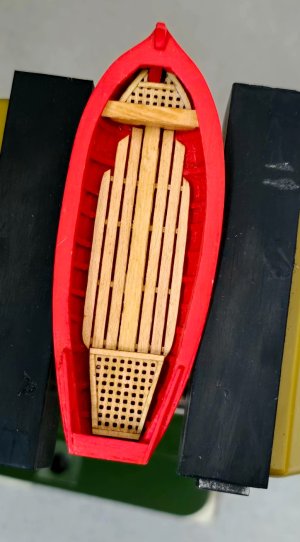
Thanks for your question. The dinghy is far from finished. I still have some work to do. The seat boards will be fitted, of course. I want it to look fully functional. You can see the first seat board in the picture.
There are still a lot of parts missing. Everything is not yet glued in place and is therefore loose so that I can still install it properly on the inside.
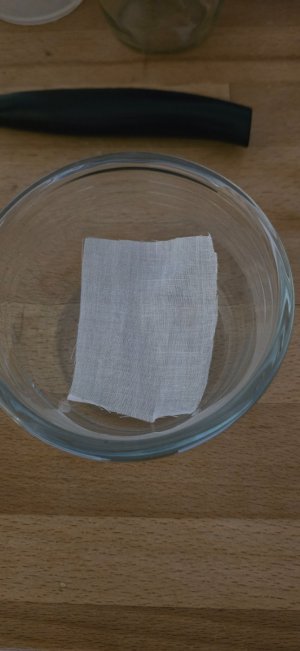
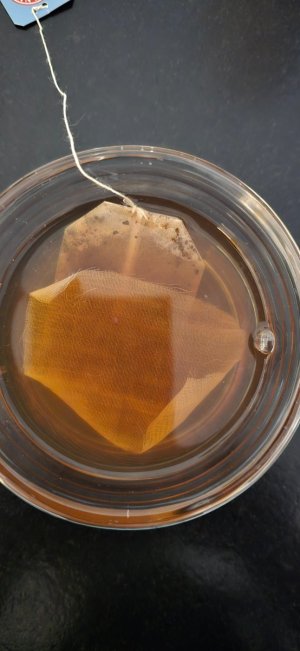
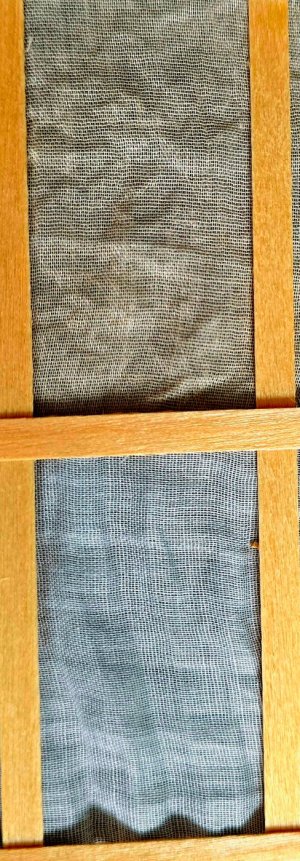
I started coloring the sail for the dinghy yesterday. I boiled Earl Grey tea and then dyed it overnight with a piece of cotton sail. This gives the sail its natural look and prevents it from looking bright white...
In the picture you can see on the left side the coloring in sandy brown and on the right side the sail is still white. I think it turned out really well and adds to the design.
I hope you can understand my English.
Best regards
Günther


Thanks, Gunther. I'll sleep better now... 
- Joined
- Dec 5, 2022
- Messages
- 1,119
- Points
- 443

Hey Paulus,Thanks, Gunther. I'll sleep better now...
No problem, I want you to sleep well.
Best regards
Günther

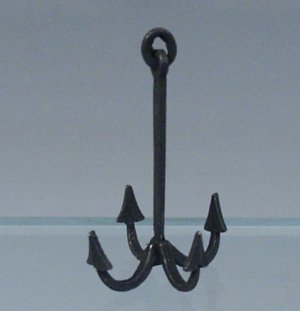
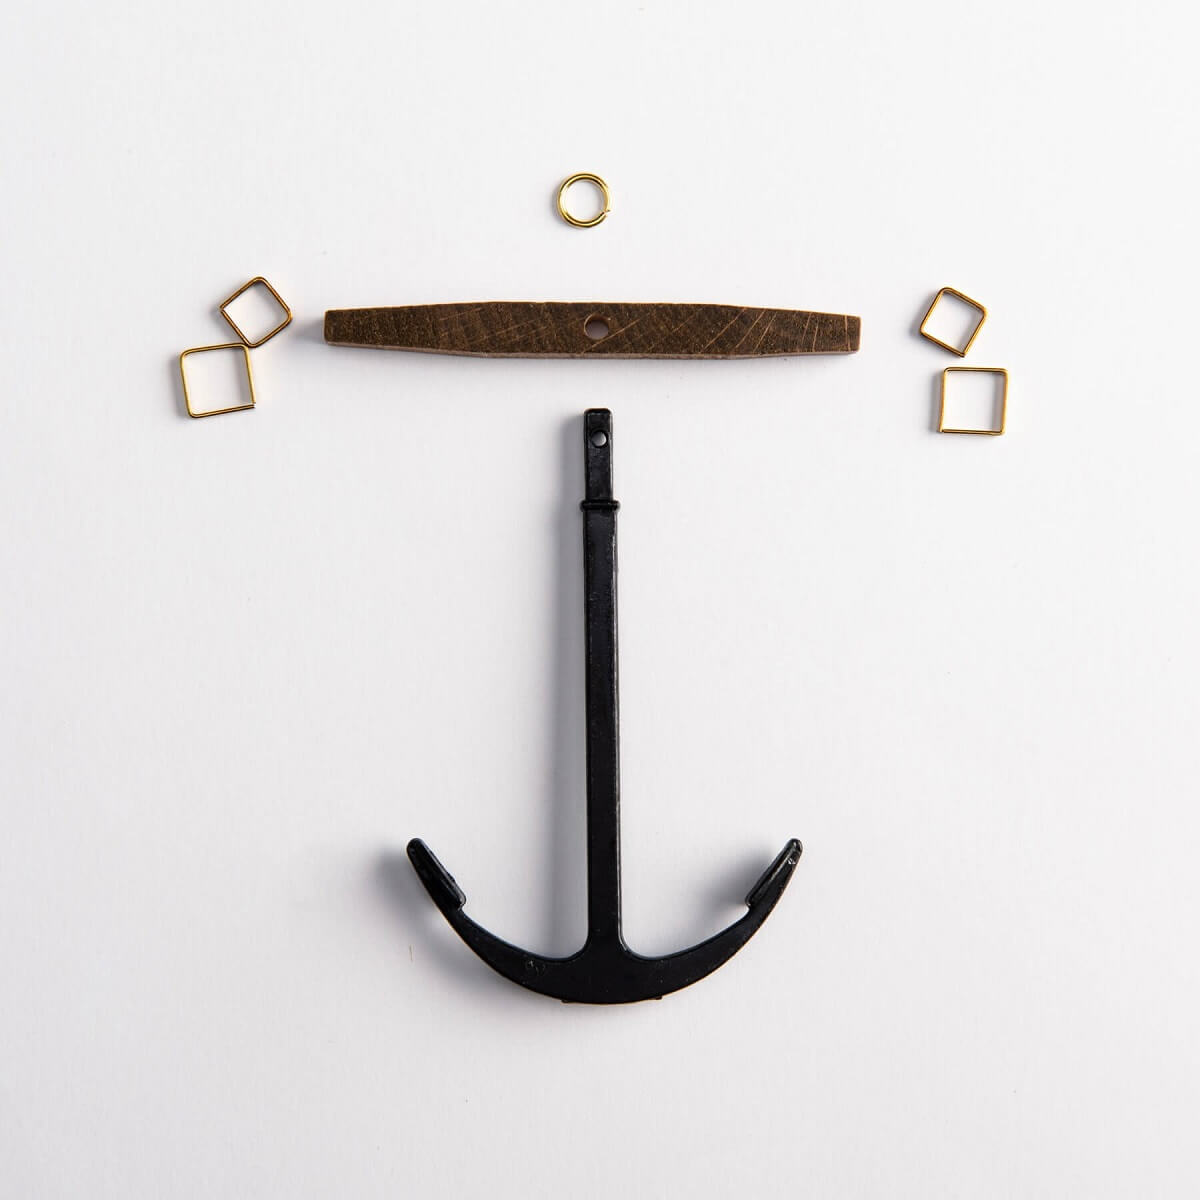
I have made a few anchors from scratch, although none with four flukes like that. But if I were to make one, I would use the same techniques using brass and/or copper wire soldered together. The flat flukes can be made from copper wire pounded flat and filed to the correct shape. I would suggest completely tinning all parts prior to assembly so that a patina solution for leaded glass can be used to blacken the finished article. Brass blackener doesn’t work well on soldered articles.
- Joined
- Dec 5, 2022
- Messages
- 1,119
- Points
- 443

Hey Namabiiru,I have made a few anchors from scratch, although none with four flukes like that. But if I were to make one, I would use the same techniques using brass and/or copper wire soldered together. The flat flukes can be made from copper wire pounded flat and filed to the correct shape. I would suggest completely tinning all parts prior to assembly so that a patina solution for leaded glass can be used to blacken the finished article. Brass blackener doesn’t work well on soldered articles.
Thanks for the tip, I'll give it a try and follow your tips. I've never done it this way before. It seems to be more complicated than I thought. Oh well, lots of work again.....
Cheers
Günther...

Anchors - Model Ship Fittings - Modelers Central
Model Ship Anchors Come in a Range of Sizes and Shapes. Modelers Central Is The Home Of Wooden Model Ship Builders. Order Online For Fast Delivery.
 www.modelerscentral.com
I'm sure there are others as well if you don't want to make your own...

