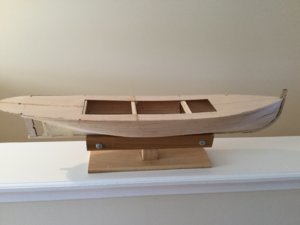
Bluejacket Tug Sequin 1/4” scale

The Deckhouse:

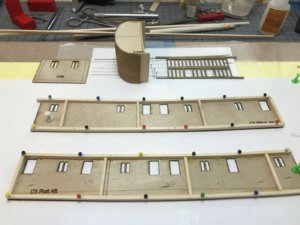
The Deckhouse is at minimum four pieces. A front, two sides and a back.

DFB8BE09-872D-4AFE-A552-C3014B681140.jpeg

The front piece is built in a similar manner as the Pilot house. I’m going to wait until all the pieces are ready for assembly before attaching the final overlay.

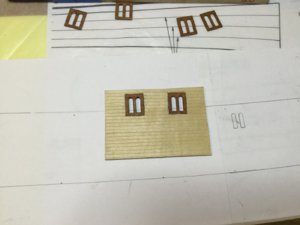
The back piece went together fairly quickly, I just had to add the window frames and overlay the scribed siding.

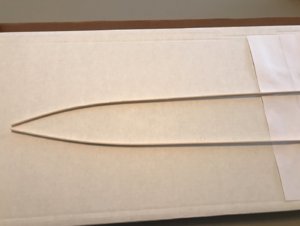
The sides proved interesting. They are shaped top and bottom to fit the curve of the deck. The build instructions indicate one should add a strip to the tops, as shown in the photo, I added additional pieces to make the side more rigid.

Jan
 
Last edited:
The Deckhouse:

55F0263C-09AF-4725-A852-7F400AE9C157.jpeg

The back of the Deckhouse with the scribed siding.

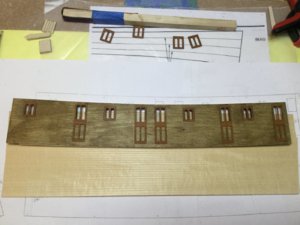
The start of a puzzle. Adding the scribed siding to the sides.

8886A964-60E7-4317-AD75-972FB30B5DDA.jpeg

I’m going to have to think about this. The curve of the top and bottom of the sides preclude lining up the scribed piece with the lines running horizontally. Cutting and fitting will leave a lot joints that will need work.

I’m sort of leaning towards “planking” following the curve of the side and adding frames around the windows and doors.

Jan
 
Taking note, taking a lots of notes and idea :D

Indeed, I’m inventing as I build. I would think that an R/C version would require a lot of “firming up” of the Deckhouse sides as well as someway to attach it to the hull. There are a few additions to eventually add to that part of the build, I’m thinking that my work will help with that.
 
Deckhouse Continued:

Time to work in shipyard today. Two day storm working its way up the East Coast. Snow yesterday and freezing rain today.

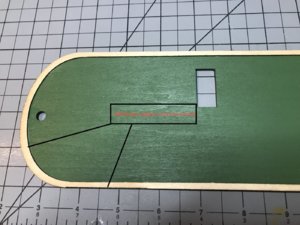
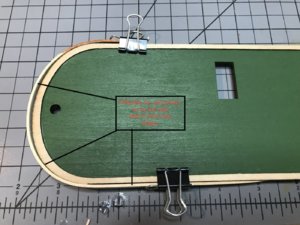
Found some problems with the Laser cutting of the Deckhouse Roof Waterway. The curve at the bow is wider on one side than the other, also one side is slightly under cut.

545D8C1B-D1CC-437E-A5DA-471FCA4C032A.jpeg

I'm mulling over possible fixes, this is one thought.

F1329065-F6AB-4FCD-A565-F96270C1D18A.jpeg

Jan
 
Planking:

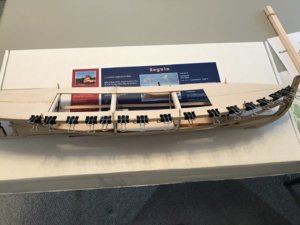
Started on the hull planking. The first plank was a little tricky and needed a lot of mini clamps to hold it in place while the glue dried.

8DD3DE72-58E4-476F-AC64-A399C5A6D08C.jpeg

I added some material under the false deck to have more surface to glue the first plank to the edge of the false deck.

A4D0D0EB-DC66-4425-965B-0320DA729787.jpeg

The planks need to be slightly tapered at the stem, I'm going to use the hull shape as a jig to bend the planks.

17B04255-9938-48EF-A4EC-ABE2D91A8938.jpeg

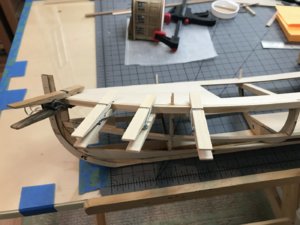
The second plank soaked and clamped to get the right shape for the bow. A slow process doing a plank at a time but it works.

B78BC7DA-092E-42CE-8688-218FAF0D97B5_1_201_a.jpeg

I haven't quite figured out how to bend the slight twist required at the stern. But I'm sure something will come to mind.

Jan
 
Temporary shipyard work stopage:

My little workshop needs to be packed up and moved. We have a Painter coming to paint second floor hallway, ceiling and stairwell. My little work area is in the way, as well as several bookcases, odd wall shelves and hanging pictures.

I’m providing a temporary teaser to show some progress although little was done today because of cleaning up outside and removing six inches of snow from the driveway.

88298E90-AF8E-444C-A0DF-70DE23FC4251.jpeg

Clamps are holding second plank while I’m trying to figure out how the planks taper at the stern. Both the Pilot house and Deckhouse are close to done. I have to order some more birch and mahogany strips.

So for the next couple of weeks my other hobby will get some time.

91E6F119-0F2B-4837-BBE3-604EFED604BD.jpeg

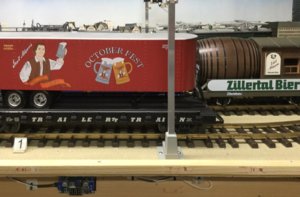
No, no not what you think! I’ll be working on the railroad.;)

Jan
 
Planking.

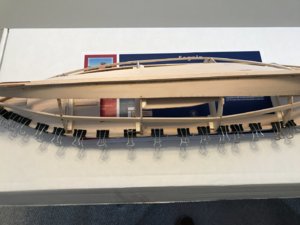
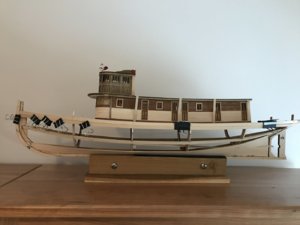
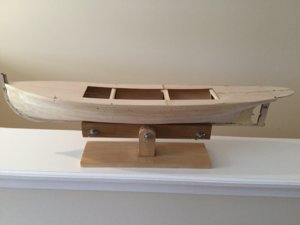
Shipyard is open again. I’ve managed to complete the planking and now must wait for warm weather so I can sand the hull outside.

0112494C-D2F5-49DF-9AF9-520BD12E1930.jpeg

61BBD940-EDAA-48E2-8875-E894A9A44CF9.jpeg

Planking the hull was interesting, I think if I had filled the spaces between frames/bulkheads the planks would have laid much better. I tried two different methods of laying the planks. Method one was to taper the planks at the stem and method two was to taper the planks at the stern. Method one worked the best, the planks laid well following the curvature of the hull and a very small stealer was required to close the final gap.

I’m now trying to find a good wood filler to eliminate and fill in some the voids. I’ve found Elmers wood filler hard to work with. I don’t know if I had a bad batch, but I couldn’t apply it smoothly, it tended to roll and ball up as I applied it.

What do others use?

Jan
 
Back
Top