Bluejacket Tug Sequin 1/4” scale

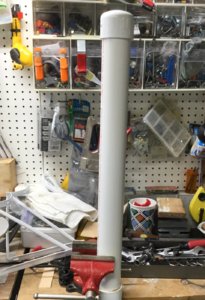
Currently I’m testing this method.
6D6FD3F1-9FF9-4FBC-8B63-AB71D7165F56.jpeg

A smaller version worked very well for soaking the planks for my Enterprise build.

The bottom cap is sealed and glued on with Gorilla Rubber Cement, the top cap is removable and forces the soaking items down into the tube. Without that cap the buoyancy of the pieces to be soaked extends them a third of the way out of the tube.

Currently the Garboard pieces are soaking. The plan is to bend and attach them to the hull frame tomorrow.
 
I am still not decided if it will be RC or static got a few other kit to do before I am to the Sequin a lot will depend of your build.

You use balsa to fill the gap any reason? It is not a wood usually utilise in ship building
 
You use balsa to fill the gap any reason? It is not a wood usually utilise in ship building
[/QUOTE]

Don't know what you are referring to with your question.

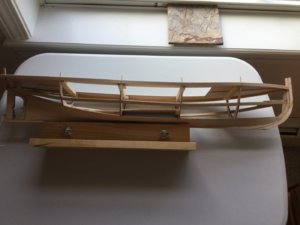
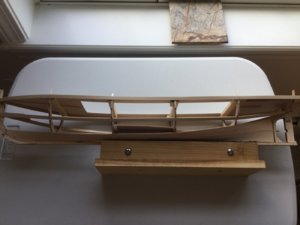
If you mean filling in the space between the frames to help with planking? if so, I decided against that since there are only five frames and it would be a lot of work before and/or when the Bilge stringers were installed.

Jan
 
Last edited:
Garboard plank install:

5skuBHE9T26AnxPs3XBLyQ.jpg


The first Garboard plank out of the soaking jig and fitted to the hull. The portion of the plank at the Stern needs to be scored as per the build plan, I think my scoring might be a might have been to deep as the plank separated at Stern while forming and fitting. But a stealer should fix that.
 
Last edited:
I look at my drawing to understand clearly at what step you are.
I am far from ready to start that build but the use of that garboard hum…..
I do not know if it will be easier to do regular planking after improving the frame
Any way it is far in the future and I think you are on the proper track
 
The first planks:

I think this will be a careful one plank at a time process.

View attachment 107227

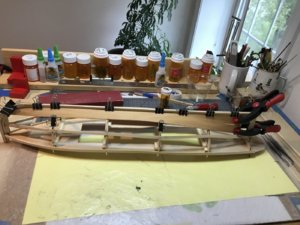
The planks need to butt up against each other snuggly. The DIY clamps help hold the plank follow the shape of the hull. They provide just enough overlap to clamp plank edge to plank edge.

View attachment 107230

Since the frames are so far apart I decided to work on about six to eight inches at a time.
What type of glue are you using for this planking??
 
Garboard planks:

Both garboard planks have been glued in place.

8257F326-EB61-4DE3-AFEE-21728746A034.jpeg46DD1E8A-6135-4789-B1CF-59C89595A4A1.jpeg

I had placed them on the hull while wet to shape them. Once dry I glued them in place. There was a small amount of shrinkage as they dried out resulting in splits at the stern. Those areas were fixed by adding small stealers.

Jan
 
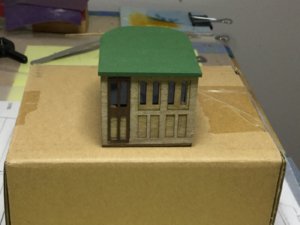
The Deck House:

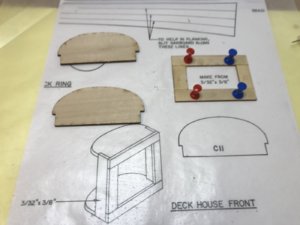
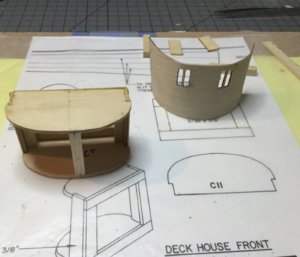
I’m currently waiting for some replacement parts. The Deck House seemed like a good afternoons project.

A69412E4-7C90-4CD6-861A-0619AD3FD801.jpeg5C8A6008-2476-44AB-AE3B-FFBBE44E86D9.jpeg

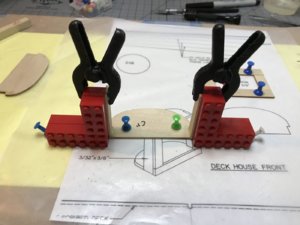
The LEGO blocks worked great to hold the side frames square.


CDB972C7-2295-44CC-857A-B53D0F303600.jpeg

I added 1/4 X 1/4 inch square pieces in the rear and front. There didn’t seem to be enough surface area for clamps to hold the underlay while that is being glued.
 
I’m currently waiting for some replacement parts.

part received damage Question-Mark

The parts weren’t shipped damaged, I made a couple of incorrect assumptions from the plans. When it became time to assemble the parts there were gaps and angles that I didn’t like.
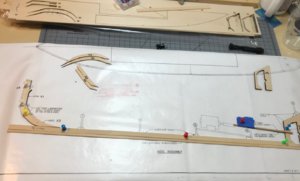
The plans showed the frames sitting on top of the keel with small blocks on either side of the frames.

B0D2F124-24C0-44B2-9B4D-C052D6744599.jpeg

I placed a length of material the full length of the keel, but failed to cut the inserts for the frames deep enough.


741EFF61-A20B-4D76-9D1D-67F3E35FD8E4.jpeg

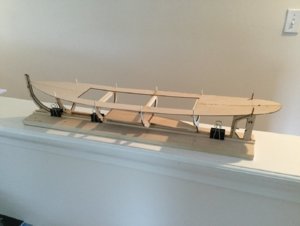
As a result the curve of the deck doesn’t match the curve of the bottom of the Deck House. A novice mistake on my part.

I ordered enough material to redo the keel and frames. So now the kit will be scratch built and kit build.

Jan
 
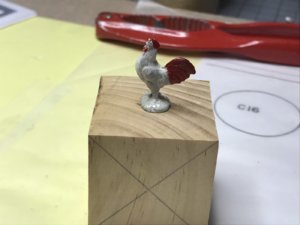
Sailors Rooster Superstition:

The best “Guess “ on the Rooster I can find is that it’s sailors superstition against the ship sinking. Loosely interpreted the crates used to ship Roosters/Chickens were made of light wood. Historically the crates survived shipwrecks and floated to shore. Ergo, Roosters don’t sink???

Comments???

Jan
 
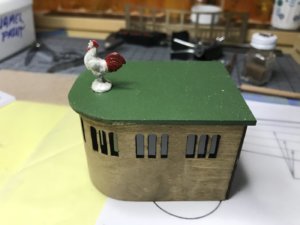
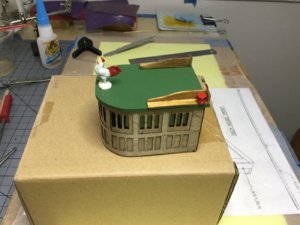
Pilot House:

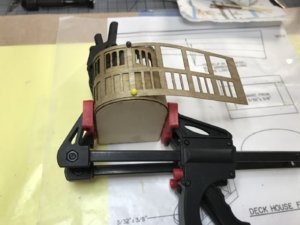
The second overlay on the Pilot house was a little tricky to bend and get in place.

D84FABCF-E529-40EF-88B9-873A2A6A7888.jpeg

I worked from the center, first the pins were placed to hold the overlay, then glue was brushed on one side and the clamps used to hold the overlay.

I left it that way overnight and then repeated the process to complete the other side.

The overlay needed a bit of trimming to allow the back overlay fit flush.

FB6F5720-B710-4C1E-8026-71BAA2317986.jpeg

Once the navigation lights are added and the Rooster has a bit more paint, this part of the build will be done.
 
Back
Top