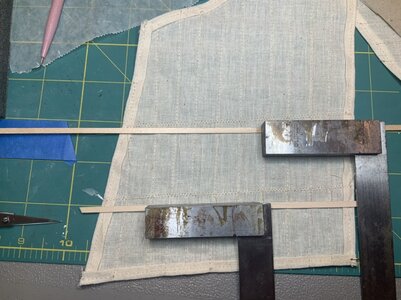
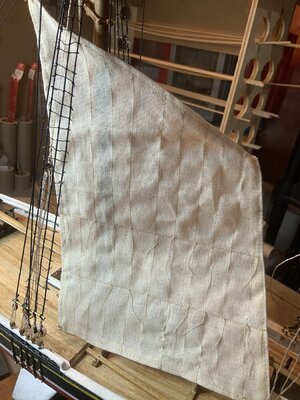
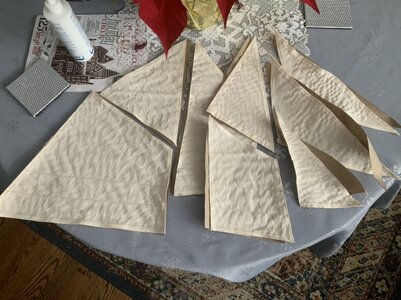
No I didn't wash the fabric first, too much thread shedding along the edges already so I decided to just do it out of the package. I'm not planning on wetting the sails for shaping, just hitting them with the blow dryer and spraying starch to stiffen.
-

Win a Free Custom Engraved Brass Coin!!!
As a way to introduce our brass coins to the community, we will raffle off a free coin during the month of August. Follow link ABOVE for instructions for entering.
-

PRE-ORDER SHIPS IN SCALE TODAY!
The beloved Ships in Scale Magazine is back and charting a new course for 2026!
Discover new skills, new techniques, and new inspirations in every issue.
NOTE THAT OUR FIRST ISSUE WILL BE JAN/FEB 2026
You are using an out of date browser. It may not display this or other websites correctly.
You should upgrade or use an alternative browser.
You should upgrade or use an alternative browser.
Bluenose 1/64 MS2130 by TechTrek (Chris) [COMPLETED BUILD]
- Thread starter TechTrek
- Start date
- Watchers 13
-
- Tags
- completed build
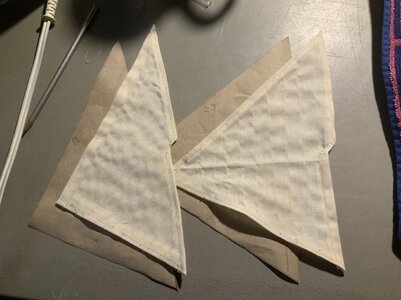
Any thoughts of giving them some age? Or are they going on fresh and new? The fabric seems to already be off-white...Here are all the completed sails. Now on to adding the corner loops.
View attachment 202833
NIce suit of sails. When I asked about washing it was for the full piece of fabric before any cutting. I used the spray starch stiffener and hair dryer on my pilot boat with good results. Your schooner is nearing her first outing. RichAny thoughts of giving them some age? Or are they going on fresh and new? The fabric seems to already be off-white...
Oops...Just realized in my excitement to sew sails that I forgot the contour around the trestle trees and masthead on the 2 gaff sails. My bad, need to pull apart and redo those 2 seams as they are not straight but kick in about 15 mm. Time to go back and edit a previous post. 


Last edited:
Those resewn sails now look ready to be tied to the hoops above the trestletrees. Are you going to sew in any small rings for the halyard, clew and sheet connections? Ohla showed that in one of her videos which I have not yet found, just the cutting and sewing machine one.. Nice work sailmaker. Rich
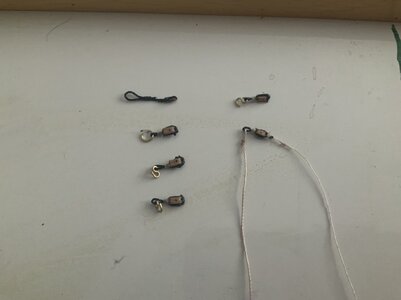
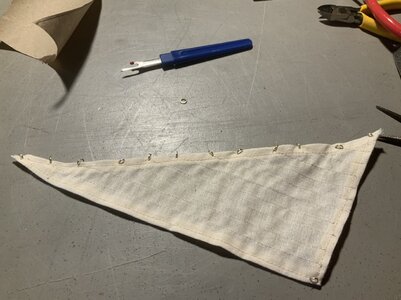
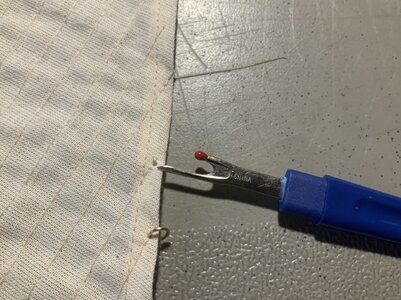
Fancy.Here is what I did. Used brass ringsView attachment 203060 to attach my sails. That sewing tool is perfect for making the holes for my rings.
View attachment 203059
Previously I just used a fine pointed large needle (one of three sizes for drapery work) pushing it through sufficiently for the size hole that I needed. Bolt ropes are not mentioned with the schooner but I am sure that they were present, insideFancy.
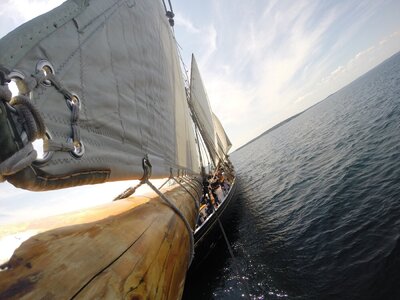 or outside of the hemmed edge with either a metal grommet type just inside the edge or a loop on the corner of the peak, clew, and tack. I put up the set of these at the main boom end in the Bluenose II photos to clarify my mental image: two in the bolt rope sewn inside and three in the hem itself; along with the metal reinforced holes for tying the sail to the boom. I'll go to search out the jib stay connections.
 My progress is as much research as building but I did get the rudder and brass pintels/gudgeons attached with small short black oval head "nails" after two days work. I have to learn how to better use my drill press and the small bits for holes in the 1/16 inch strips as my jig did not hold the strip securely and the bit wandered breaking several bits.
I hope that bending your sails to the hoops goes well. Rich

The machine stitching parallel and perpendicular to the fabric weave I very precise well done. RichHere is what I did. Used brass ringsView attachment 203060 to attach my sails. That sewing tool is perfect for making the holes for my rings.
View attachment 203059
Nice picsPreviously I just used a fine pointed large needle (one of three sizes for drapery work) pushing it through sufficiently for the size hole that I needed. Bolt ropes are not mentioned with the schooner but I am sure that they were present, inside View attachment 203110or outside of the hemmed edge with either a metal grommet type just inside the edge or a loop on the corner of the peak, clew, and tack. I put up the set of these at the main boom end in the Bluenose II photos to clarify my mental image: two in the bolt rope sewn inside and three in the hem itself; along with the metal reinforced holes for tying the sail to the boom. I'll go to search out the jib stay connections.
My progress is as much research as building but I did get the rudder and brass pintels/gudgeons attached with small short black oval head "nails" after two days work. I have to learn how to better use my drill press and the small bits for holes in the 1/16 inch strips as my jig did not hold the strip securely and the bit wandered breaking several bits.
I hope that bending your sails to the hoops goes well. RichView attachment 203110
Very nice progress with your sails. Good idea on placing the reef tie-downs. RichHere is how I got the tie downs along the reef band to lie flat and stay in place. Just add a small drop of pva to each knot, let dry and repeat on the other side.
View attachment 203449
Here’s the finished sail ready to be rigged.
View attachment 203448
Here is my sewing method for the mast hoops.
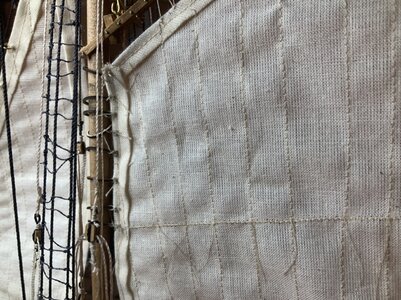
- Create a double knot in the end of your thread. I use a heavy weight thread.
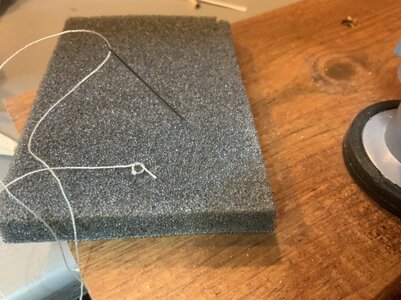
- Insert needle from back side of sail to front and pull until knot is tight against the sail.
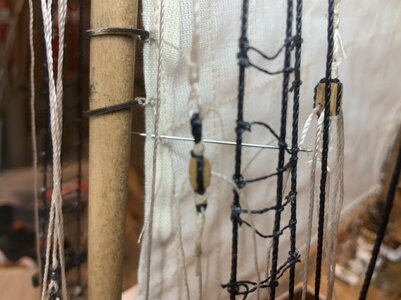
- Bring needle back through gap between the sail and mast
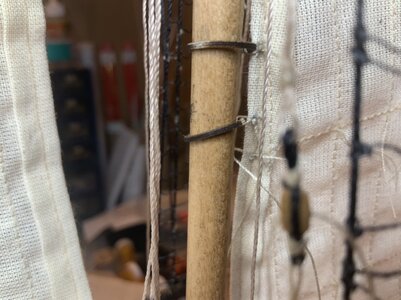
- Bring up mast hoop and drop needle down between the hoop and mast
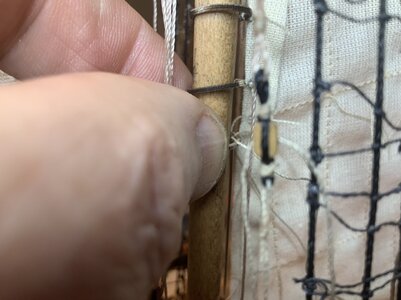
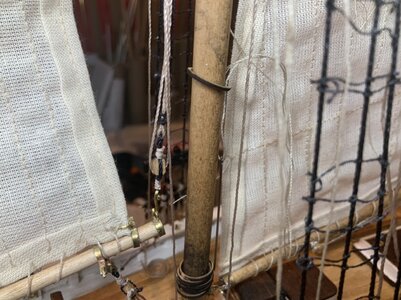
- Push needle back through the sail to the good side
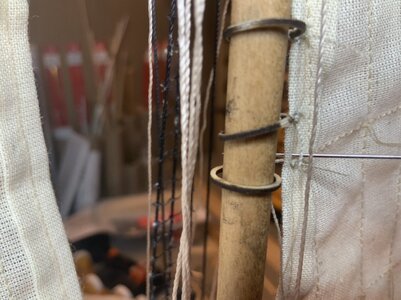
- Push needle through sail from front to back
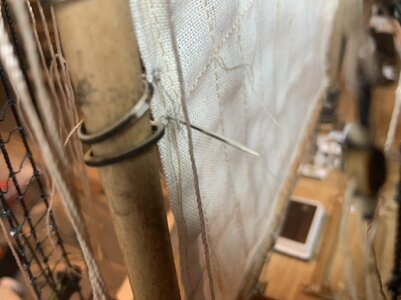
- Loop thread a few times around the needle and feed back through to the front
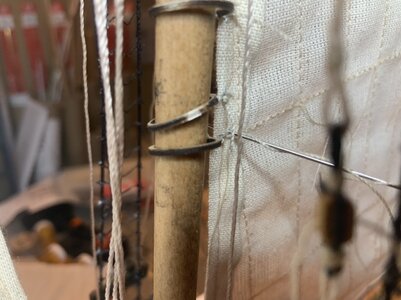
- Bring needle back through one final time and trim off
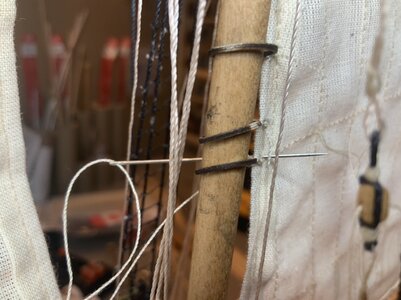
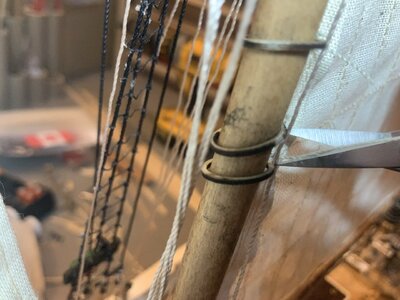

I used a different technique with two needles on each end of a thread. First looped a girth hitch around the hoop and then took one needle through one side and the other through the other side. Then both back with one twist around the girth hitch threads between the mast and sail luff ( one above one under) and tied them off with the first half of a square knot and secured them with a very small touch of CV, letting it set and trimming the ends off They could have been passed back through the luff hem and then with the toothpick dot of glue set and trimmed flush with the hem face on each side. I think that your method is working well for you and the results well produce a good schooner. I see that you laced the mainsail to the boom instead of tying each one as with the actual manner. It is easy to chip from the sideline when a good response would be OK, you do it! You are going to have a well done schooner. RichHere is my sewing method for the mast hoops.
Shot of top 8 completed hoops
- Create a double knot in the end of your thread. I use a heavy weight thread.View attachment 203492
- Insert needle from back side of sail to front and pull until knot is tight against the sail.View attachment 203493
- Bring needle back through gap between the sail and mastView attachment 203494
- Bring up mast hoop and drop needle down between the hoop and mastView attachment 203495View attachment 203496
- Push needle back through the sail to the good sideView attachment 203497
- Push needle through sail from front to backView attachment 203501
- Loop thread a few times around the needle and feed back through to the frontView attachment 203498
- Bring needle back through one final time and trim offView attachment 203502View attachment 203499
View attachment 203500
Question total off track from bending sails. . . How did you do the holes in the brass strips for the deadeye "chain plates"???? You had to solve this and I need your experience. Thanks, RichHere is my sewing method for the mast hoops.
Shot of top 8 completed hoops
- Create a double knot in the end of your thread. I use a heavy weight thread.View attachment 203492
- Insert needle from back side of sail to front and pull until knot is tight against the sail.View attachment 203493
- Bring needle back through gap between the sail and mastView attachment 203494
- Bring up mast hoop and drop needle down between the hoop and mastView attachment 203495View attachment 203496
- Push needle back through the sail to the good sideView attachment 203497
- Push needle through sail from front to backView attachment 203501
- Loop thread a few times around the needle and feed back through to the frontView attachment 203498
- Bring needle back through one final time and trim offView attachment 203502View attachment 203499
View attachment 203500
I cut all the strips. Glued them to a piece of wood with markings for where the holes go. They were all glued down about a brass strip width apart. I then glued pieces of hardwood strips on top of the strips and between the holes. Almost like a grate pattern now. Let it dry. Tapped a dimple at the centre of each hole location with a finishing nail and then used my fake dremel at medium speed with a new #69 drill bit. Gentle pressure so it didn’t grab too hard. Took me a bit to get the method, hence my burning through too much of the brass strip stock. 

How did you get the glue to release without bending the brass strips? I understand that you glued the hardwood strips perpendicular to the brass strips, locating those between the 3/16" o.c. hole spacing, right? I do have some Buginga from Africa that is in thin widths that I can cut and may try it in the manner that you describe. Clamping the "mat" down will still require getting it parallel to the inverted T grooves in my XY table on the drill press. I have receive several recommendations/suggestions from other members so I have a spectrum to work from. Thanks for your reply. RichI cut all the strips. Glued them to a piece of wood with markings for where the holes go. They were all glued down about a brass strip width apart. I then glued pieces of hardwood strips on top of the strips and between the holes. Almost like a grate pattern now. Let it dry. Tapped a dimple at the centre of each hole location with a finishing nail and then used my fake dremel at medium speed with a new #69 drill bit. Gentle pressure so it didn’t grab too hard. Took me a bit to get the method, hence my burning through too much of the brass strip stock.




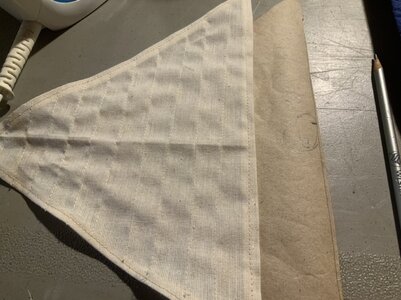
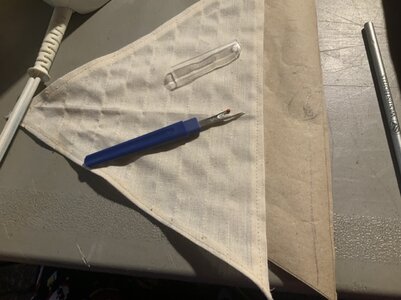
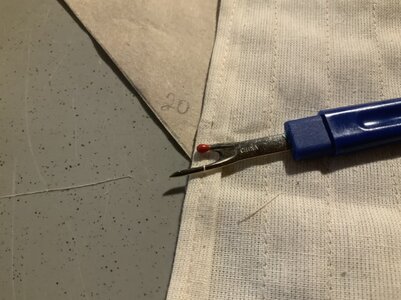
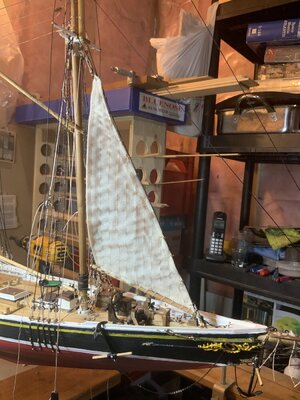
 s away... the 1st sail is up.