Bluenose 1/64 MS2130 by TechTrek (Chris) [COMPLETED BUILD]

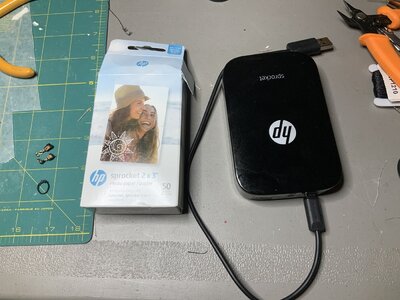
Now the mystery is solved by printing in an inkjet printer with this photo paper. Thanks Rich
Nope, sorry Rich. That paper is specific to the sprocket, which has NO INK NEEDED. The technology is built into the printer and paper. It’s kind of like a thermal printer but somehow activates colour components in the paper.
 
Nope, sorry Rich. That paper is specific to the sprocket, which has NO INK NEEDED. The technology is built into the printer and paper. It’s kind of like a thermal printer but somehow activates colour components in the paper.
Sounds like a different type of printer, not ink jet, which I don't have. RIch
 
Great to see your build Chris and to see another Bluenose being built! Your model looks like great and I am sure there is a lot of info that can be shared - as you already have done most kindly! :)
 
For all you Bluenose I builders I have created a set of flags based on my research. I've included two different versions of signal flags. These are all ready to send to 8.5 x 11 transfer paper. Here is the image. The pdf file attached below is the one you want for printing. They should all be the right size for a 1/64 scale build. These are all early 1900's signal flags. The British flag for Canada is the largest and the Nova Scotia flag is slightly smaller.
View attachment 200233
Now I see what you are talking about. You're right - if I had to paint these signals flags on aluminum foil by hand, I'd use that gun from previous picture ;)
 
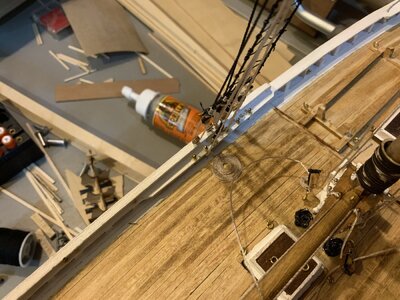
I realize I'm just blasting out my build but I might as well get it done and catch up to my current status. This next set of pics are for the deck planking. I left a big opening under the main cabin in order to hold the battery case for my lights I will be installing. Stupid me did not run the wiring from the stern to the bow before the deck planking, which caused me some grief later. :eek: I also made sure to add extra support for the masts and supports for the deck around the cabin and hatch openings. I've noticed some plank the entire deck and just put the hatch covers and things on top. This just didn't seem right to me as I wanted all my hatches and things to be able to be opened. I even made some stairs going down from the fore deck companionway.
View attachment 199918
As you can see I did not follow the traditional straight planks with the jagged edge board (I forget what it's called) by the waterway. I just planked from the water way into the centre. I kind of like this look. My next build I'll go the other way ;)
View attachment 199917
Here are the deck pieces I made. Including the stairs I mentioned above. I used mahogany for all the tops, I liked the darker wood colour.
View attachment 199916
Here is the final deck after light staining and a satin finish.
View attachment 199913
That's a neat look on the deck planking. I like it!
 
Well, your signature quote does say that you look the fiddly bits! :)
 
Back
Top