-

Win a Free Custom Engraved Brass Coin!!!
As a way to introduce our brass coins to the community, we will raffle off a free coin during the month of August. Follow link ABOVE for instructions for entering.
-

PRE-ORDER SHIPS IN SCALE TODAY!
The beloved Ships in Scale Magazine is back and charting a new course for 2026!
Discover new skills, new techniques, and new inspirations in every issue.
NOTE THAT OUR FIRST ISSUE WILL BE JAN/FEB 2026
You are using an out of date browser. It may not display this or other websites correctly.
You should upgrade or use an alternative browser.
You should upgrade or use an alternative browser.
Bomb Vessel Granado 1742 - Cross Section - 1:32 Scale - Scratch Build by DocBlake [COMPLETED BUILD]
Thanks, guys!
The diagonal bulkheads are the most difficult because there are two angles on each end that need to be cut to form a point. Fortunately, the angles are 45 degrees and the "point " is a 90 degree angle! I set my Byrnes disc sander table to 45 degrees and "cut" the angles very carefully. The photos show some finished bulkheads and how they butt up against each other. The rabbets are to accommodate the side covers, which are part of the mortar pit housing. I'm not sure if I'll include this!
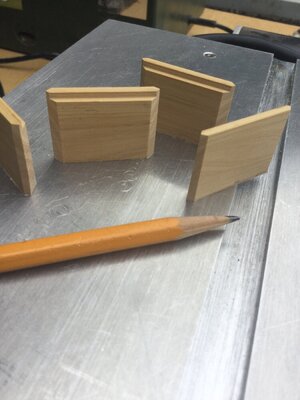
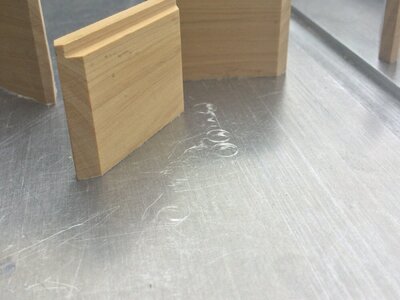
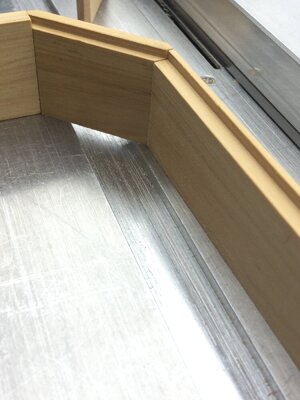
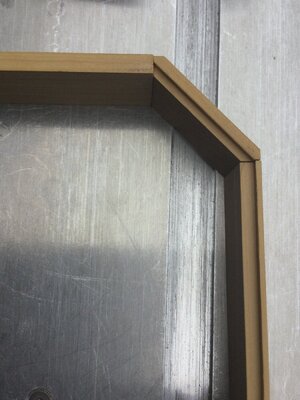
The diagonal bulkheads are the most difficult because there are two angles on each end that need to be cut to form a point. Fortunately, the angles are 45 degrees and the "point " is a 90 degree angle! I set my Byrnes disc sander table to 45 degrees and "cut" the angles very carefully. The photos show some finished bulkheads and how they butt up against each other. The rabbets are to accommodate the side covers, which are part of the mortar pit housing. I'm not sure if I'll include this!


Last edited:
Thanks, Heinrich!
I prepared the diagonal bulkheads for installation. The backs of the 4 bulkheads are supported by diagonal carling which are inset into mortises in the deck beams and trimmer beams. I decided to make life simple and simply butt the diagonal carlings in place. I carefully cut them to size, then glued them to the back of the diagonal bulkheads. The bulkheads are built with two boards. I simulated this by scoring a line and marking it with a pencil. Once the glue dried, these were epoxied in place.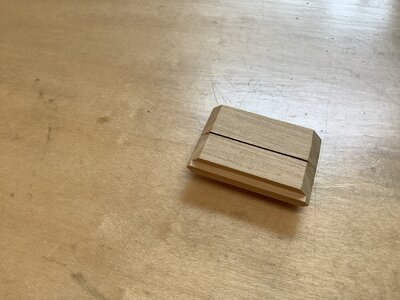
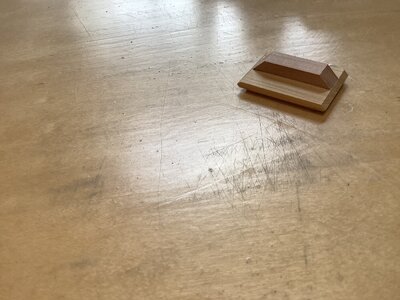
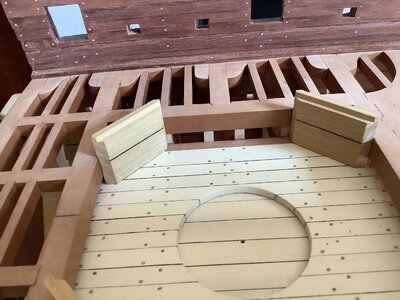
I prepared the diagonal bulkheads for installation. The backs of the 4 bulkheads are supported by diagonal carling which are inset into mortises in the deck beams and trimmer beams. I decided to make life simple and simply butt the diagonal carlings in place. I carefully cut them to size, then glued them to the back of the diagonal bulkheads. The bulkheads are built with two boards. I simulated this by scoring a line and marking it with a pencil. Once the glue dried, these were epoxied in place.


Dave, you certainly do beautiful work. 
- Joined
- Apr 20, 2020
- Messages
- 6,257
- Points
- 738

Dear DaveThanks!!!
The complicated anatomy of the ends of the angled bulkheads actually makes fitting the outboard and transverse bulkheads easy. They are cut a little long at a 90 degree angle. I then "sneak up" on the final width with the Byrnes sander.
View attachment 245672View attachment 245673View attachment 245674View attachment 245675
you are doing amazing work on the model, well done


Kurt Konrath
Kurt Konrath
We would not know you didn't followed the real ship design you make the work look so good!
Keep it coming!
Keep it coming!
Thanks, guys!
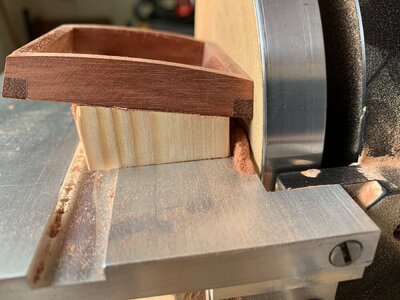
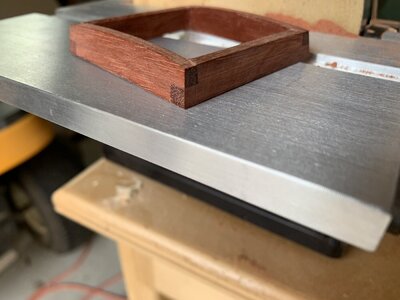
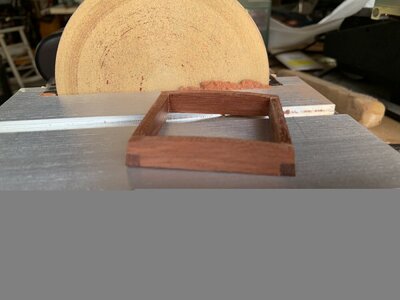
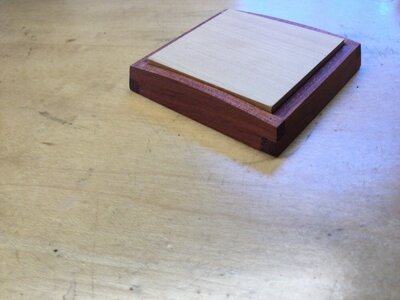
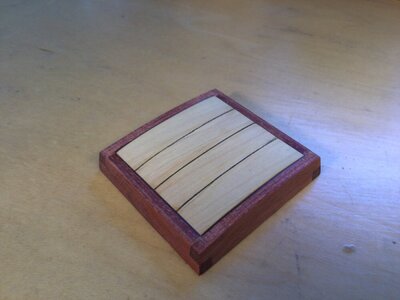
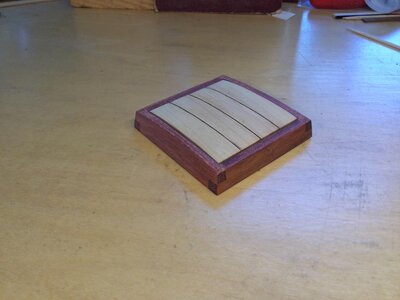
I started work on the hatch. The coamings are 7/32" thick bloodwood and jointed by half laps at the four corners. The coamings are also beveled inward by 10 degrees on all four sides. How to do the beveling easily and accurately? I decided on a jig!
Basically the jig is a slice of wood, angled at 10 degrees from the horizontal. When the face of a coaming is sanded such that it is square up against the Byrnes sanders disk, you know the angle is a perfect 10 degrees. The hatch frame is attached to the jig with two sided carpet tape.
Sanding the four sides took about 20 minutes.
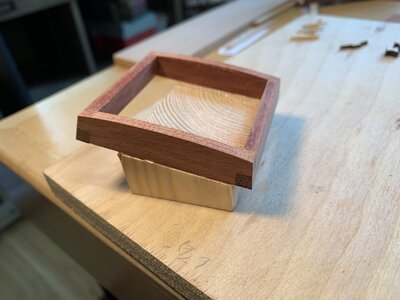


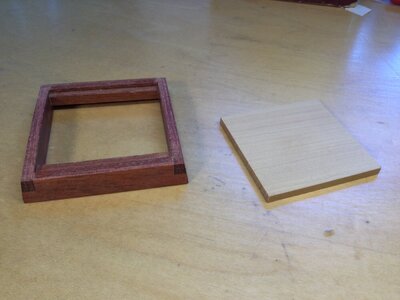
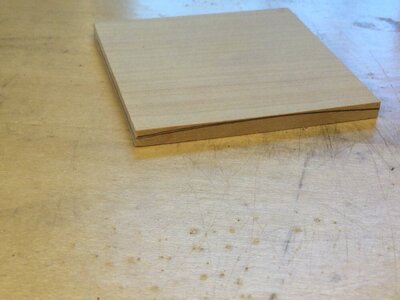
I needed to figure out a way to make the hatch cover boards. I planned on using boxwood for the color contrast. The boards are about 5/64" thick with a very slight curve to them that matches the curved coamings. But bending the curve and getting the precise length right cutting strip stock was going to fail! Too hard to get consistency in the four boards. Here's what I did:
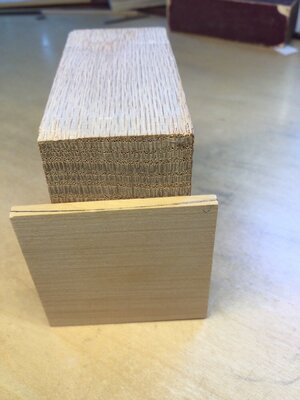
I cut up a boxwood blank the fit into the recess where the boards sit. It was thick enough so it stood just proud of the highest point on the curved coamings. Then I traced the coaming top lines onto the 4 edges of the blank. I used double sided carpet tape to tape the blank to a block of wood, keeping it perpendicular to the table of my disc sander, and parallel to the disk's face. Using my variable speed disk sander on LOW speed, I sanded the curve into the blank!
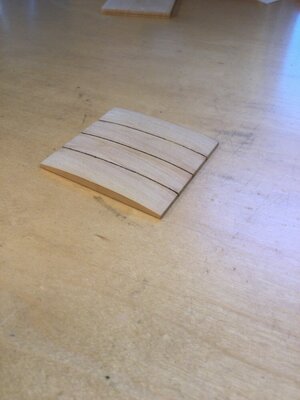
Once I was satisfied with the curve, I took the blank and simulated the four boards by scoring them in and darkening the score lines with very thin pencil lead. It worked out well!


Wonderful, perfectly executed. 

Very good work - and many thanks for showing us your way of solving these "problems" 
Kurt Konrath
Kurt Konrath
Do you remember the old hair coloring commercial " is it real or Carole"?
Well your work is of great quality and unless we were told it wasn't separate boards, most would never know.
I enjoy learning of new ways to do things as you show us how you overcome obstacles and issues in this build.
Keep it going, I need more since we are going back into semi-lockdown.
Well your work is of great quality and unless we were told it wasn't separate boards, most would never know.
I enjoy learning of new ways to do things as you show us how you overcome obstacles and issues in this build.
Keep it going, I need more since we are going back into semi-lockdown.
Thanks, guys!
For me, solving those “how to” problems is what I probably enjoy the most about our hobby.
For me, solving those “how to” problems is what I probably enjoy the most about our hobby.
Last edited:
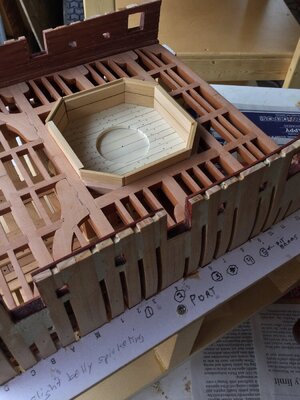
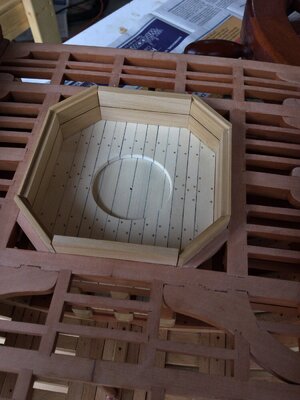
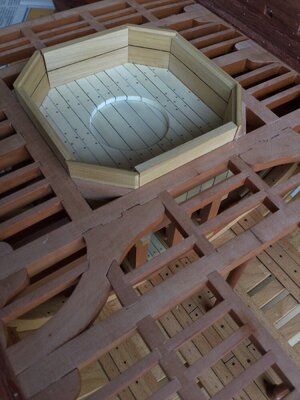
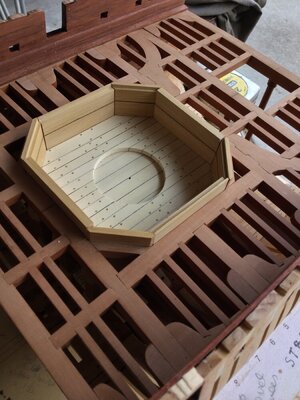
With lots to do around the house, I've not had much modeling time. I did finish the deck planking, though!
I wanted as much deck framing as possible to show, but I still needed to accommodate three long gums. I started the holly planking at the outboard mortar pit bulkhead and worked my way to the waterway. The margin p[lank was custom fit. It turned out to be as wide as the others at it's forward end, with a bit of a taper aft. It turned out pretty well.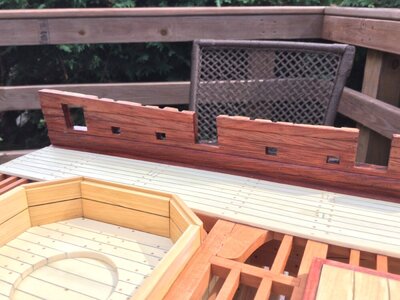
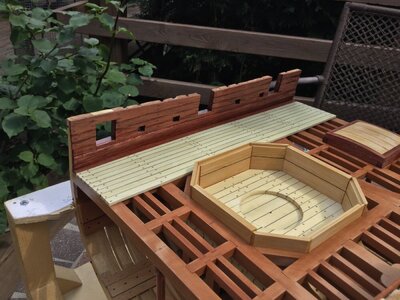
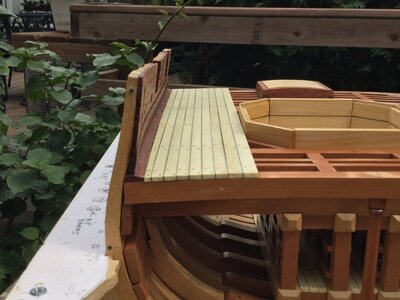
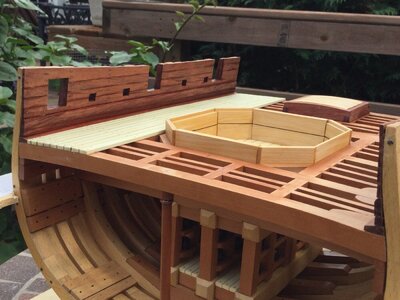
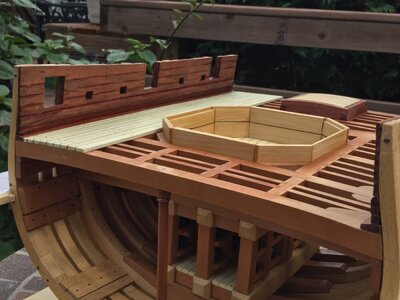
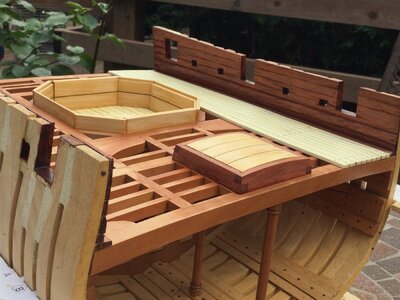
I wanted as much deck framing as possible to show, but I still needed to accommodate three long gums. I started the holly planking at the outboard mortar pit bulkhead and worked my way to the waterway. The margin p[lank was custom fit. It turned out to be as wide as the others at it's forward end, with a bit of a taper aft. It turned out pretty well.


Kurt Konrath
Kurt Konrath
Quality of your work is outstanding as usual.
Just waiting and watching one step at a time.
Just waiting and watching one step at a time.
Every place that I look I see only precision and care in selection of materials. You provide us with a very high bar of crafting excellence to enjoy every minute . . . or more as the eye leads me on. Truly outstanding in both your planning and equipment utilization Rich (PT-2)With lots to do around the house, I've not had much modeling time. I did finish the deck planking, though!
I wanted as much deck framing as possible to show, but I still needed to accommodate three long gums. I started the holly planking at the outboard mortar pit bulkhead and worked my way to the waterway. The margin p[lank was custom fit. It turned out to be as wide as the others at it's forward end, with a bit of a taper aft. It turned out pretty well.View attachment 251827View attachment 251828View attachment 251829View attachment 251830View attachment 251831View attachment 251832
Thanks, Rich. So very kind of you! Thanks, Kurt!


