-

Win a Free Custom Engraved Brass Coin!!!
As a way to introduce our brass coins to the community, we will raffle off a free coin during the month of August. Follow link ABOVE for instructions for entering.
-

PRE-ORDER SHIPS IN SCALE TODAY!
The beloved Ships in Scale Magazine is back and charting a new course for 2026!
Discover new skills, new techniques, and new inspirations in every issue.
NOTE THAT OUR FIRST ISSUE WILL BE JAN/FEB 2026
You are using an out of date browser. It may not display this or other websites correctly.
You should upgrade or use an alternative browser.
You should upgrade or use an alternative browser.
Brigantine Phoenix, by Master Korabel [COMPLETED BUILD]
- Thread starter moreplovac
- Start date
- Watchers 47
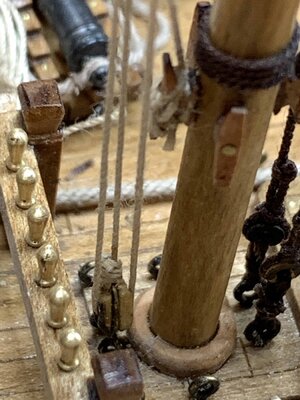
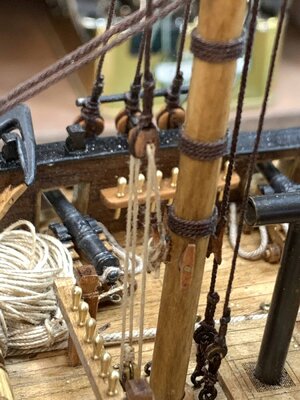
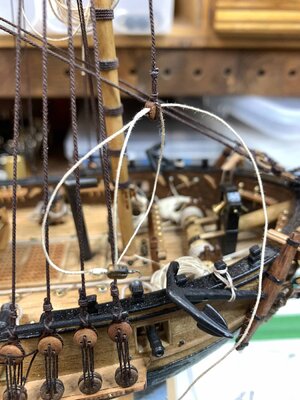
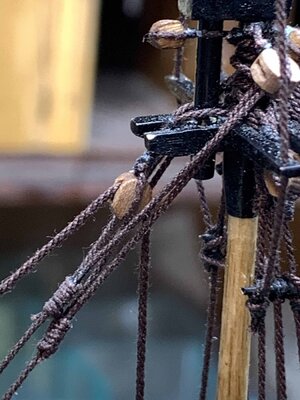
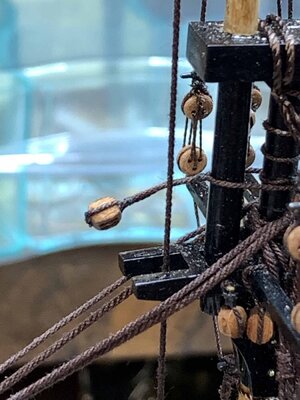
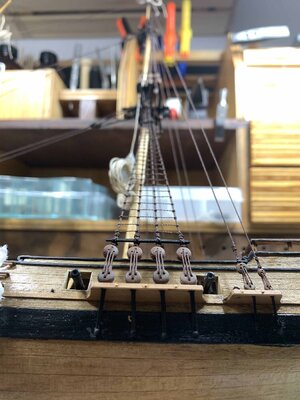
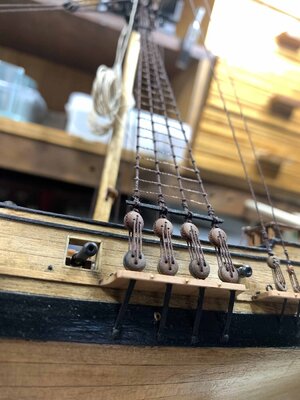
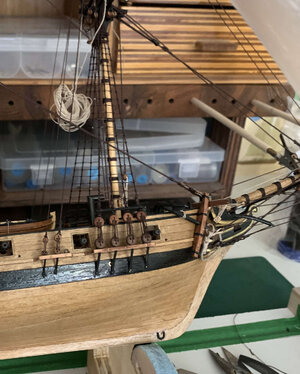
Добрый день. Если поставить паруса, то блок на втором фото снизу нужно переместить в сторону мачты. Иначе в таком виде веревка, проходящая через нее, будет мешать парусам. На этом этапе в наборе есть ошибка. С этой проблемой сталкивались все, кто собирал ФЕНИКС. Пока не стало слишком поздно, переделайте это.
Good day. If you set the sails, then the block in the second photo from the bottom needs to be moved towards the mast. Otherwise, in this form, the rope passing through it will interfere with the sails. There is an error in the set at this stage. Everyone who collected PHOENIX faced this problem. Before it's too late, redo it.
Good day. If you set the sails, then the block in the second photo from the bottom needs to be moved towards the mast. Otherwise, in this form, the rope passing through it will interfere with the sails. There is an error in the set at this stage. Everyone who collected PHOENIX faced this problem. Before it's too late, redo it.
Last edited by a moderator:
Добрый день. Если поставить паруса, то блок на втором фото снизу нужно переместить в сторону мачты. Иначе в таком виде веревка, проходящая через нее, будет мешать парусам. На этом этапе в наборе есть ошибка. С этой проблемой сталкивались все, кто собирал ФЕНИКС. Пока не стало слишком поздно, переделайте это.
Thanks for pointing it out.
Cheers
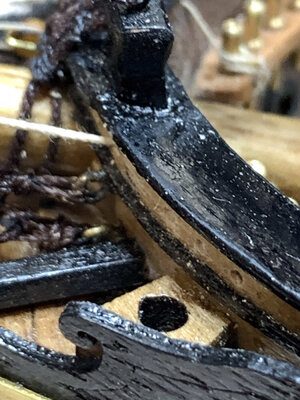
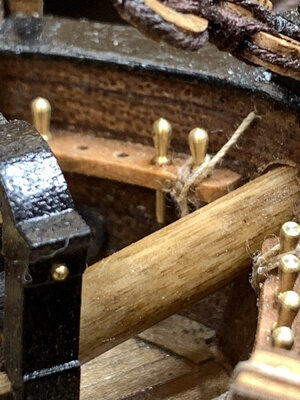
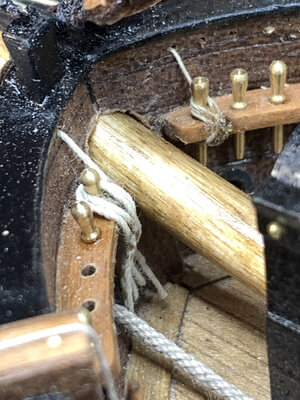
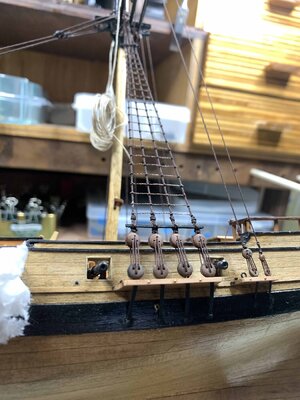
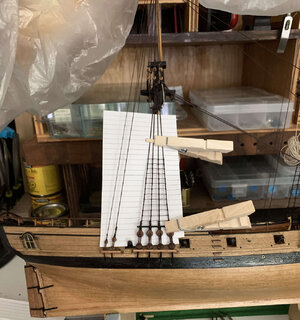
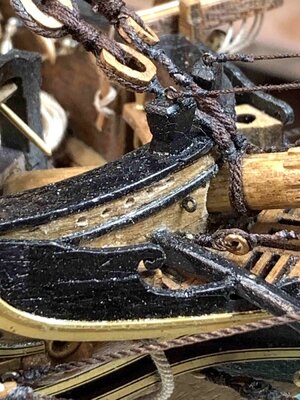
There are several holes in the hull used for tight different ropes to belaying pins... not sure if i missed these steps but i have not drilled the holes before. Now it is time to do so.. a bit more difficult that needed be but... mark them first and with little help from longer drill bits i managed to drill 10 holes in total, without damaging other parts. So if you are building this beautiful model, pay attention ahead of time..
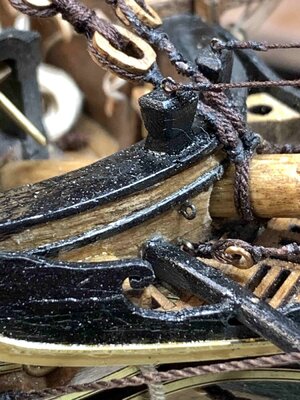
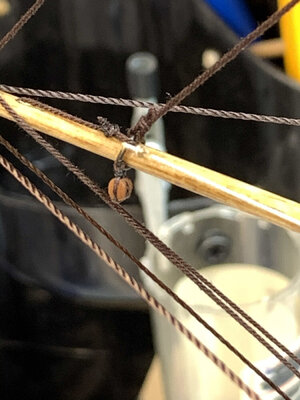
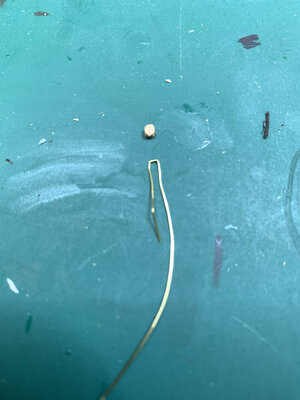
Now i am doing gunter iron gantline rope. First started with 2mm single block and made a hook. Simple by twisting the wire at the end and secure it with a drop of CA glue, then form the hook. Hopefully it will hold. Have some challenges making it at this small scale..
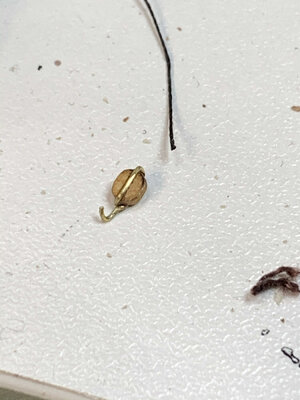
Working on the rope..
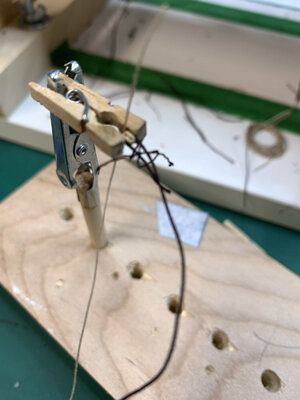
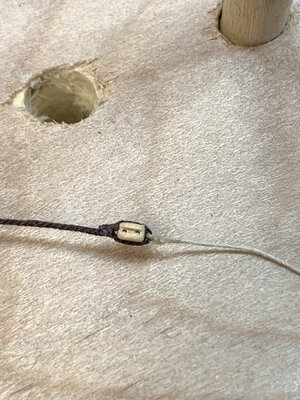
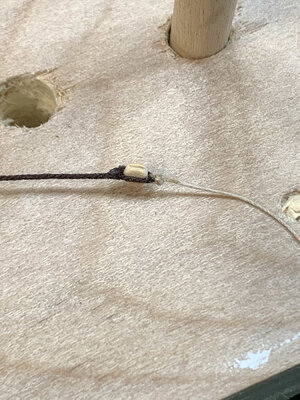
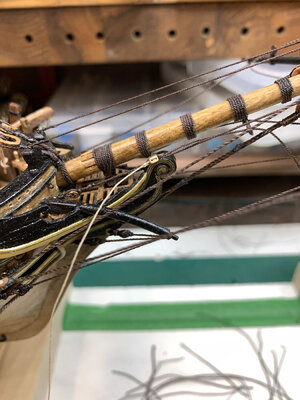
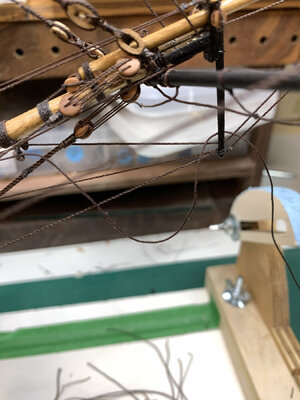
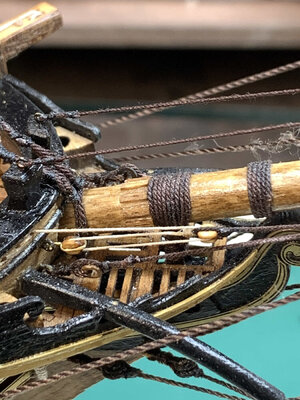
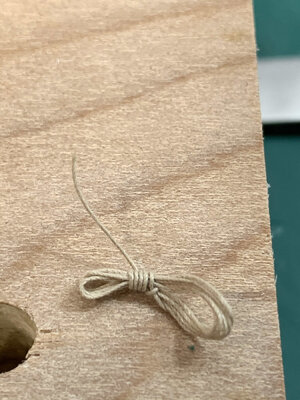
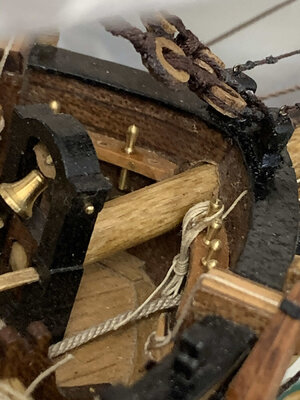
The length of coiled rope is correct, now i need to make few of those, in correct shape.
Happy modelling..


Now i am doing gunter iron gantline rope. First started with 2mm single block and made a hook. Simple by twisting the wire at the end and secure it with a drop of CA glue, then form the hook. Hopefully it will hold. Have some challenges making it at this small scale..


Working on the rope..


The length of coiled rope is correct, now i need to make few of those, in correct shape.
Happy modelling..
Last edited:
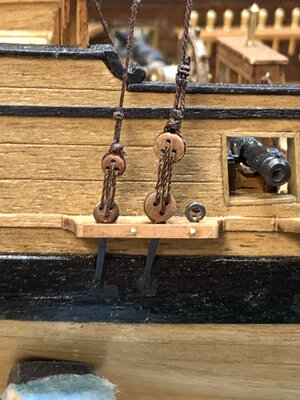
During last missing hole drilling exercise, i thought no damage was done. Unfortunately it was.. So instead of starting with rat lines, i will be repairing (or i would say improving) the look of two rigging lines.
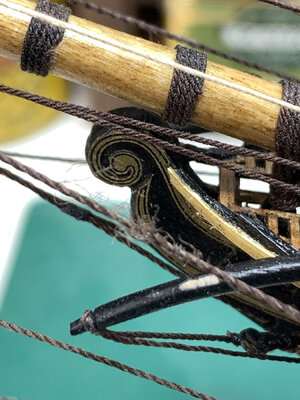
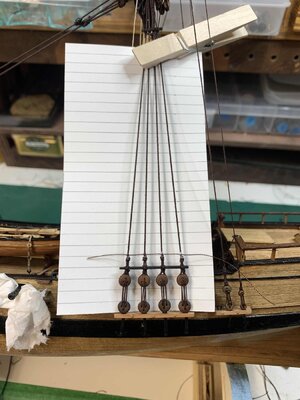
So, lets fix it... by painting the wood and replacing the rigging line. This is my process to rig a block.
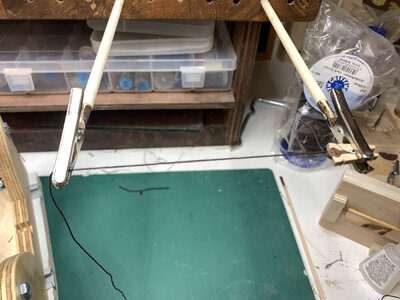
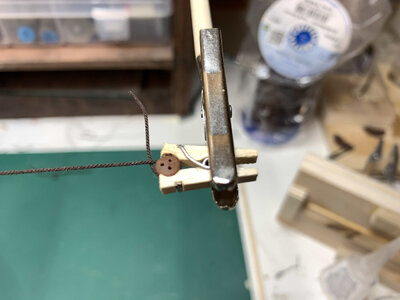
Little helping hands..
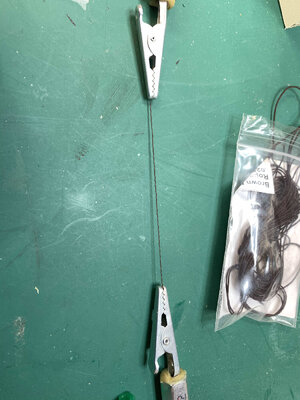
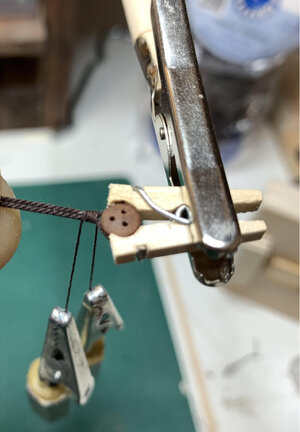
End result..
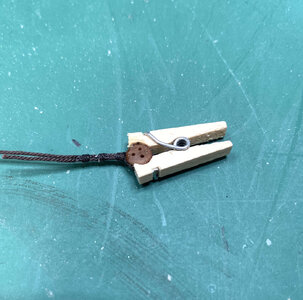
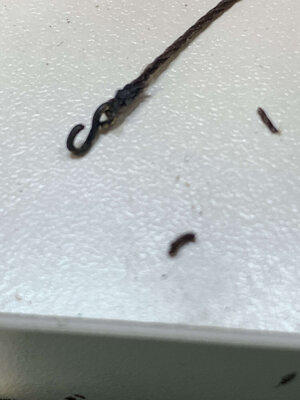
The hook is also attached..
Thole new assembly in place.
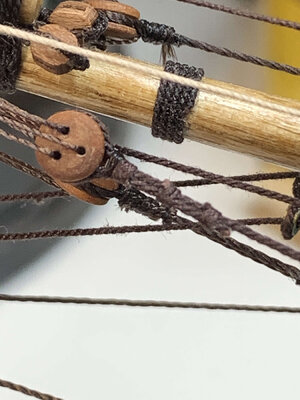
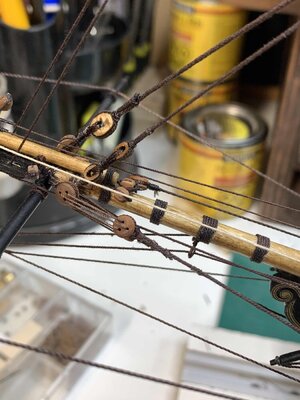
Now the other side has to be replaced as well, so both are matching..
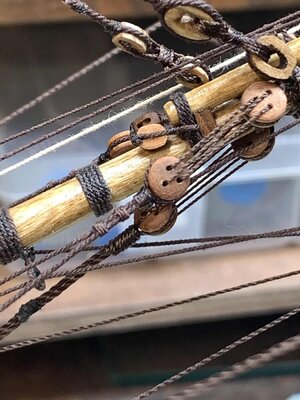
Happy modelling..

So, lets fix it... by painting the wood and replacing the rigging line. This is my process to rig a block.


Little helping hands..


End result..

The hook is also attached..

Thole new assembly in place.


Now the other side has to be replaced as well, so both are matching..

Happy modelling..
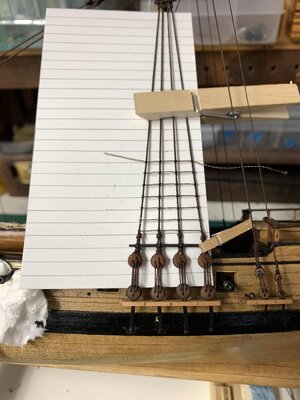
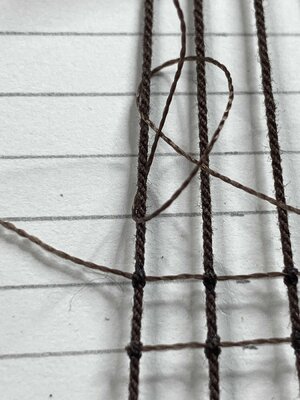
The rat lines have been completed. Interesting work, must say... It does really test your patience...
In the process at topgallant...
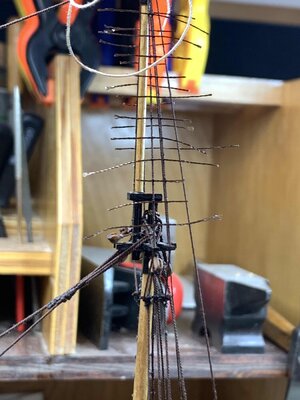
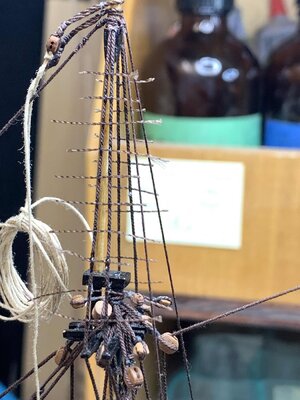
All completed...
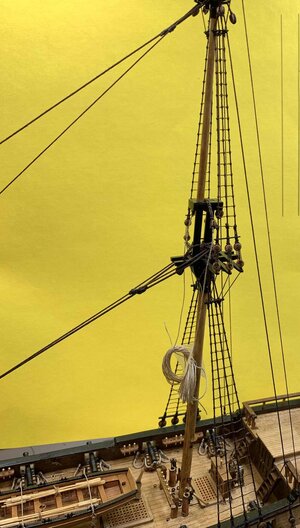
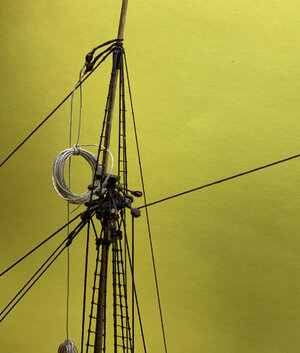
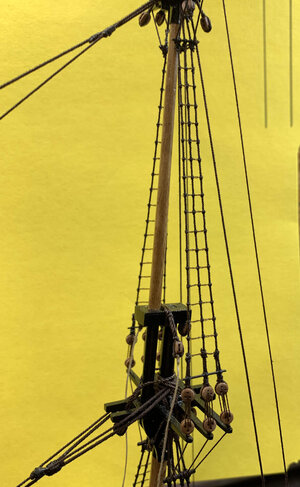
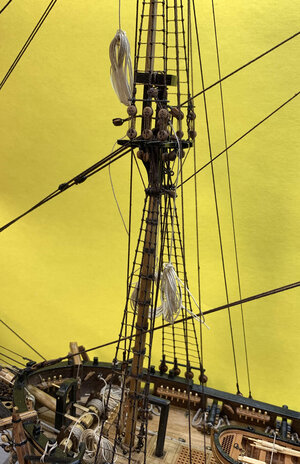
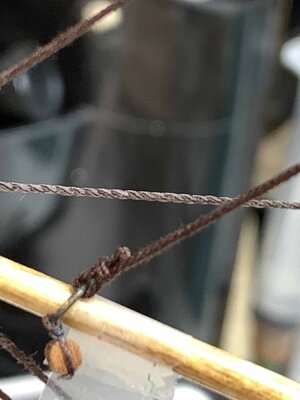
During the work process, outer jib boom guy (hopefully have the term correctly) was slightly damaged, enough to bother me so i replace it with a new rope.. Here is process..
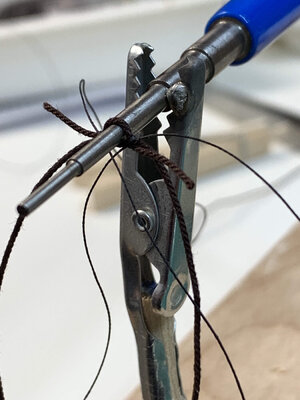
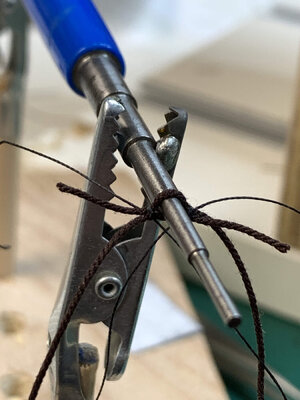
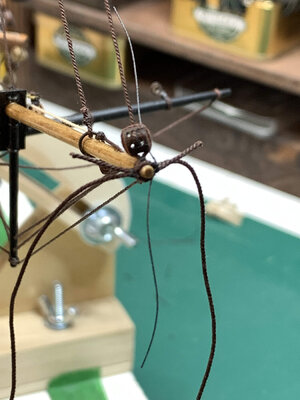
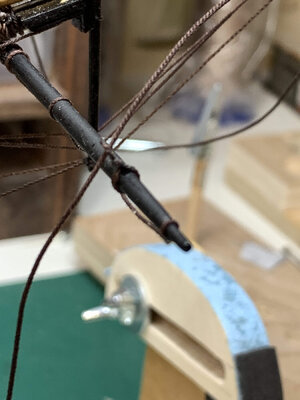
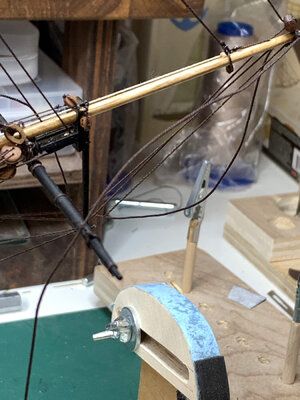
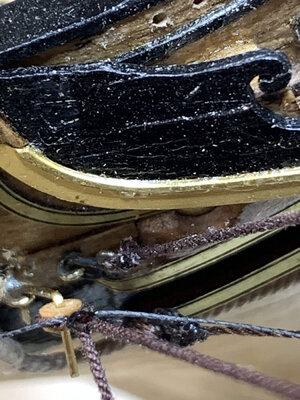
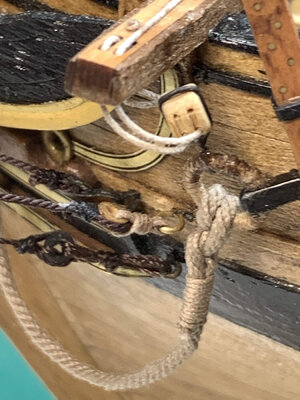
And completed..
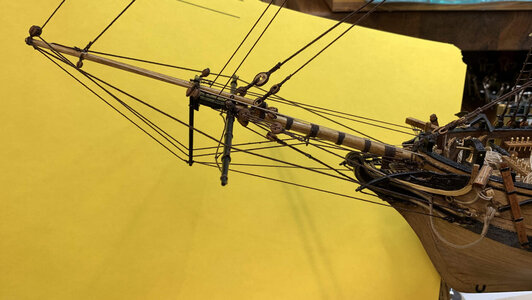
Now it is time to do some touchups on the model and to start working on sails.... woohoo.
Happy modelling.
In the process at topgallant...


All completed...


During the work process, outer jib boom guy (hopefully have the term correctly) was slightly damaged, enough to bother me so i replace it with a new rope.. Here is process..


And completed..

Now it is time to do some touchups on the model and to start working on sails.... woohoo.
Happy modelling.
Good job. however, why didn’t you start tying the upper knots like on the lower two tiers? You just glued them
Yeah, i have tried but could not make it acceptable looking in those tight spots..Good job. however, why didn’t you start tying the upper knots like on the lower two tiers? You just glued them
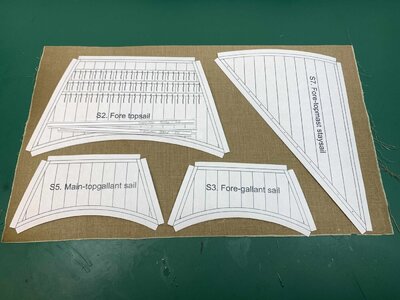
Work on sails started by scanning and printing the copy of sail plan from the kit.
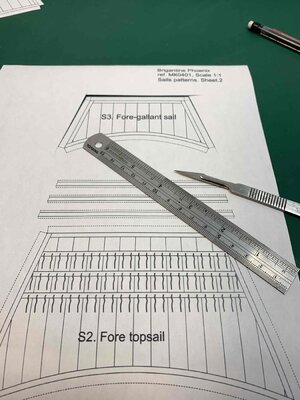
Then i cut them all..
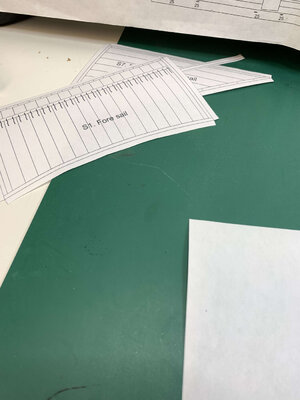
Test on the sail cloth that was included in the kit.. appears to have enough space for all..
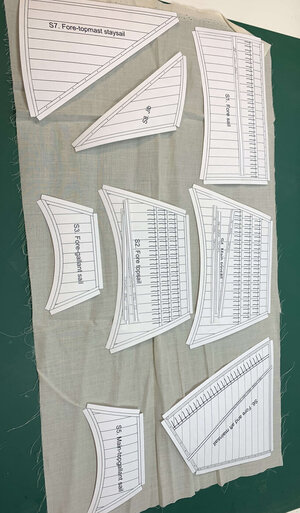
Now put them aside til i am working on staining the cloth..
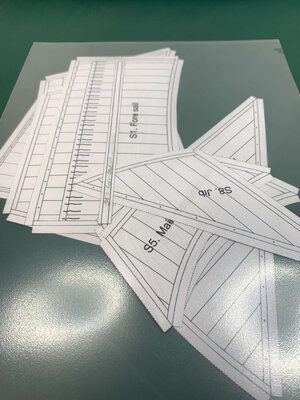
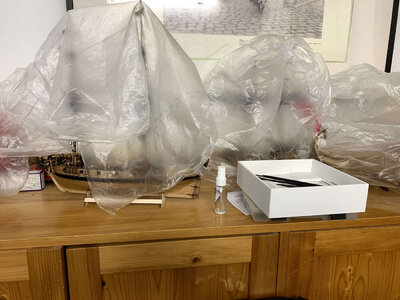
The model is also resting a bit ...
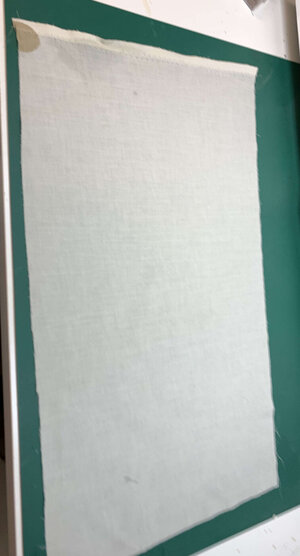
First i ironed the cloth...
Than stained in golden oak stain, must say i do like this stain colour,... a bit messy job...
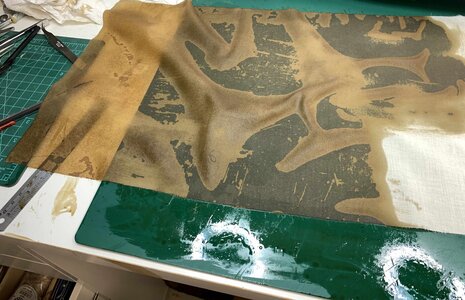
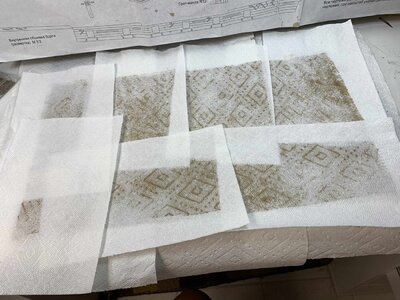
Taking excess stain from the cloth, with a help of few sheets of bounty paper..
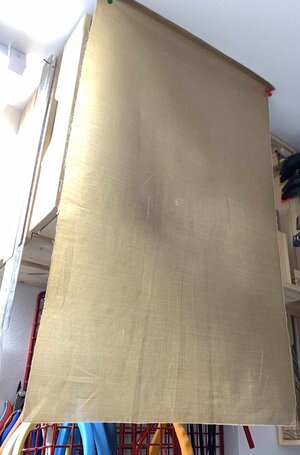
Cloth is drying ...
Happy modelling..

Then i cut them all..

Test on the sail cloth that was included in the kit.. appears to have enough space for all..

Now put them aside til i am working on staining the cloth..

The model is also resting a bit ...

First i ironed the cloth...

Than stained in golden oak stain, must say i do like this stain colour,... a bit messy job...

Taking excess stain from the cloth, with a help of few sheets of bounty paper..

Cloth is drying ...

Happy modelling..
There are different ways of making sails; this time i will follow sails making technique suggested by one Russian modeller. Never tried before so might as well try it now..
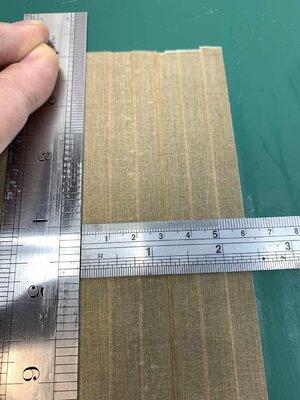
First, material is cut in a strip 10mm wide, which is then glued to the material overlapping by 1mm.
Measuring 10mm..
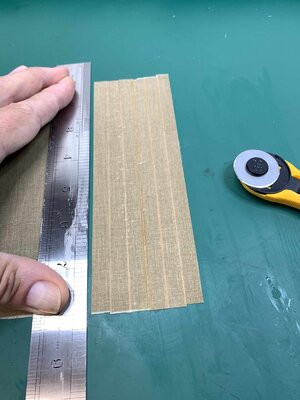
.. cutting the stripe...
... making 1mm overlap...
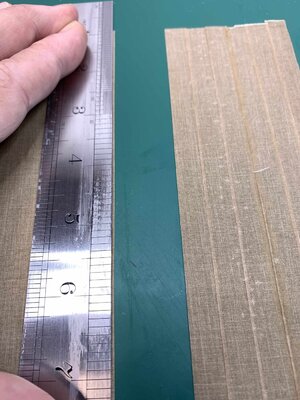
... run a layer of carpenter' glue, diluted 50/50 with water...
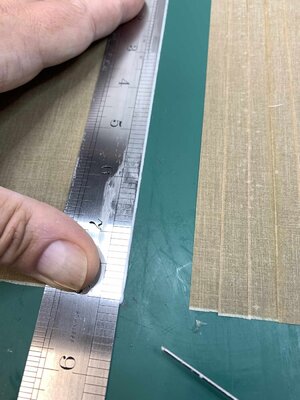
... put the cut stripe on the top of the overlapping area, in that 1mm grove, carefully remove all rules and press lightly to remove excess glue. Use a piece of bounty paper to grab the glue. After gluing few stripes, run heated iron (on silk setting) over the strips to speed up glue drying..
In the process...
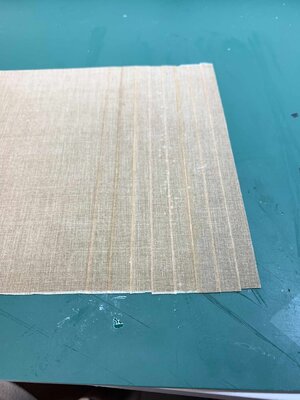
So far...
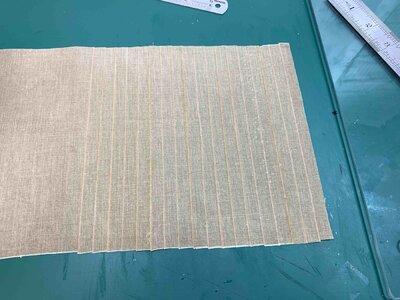
Will continue tomorrow.. Happy modelling..

First, material is cut in a strip 10mm wide, which is then glued to the material overlapping by 1mm.
Measuring 10mm..

.. cutting the stripe...

... making 1mm overlap...

... run a layer of carpenter' glue, diluted 50/50 with water...

... put the cut stripe on the top of the overlapping area, in that 1mm grove, carefully remove all rules and press lightly to remove excess glue. Use a piece of bounty paper to grab the glue. After gluing few stripes, run heated iron (on silk setting) over the strips to speed up glue drying..
In the process...

So far...

Will continue tomorrow.. Happy modelling..
Still need to practice this technique, mostly on some bigger scale model... It turns out that with this way the amount of sail cloth provided in kit might not be sufficient. Also needs to practice on type/amount of glue used to glue strips together to simulate joining of two cloths..
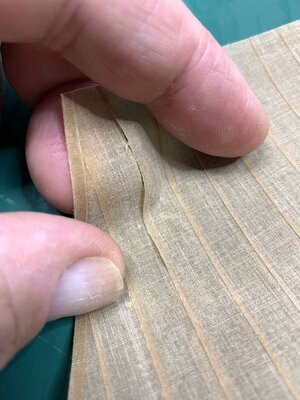
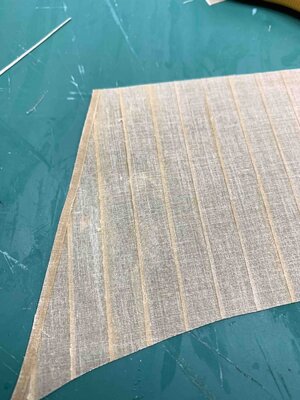
Anyhow, the new material was located and in this case i will try simulating with a pencil line... I will also practicing with another sail cloth material and using "pulling the threads" technique for simulation overlapping seams..
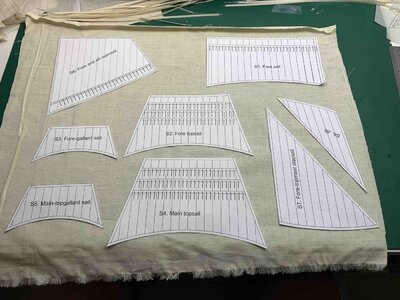
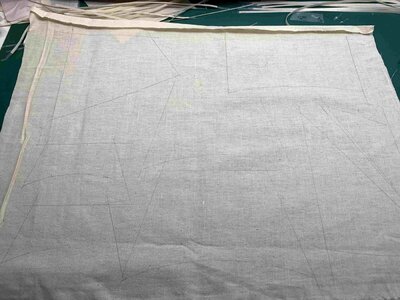
Tracing the sails down...
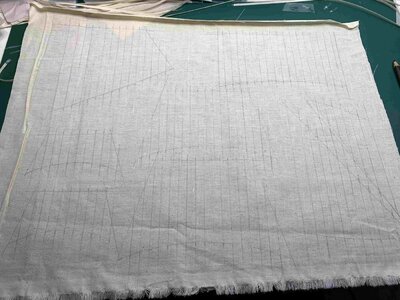
Simulating overlapping seams..
Cutting strips that will be glued to the sail..
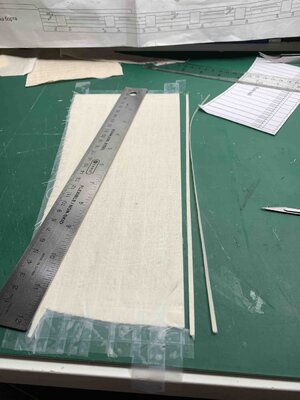
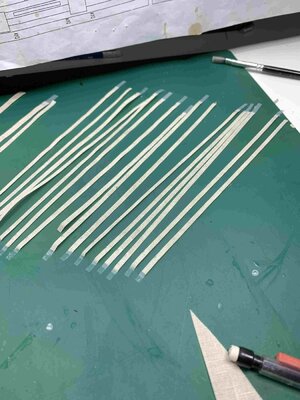
In order to protect the cloth from starting to tear apart, the cloth for strips was covered with diluted white glue, 50/50 with water, left overnight to dry and ironed before used. Then it was placed down, with material threads as vertical as possible. Then i put several strips of transparent scotch tape to prevent tear, very much the same reason of putting the scotch tap on veneer before cutting it...The strips are cut 3mm and 4mm wide.
I started with the longest run first... following the sail template..
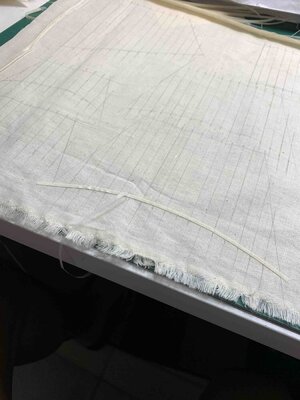
I used white glue, not diluted to glue strips to the fabric. The scotch tape is pulled off easily once the glue settles down.
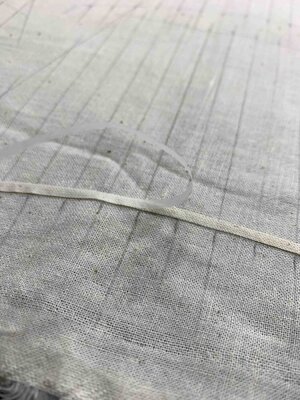
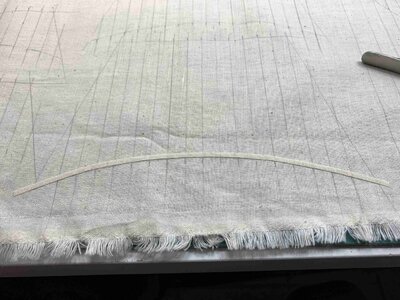
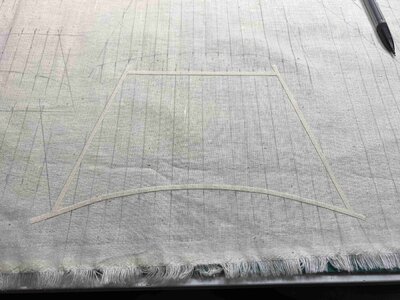
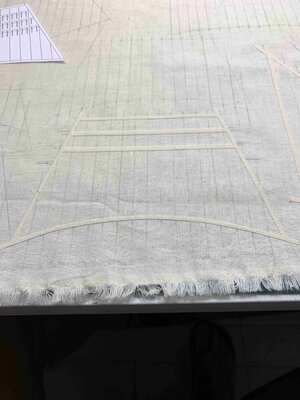
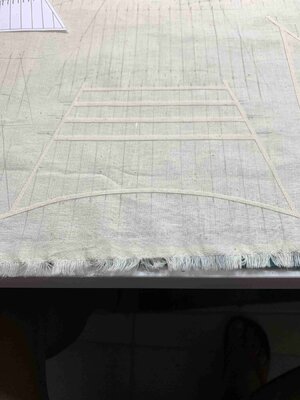
The sail is cut off..
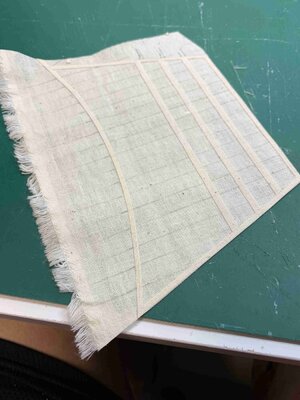
The simulation lines have to be put on the back as well.. Two lines of scotch tape with measurements are put on the desk and the lines are run on the material..
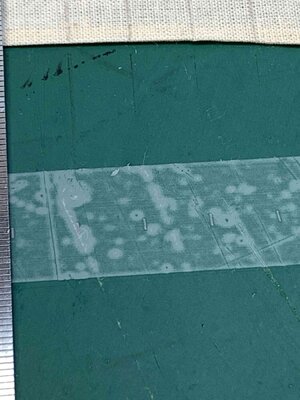
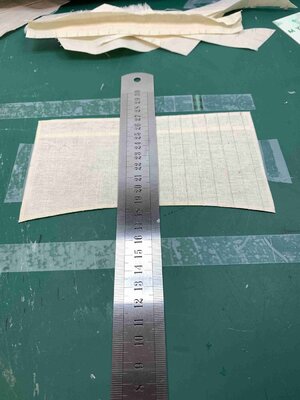
Running out of strips and making the new bunch described above..
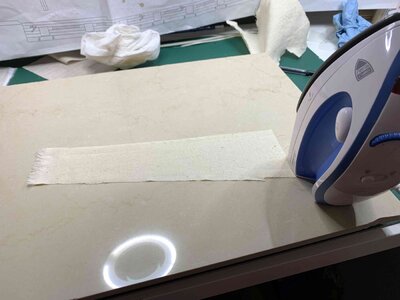
All sails completed.
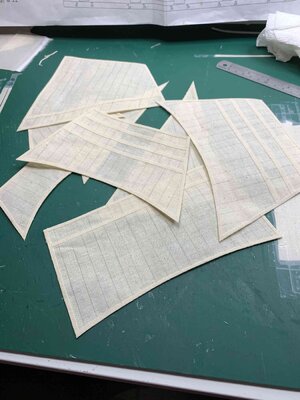
Now it is time to run a boltrope, 4mm thick, using combination of cyano glue for a quick grab/hold and 50/50 diluted white glue running with the line, to make sure rope stays on..
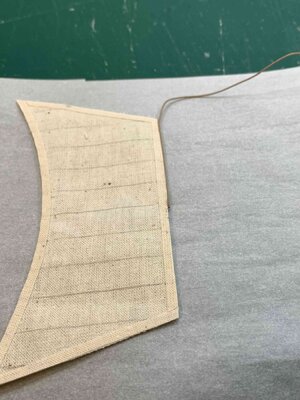
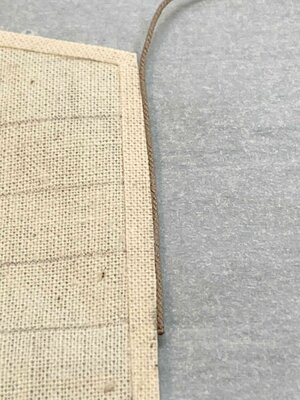
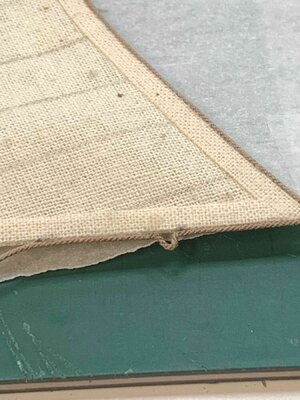
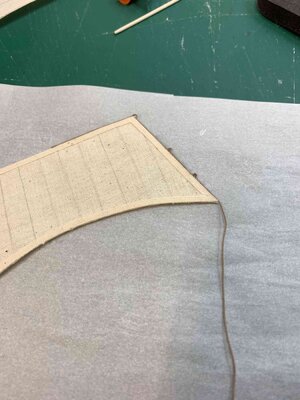
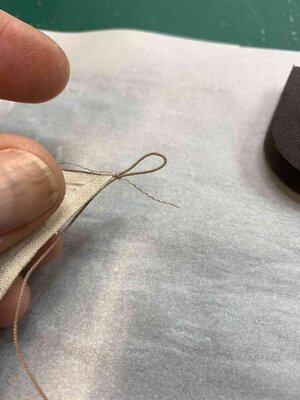
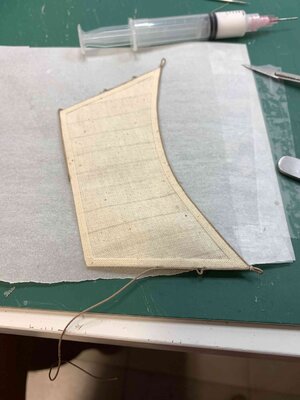
Will continue tomorrow.
Happy modelling...


Anyhow, the new material was located and in this case i will try simulating with a pencil line... I will also practicing with another sail cloth material and using "pulling the threads" technique for simulation overlapping seams..

Tracing the sails down...

Simulating overlapping seams..

Cutting strips that will be glued to the sail..


In order to protect the cloth from starting to tear apart, the cloth for strips was covered with diluted white glue, 50/50 with water, left overnight to dry and ironed before used. Then it was placed down, with material threads as vertical as possible. Then i put several strips of transparent scotch tape to prevent tear, very much the same reason of putting the scotch tap on veneer before cutting it...The strips are cut 3mm and 4mm wide.
I started with the longest run first... following the sail template..

I used white glue, not diluted to glue strips to the fabric. The scotch tape is pulled off easily once the glue settles down.


The sail is cut off..

The simulation lines have to be put on the back as well.. Two lines of scotch tape with measurements are put on the desk and the lines are run on the material..


Running out of strips and making the new bunch described above..

All sails completed.

Now it is time to run a boltrope, 4mm thick, using combination of cyano glue for a quick grab/hold and 50/50 diluted white glue running with the line, to make sure rope stays on..


Will continue tomorrow.
Happy modelling...
Kurt Konrath
Kurt Konrath
Great work on the sails, very interesting but time consuming to build strip by strip. Need to run thru a sewing machine when glued to keep together.
Will be waiting to see sails installed.
Will be waiting to see sails installed.
Yeah it is time consuming; the challenge with sewing is to find out the correct size for sewing thread and the needle so it does not sticks out from the scale of the model...Great work on the sails, very interesting but time consuming to build strip by strip. Need to run thru a sewing machine when glued to keep together.
Will be waiting to see sails installed.
Will see how this works..
Cheers
Great tutorial, Moreplovac, many thanks! The way you making sails remind me of the method of many Russian ship modeling colleagues.


