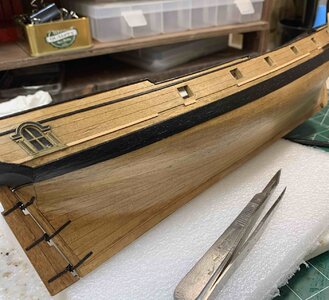
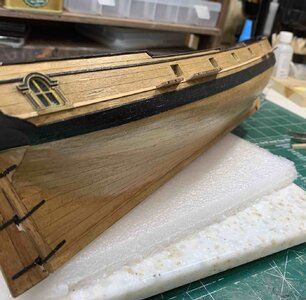
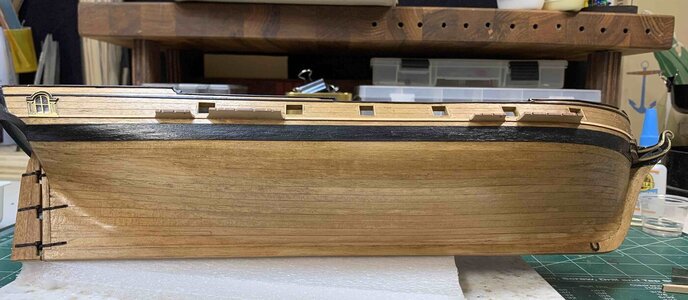
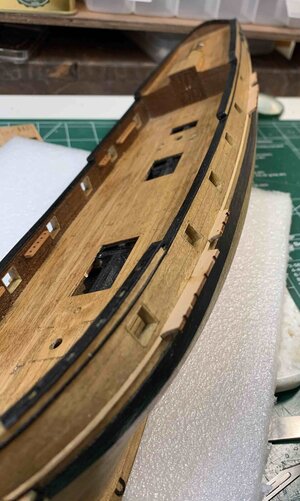
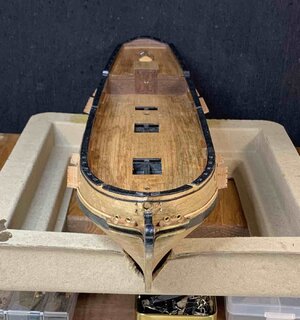
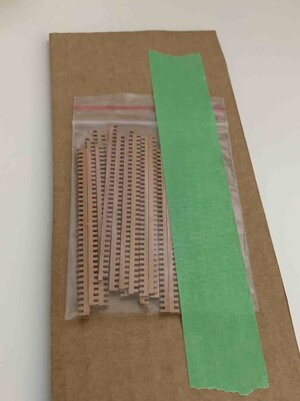
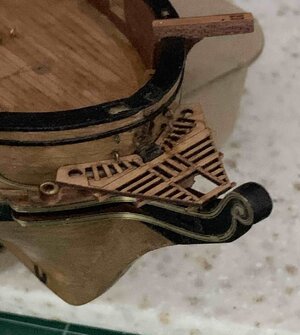
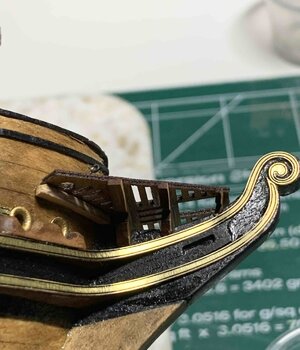
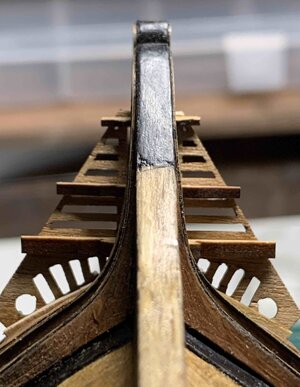
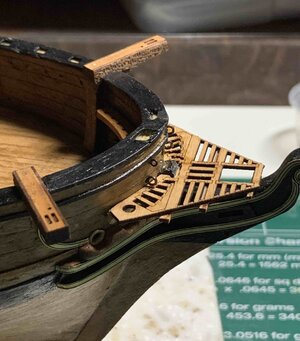
I like that idea very much...and the results are above expectations! Great hint!
You are using an out of date browser. It may not display this or other websites correctly.
You should upgrade or use an alternative browser.
You should upgrade or use an alternative browser.
Brigantine Phoenix, by Master Korabel [COMPLETED BUILD]
- Thread starter moreplovac
- Start date
- Watchers 46
The notches in pads have to be enlarged and for that i used sanding drums in two sizes. With smaller one you can go all the way until the laser line is completely gone.. then just enlarge it til correct size.
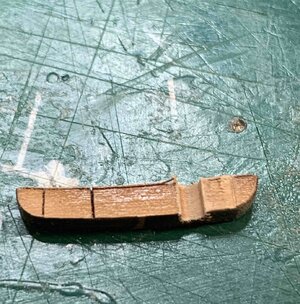
Then you sanded it to correct shape and depth so it will fit nicely under the anchor line pipes..
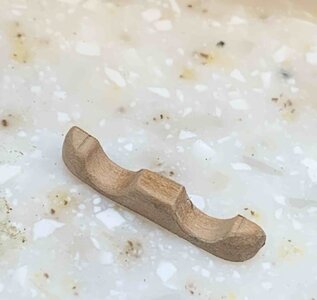
Several fitting tests are needed in order to get proper shape.
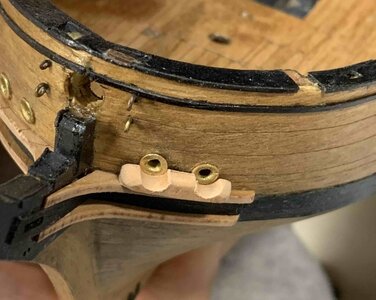
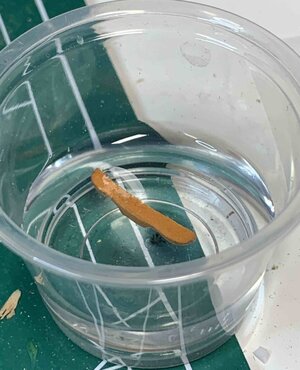
The pads are soaked a bit so they can easily be mounted on the ship taking correct shape (following full curve).
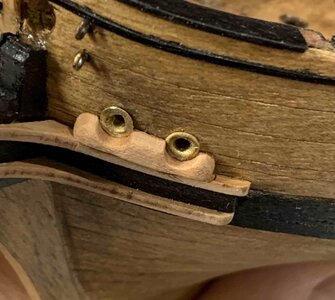
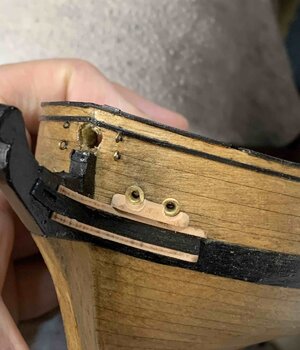
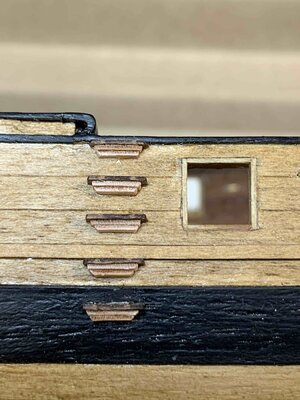
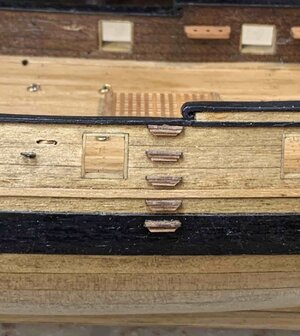
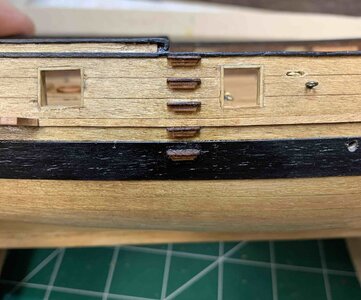
The pads have to stick out of a knee for a bit to accommodate thickness of the brass elements.
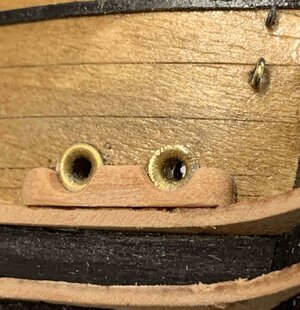
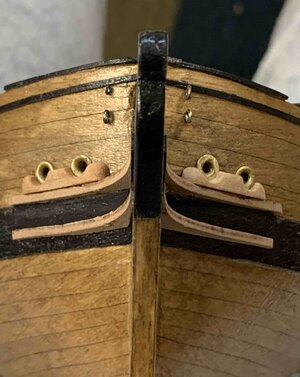
The length of the brass elements is shorter for about 3mm and the knee has to be resahped (shortened) the brass fitting will go all the way to the hull. Just test it few times..
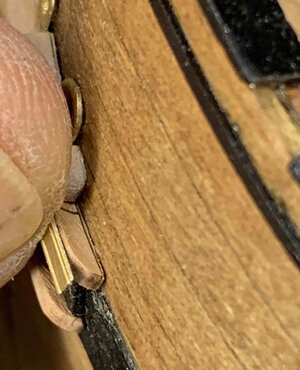
Brass elements are glued and mounted...
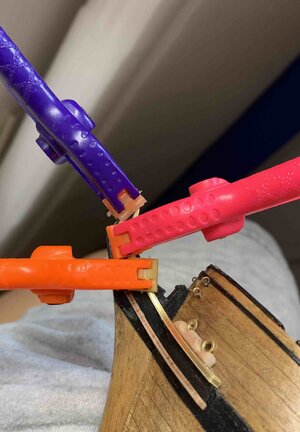
Now it is time to do some paint touch ups..
Happy modelling.

Then you sanded it to correct shape and depth so it will fit nicely under the anchor line pipes..

Several fitting tests are needed in order to get proper shape.

The pads are soaked a bit so they can easily be mounted on the ship taking correct shape (following full curve).


The pads have to stick out of a knee for a bit to accommodate thickness of the brass elements.


The length of the brass elements is shorter for about 3mm and the knee has to be resahped (shortened) the brass fitting will go all the way to the hull. Just test it few times..

Brass elements are glued and mounted...

Now it is time to do some paint touch ups..
Happy modelling.
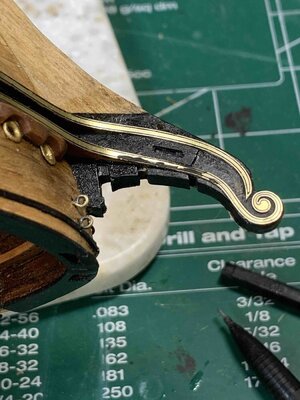
Installing these brass elements was a bit of a challenge because of its size and curvature that has to be achieved. They are small so i could not find the way to use clamps to hold them in place so i used a quick dry glue and by holding it with fingers managed to get it installed.
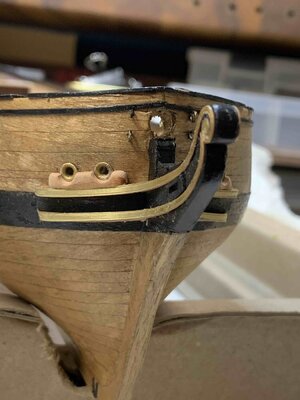
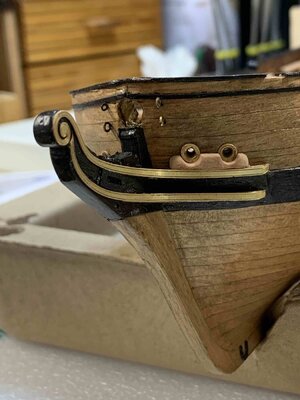
If you forget to blackened tiny grooves in them like i did, there is a way to do it after... Paint the whole brass element including grooves with black paint, let it dry ans scrap the extra black colour with a piece of soft wood or plastic. The idea is to put the piece as flat as possible so it will remove paint only from area that it can touch...
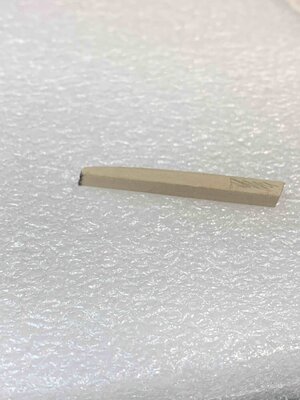
This is my little scrapper..
The work on channels starts by installing sheer streak...
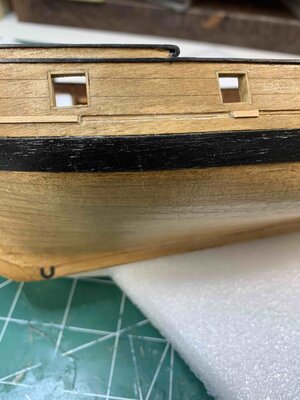
The "channel' where channels will be installed -)) needs to be cleaned of varnish so the channel will fit properly. For this i used a frame were channels were attached to.. Same size...
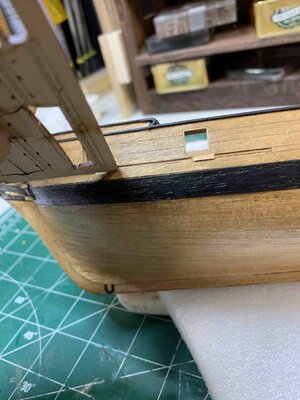
The channels will be enforced to the hull with pins; pilot holes drilled and pins installed. The pins length is about 6mm.
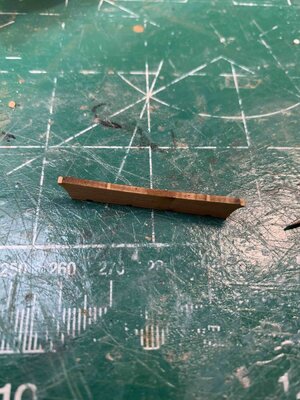
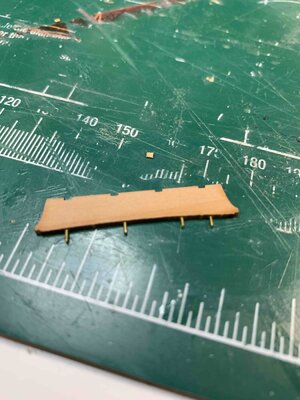
There are some fittings that have to be done especially to shorten the sheer streak, until channel fits perfectly.
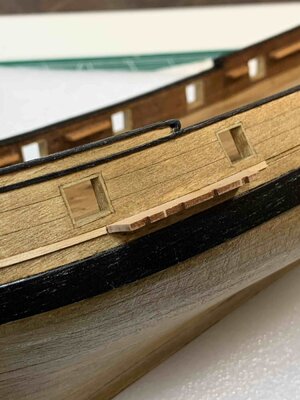
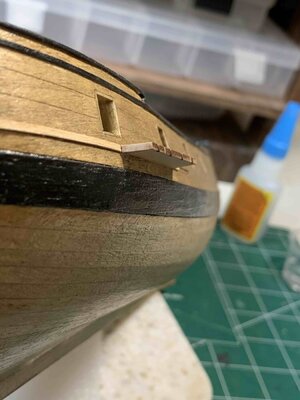
Happy modelling..


If you forget to blackened tiny grooves in them like i did, there is a way to do it after... Paint the whole brass element including grooves with black paint, let it dry ans scrap the extra black colour with a piece of soft wood or plastic. The idea is to put the piece as flat as possible so it will remove paint only from area that it can touch...

This is my little scrapper..

The work on channels starts by installing sheer streak...

The "channel' where channels will be installed

The channels will be enforced to the hull with pins; pilot holes drilled and pins installed. The pins length is about 6mm.


There are some fittings that have to be done especially to shorten the sheer streak, until channel fits perfectly.


Happy modelling..
I could not located info about scuppers in instructions but some videos are suggesting installing them as a good addition to the kit. So lets do it.
I did not have enough pipes in adequate diameter so ordered few of the Internet. But that does not stop me from making holes for scuppers. The challenge is to make all six holes at the same level. For that task i made a small template that was used to drill holes in the hull.
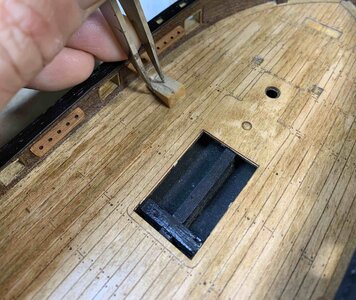
It is difficult to hold the template with one hand and drill holes with drill bit. This is the way o held the template in place..
Holes were drilled...
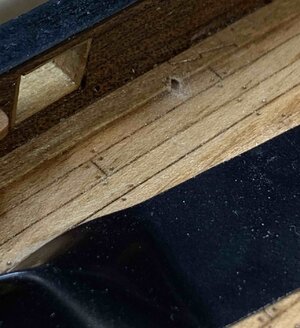
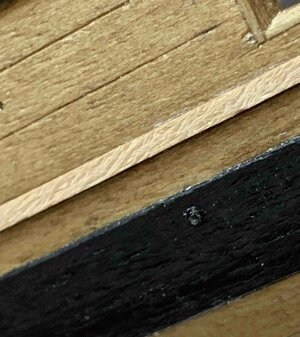
One went a bit lover so some fixing on the outer side will take place later.
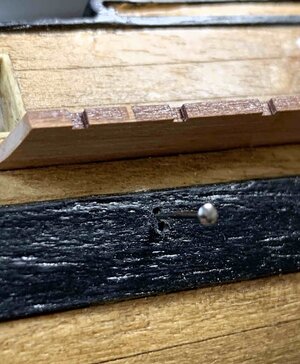
All holes drilled and covered in golden oak stain.. they could even stay like this but with pipes it should look much nicer..
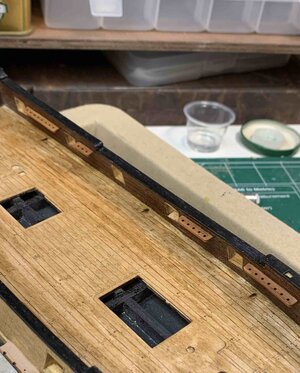
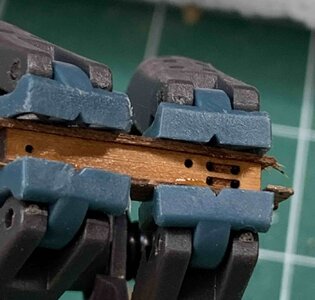
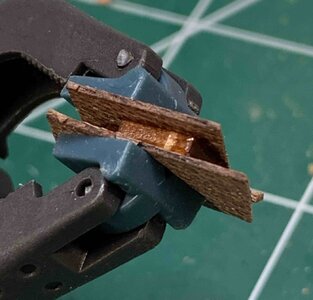
While waiting for pipes to arrive, i started to work on catheads. Since we added a layer of veneer for inside cathead knee, i need to expand cathead with the same size veneer.. The layer of veneer was applied to the catheads as well as knees that are mounted on the outer side...
Happy modelling..
I did not have enough pipes in adequate diameter so ordered few of the Internet. But that does not stop me from making holes for scuppers. The challenge is to make all six holes at the same level. For that task i made a small template that was used to drill holes in the hull.

It is difficult to hold the template with one hand and drill holes with drill bit. This is the way o held the template in place..
Holes were drilled...


One went a bit lover so some fixing on the outer side will take place later.

All holes drilled and covered in golden oak stain.. they could even stay like this but with pipes it should look much nicer..

While waiting for pipes to arrive, i started to work on catheads. Since we added a layer of veneer for inside cathead knee, i need to expand cathead with the same size veneer.. The layer of veneer was applied to the catheads as well as knees that are mounted on the outer side...


Happy modelling..
Nice detailing, the scuppers are a great addition
Last edited by a moderator:
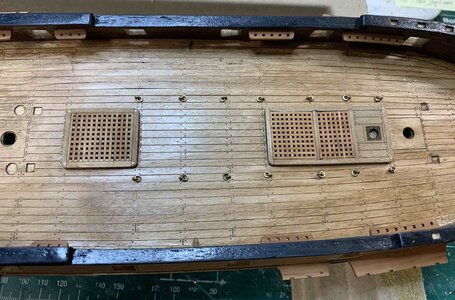
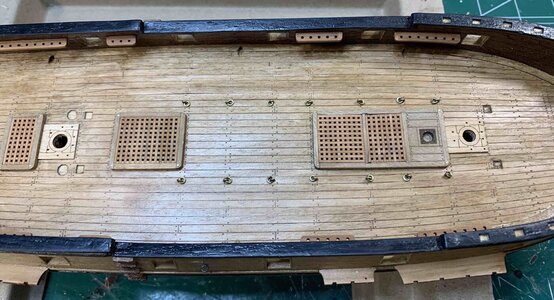
The gratings have been completed. Cutting, making, sanding, gluing, ...
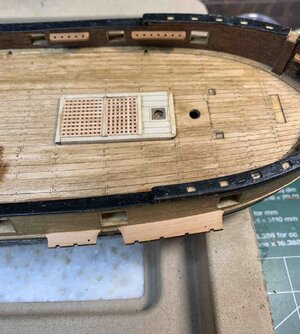
I have inserted brass pins in completed gratings to make them stand out a bit..
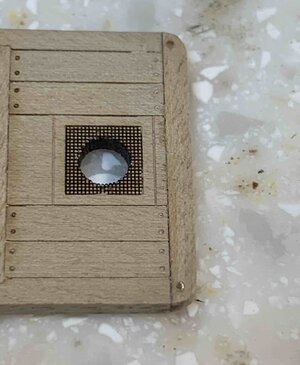
Also, a bit of a repairing had to be done..
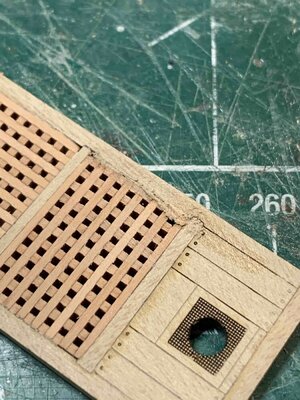
I have lost one of the pieces that should be used for one grating so i need to cut it from available material..
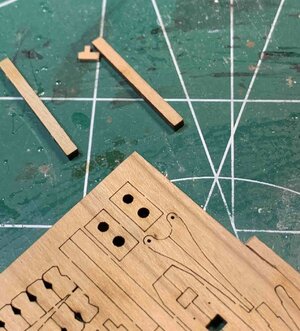
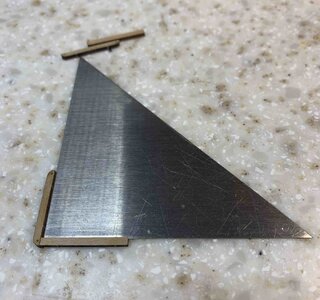
Making sure 90 degrees angle is there when you need it..
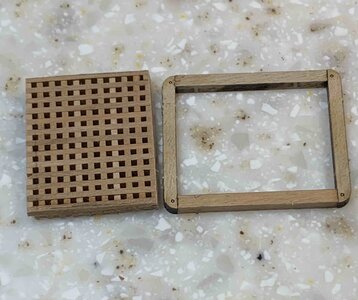
Before combining pieces into real gratings..
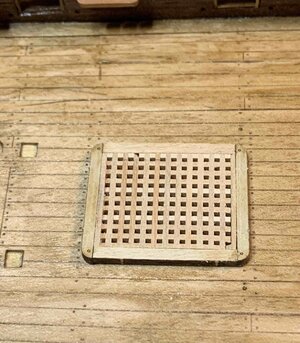
On the ship..
With last one i took a bit different approach as i had to make gratings fit the frame in previous two. This time i fit frames around completed gratings, it is kind of make sense. With completed gratings, i start gluing individual frames.
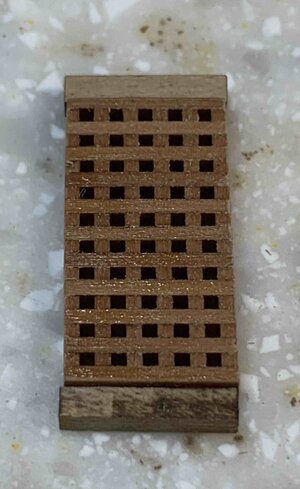
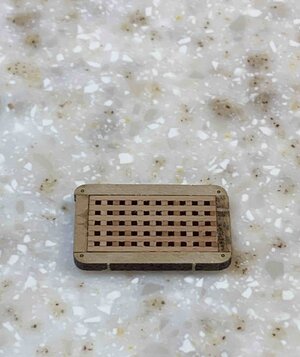
Sanding to remove laser burns and other stuff...
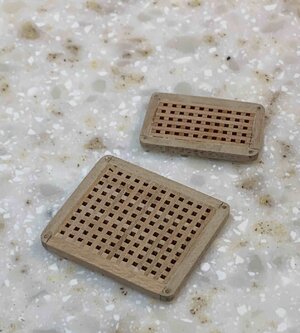
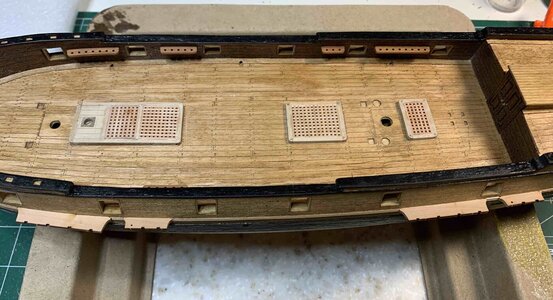
On the ship, all three..
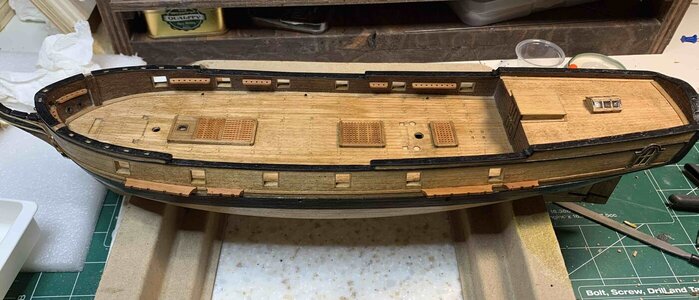
And with a layer of golden oak stain also applied to the rest of the ship that was missing it..
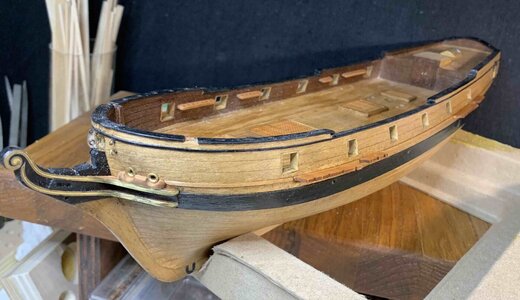
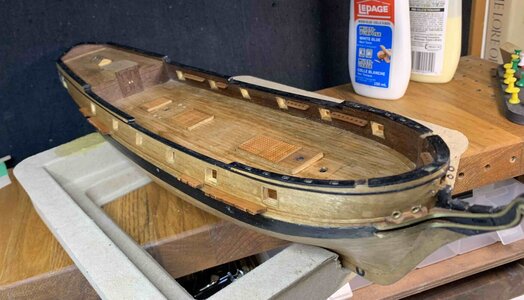
Happy modelling...

I have inserted brass pins in completed gratings to make them stand out a bit..

Also, a bit of a repairing had to be done..

I have lost one of the pieces that should be used for one grating so i need to cut it from available material..

Making sure 90 degrees angle is there when you need it..

Before combining pieces into real gratings..

On the ship..

With last one i took a bit different approach as i had to make gratings fit the frame in previous two. This time i fit frames around completed gratings, it is kind of make sense. With completed gratings, i start gluing individual frames.


Sanding to remove laser burns and other stuff...

On the ship, all three..

And with a layer of golden oak stain also applied to the rest of the ship that was missing it..


Happy modelling...
Catheads are next starting by gluing the knee for each cathead. I had to add additional layer of veneer to knee and cathead to match the inner size.
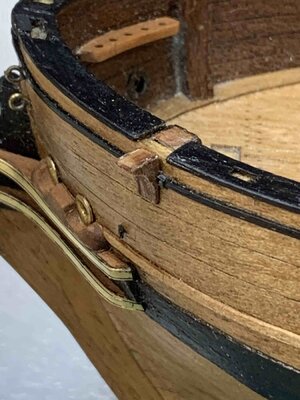
I decided not to use underlay for decoration; it will bring the thickness to the decoration which might not quite be pleased for an eye. Decoration is first coloured in black using flat black colour and scraping the rest of it after drying period.
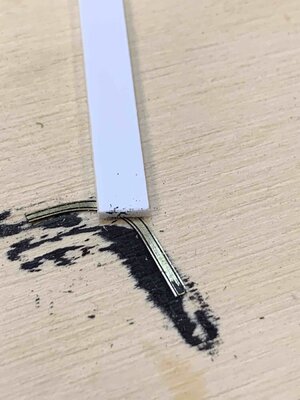
Then it was glued to the ship; again since there is a curve needed, the gluing process is a bit hard since decoration must be kept in place with fingers. Could not find the way to use some other holding method..
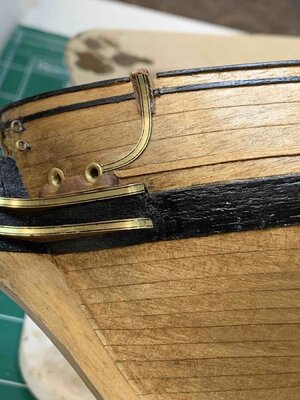
Then it is cathead' turn...
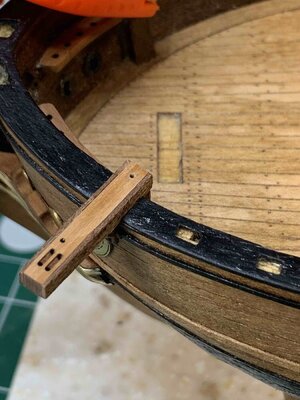
The brass pin was inserted and sanded...
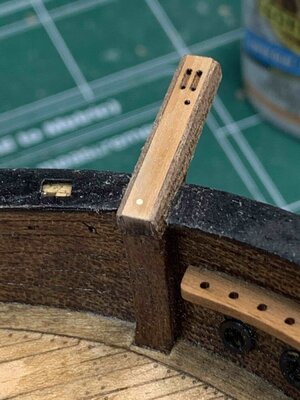
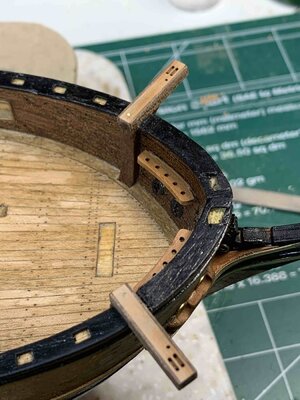
The second cathead installed the same way..
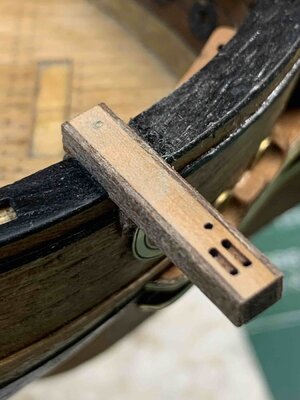
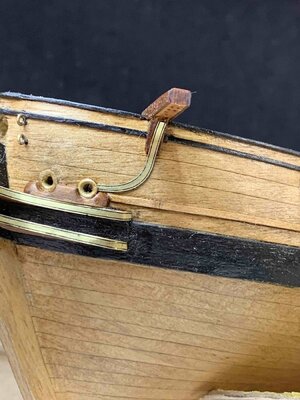
And a layer of golden oak stain applied to all new parts.. I actually like cathead appearance additional layer of veneer is making..
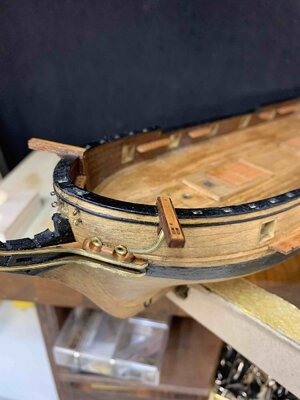
Happy modelling..

I decided not to use underlay for decoration; it will bring the thickness to the decoration which might not quite be pleased for an eye. Decoration is first coloured in black using flat black colour and scraping the rest of it after drying period.

Then it was glued to the ship; again since there is a curve needed, the gluing process is a bit hard since decoration must be kept in place with fingers. Could not find the way to use some other holding method..

Then it is cathead' turn...

The brass pin was inserted and sanded...


The second cathead installed the same way..


And a layer of golden oak stain applied to all new parts.. I actually like cathead appearance additional layer of veneer is making..

Happy modelling..
Last edited:
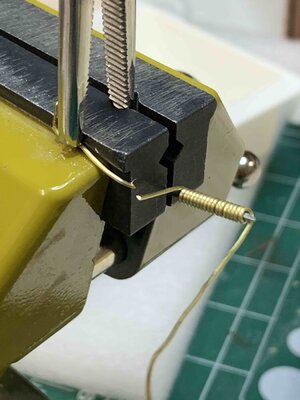
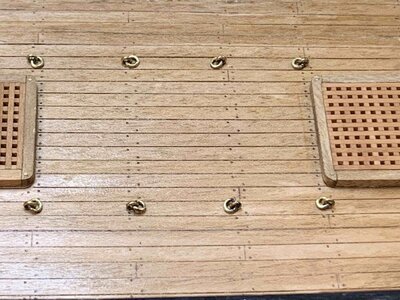
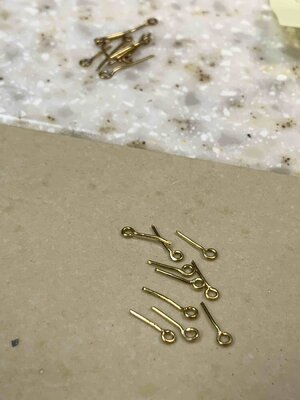
Work continuing by making eyes and hooks to be mounted on various places on the model..
First cutting small pieces of solder wire lead that will be flattened into flakes by squeezing. The flakes are cut in four pieces and one piece is enough for soldering one hook or eye..
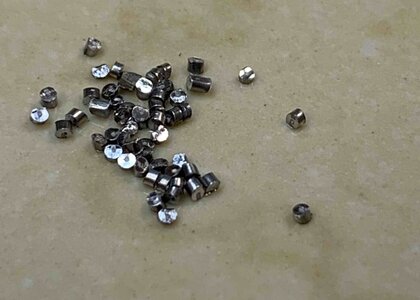
Work in progress... top completed, bottom to be done..
Happy modelling..
First cutting small pieces of solder wire lead that will be flattened into flakes by squeezing. The flakes are cut in four pieces and one piece is enough for soldering one hook or eye..

Work in progress... top completed, bottom to be done..

Happy modelling..
Hello Moreplovac. Great job on the ring bolts, indeed! A quick tip, if you don't mind, the wire must be annealed before curling. It will become softer and more pliable.During eye bolt making process..
Don't mind at all and makes perfect sense..Hello Moreplovac. Great job on the ring bolts, indeed! A quick tip, if you don't mind, the wire must be annealed before curling. It will become softer and more pliable.
Cheers
With task of assembling the top crossbars with , the work on ship continues...
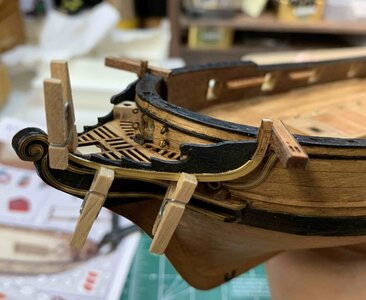
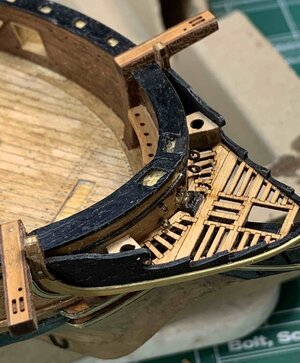
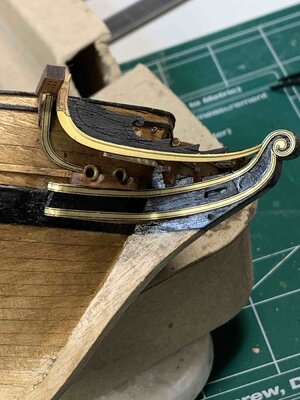
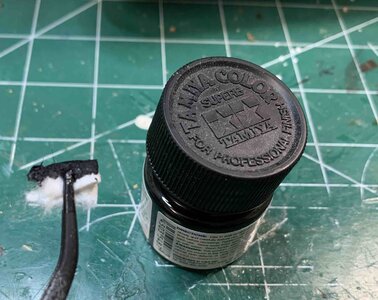
My quick solution to paint small areas and not to spent more time cleaning a brush than to actually do the painting, i use a piece of bounty paper ....
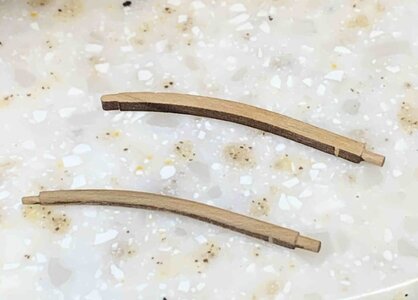
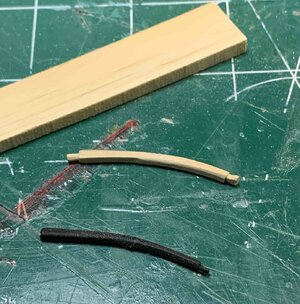
Then start making a spreaders for bowsprit's standing rigging. Was a bit concerned about the fact that after installing them, they will stick out and being on the way.. And i was right..
Snap! Literally...
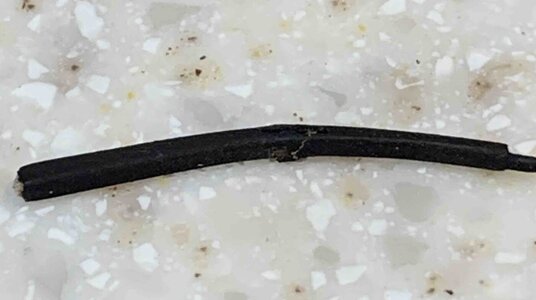
Oh well, back to carving tasks of making a new one from the scrap wood..
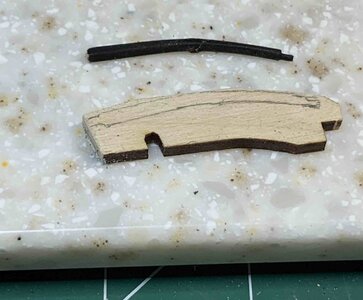
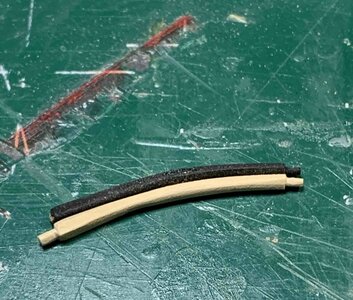
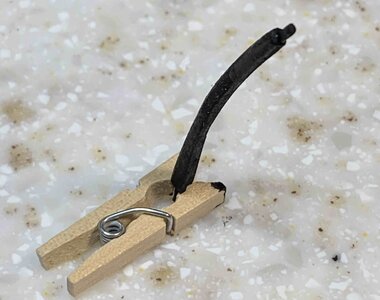
Holes were made for spreaders..
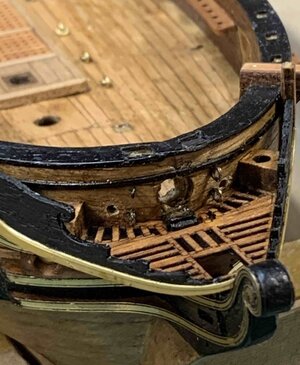
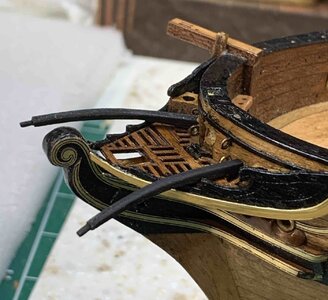
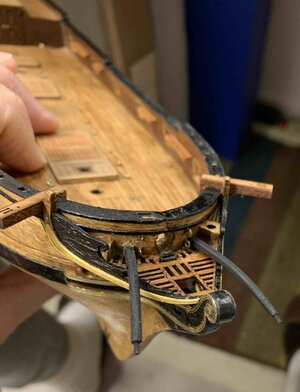
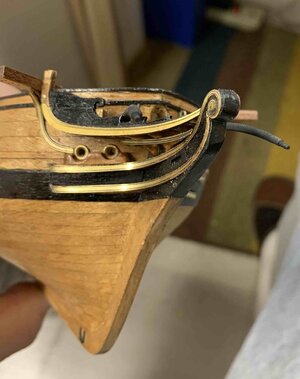
Maybe some time in the future i will be able to obtain a correct milling machine, but for now i will just simulate sheaves.. a small ring was made that will be inserted in the hull... It is not glued in case i am able to get a correct, milled sheaves in..
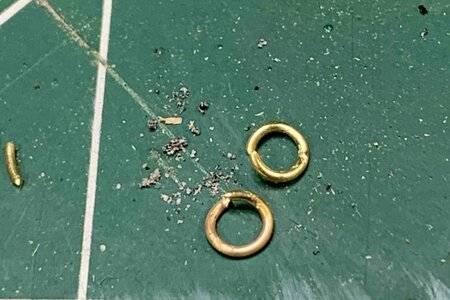
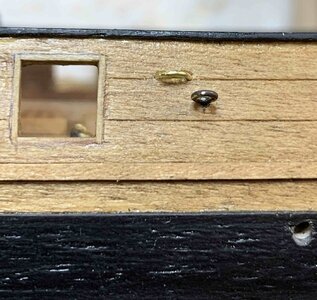
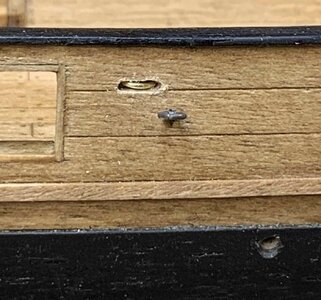
Happy modelling..


My quick solution to paint small areas and not to spent more time cleaning a brush than to actually do the painting, i use a piece of bounty paper ....


Then start making a spreaders for bowsprit's standing rigging. Was a bit concerned about the fact that after installing them, they will stick out and being on the way.. And i was right..
Snap! Literally...

Oh well, back to carving tasks of making a new one from the scrap wood..


Holes were made for spreaders..


Maybe some time in the future i will be able to obtain a correct milling machine, but for now i will just simulate sheaves.. a small ring was made that will be inserted in the hull... It is not glued in case i am able to get a correct, milled sheaves in..


Happy modelling..
Last edited:
Next i am attaching the ladder; rubber is here to align the ladder's rungs...
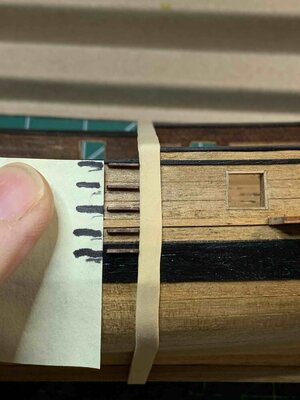
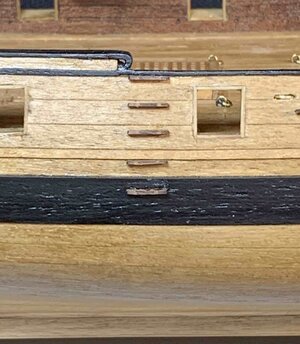
On the instruction pictures i see some other parts of the ladder that i cannot locate in my kit parts so i have to make my own from some scrap wood.....
Then i put in a cover at the base of the masts as well as a rings..
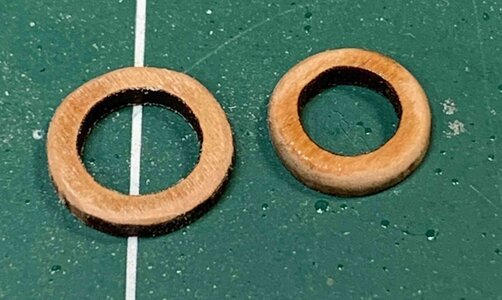
Testing fittings..
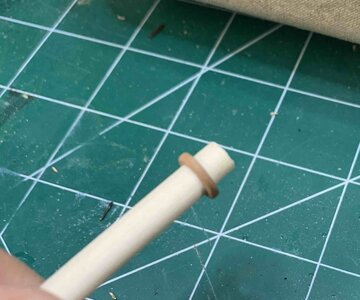
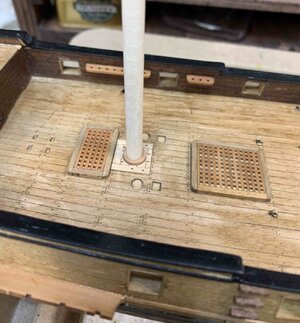
and testing position with mast inserted to make sure it fits correctly..
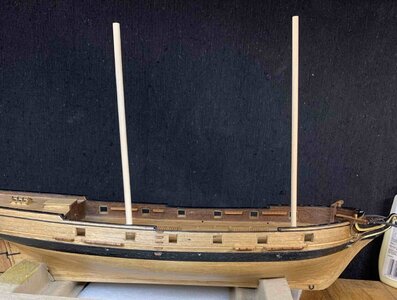
The cover of stain and all done for today..
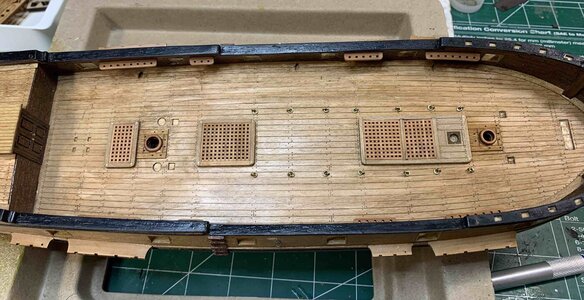
Happy modelling..


On the instruction pictures i see some other parts of the ladder that i cannot locate in my kit parts so i have to make my own from some scrap wood.....


Then i put in a cover at the base of the masts as well as a rings..


Testing fittings..


and testing position with mast inserted to make sure it fits correctly..

The cover of stain and all done for today..

Happy modelling..
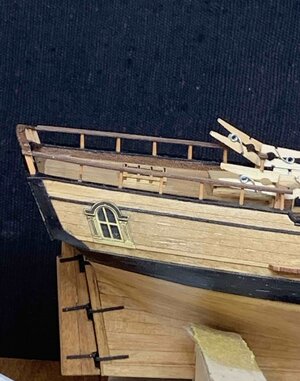
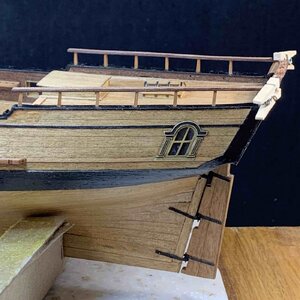
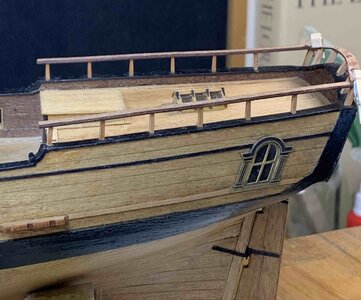
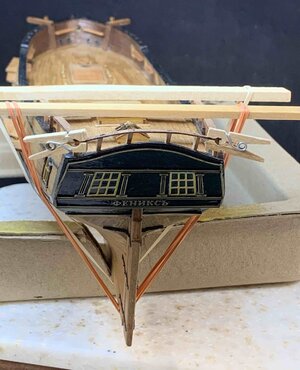
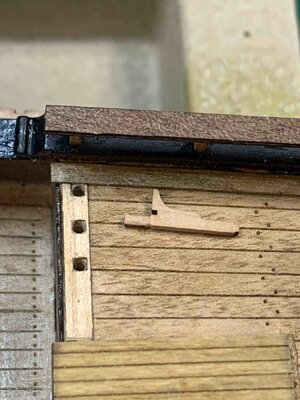
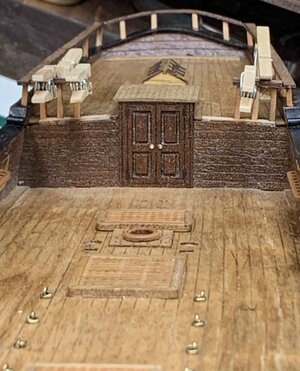
The work continues assembling the quarter deck railing.. The process requires that all holes for racks are cleaned so the racks can fit correctly and in proper angle. Lots of testing and trial until everything was fitting properly..
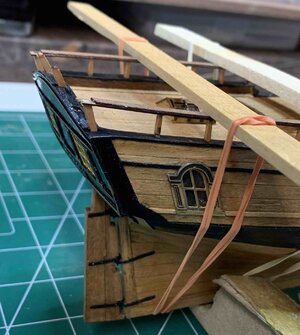
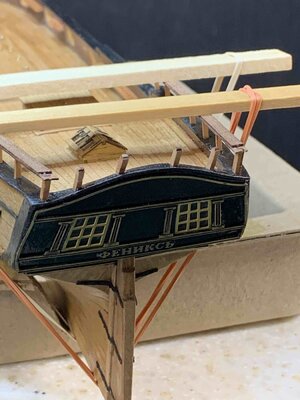
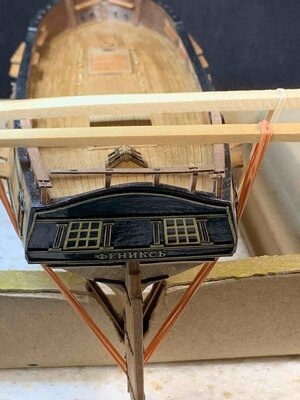
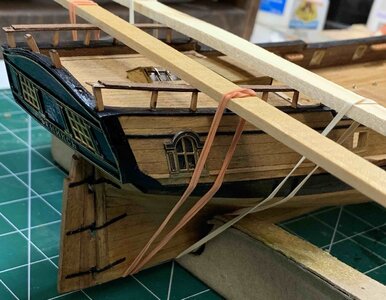
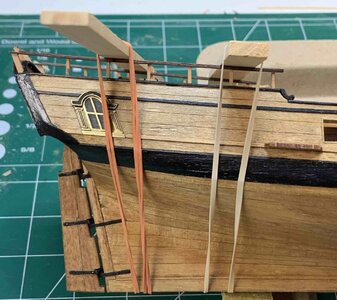
The reminder of fencing is pretty much the same; first i drilled the holes...
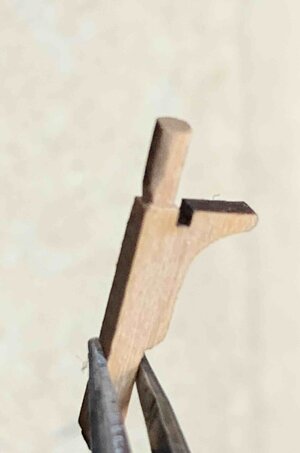
.. and shaped the fencing rack...
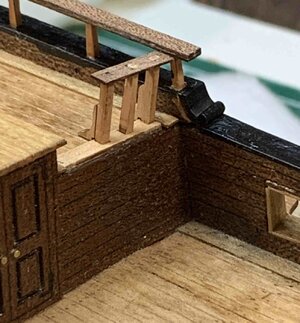
The handrail was assembled in two parts: first i put on one piece of handrail that kind of holds all together...
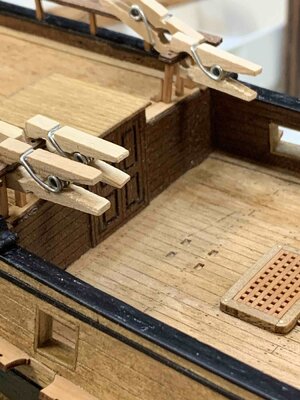
.. and at this time i need to sand all sticking parts so the second part of handrail will sit flush.
Happy modelling..


The reminder of fencing is pretty much the same; first i drilled the holes...

.. and shaped the fencing rack...

The handrail was assembled in two parts: first i put on one piece of handrail that kind of holds all together...

.. and at this time i need to sand all sticking parts so the second part of handrail will sit flush.


Happy modelling..
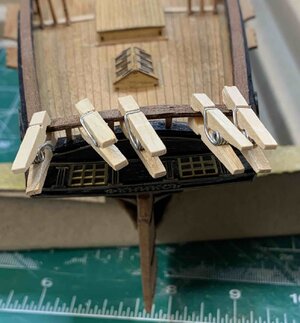
Ending up with the last piece of handrails....
First a short bath in a water, then twisting it to correct position with a help from little dudes..
Leaving it in position to dry for tomorrow' final gluing..
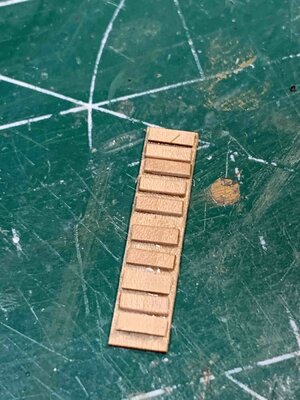
Stairs are next. This part is very easy to build comparing with other models where you actually have to do some math and correctly position all steps. With this kit all is already done for you, almost like some Revell's plastic kit models, where you cut pieces from the frame, sand them a bit and glue itno position..
Glue is applied while parts are still on the frame..
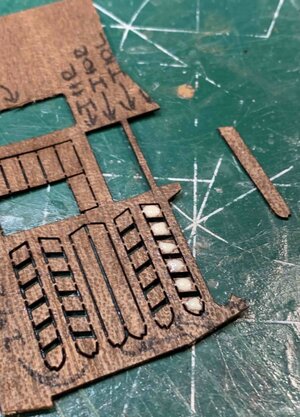
Then glue another part on...
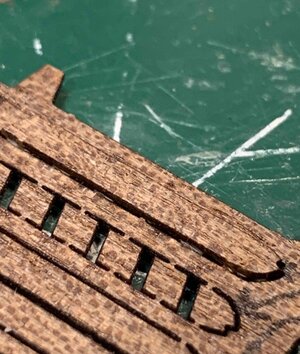
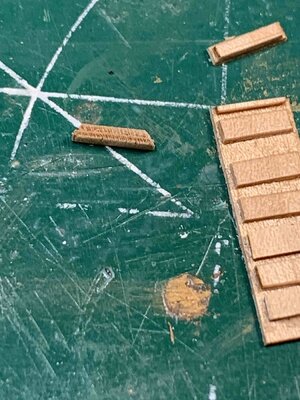
Once it is dried (and make sure it is really dried), cut if off and start assembly. Don't worry about sanding of extra wood, it will be done after stairs are assembled.
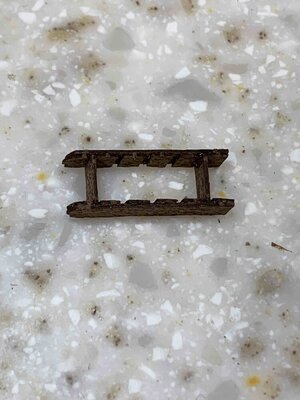
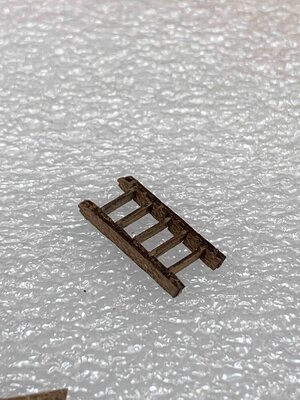
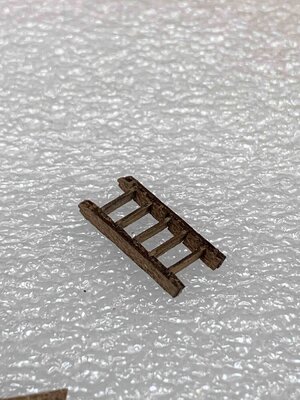
Now just sand stairs and you are ready to go..
Happy modelling.
First a short bath in a water, then twisting it to correct position with a help from little dudes..
Leaving it in position to dry for tomorrow' final gluing..

Stairs are next. This part is very easy to build comparing with other models where you actually have to do some math and correctly position all steps. With this kit all is already done for you, almost like some Revell's plastic kit models, where you cut pieces from the frame, sand them a bit and glue itno position..
Glue is applied while parts are still on the frame..

Then glue another part on...

Once it is dried (and make sure it is really dried), cut if off and start assembly. Don't worry about sanding of extra wood, it will be done after stairs are assembled.


Now just sand stairs and you are ready to go..
Happy modelling.
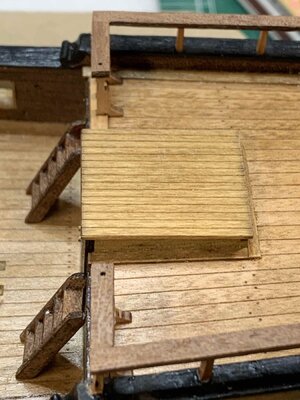
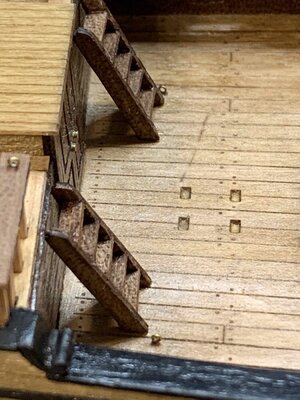
Stairs completed and glued to the ship..
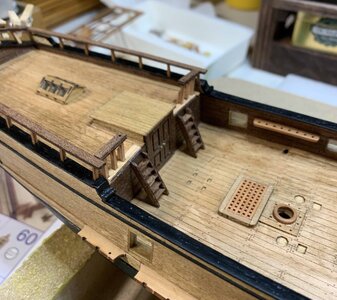
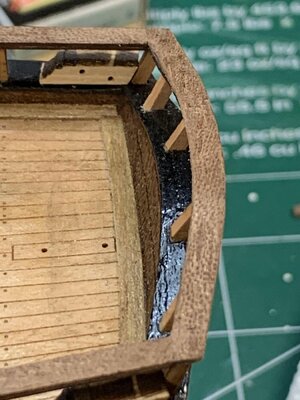
Then i lightly sanded all handrails and filled up some openings between handrail planks by putting a small amount of glue and sanding wood. This will fill up all wholes and uneven surfaces.
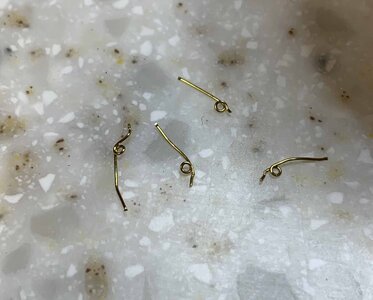
Then i made four small eyebolts that will be holding the rope-type handrails on stairs. Kit provides them but they dont looks quite nice so i decided to made few. the wire is 0.3mm and the hole diameter is 0.7mm.
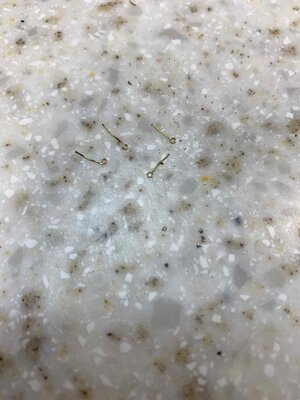
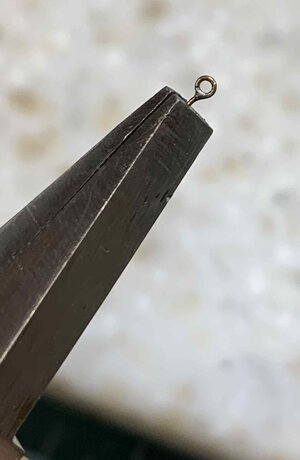
The pilot hole were drilled and eyebolts, with a small amount of glue, were inserted in..
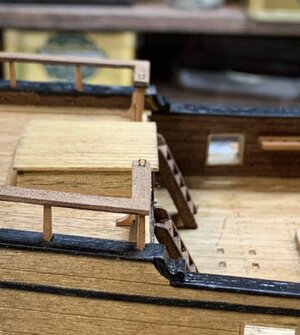
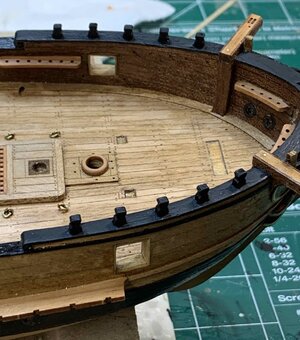
Then i installed 10 bow bitts and painted them in flat black. While having a black paint out, i did few touchups as well..
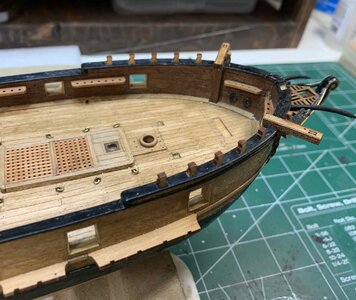
Happy modelling...

Then i lightly sanded all handrails and filled up some openings between handrail planks by putting a small amount of glue and sanding wood. This will fill up all wholes and uneven surfaces.


Then i made four small eyebolts that will be holding the rope-type handrails on stairs. Kit provides them but they dont looks quite nice so i decided to made few. the wire is 0.3mm and the hole diameter is 0.7mm.


The pilot hole were drilled and eyebolts, with a small amount of glue, were inserted in..


Then i installed 10 bow bitts and painted them in flat black. While having a black paint out, i did few touchups as well..


Happy modelling...


