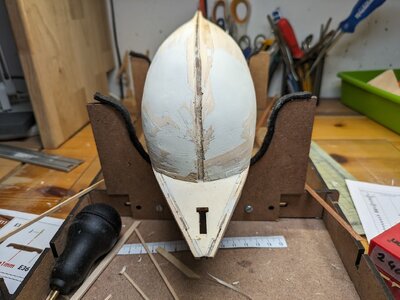
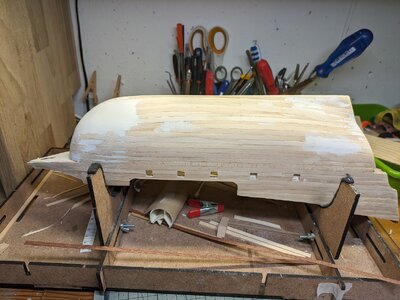
-

Win a Free Custom Engraved Brass Coin!!!
As a way to introduce our brass coins to the community, we will raffle off a free coin during the month of August. Follow link ABOVE for instructions for entering.
-

PRE-ORDER SHIPS IN SCALE TODAY!
The beloved Ships in Scale Magazine is back and charting a new course for 2026!
Discover new skills, new techniques, and new inspirations in every issue.
NOTE THAT OUR FIRST ISSUE WILL BE JAN/FEB 2026
You are using an out of date browser. It may not display this or other websites correctly.
You should upgrade or use an alternative browser.
You should upgrade or use an alternative browser.
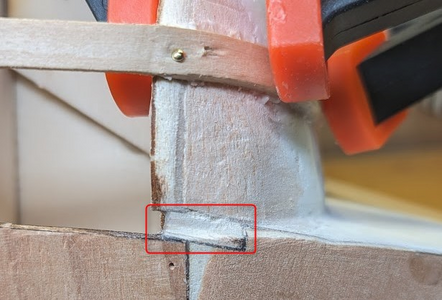
Looking good. Keep it up. I also added filler blocks up front and thought it made the 1st plank possible.
It’s a toss up for me between the light weathering and the heavy weathering with sanding. And since I’m just catching up to a question from a month ago, I can tell you went with the heavy weathering with sanding. Great choice. And given this is only your 2nd model, nice jump into the world of weathering.Hi all,
I need your help to decide how to go on with the deck.
From the left to the right right decks:
without weatering; light weatherig; heavy weathering with sanding; heavy weathering
View attachment 434328
View attachment 434329View attachment 434330
View attachment 434331View attachment 434332
I think every option is quite nice, but which one suits the buccaneer best in your opinion?
Good afternoon. All looking good. It takes a while and then loads of sanding and then we do it all over again…..reward worth it tho. Cheers GrantSome news after a longer time:
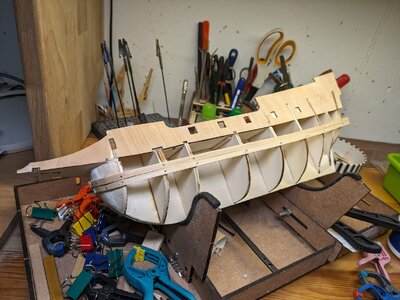
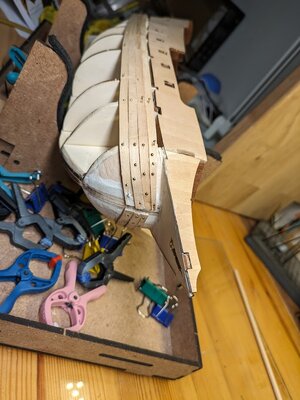
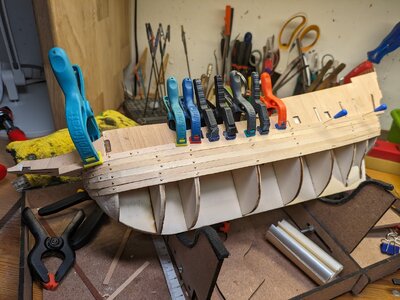
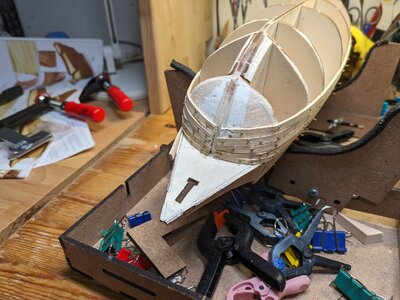
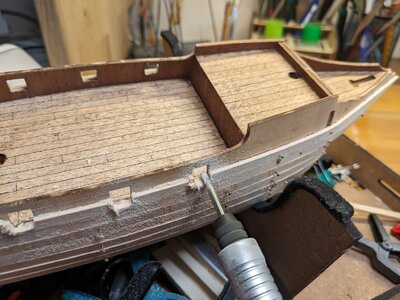
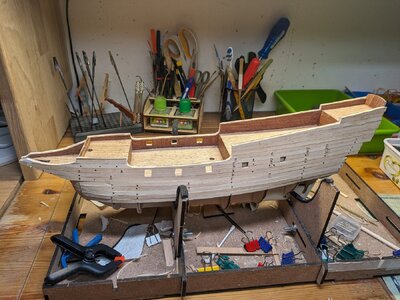
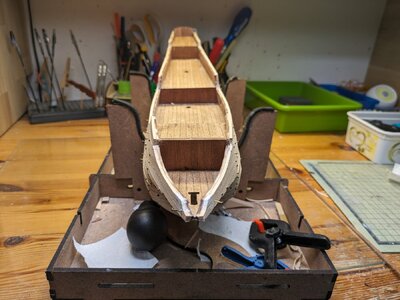
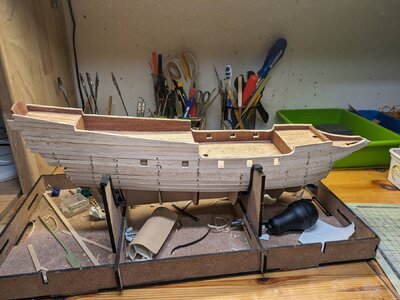
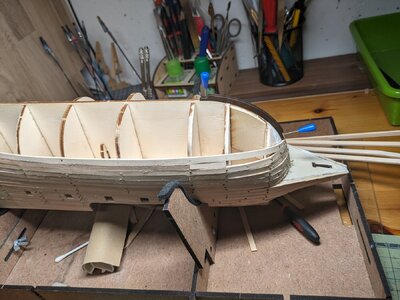
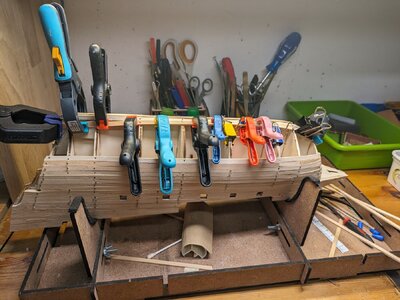
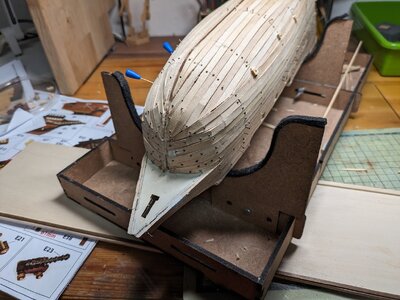
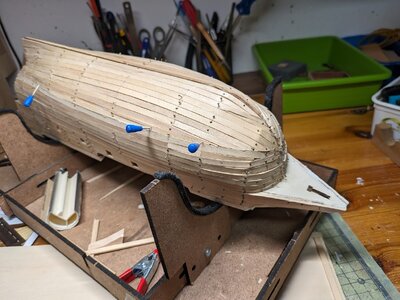
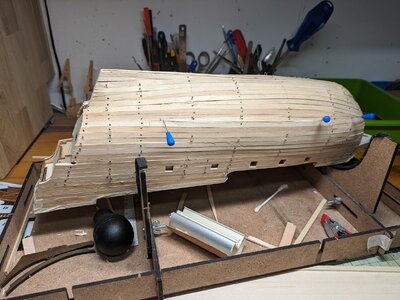
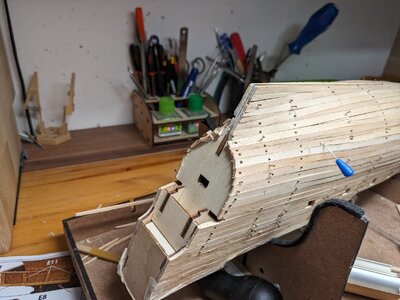
Planking finished for the upper part.
View attachment 445670
View attachment 445671
View attachment 445672
View attachment 445673
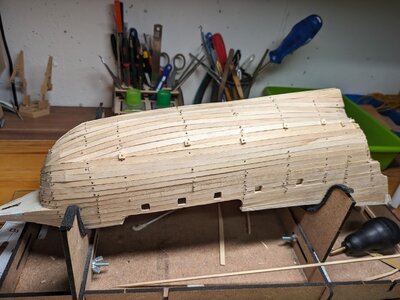
And now starting from below:
View attachment 445674
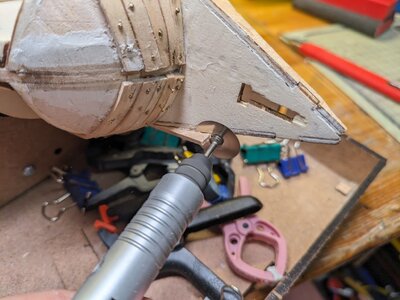
Especially the planking on the below part takes me a lot of time.
Planking is challenging but keep at it. Quick note… when I was done with mine (also the Buccaneer - and shameless plug, there’s a build log), I tapped all the nails in only to then realize that I’d have to file the nail heads away. What I should have done (after the glue was fully dry) is remove the nails.
Regardless of what you do, plan on spending time on the sanding and filler of this first planking. The better (smoother) it is, the easier the. 2nd planking will go on, and ultimately the better it will look.
But I’m no expert… I’ve only got 2 plankings behind me.
Regardless of what you do, plan on spending time on the sanding and filler of this first planking. The better (smoother) it is, the easier the. 2nd planking will go on, and ultimately the better it will look.
But I’m no expert… I’ve only got 2 plankings behind me.
Hi Hugh,Planking is challenging but keep at it. Quick note… when I was done with mine (also the Buccaneer - and shameless plug, there’s a build log), I tapped all the nails in only to then realize that I’d have to file the nail heads away. What I should have done (after the glue was fully dry) is remove the nails.
Regardless of what you do, plan on spending time on the sanding and filler of this first planking. The better (smoother) it is, the easier the. 2nd planking will go on, and ultimately the better it will look.
But I’m no expert… I’ve only got 2 plankings behind me.
I'm of course already following your build log
At my first build I also removed most of the nails. That is not my problem. My problem is how to add the planks. In the Polaris manual (first build) the manual gave a lot hints how to do it. The Buccaneer manual is missing that and also the videos don't really show it...and also the the build logs mostly start with the planking finished
But I will manage it somehow. I also got some papers here in the forum, but at the moment that way (tapering each plank) seams much to complicated for me.
...and all the nails removed
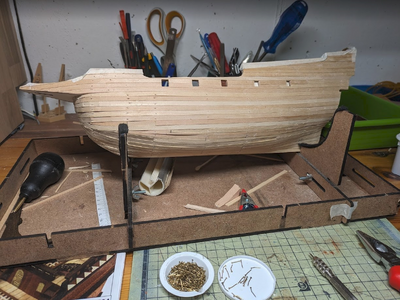
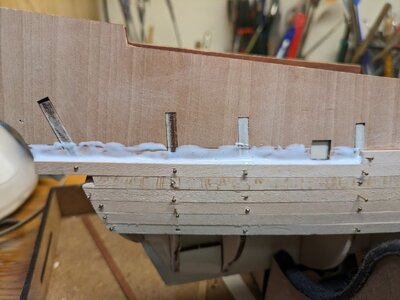
Removing the nails was quite simple with this process:

Removing the nails was quite simple with this process:
- getting the nails out a mm with a needle point scriber (mine is from felx-i-file)
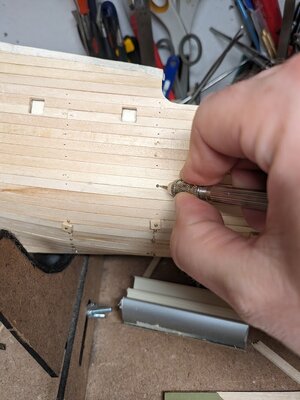

- then remove it with fine pliers. Most of the nails are like new as you can see in the first picture.
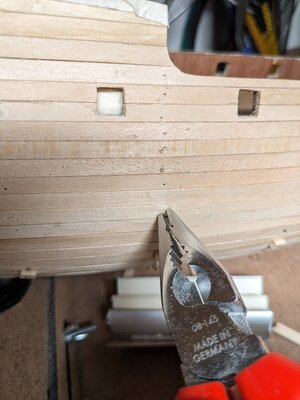
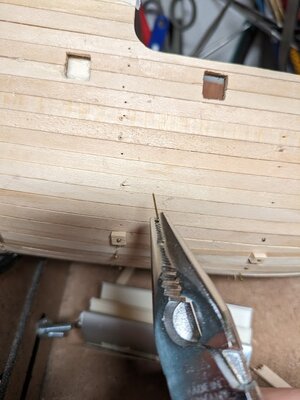
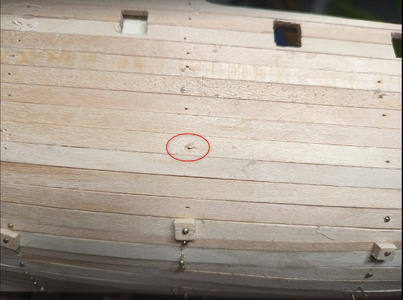
- At the removing of some of the nails with the scriber some chipping happens, but this will be no problem as sanding and filling and sanding will be the next step.
Have you tried soaking the planks beforehand. There’s a lot of breaking there, instead of bending smoothly.
You might enjoy and learn some good tips from the four videos from Chuck Passaro including the first one here for help in proper planking.
In general it is a good idea to research all aspects of a model, be it scratch or kit. We are so lucky to have the resources at our finger tips today, why not take advantage of the opportunity.
Hi neilm,Have you tried soaking the planks beforehand. There’s a lot of breaking there, instead of bending smoothly.
yes the planks were soaked over night in water. But I broke a lot of them when trying to bend them with my electric plank bender. For such a narrow angle the ship has at the bow I need more practice.
Hi Allan,You might enjoy and learn some good tips from the four videos from Chuck Passaro including the first one here for help in proper planking.In general it is a good idea to research all aspects of a model, be it scratch or kit. We are so lucky to have the resources at our finger tips today, why not take advantage of the opportunity.
thank you for another set of videos. I already studied the videos of Olha Batchvarov of the HMS Pegasus and also got some pdf instructions. But that all seams so complicated to me.
I will will watch your suggested videos too. And I will try to make it correct on the second planking and/or my next ship
Cheers
Now you have a good basis for the second planking......
I need an advice for my next build:
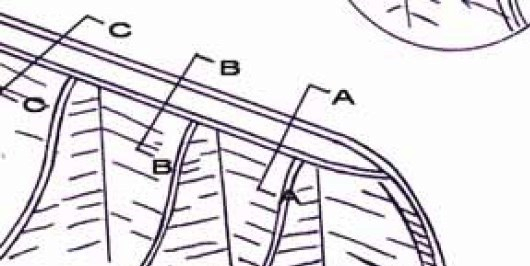
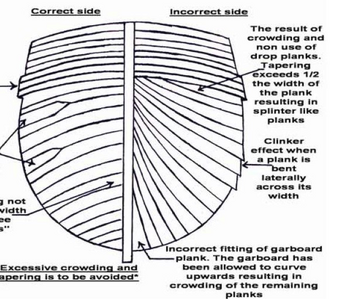
That's how the garboard plan should look like based on the document @Uwek shared with me. (I don't taper all the planks to correct with - I need room for improvement with the next ship - yes I know even without that there is much room for improvement)
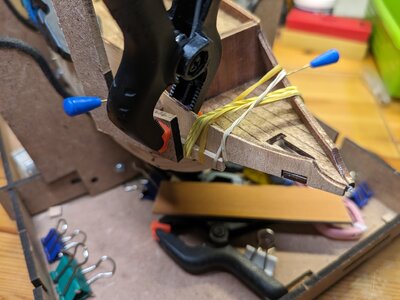
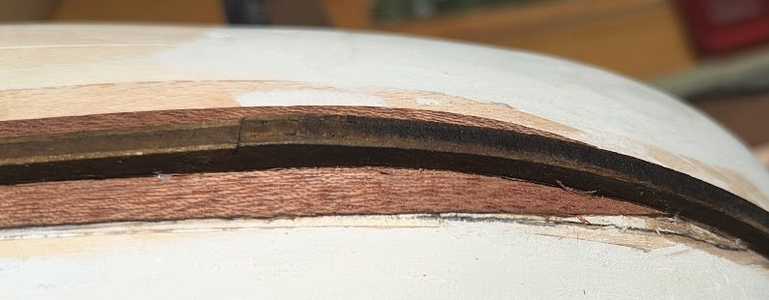
That's how it looks at the moment on my ship (already after some corrections).
First I cutted the blue part awayto be able to glue the plank without much bending.
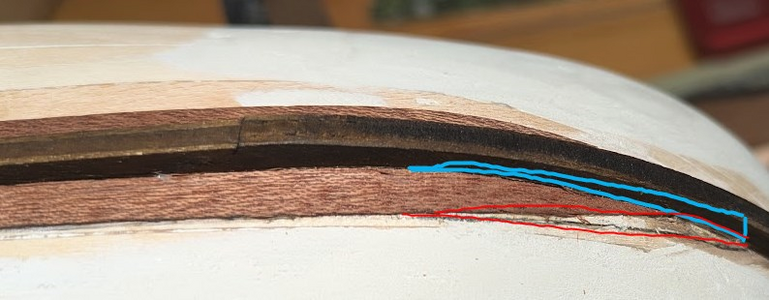
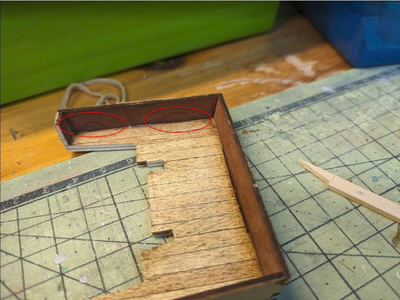
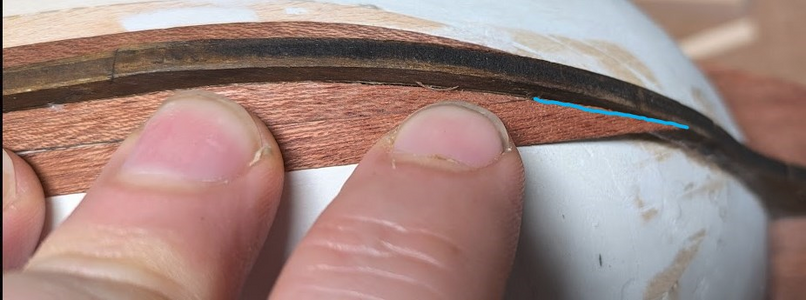
When trying to fit the second plank I realized that I also should(?) cut away also the red part (foto after removing the red part)
When I have a look into that document I think I'm already wrong, my first plank looks much more like the incorrect side. But I'm fine with it, because if I get my ship nearly as beautiful as @HughLo I'm more than happy.
To make it 'correct' I have to cut it like that - correct?
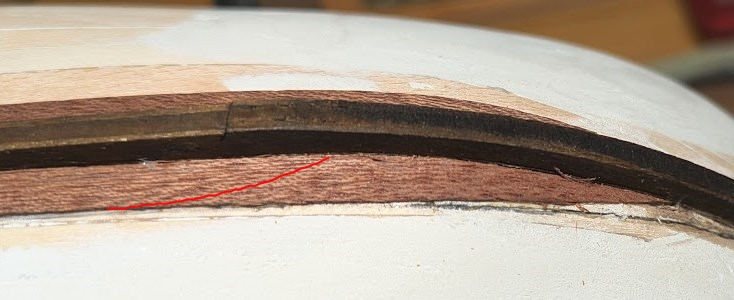
But how could I find a good/the correct radius?
That's how the garboard plan should look like based on the document @Uwek shared with me. (I don't taper all the planks to correct with - I need room for improvement with the next ship

That's how it looks at the moment on my ship (already after some corrections).

First I cutted the blue part awayto be able to glue the plank without much bending.

When trying to fit the second plank I realized that I also should(?) cut away also the red part (foto after removing the red part)

When I have a look into that document I think I'm already wrong, my first plank looks much more like the incorrect side. But I'm fine with it, because if I get my ship nearly as beautiful as @HughLo I'm more than happy.

To make it 'correct' I have to cut it like that - correct?

But how could I find a good/the correct radius?
Last edited:
I need an advice for my next build:
That's how the garboard plan should look like based on the document @Uwek shared with me. (I don't taper all the planks to correct with - I need room for improvement with the next ship- yes I know even without that there is much room for improvement)
View attachment 456625
That's how it looks at the moment on my ship (already after some corrections).
View attachment 456626
First I cutted the blue part awayto be able to glue the plank without much bending.
View attachment 456627
When trying to fit the second plank I realized that I also should(?) cut away also the red part (foto after removing the red part)
View attachment 456629
When I have a look into that document I think I'm already wrong, my first plank looks much more like the incorrect side. But I'm fine with it, because if I get my ship nearly as beautiful as @HughLo I'm more than happy.
View attachment 456628
To make it 'correct' I have to cut it like that - correct?
View attachment 456631
But how could I find a good/the correct radius?
No one an idea? There are so many pros here...please share your experience with me...how is this done 'correct'. If I do it like show in my sketch, I have no idea how the second plank should fit.


