• LUCZORAMA SHIPWRECK SCAVENGER HUNT GIVEAWAY. 4 Weeks of Fun • 1 Legendary Prize ((OcCre’s Fram Ship)) • Global Crew Welcome!
    **VIEW THREAD HERE**

Buccaneer - Second Build

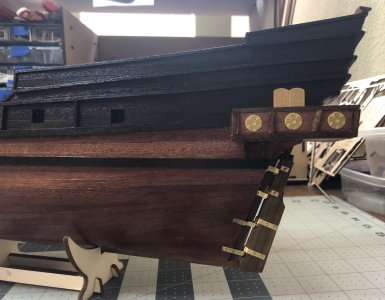
I’m looking for help on those rudder hinges. I had a tough time getting those installed and they ain’t pretty.
What prompted me to even speak up was the fact that your planking looks so good! And your hinges look...well...

The most obvious thing to my eye is the loss of scale. Those hinges are way too wide for the 1:100 scale of your model. And the bolts are simply too large. It might help if you intend to blacken/burnish them with your liver of sulfur. I know that can be done in situ (Casey's would need to be done before installing the brass bits because it can stain the wood). But if you had the ability to narrow those down it would go a long way to making the hinges look more appropriate. And if you had smaller nails...

Just to get a sense of it, these hinges are on a 1:48 model:
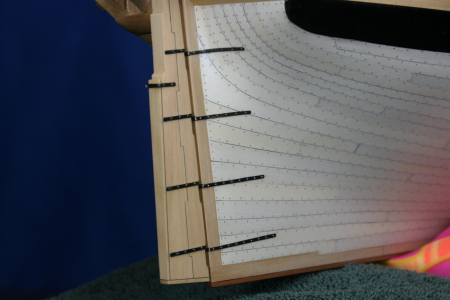
1752713336522.png

Anyway, even if you can't change them on this model, it's something to think about for future models. Unfortunately, many kits just don't provide properly scaled parts, and it is often necessary to make your own from scratch or make a go of modifying what came with the kit.

It's only your second build so please don't feel like I am being critical. I'm just trying to share some of my own experiences.
 
Thanks for the tips. Those rudder hinges look really good. I didn’t have the liver of sulfur when I installed the rudder hinges and I was too impatient to wait for it to arrive. I never even considered the scale of them, I just installed what came with the kit. When I build the Black Swan I may purchase appropriate size hinges.
 
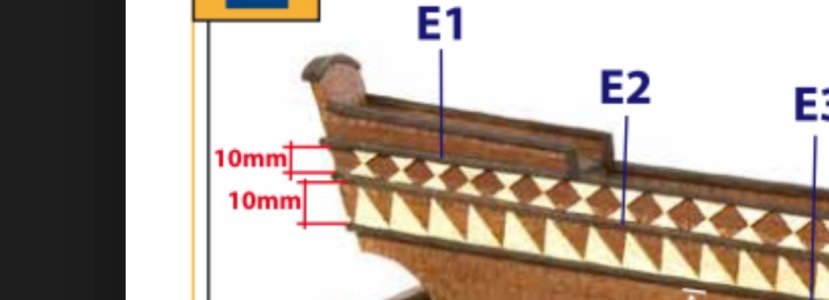
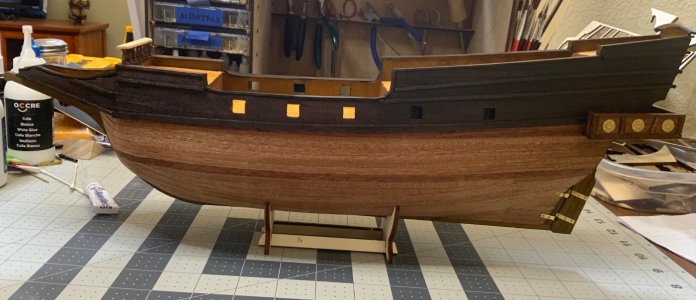
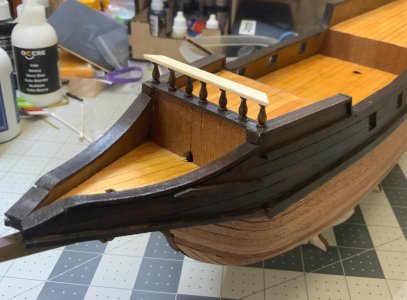
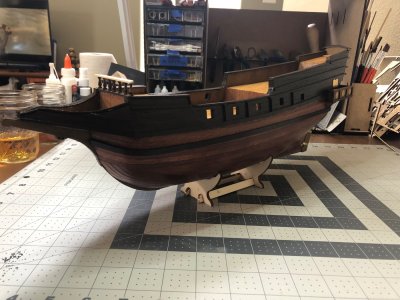
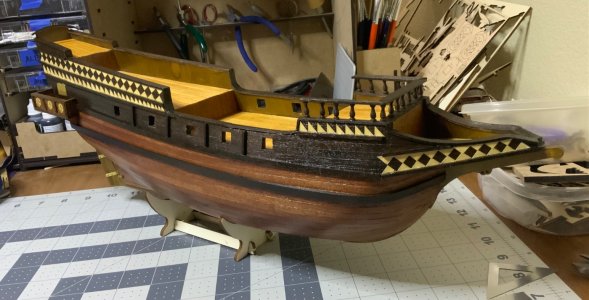
Continued with the build today. I should have taken better measurements. I should have looked at the instructions closer as well. As you can see 10mm isn’t even close in the instructions. I’m hoping the deadeyes and rigging will hide this defect. I stained the upper part of the ship with judea bitumen. Tomorrow I’ll stain the lower part of the ship in sapelli and get the rubbing strakes on. I started building the railing, but was concerned I might knock them off during the build, so I will finish it later. I bought some stanchions from model expo. I think cutting them per the instructions would be more trouble than it would be worth. I don’t think the fancy stanchions changes the personality of the ship.

IMG_2092.jpeg

IMG_2090.jpeg

IMG_2091.jpeg
 
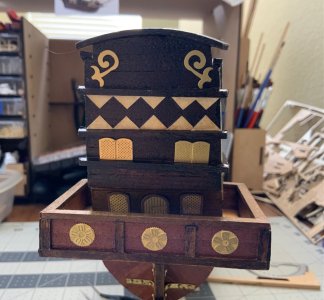
I placed and stained the strips between the cannon ports. The rubbing strakes caused me a number of problems. The African walnut is a very dense wood. I soaked it for a couple of hours and still managed to break both pieces. I ended up using the leftover sycamore strips I used on the first planking. It is thicker than the African walnut, but I don’t think it’s noticeable. I placed the windows on the balcony. I made several attempts painting a border around the windows, but my painting skills just aren’t up to the task, so I ended up just placing them unpainted. Tomorrow I will begin placing the “decorations” and finishing the railing. I suspect it’ll take a week to get the decorations cut and in place.
IMG_6679.jpeg

IMG_6675.jpeg
 
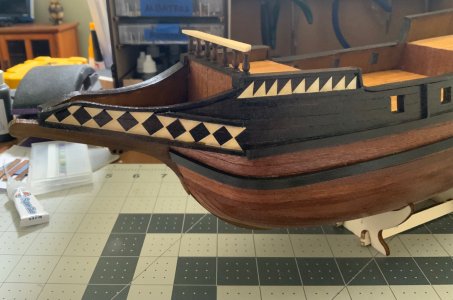
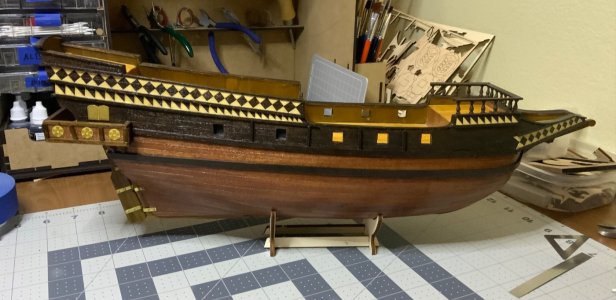
Today I was able to place all of the ‘decorations’ on the port side. It started out being a bit tedious, but once I gained some experience and came up with a system for cutting out and gluing everything it was actually kind of fun. I think it looks pretty good. She’s starting to get some character.

IMG_2103.jpeg

IMG_2105.jpeg

IMG_2106.jpeg
 
Just remember when you run into some of the small issues with spacing or size of parts like rudder hinges, that this is only "Your Model" and it only has to meet your demands and scarification.

I have to keep reminding myself that when I am working and mess some things up or they don't turn out correct.

When on display at your house, unless you invite other model ship builders over, nobody will ever notice the minor issues that you know about.

Just keep the work and hobby fun!
 
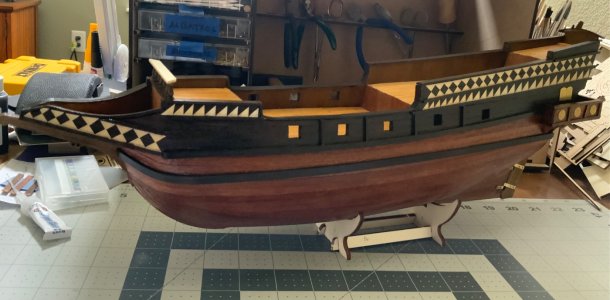
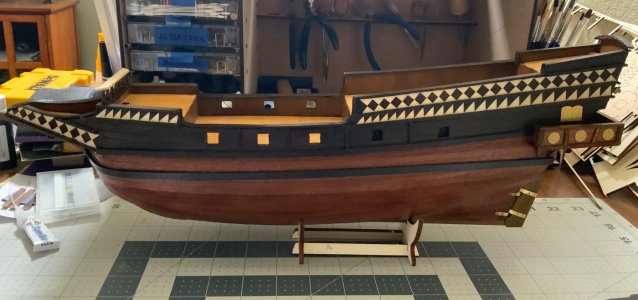
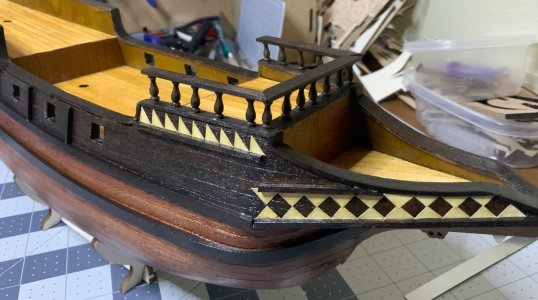
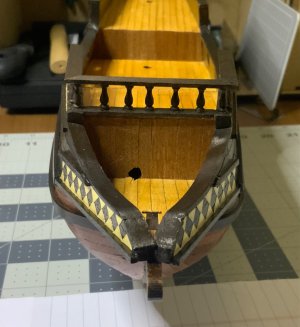
The starboard decorations have been completed. It took far less time than I thought it would. I was also able to get the forecastle railing built and placed today. Hopefully it won’t get knocked off as I continue the build. I was happy with the stanchion spacing until I photographed the railing and looked at it. It looks evenly spaced in person. I was going to go play with the liver of sulfur on some scrap pieces but we had a rain storm come through. I didn’t want to get hit by lightening sitting under my canopy, so that’ll have to wait for another day.

Thanks for the kind comments on my build thus far Rebus and Bryain.

IMG_2111.jpeg

IMG_2112.jpeg

IMG_2114.jpeg

IMG_2115.jpeg
 
You are really making fast progress on this build. It looks beautiful. Do you feel like your experience with the Albatros really helped on this build? Probably too late for this build, but on bending the African Walnut, have you tried the soldering iron trick? This worked well for me bending that wood on my Albatros.

Again, absolutely beautiful.

The Albatros helped a lot. It was my first build and I learned a lot that I was able to put to use on the Buccaneer. The African Walnut really caused me a lot of grief. I tried my plank bender and an iron. I don't have a soldering iron, so I didn’t try that.
 
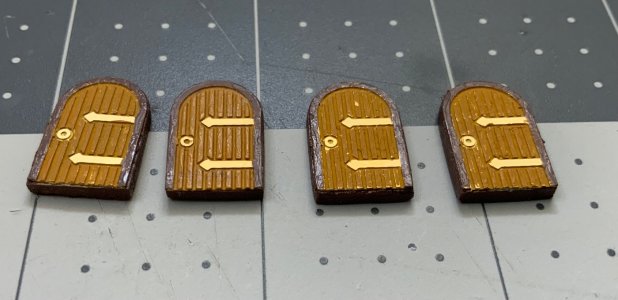
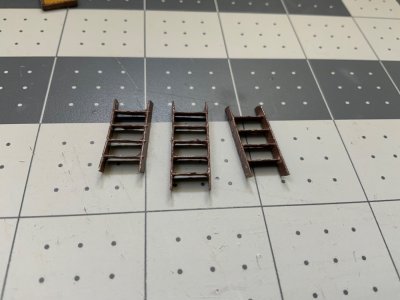
Today I was able to complete the decorations on the stern. The cannon barrels have been drilled out. I didn’t like the 2D look of the doors, so I mounted them on scrap wood and sanded them down. Again, I need to work on my painting skills, but at least they look better than my windows. This was my first experience with PE parts. Trying to get the ladders built was frustrating and I was a bit sloppy with the CA glue. I roughed up the surface and primed them with primer. I’ve painted them twice and they’ll need at least one more coat. I wish Occre had included wood ladders. I attempted to build my own, but I wasn’t up to the task, so the PE ladders will have to suffice.

IMG_2122.jpeg

IMG_2125.jpeg

IMG_2123.jpeg

IMG_2124.jpeg
 
I agree with you about the ladders. Had a very difficult time with the PE ladders. Next time I get some I will make some from scratch.
 
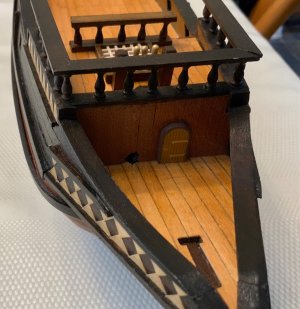
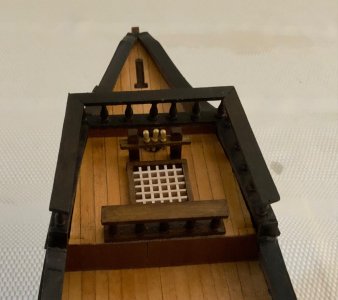
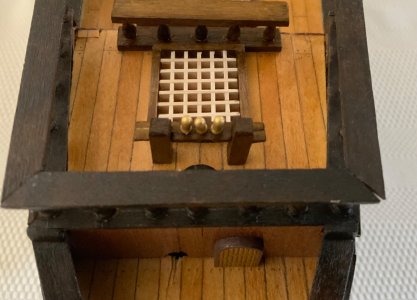
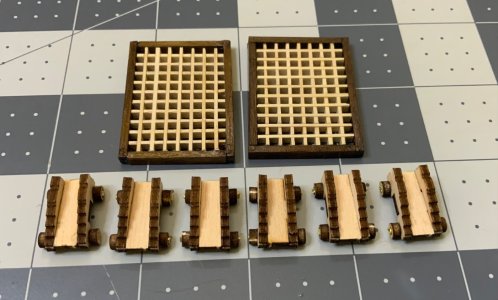
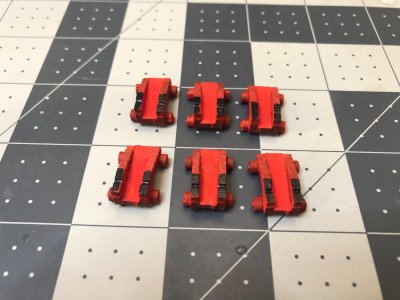
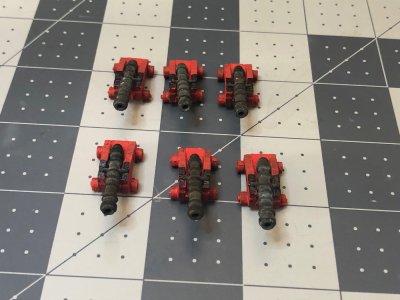
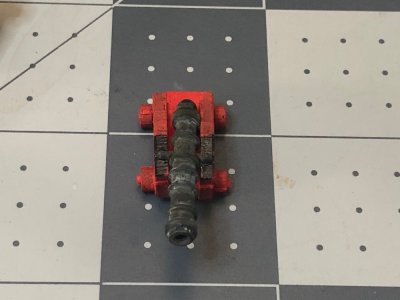
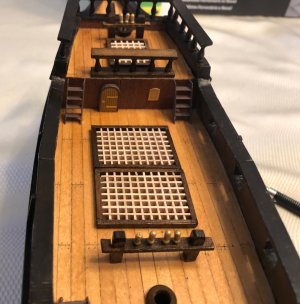
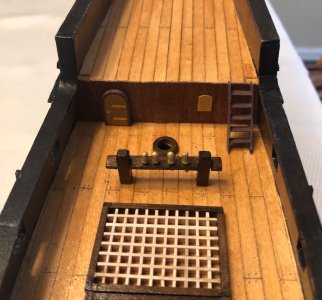
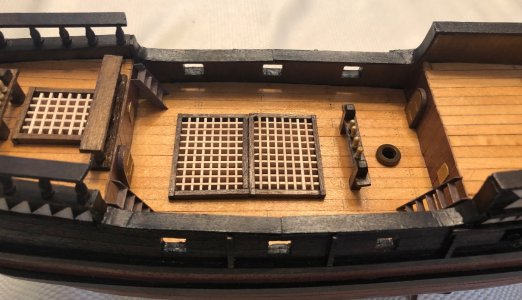
One of the doors has been placed in the bow. I also completed three of the five grates, one of the two pin rails, and the gun carriages. The railing, grate, and pin rail have been installed in the forecastle. There isn’t much room on the forecastle to place everything. It took me three tries to get the pin rail built as I kept breaking off the end. Everything looked good until I put in the middle pin and found the hole wasn’t drilled correctly.
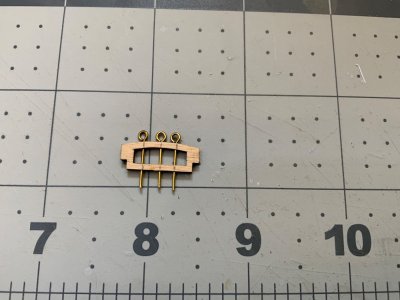
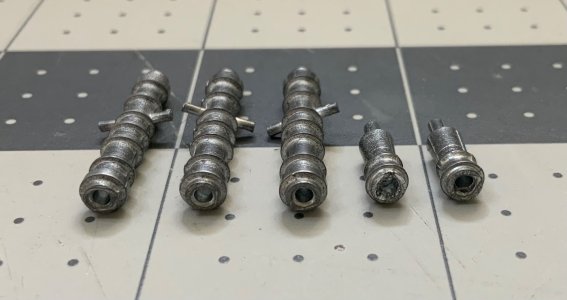
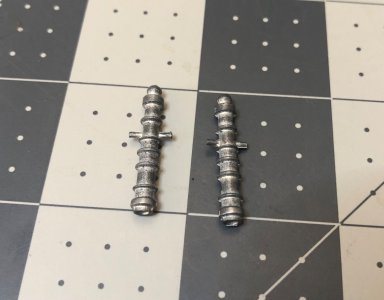
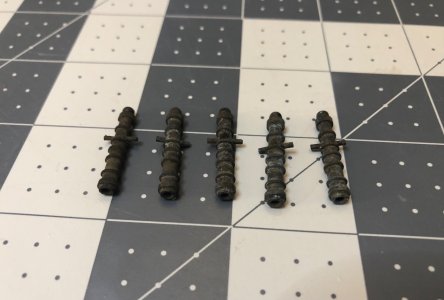
I tried the liver of sulphur on a leftover rudder hinge and some scrap eye pins. I roughed them up with sand paper, washed them down with alcohol then soapy water. They didn’t change color at all. I bought a bottle of Birchwood Casey brass black metal finish and I’ll see if that works. I’d like to blacken the cannons, but it looks they are cast with pot medal, which is mostly zinc, so I’ll probably end up just painting them.

IMG_2140.jpeg

IMG_2138.jpeg

IMG_2137.jpeg

IMG_2139.jpeg
 
Back
Top