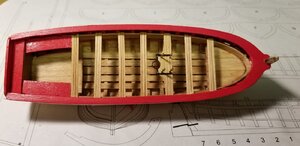
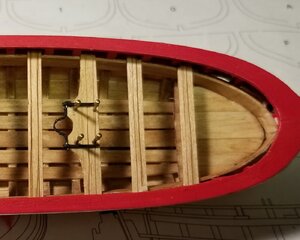
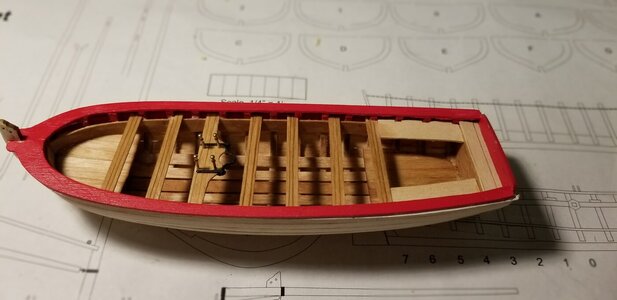
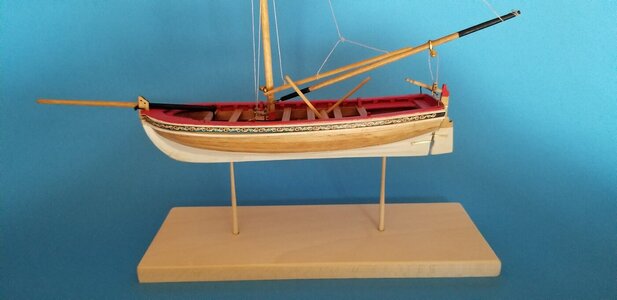
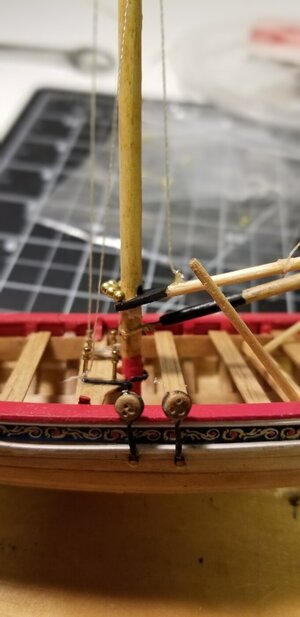
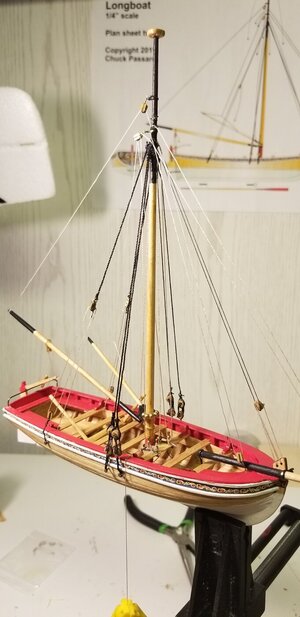
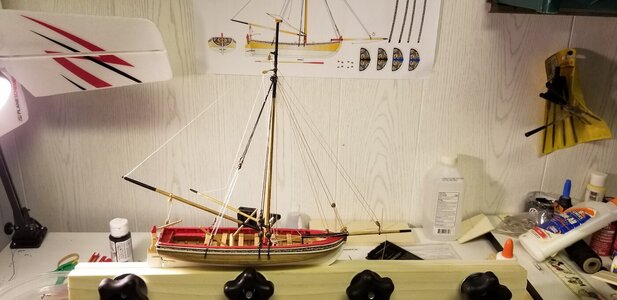
Great progress, David. You are doing a great job!!Slow but steady progress
-

Win a Free Custom Engraved Brass Coin!!!
As a way to introduce our brass coins to the community, we will raffle off a free coin during the month of August. Follow link ABOVE for instructions for entering.
-

PRE-ORDER SHIPS IN SCALE TODAY!
The beloved Ships in Scale Magazine is back and charting a new course for 2026!
Discover new skills, new techniques, and new inspirations in every issue.
NOTE THAT OUR FIRST ISSUE WILL BE JAN/FEB 2026
You are using an out of date browser. It may not display this or other websites correctly.
You should upgrade or use an alternative browser.
You should upgrade or use an alternative browser.
Build Log: 18th Century Longboat 1750-1760 by Model Shipways
Great job David. Your brass/iron work is great and I know how hard it is at that scale.
I'll have to get on with mine as well. Working on rigging components at the moment.
- Joined
- Mar 30, 2020
- Messages
- 141
- Points
- 113

Thank you,Great job David. Your brass/iron work is great and I know how hard it is at that scale.
I'll have to get on with mine as well. Working on rigging components at the moment.
I found that I was missing some of the rigging lines and small nails. Contacted ModelExpo they sent replacement.
Also the bags of thread were not marked. After doing most of the rigging I realized that I rigged incorrectly.
But it was a fantastic learning experience.
It's a great kit. My only advice would be to read and re-read the instructions before proceeding. There are spare components in the kit which I did not realise until I had glued two keel sections together, which effected everything else from then on.I'm just starting the same kit. Have enjoyed looking at yours. Very nice work.
Re-read part of the instructions every time I sit down to work on it. Hoping that helps keep me from making real bonehead mistakes.It's a great kit. My only advice would be to read and re-read the instructions before proceeding. There are spare components in the kit which I did not realise until I had glued two keel sections together, which effected everything else from then on.
- Joined
- Nov 20, 2021
- Messages
- 5
- Points
- 3

I am building Model Shipways 18th century long boat kit no. MS1457. I am new at this. FYI..... I secured the hull planks simply by pressing them in place with direct finger pressure -but slid them a bit every few seconds so prevent accidental adhesion to any CA.
- Joined
- Nov 20, 2021
- Messages
- 5
- Points
- 3

I figured out an easy way to bind the line that travels down a mast (from a block) onto the belaying pin. Take an 1/8'' dia x at least 4'' long piece of roundstock and drill a shallow hole [dimple] in one end. Now take the line coming from the mast-mounted block and tie a clove hitch around the end of the roundstock near the shallow hole. Position the dimple vertically onto the pin and secure the roundstock in place with a clamp where it meets the mast (at the top end of the roundstock] Now work the clove hitch down over the pin, remove any slack, tighten the knot and you are done.
- Joined
- Nov 20, 2021
- Messages
- 5
- Points
- 3

Due to the imprecise instructions, i am deeply confused about the shroud, backstay and the forestay lines. I was supplied with 4 feet of thin black thread and 2 feet of thin black thread. The total length of these 7 lines makes me believe I would need the thin material. But that leaves me with the thick stuff to seize [whip] the thin lines with. It should be the exact opposite. Just because the mfg is happy to supply additional stuff if I inquire , it leaves me unhappy to experience a lapse in work flow.
- Joined
- Nov 20, 2021
- Messages
- 5
- Points
- 3

ok...i was just concerned that sewing thread does not have the same tensile strength or 'weight', I guess.
- Joined
- Nov 20, 2021
- Messages
- 5
- Points
- 3

The instructions for this model are not great- especially for the rigging. the fuzzy photos don't help either. the blocks in the photos don't match the supplied ones. and i find it impossible to strop these tiny things....so i had to substitute wire being glued into holes i had to drill. i feel like i want to start all over again.
Slowly this summer making progress. Couldn't figure out how to remove the laser burn marks. I used a pencil with sandpaper to sand them out on the bulkheads.
I like that approach to removing the laser char. I'll have to keep that in mind.


