-

Win a Free Custom Engraved Brass Coin!!!
As a way to introduce our brass coins to the community, we will raffle off a free coin during the month of August. Follow link ABOVE for instructions for entering.
-

PRE-ORDER SHIPS IN SCALE TODAY!
The beloved Ships in Scale Magazine is back and charting a new course for 2026!
Discover new skills, new techniques, and new inspirations in every issue.
NOTE THAT OUR FIRST ISSUE WILL BE JAN/FEB 2026
You are using an out of date browser. It may not display this or other websites correctly.
You should upgrade or use an alternative browser.
You should upgrade or use an alternative browser.
Build Log Artesania Latina "La Pinta" - [COMPLETED BUILD]
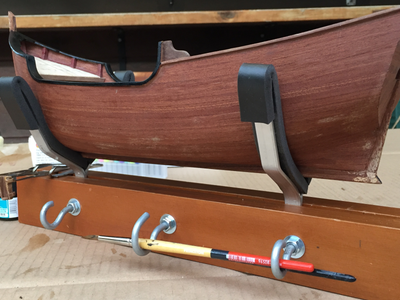
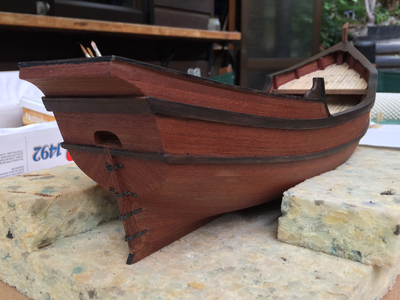
Thank you Peter. Sapelli should look better once it's finish coated.Hi Cons. This result is a beautiful hull with a nice shape. I live the dark colored wood.
Regards, Peter
Very good planking work, especially with knowledge of this not optimum material
Well done!
Well done!
Nicely done. You shouldn't be so hard on yourself or your good work.
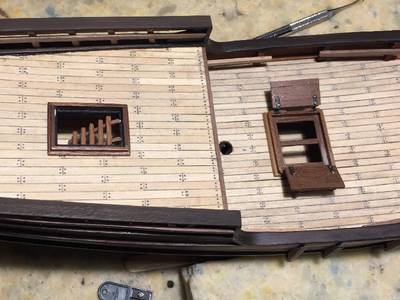
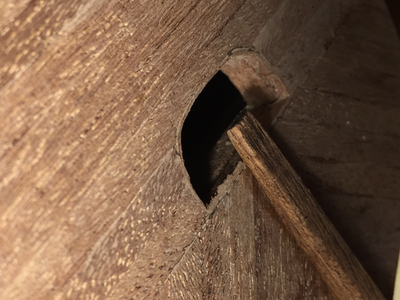
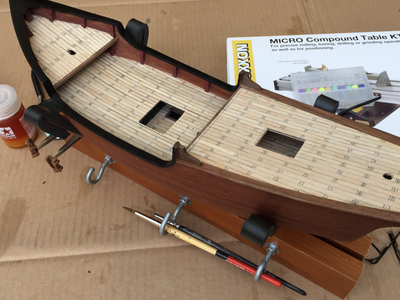
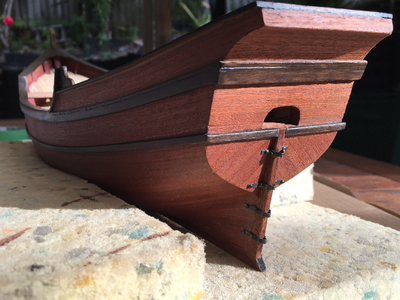
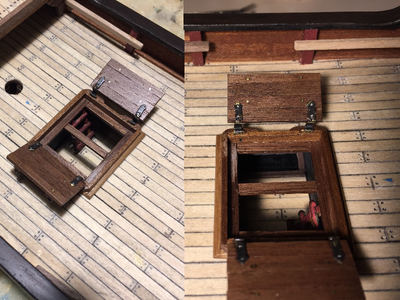
Good morning. Excellent job with the deck (love the open hatch) and planking. You are building a fine La Pinta. Cheers GrantStern opening for the rudder. I didn't do this on the Nina but decided to line the inside of the opening with Sapelli. After-all there were numerous broken bits to choose from. Next will be total sanding of the hull.
View attachment 305693
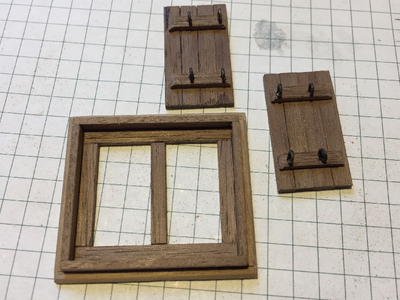
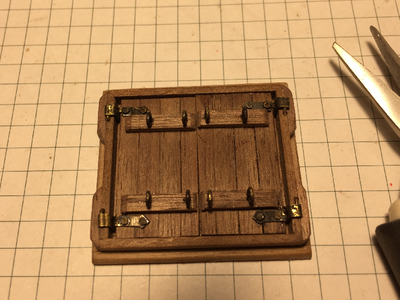
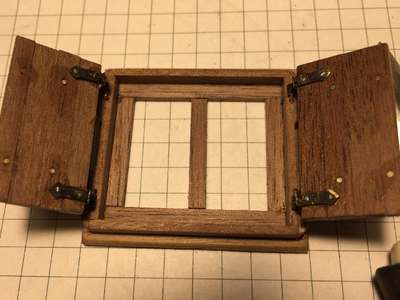
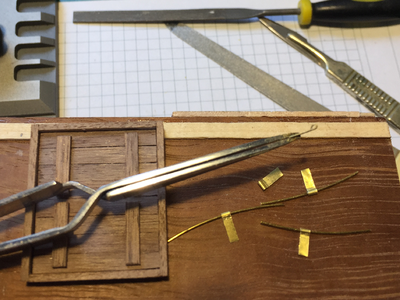
So many incredible posts on SOS, so much reading and focusing on trying to remember what's been read that Tempus certainly Fugit and I get behind on other things in life. As mentioned previously there have been a few irregularities in my hull building so much so that i deviated a little and started work on the main deck hatchway (the wine hold  ) 1st up was to attempt at making working hinges.

Last edited:
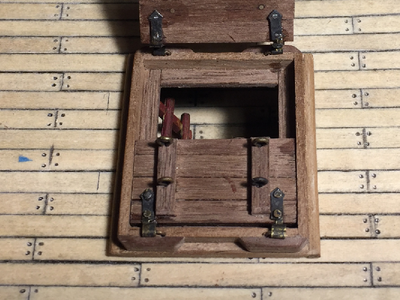
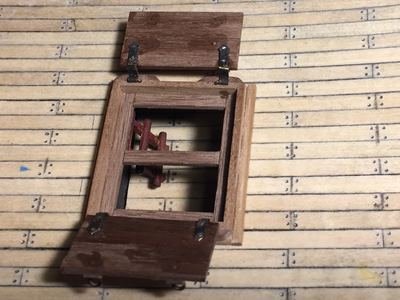
just when it was thought I'd gone, I'm back. - Had multiple issues making the upper deck railings which took a lot of time and still it doesn't look good so will bypass any photos. Fitted the hatch frames and hatch doors plus the main deck cleats. Some how the measurements given in the instruction booklet weren't true to the Frames. Cut longer ones and glued accordingly.
