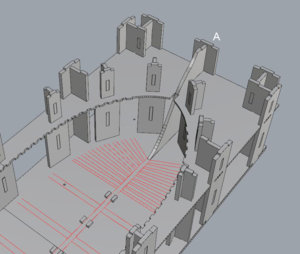
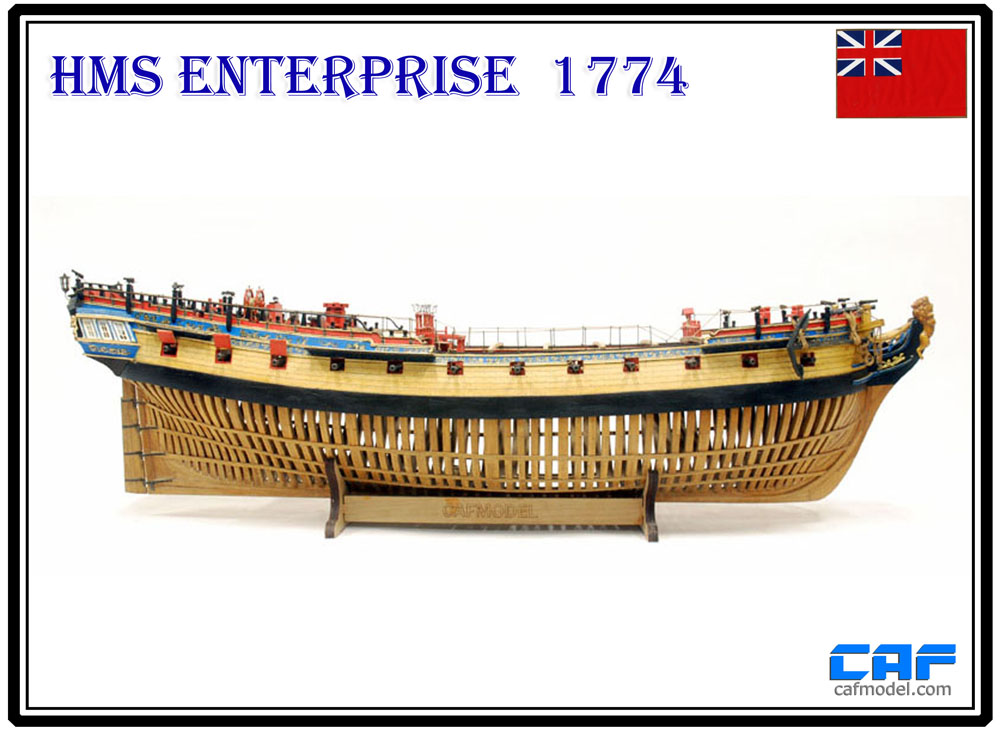
Hi everyone. I'm starting my first plank-on frame project. CAF's HMS Enterprise 1:48. Box one consists basically of frames 08 to 46. The instructions are a bit like LEGOS: go by the pictures, and figure it out ! I hope I don't make a lot of mistakes, but I'm sure the group here will let me know !
Since it is the first time I'm doing frames likes this, I thought about it a lot, and read many of the builds here. Thanks to all for all the info. I decided to document the building of the frames in detail..maybe the group can offer some suggestions/modifications to my method. I have finished frame 08, and I am just finishing frame 09. Here is the order: I apologize for the order in the pictures, which is not exactly chronologic, but it is easy to figure out.
1) I cut the plans into manageable sheets and stored them between two panes of heavy glass to iron them out. The frame plan is only an outline of the outboard shape of the middle (non-beveled part) of the frame.
2) I did several experiments on the best way to transfer the plan to glue the futtocks over. What worked the best is to use very thin tracing paper to trace the frame from the plans. I traced the plan over a glass surface so the tracing was completely flat. Then I used a 10x10" foam cardboard (several pieces measured and cut out from a large piece ) to which I attached the tracing paper with the traced plan using UHU stick glue and made it completely flat.
3) First, I labeled each piece with its number (from the instructions) in pencil. Next I cut out the individual futtock pieces from the wood square-Part 01 in the kit for frame 08. The futtocks are laser cut...I discovered that laser char is your friend ! If the back of the piece has no laser char, it means the laser did not go all the way thru, so I had to use an x-acto knife on the backside to free-up the futtocks on several occasions.
4) Once all the pieces for both half frames were cut out, I placed them together for dry-fit. As we all know, It was obvious that the laser cut is not 90 degrees, but at a slight angle. One can see the gaps in the joints between the futtocks. Each individual piece was sanded (very, very lightly) using a Byrnes sander to 90 degrees. After doing this, the pieces fit perfectly.
5) Once each piece was sanded and cleaned up, it was attached to the sheet of tracing paper/board with UHU glue, and each piece glued to each other with wood glue, until the bottom half of the sistered frame (or half frame ?) was completed. (all the Parts were labeled "B")
6) The second frame was a little more complicated because of the bevel lines laser etched on the futtocks for both the inboard, as well as outboard edges. I finally figured out that the inside edge of the second frame should be glued to the bevel (inside) line of the underlying frame. Doing it like this, leaves an uneven surface both inside and outside the frame, but corresponds to the amount of wood that will be sanded out later to form the inside and outside bevels for each frame...I hope i'm right !!!
7) After both half frames were glued together with wood glue, they were sandwiched between two layers of plate glass to keep them completely flat. I will leave the first frame like this for a few hours.
8) Next..I will find out how well the glued frame separates from the tracing paper, etc.... I will update.....
This is a lot of fun !.... I love being retired...
Now, I'm going to have lunch and then ride my bicycle.
Thanks
Alex Rosas
Last edited:


