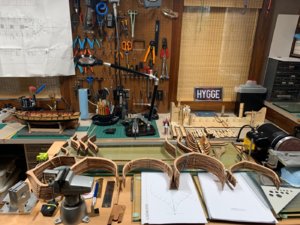
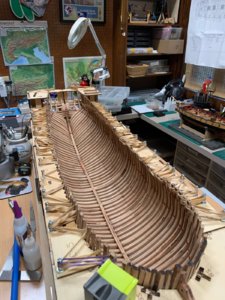
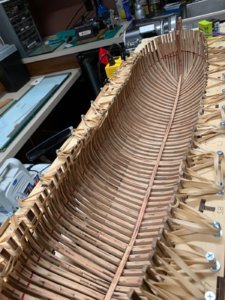
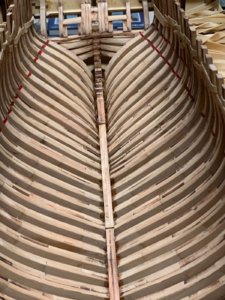
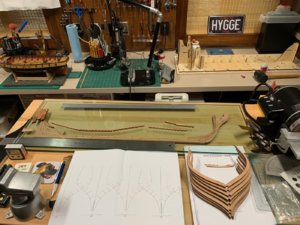
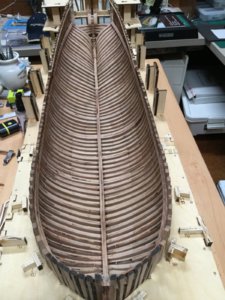
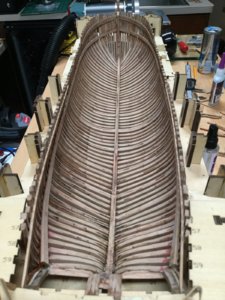
Progress report on frame building. I initially built frames number 08 and 09 as described in my initial post. However, the more I thought about it, this did not seem to be the correct way. The half frames were not in complete alignment, since the "A" frame was glued onto the interior bevel line of the "B" frame. I realized that when it came time to cut the bevel, it would not work. It is probably written in Chinese in the instructions, but I certainly could not figure it out. After a lot of thinking, I figured out how to do it correctly (I think)...Iimagine some of you are saying: "of course" what an idiot" doesn't he know how to build a frame " Well maybe not....Anyway, enough of this, here is the way I am making the frames now:
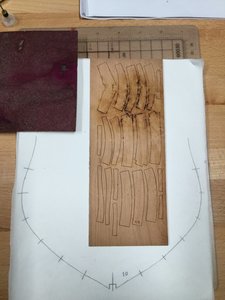
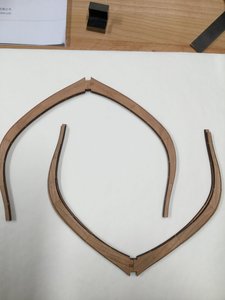
1) First, I lightly sand the BACKSIDE of the wood with the laser-cut futtocks to get rid of laser char and surface irregularities , since the half frames will be glued back to back...
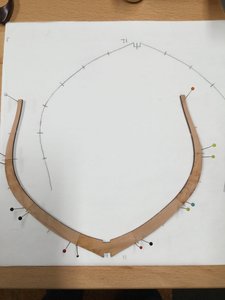
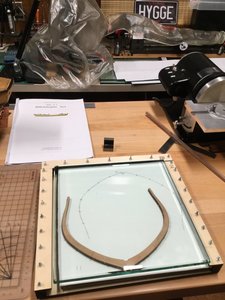
2)The half-frame that has the bevel line lasered on the inboard or interior side of the frame ( frame made up of pieces "B" in a double frame, and pieces "C" in a triple frame) is attached with UHU glue to the plan tracing FACE DOWN, that is, it will be facing towards the stern. The pieces are joined end-to end with wood flue. I have also started to use pins stuck to the foam board to limit movement. You will now have the backside of frame "B" facing you.
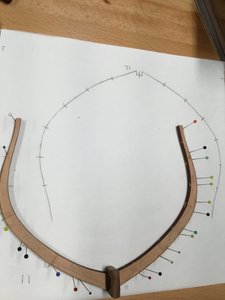
3)The pieces fo frame "A" are attached with wood glue on top of the backside of frame "B"
4) Now you will have the front side, i.e, the one with the laser bevel and/or number printed on it, facing you.
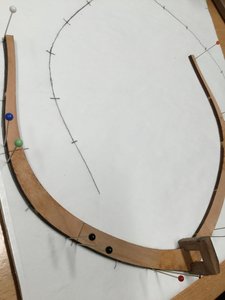
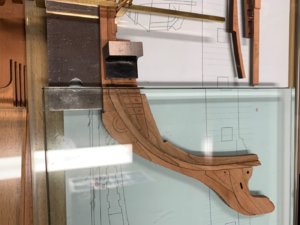
5) I put a little jig in place on the keel notch of the center futtocks to keep them aligned. It kinda looks like an "arc de Triumph" see my picture.
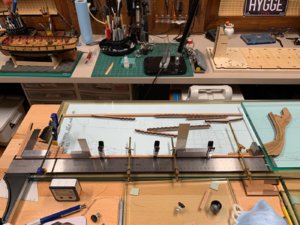
6) After putting the frame under plate glass for several hours, the backside of frame "B" easily separates from the tracing paper with the frame outline. Now you have a perfectly smooth and even double frame, with nice wood on both sides and laser bevel lines marked on the outboard edge of the leading frame and interior bevel lines on the posterior frame... Sorry about the verbose explanation, but its easier to do than to explain it. This might seem obvious to all of you, but it took this boy a while to figure it out. I have already built three more frames (two double: 10, 11 and one triple: 12) and they turned out really nice. Now I'll try to upload the pictures that describe the process: The first picture is before sanding the backside of the pieces
The second picture shows half frame "B" glued to the tracing. The third pic shows pins and the Arc the Triomphe The fourth picture shows Frame "A" glued on top of frame B. The fifth picture shows the frame drying under the plate glass. The last pictures shows frame 10, built as just described, and my first frame 08, with the half-frames glued to the bevels.
Anyway, I'm very happy with the way the frames are turning out now..... Please excuse the pictures. they load upside down and I don't know how to caption each one independently...
Thanks
Alex R
The s
