


Hello Tony
For the brass fittings I used a Jax Pewter black available from Australian Jewelers supplies
It is good on brass but not much of an effect on other metals
It gives the bronze sort of coppery look to the brass which I like more for the cannons than straight black
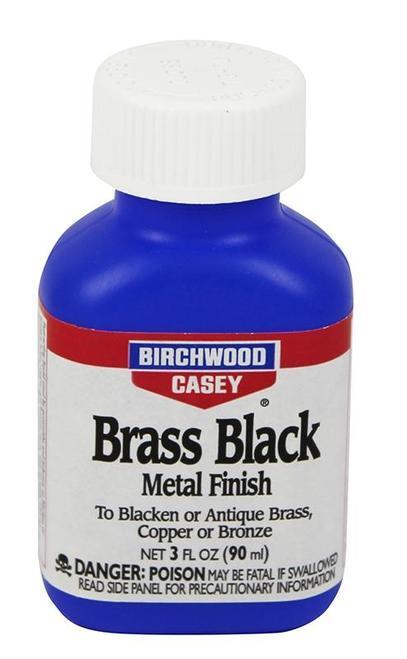
But I have found if doing copper or other metal i.e. diecast and you want a full black then Casey Brass black is the best.
 www.xhunter.com.au
The stove was already black so will be painting it so maintain the black finish
Hope that helps
For the brass fittings I used a Jax Pewter black available from Australian Jewelers supplies
It is good on brass but not much of an effect on other metals
It gives the bronze sort of coppery look to the brass which I like more for the cannons than straight black
But I have found if doing copper or other metal i.e. diecast and you want a full black then Casey Brass black is the best.
Birchwood Casey Brass Black Touch-up Metal Finsh 3oz #bw15225
Birchwood Casey Brass Black Touch-up Metal Finsh 3oz #bw15225 - Birchwood Casey - Get notified by email or text when it is back in stock.
The stove was already black so will be painting it so maintain the black finish
Hope that helps


