Build Log: Harvey 1847 (Artesania Latina)

It's been a week or so since I last posted. Got busy with life. I went to a large model swap here in SW Ohio last weekend and picked up a Morgan's Whaleboat (Artesania) for $30. A quick internet check suggests that was a good deal! That's on the to-do list, but I'm not waiting 33 years to do it!

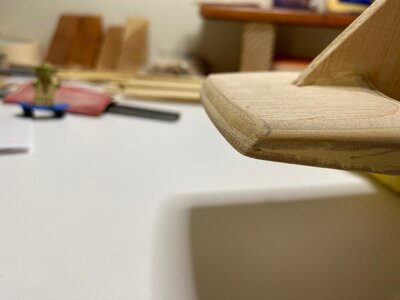
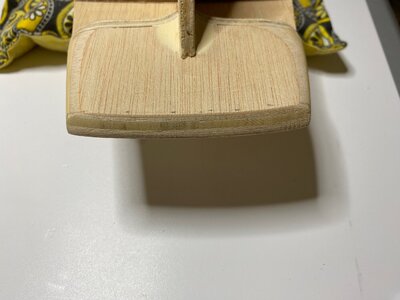
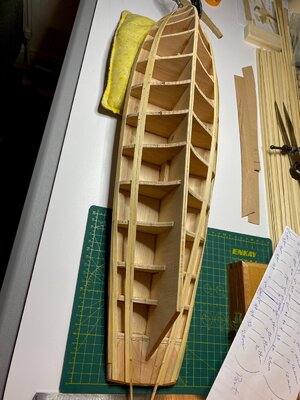
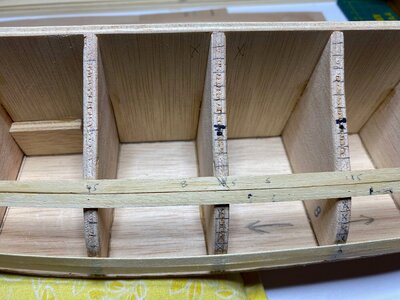
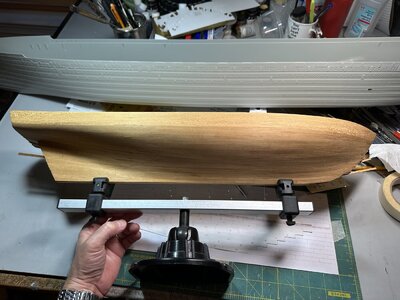
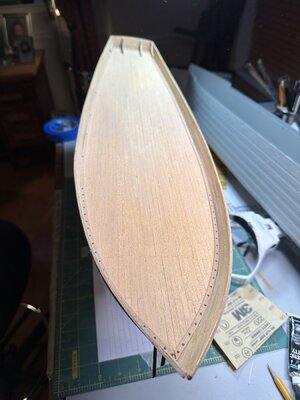
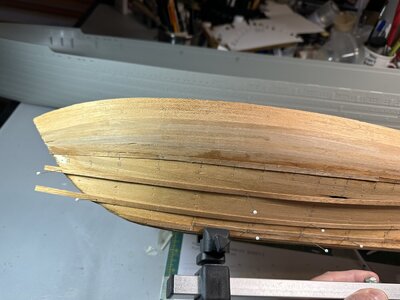
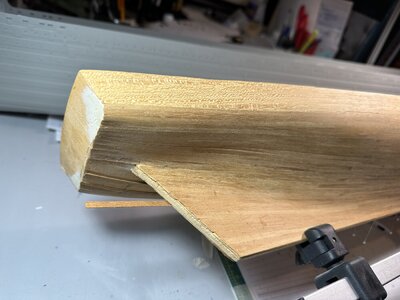
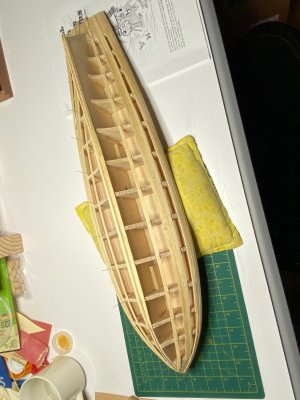
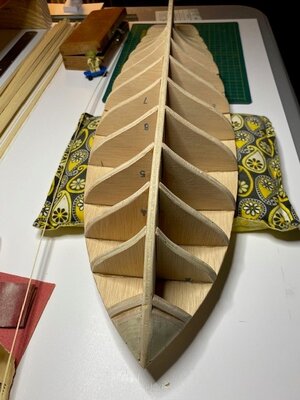
I've sanded down the bow and stern on the Harvey. I've also cleaned up the ribs to bring the within the footprint of the top, and put an "angle" on them to favor the curve of the hull. Take a look at it and let me know if I need to do anything else before I starting monkeying around with the planks.

The biggest challenge in this was to figure out a way to sand the edges of the ribs in a way that follows the curve of the ribs. I welcome your thoughts on how to sand curved ribs.
3.30a.jpg

3.30b.jpg
 
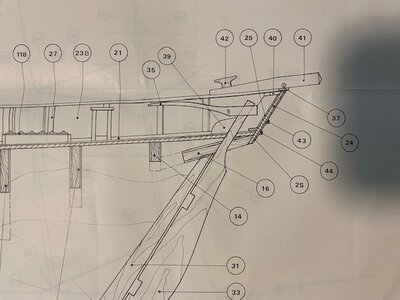
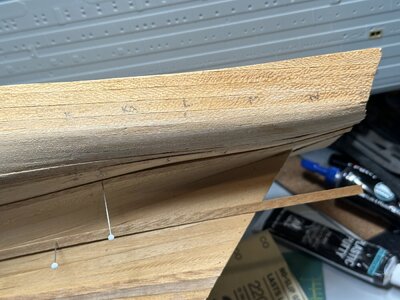
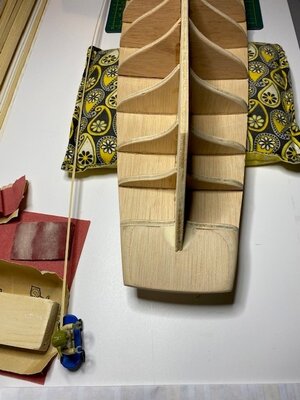
It pays to take your time. The next step for me is to start laying the first layer of planks, but I've been considering that move for a week or so. I decided to look ahead at the next few steps b/c I wanted to see how the gunwales and transom were attached. I'd rather know now so to make necessary adjustments before working through the next few steps. Good thing I looked! I realized that I needed to shape the stern to an angle in order to accept the transom.
It wasn't clearly called out, but after spending a few minutes looking at the plan view of the boat I noticed that the stern end had been shaped to a sharp angle. A few easy minutes later and done.....I do enjoy this hobby. I told my son that I like being able to spend time on this; there is no rush or deadline to get it finished - unlike everything else in life!!

4.2a.jpg

4.2b.jpg

4.2c.jpg
 
I told my son that I like being able to spend time on this; there is no rush or deadline to get it finished - unlike everything else in life!!
Good morning. True story. Your frame prep is looking good. Taking time also give us time to ponder what comes next. Unfortunately my personality has always been “just go for it full throttle” so I forget this at times…..then the blunders come. Enjoy. Cheers Grant
 
After carrying this thing around for the past 33 years, I've decided that I'm old enough (and patient enough!) to put this thing together. I purchased this while in Spain on a Med Cruise courtesy of Uncle Sam. All parts are present and accounted for. I'm looking forward to the finished product.

View attachment 362575

View attachment 362576
Does the kit come wiith a display stand? I am currently building it but cannot find any stand or instructions in the kit. Perhaps I am on my own. The Billings Bluenose, my first build did have a stand.
 
Does the kit come wiith a display stand? I am currently building it but cannot find any stand or instructions in the kit. Perhaps I am on my own. The Billings Bluenose, my first build did have a stand.
Talisman - no, my kit does not have a display stand. I haven't thought that far ahead, but now that you mention it, I probably should consider the situation. Maybe someone has a display stand-from-scratch set of plans?
 
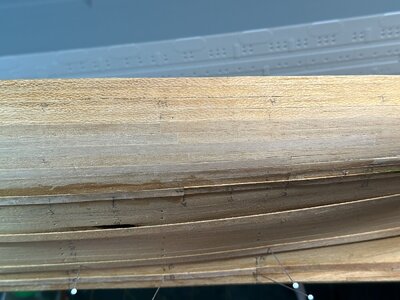
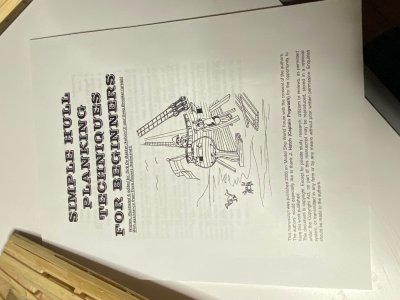
I've been studying a great resource that provide instruction on simple hull planking for beginners. Very helpful (Thank you @Uwek and @El Capi ) and informative.
But I realize that I didn't rabbet the false keel. The instructions that came with the boat did not call this out.
I have only a few planks laid right now so it's not too late to work on this.

4.27a.jpg

4.27b.jpg
 
I've been studying a great resource that provide instruction on simple hull planking for beginners. Very helpful (Thank you @Uwek and @El Capi ) and informative.
But I realize that I didn't rabbet the false keel. The instructions that came with the boat did not call this out.
I have only a few planks laid right now so it's not too late to work on this.

View attachment 371583

View attachment 371584
Do it now. I was in fact the one who informed UWE.. under tecnik you will find a lot of information.
You are right about missing information coming with the kit. Only the very expensive admiral
models. The rest are false keel, bulkheads and as soon they can, they inform you to insert the deck. when all decks -big mistakes -are inserted they will know to start planning the Hull, generally with bad results. when the hull is fully planked, the real Kell, stern and bow parts are inserted, which makes it very difficult to make the garboard..
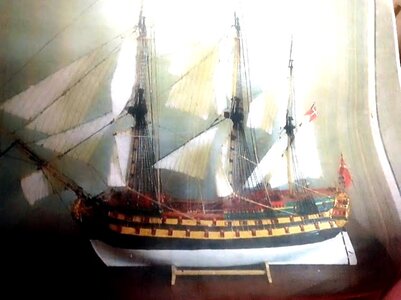
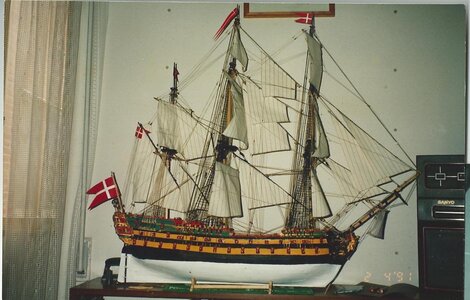
I have been building for over 50 years. the 1Tg image "Norske Loce nor laser cut. all handwork and only one layer of planks. the 2Nd same ship 15 years later about, and now laser cut and fittings are much better, but not good enough. You can always contact me- before you take action -over the letterbox if you want to anonym or e-mail: peandersen@telefonica.net. Google Drive I cannot get working-sorry.

5_ NORSKE LOVE 1.jpg

01 Norske love 1.jpg
 
Do it now. I was in fact the one who informed UWE.. under tecnik you will find a lot of information.
You are right about missing information coming with the kit. Only the very expensive admiral
models. The rest are false keel, bulkheads and as soon they can, they inform you to insert the deck. when all decks -big mistakes -are inserted they will know to start planning the Hull, generally with bad results. when the hull is fully planked, the real Kell, stern and bow parts are inserted, which makes it very difficult to make the garboard..
I have been building for over 50 years. the 1Tg image "Norske Loce nor laser cut. all handwork and only one layer of planks. the 2Nd same ship 15 years later about, and now laser cut and fittings are much better, but not good enough. You can always contact me- before you take action -over the letterbox if you want to anonym or e-mail: peandersen@telefonica.net. Google Drive I cannot get working-sorry.

View attachment 371674

View attachment 371675

Muchas gracias por la gran información que estás proporcionando. Es de mucha ayuda. Detendré el entarimado y trabajaré en rebatir la quilla. Tu trabajo es hermoso. Definitivamente eres un gran recurso para este trabajo.
 
Muchas gracias por la gran información que estás proporcionando. Es de mucha ayuda. Detendré el entarimado y trabajaré en rebatir la quilla. Tu trabajo es hermoso. Definitivamente eres un gran recurso para este trabajo.
Thanks for your nice word. It warms an old mand. If just the management apart- from Jimske - would take notes.
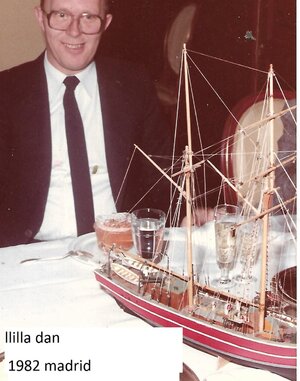
the two imagesare from early 1982

7-nepusano.jpg

6 lila dan- handen over to new owner.jpg
 
After carrying this thing around for the past 33 years, I've decided that I'm old enough (and patient enough!) to put this thing together. I purchased this while in Spain on a Med Cruise courtesy of Uncle Sam. All parts are present and accounted for. I'm looking forward to the finished product.

View attachment 362575

View attachment 362576
Hallo @darnold
we wish you all the BEST and a HAPPY BIRTHDAY
Birthday-Cake
 
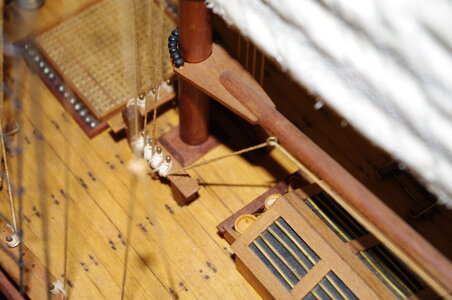
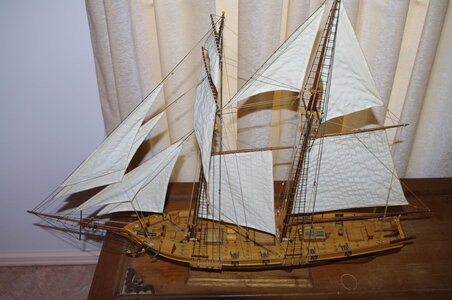
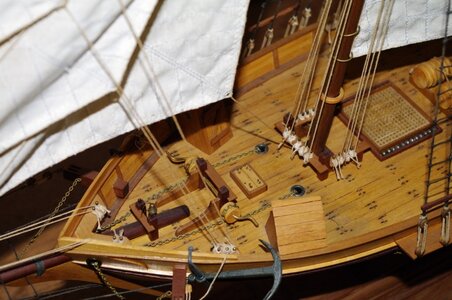
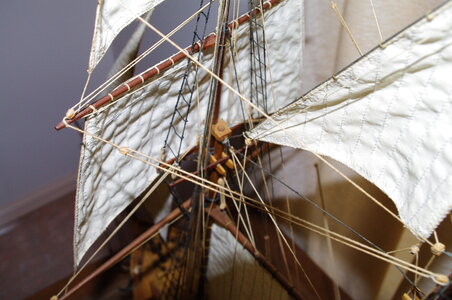
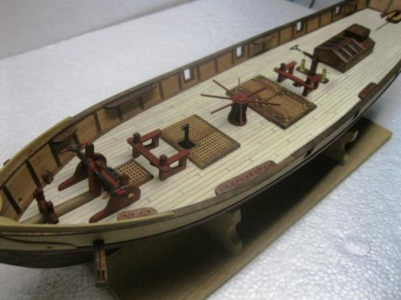
I built this kit about 30 years ago modified from plans purchased from Taubman Plans Service. It was my second all wood model there are lots of errors but I’m still proud to display it with my antique spyglass. I wrote a series of articles for Ships in Scale Magazine about the construction. If you can find reprints they might help you in construction. My copies are long gone. Enjoy and send photos. View attachment 363526View attachment 363526View attachment 363527View attachment 363528View attachment 363526View attachment 363527View attachment 363528
What a beautiful ship!!!
 
Looking through your build log inspired me to grab my Harvey, which has been languishing in the ship yard for many years. It’s currently in line behind my Trumpeter Titanic. Anyway, I thought you might want to see a few pictures because my build is not too far ahead of your last set of photos. I got a lot of help with planking from the “Modeling the Pride of Baltimore” by Robert E. Hunt. You can find it on YouTube now here:
. It’s not the same kit, but his approach to planking will be a good guide for doing it correctly, if you haven’t already begun. Good luck!

IMG_1290.jpegIMG_1288.jpegIMG_1295.jpegIMG_1294.jpegIMG_1297.jpegIMG_1298.jpeg
 
I found the instructions foe tapering the masts and yards were quite difficult, given the age and dryness of the dowels.
I basically took my belt sander and clamped it upside down in my workmates. Using a fine belt, I locked the sander on and could very carefully but quickly taper them all in no time. A lot faster than hand sanding and the other recommended techniques.
 
After carrying this thing around for the past 33 years, I've decided that I'm old enough (and patient enough!) to put this thing together. I purchased this while in Spain on a Med Cruise courtesy of Uncle Sam. All parts are present and accounted for. I'm looking forward to the finished product.
Hallo @darnold
we wish you all the BEST and a HAPPY BIRTHDAY
Birthday-Cake
 
Back
Top