- Joined
- Aug 30, 2020
- Messages
- 684
- Points
- 353

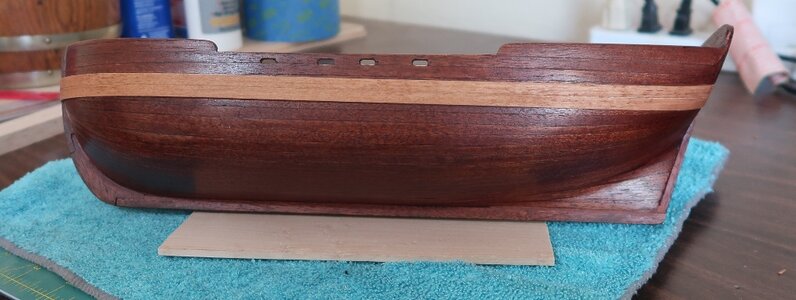
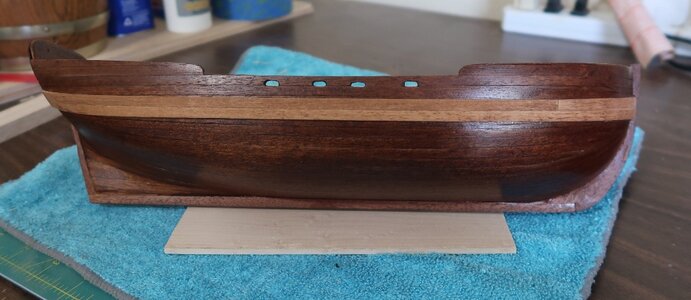
This is a good model to learn on and it was my first as well.So I'm cruising along planking the deck, everything going OK, then I stop after looking at the drawings Al posted and looked at the bow.
Nothing in the instructions about tapering or cutting those corners off along the bulwarks. I guess maybe it was assumed I would know to do that. Can't say why I spaced out and didn't notice it earlier. Side affects of the arthritis meds no doubt.
All the pictures show those planks tapered and fitting into some type of slotted frame or border that runs along the deck against the bulwarks, you can see that in the drawing above, but I can't find anything like that in the box, and nothing about any of that is mentioned in the instructions. Same thing with along the sides, going to require some tapering there as well. Oh well!!
This should be an interesting fix, especially given I'm not even slightly interested in cutting little corner pieces to fill those gaps. I'll probably just end up throwing some fill in there and say the hell with it.
Charles
The technique mentioned above at the end of the end of the planks is called joggling, you should have a piece of plywood in the kit that would be used to make the shape required but it's extra work if you wanted to proceed with this method, see here for more detail https://www.modelerscentral.com/model-ship-building/how-to-do-deck-planking-on-wooden-model-ships/
The written instructions dont always tell the full story and looking at the plans can help a lot understand the words.
All the best and keep going till you finish it.

")