- Joined
- Aug 30, 2020
- Messages
- 684
- Points
- 353

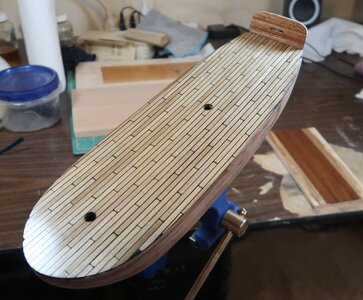
Agree with the other comments it will look fine once deck furniture in place.Some elves snuck into the shop while I slept last night and finished the deck planking. Problem is I think they were drunk!
View attachment 267098
I sent this pic to Modelers Shipyard and they said I missed the 50mm offset between each row of planking.
The problem is I didn't miss the offset, I did it wrong.
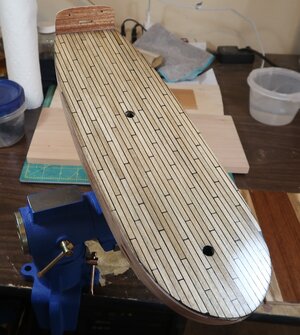
I cut a 50mm piece of planking to start the second row, starting at the bow, and proceeded along that way. The stagger of the butted ends of the planks is following the shape of bow.
By offset, I guess they meant take full 100mm planks and place the full planks offset, then cut and fit the pieces along the bulwarks.
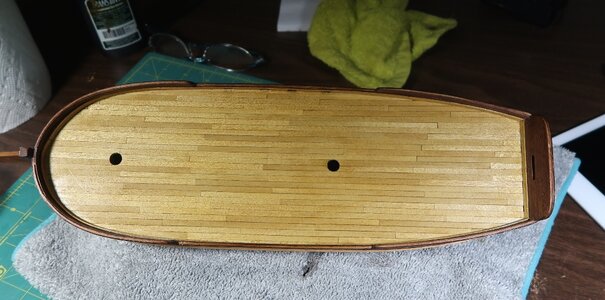
I was debating wetting the planks and removing them and starting over. Problem is I had to throw out a a few planks because I tried a black sharpie to simulate the caulking and it bled through real bad. I don't think I have enough planks (only 5 left) to replace the planks that would no longer fit after the redo.
Oh well. At least it's unique.
Charles
Thinking about it now if you started at the stern the stagger would have been perfect.


")