Build Log: RCMP St. Roch [COMPLETED BUILD]

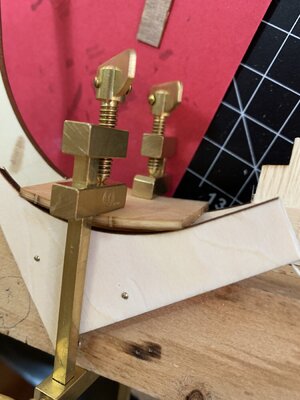
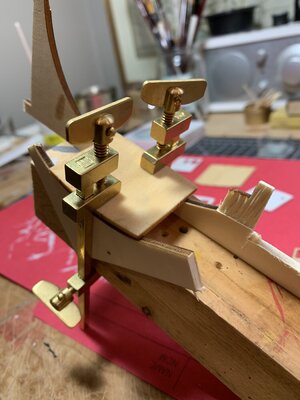
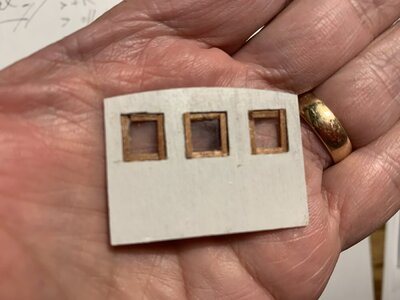
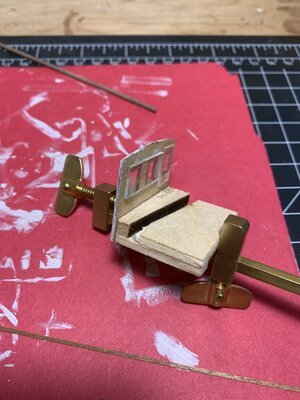
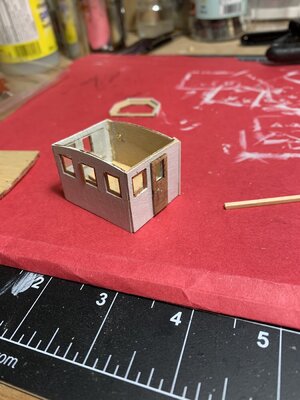
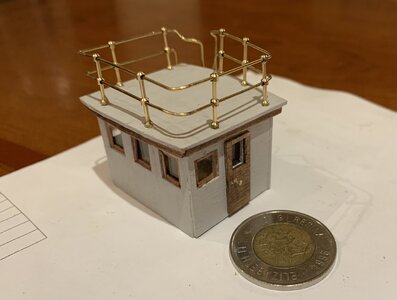
It was a cold and rainy day, so I managed to work on the model for about 5 hours. I re-stained the decks, and put together the cabin. I also added of the thingees that hold the ratlines and started to paint the various moldings. I noticed that the holes for the port holes on the deck cabin are positioned quite high (higher than the plans illustrate), almost at the ceiling. So there is no room for the life preservers that are supposed to go over the portholes. I suppose I could have built up the walls a bit, but I didn't want to mess around, so I will find other places for the life preservers. Tormorrow, I will finish painting and installing the various strips that go around the hull. I'm pleased so far with the progress. There are a few mistakes, but that's all part of the experience!
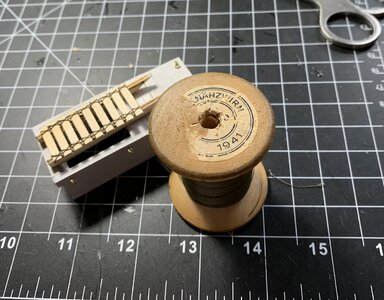
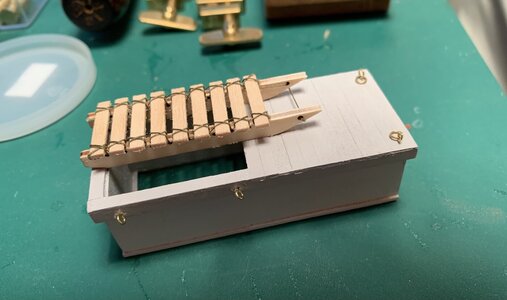
IMG_3235.jpgIMG_3236.jpgIMG_3238.jpgIMG_3239.jpgIMG_3240.jpgIMG_3241.jpgIMG_3243.jpgIMG_3245.jpg
 
Coming along really well Carl. I wouldn’t worry too much about variations to your build as opposed to the supplied plans. There were quite a lot of changes to the vessel over the years. So some builders licence doesn’t take away from your model.
 
Coming along really well Carl. I wouldn’t worry too much about variations to your build as opposed to the supplied plans. There were quite a lot of changes to the vessel over the years. So some builders licence doesn’t take away from your model.
Thanks Roger. Yes, I imagine over the span of decades, things got changed, replaced, upgraded and repainted. I appreciate you feedback.
 
HELP! I'm looking for some advice on the RCMP St. Roch. There is a sled that I have to make. There is no guidance on how to do this. The only info is the photo below and the advice to use the rigging thread. The thread seems too thick for the pre-drilled holes. How do I begin to put this together? Do I do one board first, then the next, then the next, and so on? Should I use thinner sewing thread with a needle? If I can't use a needle - the 2 parallel sled boards seem too close together to allow a needle to pass through completely. Or do I somehow wax or stiffen the thread so that it can pass through the holes?
can anyone provide some advice? Thanks!
 

Attachments

  • IMG_3253.jpg
    IMG_3253.jpg
    241.3 KB · Views: 5
HELP! I'm looking for some advice on the RCMP St. Roch. There is a sled that I have to make. There is no guidance on how to do this. The only info is the photo below and the advice to use the rigging thread. The thread seems too thick for the pre-drilled holes. How do I begin to put this together? Do I do one board first, then the next, then the next, and so on? Should I use thinner sewing thread with a needle? If I can't use a needle - the 2 parallel sled boards seem too close together to allow a needle to pass through completely. Or do I somehow wax or stiffen the thread so that it can pass through the holes?
can anyone provide some advice? Thanks!

Hello Carl,

The Qamutiik (sled) is a nice focal point for the St. Roch, once completed. However, the kit supplied rope is awful and out of scale. The best advice for that is to chuck it in the trash or use it to hang decorations on the Christmas tree.

To make the Qamutiik look somewhat realistic needs a little builders licence again. Firstly clean out the tiny holes on the runners. Try not to enlarge them. That will make it easier to thread very small line for lashing the crossbars to the runners. Then cut all the crossbars to length. I then glued the crossbars on the runners making sure they lined up with the pairs of holes. The lashings and all ropework need to be in scale so I used brown cotton thread from my wife’s sewing box for those initial lashings. (That means less buttons will get sewn on my shirts but…..:) ). I used a tiny amount of CA on the lashing ends to assist threading much like you do for a block and tackle. Decide on a suitable type of lashing that feeds through each pair of holes for each side of each crossbar. It is fiddly and time consuming and my way is not done the Inuit way but I think it looks ok.

To secure the Qamutiik I used a light brown right hand lay rope. I think it was 0.3mm and for the bridle I used 0.45mm light brown. Then a few seamanship like knots to tie it all off to small eye bolts. I made tiny brass shoes for the front end of the runners, blackened with a blackening solution.

I have added two photos to help you. The first is from the Vancouver Museum and the second is my build. Hope this helps.

072B4327-2E98-40BC-8BDE-53CDA8927565.jpeg5FA117F4-5BEE-41BD-B447-32DC5FE9346B.jpeg
 
This is exactly what I was looking for. I've set aside time tomorrow for my sled-making skills. THANKS!!
BTW, I suppose those dogs at the museum are stuffed, or do they keep real ones around to add to the realism??
 
I have another question. Did you build the steps that go up to the front part of the deck (foredeck?) from the main deck?
 
This is exactly what I was looking for. I've set aside time tomorrow for my sled-making skills. THANKS!!
BTW, I suppose those dogs at the museum are stuffed, or do they keep real ones around to add to the realism??
I have another question. Did you build the steps that go up to the front part of the deck (foredeck?) from the main deck?
The dogs are static but that would be a great project for you :D

The steps are from a parts box.
 
Hi Roger. Here is my attempt. A slightly different type of stitching (my wife's suggestion), but it seemed to work well. I ditched the thread that comes with the kit, as per your suggestion. I found some very fine, strong and smooth thread- it's from a spool of German Army thread from WW2. My mother is a Holocaust survivor and when she was liberated, all she possessed were the clothes on her back, a spoon, some bandages and this spook of thread. She never wanted us to keep it, but it is an important legacy, so I only borrowed about a foot of it to make the sled. I do want to keep the rest of the thread, so perhaps you can recommend a type of thread for use in the rigging, etc.. A normal sewing thread? Something a bit thicker? Your suggestions will be welcome.
 

Attachments

  • IMG_3263.jpg
    IMG_3263.jpg
    262.4 KB · Views: 14
  • IMG_3272.jpg
    IMG_3272.jpg
    119.7 KB · Views: 14
Hi Roger. Here is my attempt. A slightly different type of stitching (my wife's suggestion), but it seemed to work well. I ditched the thread that comes with the kit, as per your suggestion. I found some very fine, strong and smooth thread- it's from a spool of German Army thread from WW2. My mother is a Holocaust survivor and when she was liberated, all she possessed were the clothes on her back, a spoon, some bandages and this spook of thread. She never wanted us to keep it, but it is an important legacy, so I only borrowed about a foot of it to make the sled. I do want to keep the rest of the thread, so perhaps you can recommend a type of thread for use in the rigging, etc.. A normal sewing thread? Something a bit thicker? Your suggestions will be welcome.
Your Qamutiik looks good and I can appreciate what the importance of the legacy of that spool of thread means to you.

I purchased my rope supplies from:

However, there are other suppliers too. Some referenced on this site.
 
Your Qamutiik looks good and I can appreciate what the importance of the legacy of that spool of thread means to you.

I purchased my rope supplies from:

However, there are other suppliers too. Some referenced on this site.
Thanks. I will follow up on this. Can you let me know your advice on the size of rope for the St. Roch? For example, would the lifeboat rigging be thinner rope than the rope ladders? Sorry to bug you with these questions...
 

Attachments

  • Screen Shot 2021-11-02 at 11.27.25 AM.png
    Screen Shot 2021-11-02 at 11.27.25 AM.png
    230.6 KB · Views: 15
For those who built the St.Roch, any advice on how to build the wooden railings beside the wheelhouse? Did you build a frame and then add the planks? Ideas? See photo with arrow below

Screen Shot 2021-10-07 at 8.54.41 PM.png
 
Last edited by a moderator:
Making steady progress. Lots of small bits of work with the St. Roch. Some of the deck fixtures and started work on the wheelhouse. I had to put together a contraption of scrap wood and clamps to bend the roof to the correct curvature. It's not that hard to bend narrow strips of wood, but this was a thicker and wider piece, so it took a little extra experimentation. I added microscope glass for the windows and I needed a magnifier, steady hands and a fine tweezer to insert the window frames. Soon I will begin to make the railings...I know this will be finicky. Wish me luck!
 

Attachments

  • IMG_3288.jpg
    IMG_3288.jpg
    316.8 KB · Views: 18
  • IMG_3290.jpg
    IMG_3290.jpg
    171.1 KB · Views: 15
  • IMG_3291.jpg
    IMG_3291.jpg
    172.9 KB · Views: 18
  • IMG_3294.jpg
    IMG_3294.jpg
    128.1 KB · Views: 19
  • IMG_3298.jpg
    IMG_3298.jpg
    208.9 KB · Views: 20
  • IMG_3299.jpg
    IMG_3299.jpg
    229.8 KB · Views: 21
  • IMG_3301.jpg
    IMG_3301.jpg
    243.1 KB · Views: 19
Thanks. I will follow up on this. Can you let me know your advice on the size of rope for the St. Roch? For example, would the lifeboat rigging be thinner rope than the rope ladders? Sorry to bug you with these questions...

I no longer have my scribbled notes on the actual sizes I used. So I tried to use my micrometer on the actual model today but after snagging the first rope that I measured I stopped. The small parts and lines are too delicate to withstand an accident, yikes!

Without actual ship measurements I originally estimated rope and wire sizes from museum photos. Lifeboat falls would have been a minimum 20mm manila (diameter). Topping lifts and guy tackle probably the same size or larger for this ship. Forestay halyard, as an example, probably 12mm. Based on those estimates if you look at a museum photo of the St. Roch you can see the aft wire on the foremast is slightly larger than the two shrouds with the rat boards. I think I used 0.3mm (actual 22mm) for the larger diameter and then a little smaller diameter for the other two. They might have been a little larger but at this scale there is not a lot of visual difference. Remember, the scaled lines you decide on must pass through the holes in blocks where relevant.

One of the enjoyable aspects of ship modelling, I find, is to research different sources for both some realism and for historical reasons. If you search for “St. Roch Vancouver images” or something similar you will find close-up photos of various parts of the ship, which will help you enormously. Don’t forget the museum staff may also be able to provide you with accurate sizes for all of the rigging presently installed, if that is important to you.
 
Your advice on this, as well as other questions, has been invaluable. I will be off following your leads and doing some of my own research. Thanks, again!!
 
For those who built the St.Roch, any advice on how to build the wooden railings beside the wheelhouse? Did you build a frame and then add the planks? Ideas? See photo with arrow below

View attachment 267785
Not sure if you can see on the photo of my model you have shown above but I made a thin ply backing for each bulkhead. I then cut small planks and glued them to the ply, adjusting for the corners and placement of the little access “doors”. All measured and done off the model with final fitting and adjustments when glued on the model.
 
Back
Top