Build log USF Confederacy 1778 Model Shipways 1:64

Hello Frank, thank you for your question and your appreciation for my work. If you don't mind, I would like to answer your question tomorrow. Until then,

Regards

Werner
 
Hallo Frank, thank you very much. I will post my answer here so that everyone can read it.
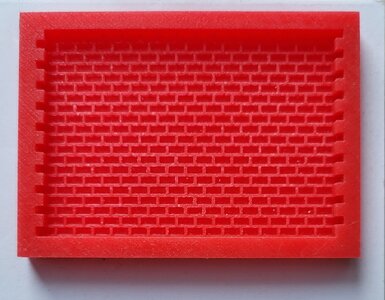
Hello Frank,

some remarks on the brick platform for the stove.

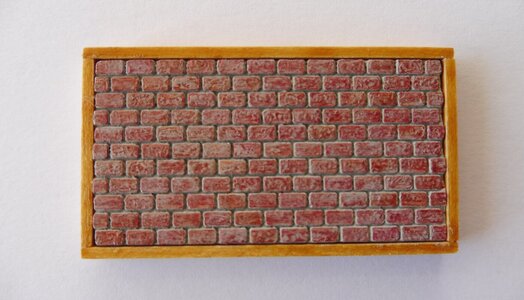
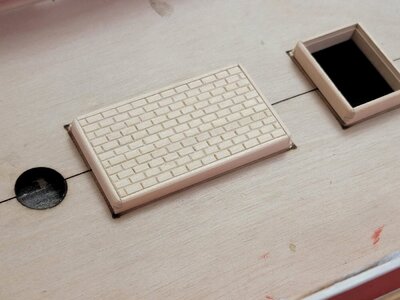
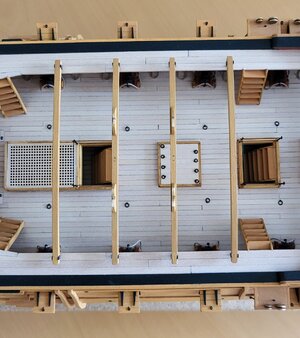
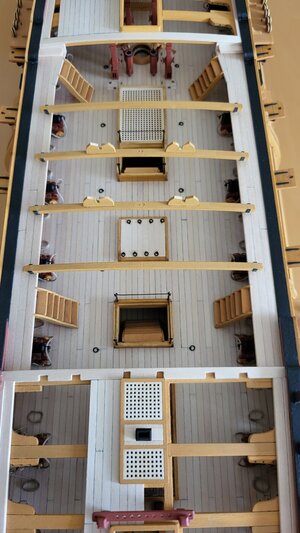
In the building instructions it is made of provided wood strips which are grooved, glued together and painted with slightly various shades of red to resemble bricks. I didn´t like this method very much and looked for an alternative. I found a silicone casting mould for brick walls for railway modelling. The "bricks" cover a sufficient area and imo meet the size, so I cast the "bricks" with moulding cement and cut/sanded it to shape to fit in the wooden frame. Then I painted them red (I admit I was too lazy to use different shades) and after drying "washed" it all over with grey (not too thick) to fill the grooves and immediately dabbed the grey paint off the "brick" surfaces leaving a rest of grey paint...

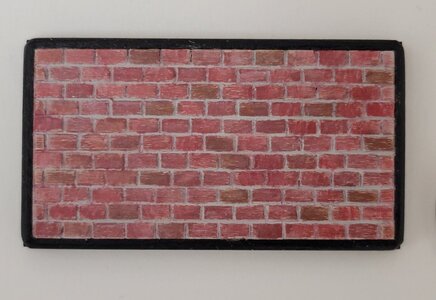
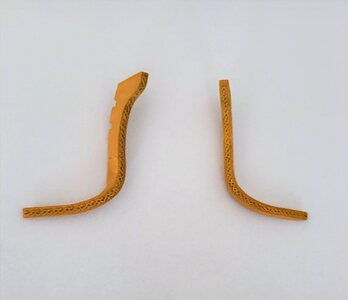
The third and fourth picture (from another builder of the Confederacy) shows what can be achieved by building according to the instructions, and of course it is up to every model builder which way he/she chooses for good results.....

I hope I could help you,

best regards


Werner

20221120_150854.jpg

P1020092.JPG

image.thumb.jpeg.e43ff51e0af54988d3271889b716493f.jpeg

image.thumb.jpeg.8ca582300820e199d4e8b565a36df2ec.jpeg
 
Last edited:
very accurate and clean work - Looking very good
and also the bricks - great appearance :cool:
 
Frank, Mike,
thank you very much! Regrettably most of the brick basement will later on be covered by the stove...

Werner
 
Hi modelers,

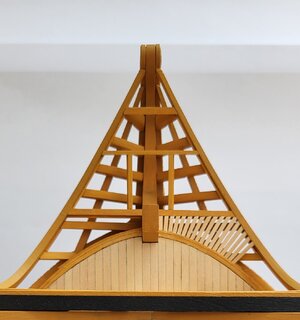
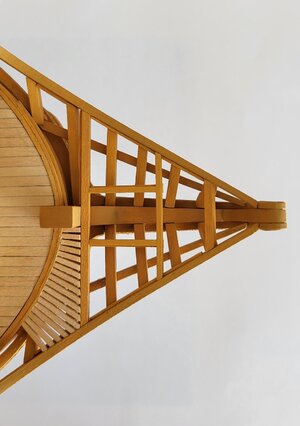
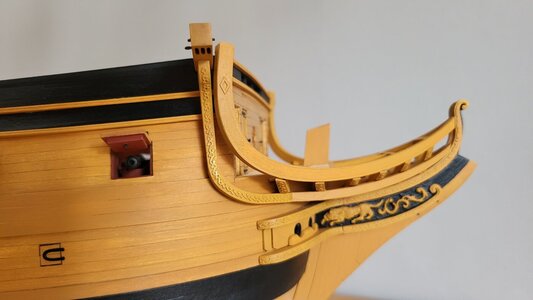
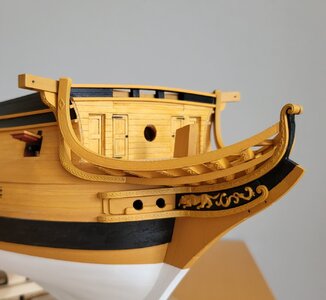
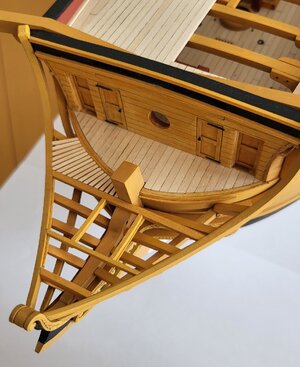
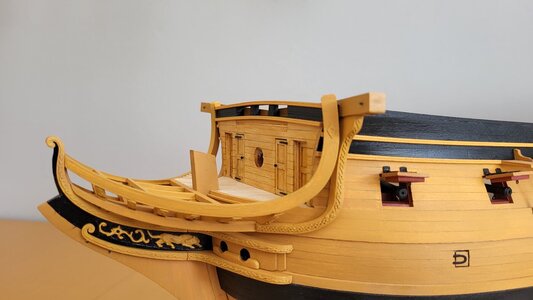
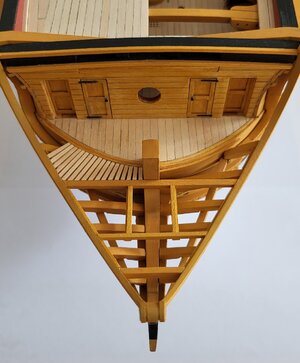
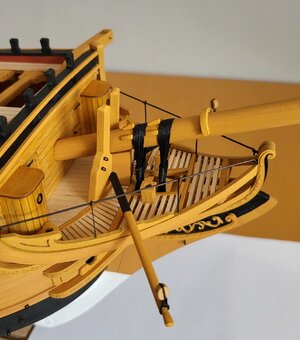
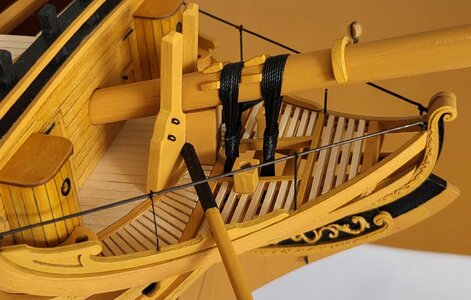
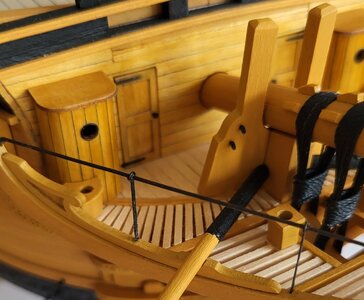
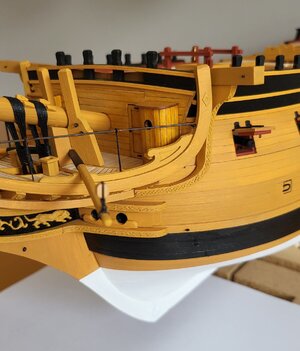
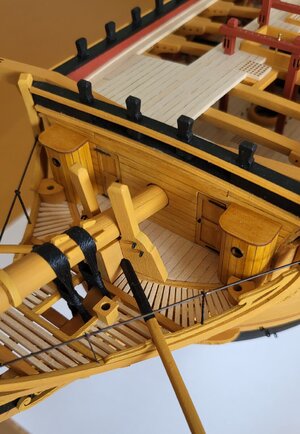
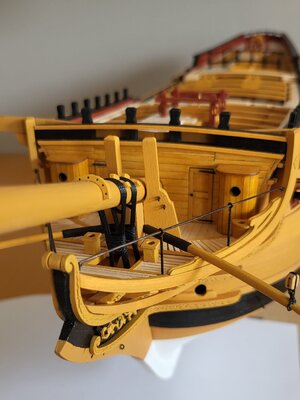
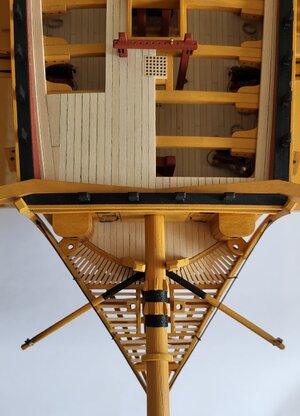
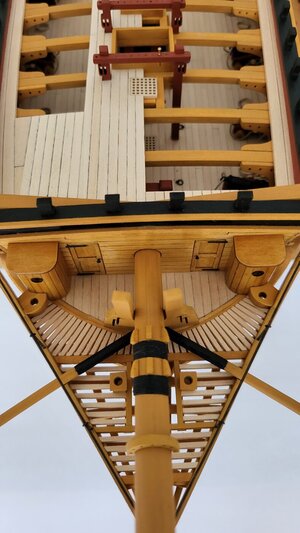
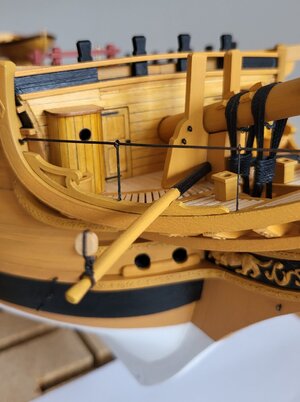
here the next steps to be posted.....the middle rails and the cathead support knees are done, the framing for the head grating is done, and I started with the grating timbers.

Note the additional stripes along the framing and the main headrails as a support for the framing timbers.

The cathead support knees were notched instead of removing the hull molding stripes.


Greetings

Werner

20230511_123742 (2).jpg

20230511_123814 (3).jpg

20230511_123848 (3).jpg

20230526_105856 (2).jpg

20230526_110054 (2).jpg

20230526_110539 (2).jpg

20230526_110936 (2).jpg

20230526_111254 (2).jpg

20230526_111432.jpg

20230526_111853 (2).jpg


Hi modelers,

here the next steps to be posted.....the middle rails and the cathead support knees are done, the framing for the head grating is done, and I started with the grating timbers.

Note the additional stripes along the framing and the main headrails as a support for the framing timbers.

The cathead support knees were notched instead of removing the hull molding stripes.


Greetings

Werner

View attachment 376444

View attachment 376445

View attachment 376446

View attachment 376447

View attachment 376448

View attachment 376449

View attachment 376450

View attachment 376451

View attachment 376452

View attachment 376453
it's looks so beautiful Exclamation-MarkOkay:)
 
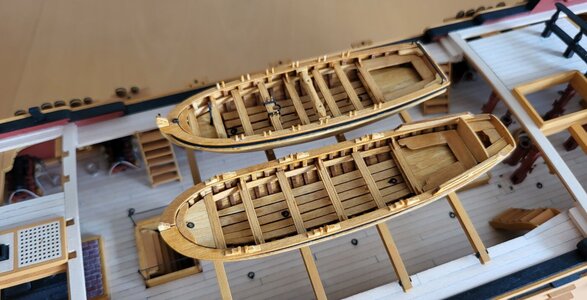
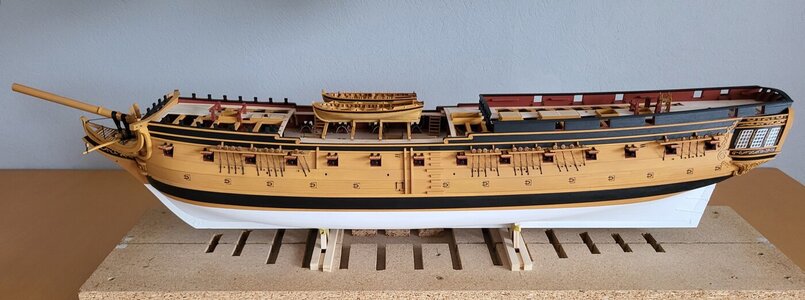
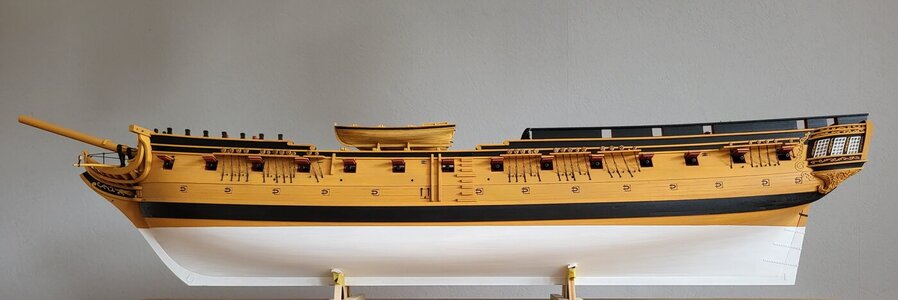
Dear modelers,

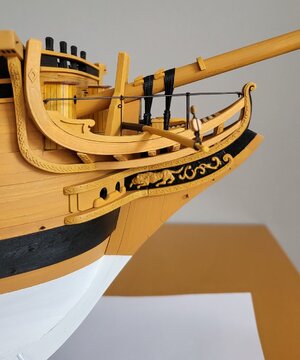
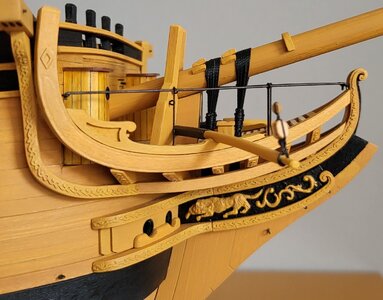
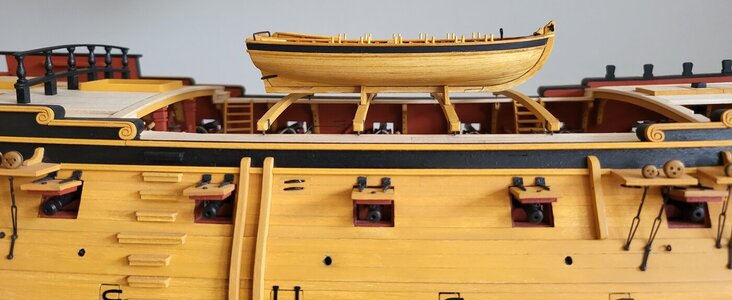
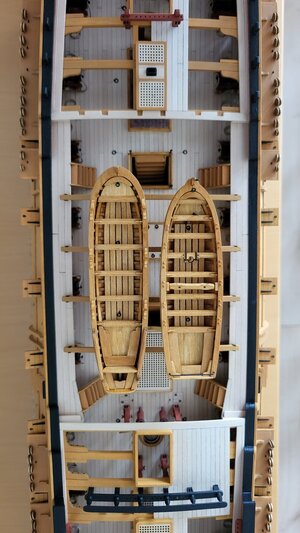
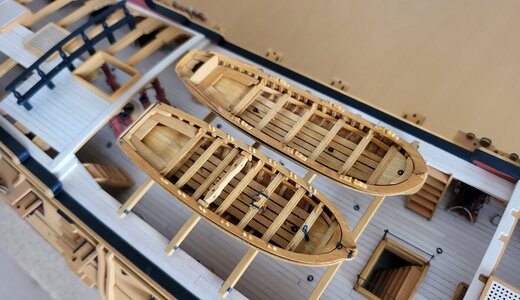
tomorrow my last post is exactly four months ago, and there is much progress with the model. The ship´s boats were placed only for the photos and are not yet glued.
I intend to have the model finished soon, because the next model is waiting....

Comments and questions welcome.

Greetings

Werner

20230925_114707 (2).jpg

20230925_114851 (2).jpg

20230925_114851 (3).jpg

20230925_114915 (2).jpg

20230925_114915 (3).jpg

20230925_115105 (2).jpg

20230925_115128 (2).jpg

20230925_115152 (2).jpg

20230925_115212 (2).jpg

20230925_115246.jpg

20230925_115419 (2).jpg

20230925_115738 (2).jpg

20230925_115807.jpg

20230925_115845.jpg

20230925_115959.jpg

20230925_120040 (2).jpg

20230925_120223.jpg

20230925_121110 (2).jpg

20230925_121143 (2).jpg

20230925_121244 (2).jpg
 
Back
Top