Build Log: Wells Fargo Stagecoach 1/12

Joined
Oct 18, 2017
Messages
21
Points
48

Location
Sacramento, CA
Greetings! I stumbled across this forum while doing research for the Mantua/Sergal Cutty Sark kit.

After perusing the many wonderful builds I discovered this section and was very excited, I finally have a place to share my ongoing build of the Model Trailways Concord Stagecoach.

I've been working on this kit for several years and have gone a bit crazy modifying it with detail. I'm trying to create a model of a specific stagecoach, namely the unrestored coach sitting in the lobby of the main Wells Fargo branch in downtown San Francisco.

Each blacksmith at the factory put their own artistic spin on the metal work which made them unique, I will highlight my attempts at copying this detail as well.
 
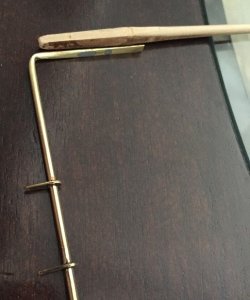
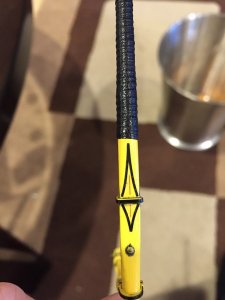
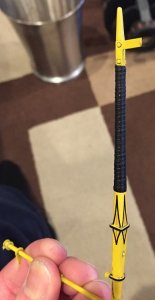
The brake lever:

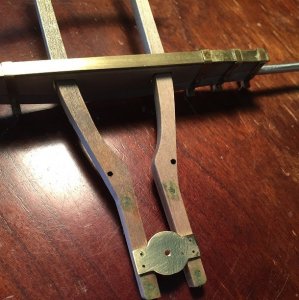
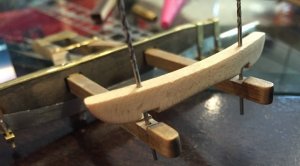
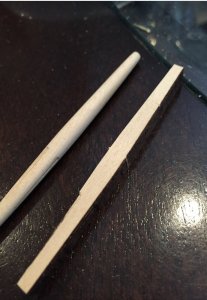
The only kit parts I used for this piece are the wood and the brass foot pedal that is at the very top.

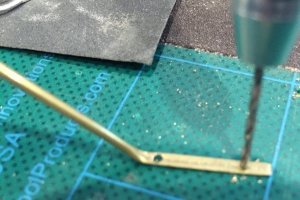
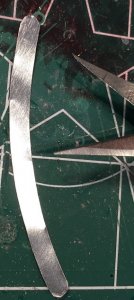
This first picture is the main wooden arm that has been sanded down. I used brass tubing and pounded it flat on one end then filed it down to match the shape of the arm. The silver part is some solder I used to fill in some recesses caused by the flattening process.

IMG_1622.jpg
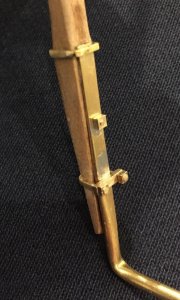
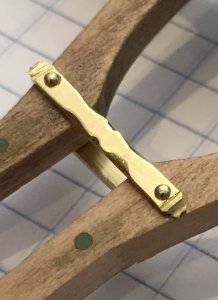
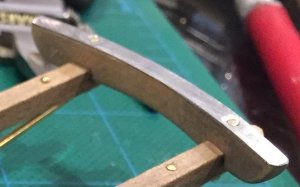
Here's a closer shot of of the attachment point, the brackets and square nuts were hand made, all of the nuts and bolts on this kit are threaded and screwed together.

IMG_1681.jpg
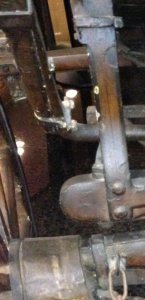
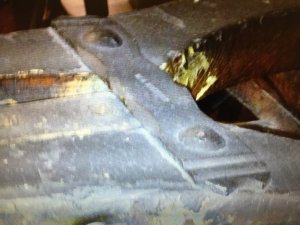
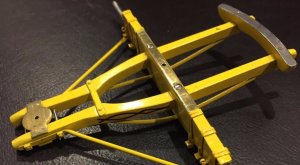
Here's a picture of the real subject.
IMG_1357.JPG
 
Last edited:
Hello grayson ,welcome to the forum,I really like to see those construction images.
 
Excellent. Love to see more.
Donnie
 
I agree with Donnie.

It is a geeat initiative to include other type of builds logs.

Your work looks excellent and a great build.

I guess the stagecoach is a ship of the desert.

Cheers
Geoff
 
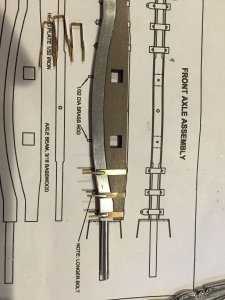
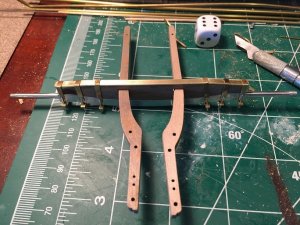
Front Axle Assembly:

I've deviated quite a bit from the standard kit in this build, replacing all of the wooden parts with metal that are supposed to actually be metal.
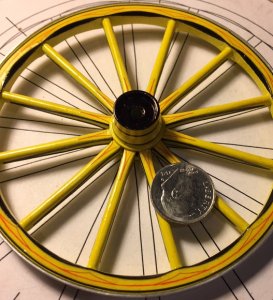
This is the front axle, the bands are photo etch that came with the kit, the threaded rods I made by hand and soldered them.
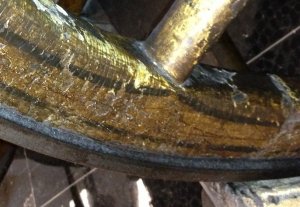
IMG_1790.jpg

The beams running through the axle are called "hounds".

IMG_1808.jpg

I reshaped the hounds and filled in some holes in order to match the original subject, the brass plate at the end was made to replace one of the wooden parts.

IMG_1846.jpg

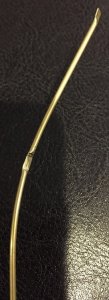
This small bracket is one of the unique iron pieces I attempted to replicate.

IMG_1860.jpg

The real thing
IMG_1861.jpg
 
Last edited:
Front Axle Rub Bar:

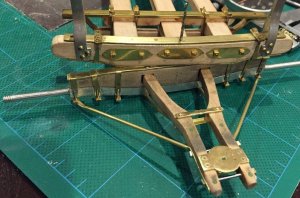
At the other end of hounds is a rub bar that helps keep the axle stable when it pivots for steering.

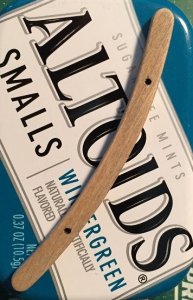
This is the kit part

IMG_1847.jpg

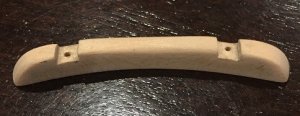
Here's the part I replaced it with:

IMG_1864.jpg

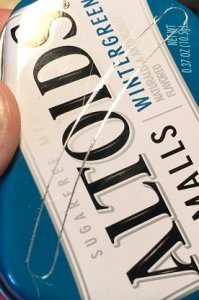
The top of the rub bar is covered in a metal plate which I made from an Altoids box

IMG_1849.jpg
IMG_1851.jpg

Here's the rub bar being attached

IMG_1866.jpg

Final assembly

IMG_1874.jpg
 
Last edited:
The pin striping looks great. If you do any more of it can you post a little about how you did it; thanks.
 
Front Axle Painted and Pinstriped:


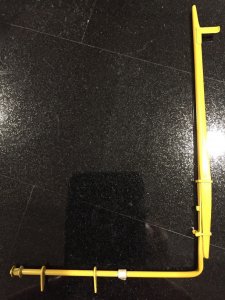
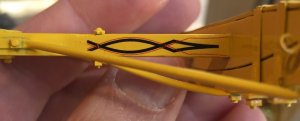
Hi Graham, the pinstriping on the lever and on the picture below are waterslide decals I made using PowerPoint. PowerPoint works well for this because it uses vector based graphics for it's drawing tool which makes them come out very sharp. They are printed using a color laser printer.

I will be using a variety of methods for creating the pinstriping on this kit including actual pinstriping tape with widths that range from 1/16th to smaller than 1/64 of an inch, .005 Micron markers, stencils and a paintbrush.

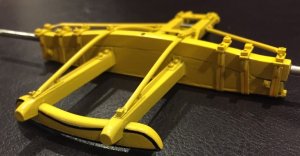
In this last picture I used a combination of pinstriping tape and a paintbrush.

IMG_2960.JPGIMG_1971.jpgIMG_2961.JPG
 
Last edited:
Thanks, I appreciate the information and look forward to following your build.
 
Wheels:
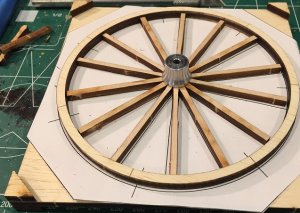
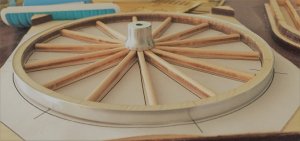
The wheels that came with the kit required little modification from just building them following the directions.

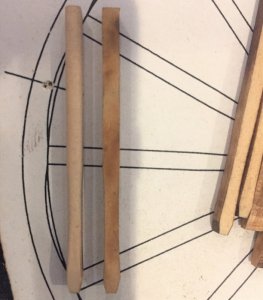
The spokes needed to be sanded down to an oval shape in order to simulate the correct shape on the real thing.

IMG_2503.jpg

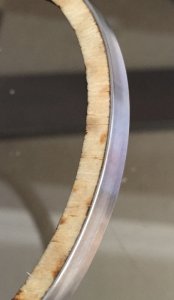
One thing I did change was the metal bands that wrap around the rim of the wheels. The kit included some kind of paper gasket material similar to what you would find in an engine. I replaced those with aluminum bands turned on a lathe.

IMG_1840.jpg

The kit came with a nice little jig to assemble and helped with aligning the spokes.

IMG_1816.jpg
IMG_2505.jpg

At first I tried simply gluing the spokes in place but they didn't hold so I put wooden dowels in each of them.

IMG_2857.jpg

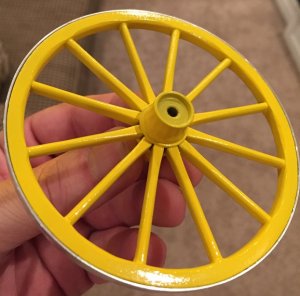
All painted and ready for pin-striping

IMG_2860.jpg

One wheel finished

Wheel finished.jpg

Here's a pic of the real thing:

Real thing pinstripe closeup.jpg

P.S., I actually broke one of the laser cut rims so I remade it using my Brother Scan-n-Cut using multiple layers of super thin hobby plywood.
Click the link for a video of this in progress.
https://photos.app.goo.gl/JkTxmwfFlM4BAvqX2
 
Last edited:
Very authentic and lifelike. I look forward to more. Love the pin stripping !!
 
I agree - this is really a special build. I am glad to have it added to the forum.
 
Hello fellow modelers, it's been awhile since my last posting, but I have still been working away on this build.
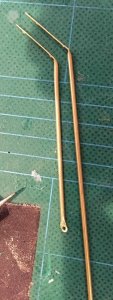
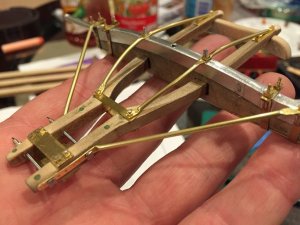
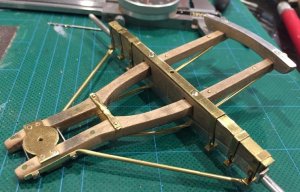
This part I'll cover the single and double trees.
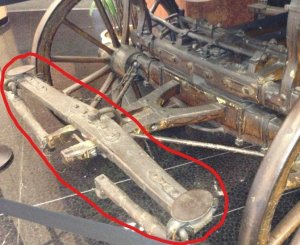
Here's what they look like on the actual stagecoach:
InkedIMG_1354_LI.jpg
 
Back
Top