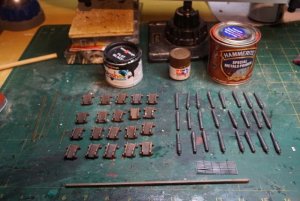
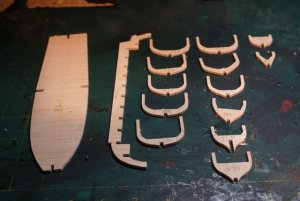
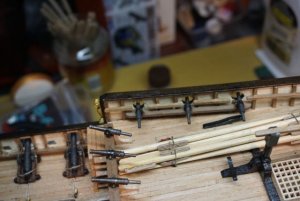
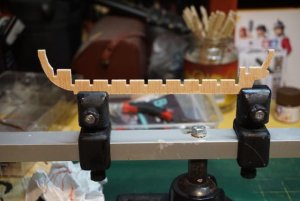
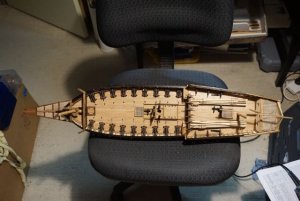
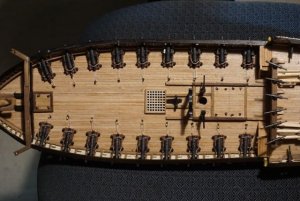
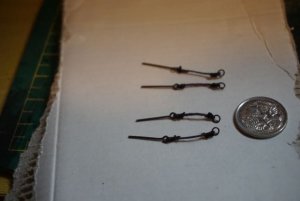
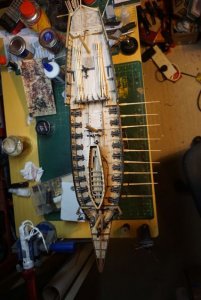
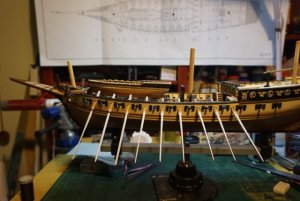
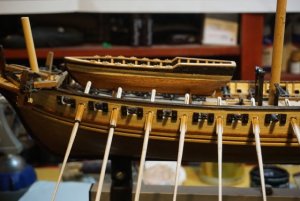
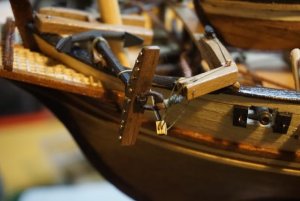
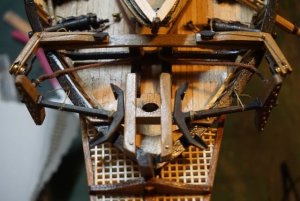
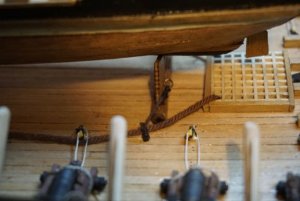
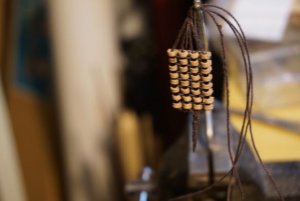
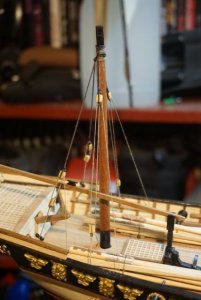
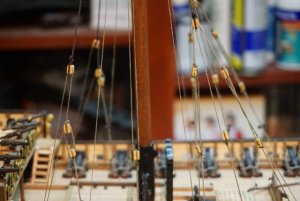
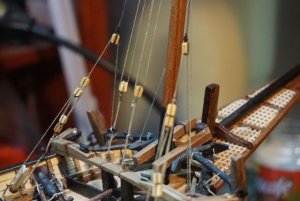
Nice details Paul!!
-

Win a Free Custom Engraved Brass Coin!!!
As a way to introduce our brass coins to the community, we will raffle off a free coin during the month of August. Follow link ABOVE for instructions for entering.
-

PRE-ORDER SHIPS IN SCALE TODAY!
The beloved Ships in Scale Magazine is back and charting a new course for 2026!
Discover new skills, new techniques, and new inspirations in every issue.
NOTE THAT OUR FIRST ISSUE WILL BE JAN/FEB 2026
You are using an out of date browser. It may not display this or other websites correctly.
You should upgrade or use an alternative browser.
You should upgrade or use an alternative browser.
Cazador-Xebec Occre 1:60 by Paul V
- Thread starter paulv1958
- Start date
- Watchers 6
-
- Tags
- cazador-xebec occre
good stuff Paul. I need to talk you into coming long to the ship modelling society meeting one day.
Canoe21
Lawrence
Hello Paul
I have just found your very inerestingbuild log, great job on your hull planking and the second layer is exelent for sure. Just love all of that very fine detail that you are adding to your build. Yes those manifacturing instructions do leave a lot to be desires but then again they do seam to point a person in the correct way , or it seams that way to me, ENJOY.
Regards Canoe21 { Lawrence }
Thank you all for your kind comments. Really appreciated
yes Brian I must come along. I assume the next meeting date is on the web site.
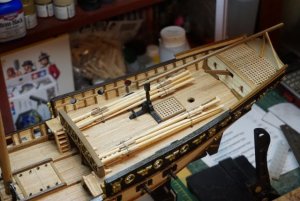
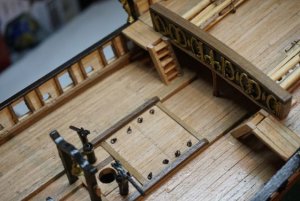
 All the decorations have been completed including the rear panel
Next the rear boom and support was added. Once again the kit consisted of metal for column and wood for the column supports.
Next came the Oars.
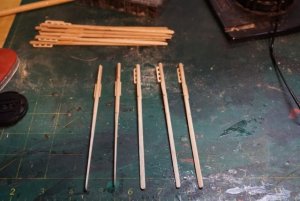
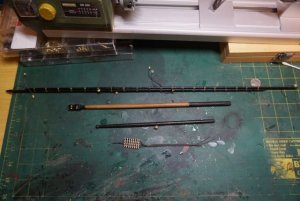
As stated earlier I wanted the oars to be in action status. But on order to do this the rear deck would be left bare. Solution, create 2 sets of oars. ( I assume any good captain would have spares). Mine had lots!
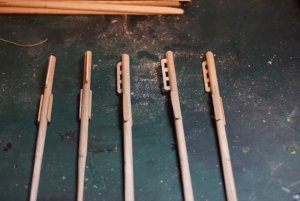
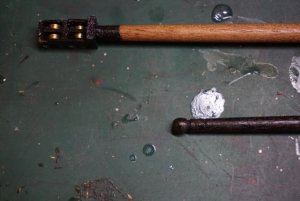
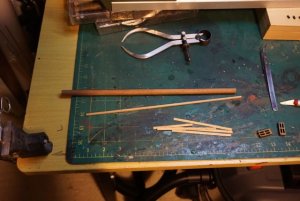
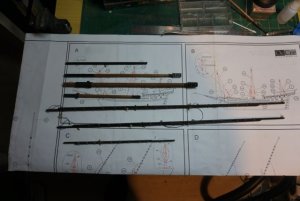
The oars in the kit consisted of shaping 4mm pine dowel and adding some more metal ( to be painted like wood) handles & strengtheners.
How do I duplicate? Well I borrowed an idea from the Misticque kit at ZHL.
Fortunately Occre provide plenty of grating kit spares, so it was just a mater of cutting the grating strip to length sanding the ends round and removing every second grating stub.
The biggest issue was the pine dowel supplied was not enough and it snapped easily. Solution 4mm Tassie hardwood dowel from bunnings.
Total outlay $3.66
The result:
197
198
Original kit supplied oars tied to rear deck.
195
The rear steps where then added
196
The hull is now complete.
The cannon build commences.
200
The barrels and all brass parts have been blacked using Casey blackening agent. ( 10:1 ratio)
I will make up a quick video on how its done if anyone is interested.
See you soon
Paul
yes Brian I must come along. I assume the next meeting date is on the web site.
 All the decorations have been completed including the rear panel
Next the rear boom and support was added. Once again the kit consisted of metal for column and wood for the column supports.
Next came the Oars.
As stated earlier I wanted the oars to be in action status. But on order to do this the rear deck would be left bare. Solution, create 2 sets of oars. ( I assume any good captain would have spares). Mine had lots!
The oars in the kit consisted of shaping 4mm pine dowel and adding some more metal ( to be painted like wood) handles & strengtheners.
How do I duplicate? Well I borrowed an idea from the Misticque kit at ZHL.
Fortunately Occre provide plenty of grating kit spares, so it was just a mater of cutting the grating strip to length sanding the ends round and removing every second grating stub.
The biggest issue was the pine dowel supplied was not enough and it snapped easily. Solution 4mm Tassie hardwood dowel from bunnings.
Total outlay $3.66
The result:
197
198
Original kit supplied oars tied to rear deck.
195
The rear steps where then added
196
The hull is now complete.
The cannon build commences.
200
The barrels and all brass parts have been blacked using Casey blackening agent. ( 10:1 ratio)
I will make up a quick video on how its done if anyone is interested.
See you soon
Paul
Attachments
I agree 100% with everyone - very nice workmanship. No complaints here ! :handgestures-thumbup:
thats moving along very rapidly Paul. Great stuff mate.
Hi all and many thanks again for the comments.
I was going to include a video link to how I blackend my cannons & supports, however just after I finished recording the vid on the Sony A6000, the SD card keeled over and I lost all video data s well as the photo steps on installing the cannons on the ship. Real PITA. Bloody SONY, good camera , but SONY itself... hmmm. Should have used the 5D, but its a bit bigger. They again the SD card was a sony one as well!!!
Sorry but all I have now is the finished install an no more bits to blacken.
Here is the hull with the 24 cannons and 24 Falconet guns ( 1 ponder)
Yep the carriages were metal so I had to fudge the rigging points. There was no 2mm blocks in kit so I found 20 of them ( I forgot how small they are)
220
221
217
And Oh-no just when I thought it was safe.... Another boat, this time a POF 6" , Oh good more planking !!!!, NOT
214
Honey I shrunk my ship!
219
See you on the plank side...
Attachments
Hi all
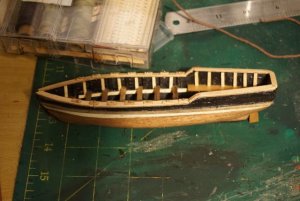
The little boat is finished.
It was a fun build all of its own and very fragile.
The hull planking was that used for the deck and at 1 x 3mm single layer, it was very very flexible and weak. To resolve this I double planked it using he ship hill planking and the result was a solid boat.
The upside being that it is now almost a Mini Me of the main ship. Probably all wrong, but who's around from that time to tell me otherwise. I like it.
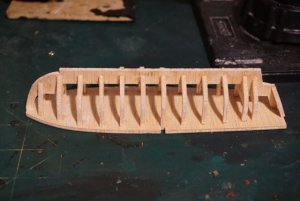
Frame attached to base for build
222
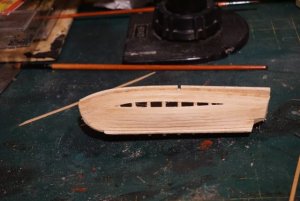
First planking ( only planking if you follow kit)
223
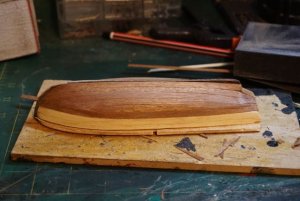
Second planking
224
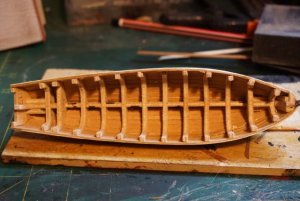
Base removed
226
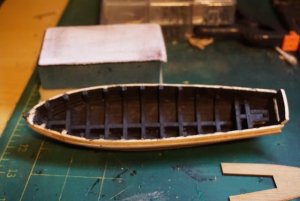
painted up inside and rar ribs removed
227
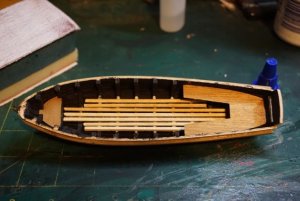
Flooring and seating added
228
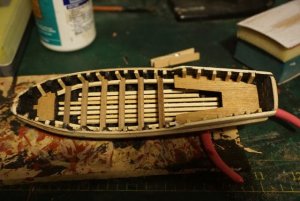
230
final fit out and painting done
232
233
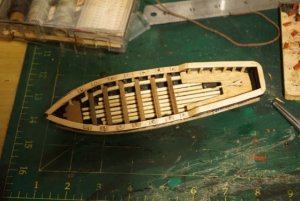
and lastly , built, rigged & seized
231
A great kit, with minor faults only so far
Once the anchors are fitted the masting begins. See you then.
The little boat is finished.
It was a fun build all of its own and very fragile.
The hull planking was that used for the deck and at 1 x 3mm single layer, it was very very flexible and weak. To resolve this I double planked it using he ship hill planking and the result was a solid boat.
The upside being that it is now almost a Mini Me of the main ship. Probably all wrong, but who's around from that time to tell me otherwise. I like it.
Frame attached to base for build
222
First planking ( only planking if you follow kit)
223
Second planking
224
Base removed
226
painted up inside and rar ribs removed
227
Flooring and seating added
228
230
final fit out and painting done
232
233
and lastly
 , built, rigged & seized
231
A great kit, with minor faults only so far
Once the anchors are fitted the masting begins. See you then.
Attachments
-
 DSC03222.jpg32.4 KB · Views: 393
 -
 DSC03223.jpg38.5 KB · Views: 390
 -
 DSC03224.jpg40.7 KB · Views: 390
 -
 DSC03226.jpg44.9 KB · Views: 391
 -
 DSC03227.jpg32.5 KB · Views: 387
 -
 DSC03228.jpg41.2 KB · Views: 393
 -
 DSC03230.jpg47 KB · Views: 397
 -
 DSC03231.jpg33 KB · Views: 398
 -
 DSC03232.jpg45.5 KB · Views: 402
 -
 DSC03233.jpg42.7 KB · Views: 398
Super nice ships boat. Like the black on the cannons. I need to look into that blackening agent myself.
Some nice modeling taking place here.
Thankyou Donnie, Gary, Mtbediz.
Some more updates and advice
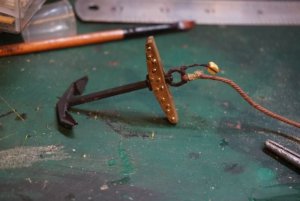
The anchors have now been fitted as well as the boat lashings.
240
241
ships boat anchor points created and added
234
242
The boat has not been fixed in place as the oars have to be added first and I will not add those till the masts are done
The advice asked is should I leave the oars the hardwood natural colour or darken them using a maple stain.
Ship shown with oars & boat in place for reference. ( The kit does not use oars in position, but I added instead of closed vents for more detail
239
238
236
On the masts...
Attachments
Thank you all.
It's been a while, but I have a had a lot happen.
I stared a new Job two weeks ago after being 'restructured' 9 months ago, so its great to get back into the workforce. Hence the less time to model.
I also build a 3d printer and finally received My Emblaser 2 laser cutter, and the Admiral closed the dry dock as paving the side of the house is apparently more important, so I am becoming distracted and restricted to 1 hour a day at max.
Anyway, I have completed the masts and yards and my favorite task of rigging is about to begin.
The masts and yards are completely opposite to square rigs, with the mast being short and stocky and the yards consisting of two bound lenths.
The fore mast also leans significantly to the bow.
I will show the lean in a following post.
Ready for action
258
Bowsprit and for mast shaped on the proxxon DB250 ( This is the first time I have used it and I am happy with the result).
257
Completing the Parrals ( not a single or double as normal but a quad.)
255
The fore mast & yard completed. Yard stained with Jap Black stain)
256
All mast now complete
259
Let the rigging begin!!!
Attachments
I can tell this is really going to be a nice masting and rigging setup.
Donnie
Donnie
Hi all
Its been a while but with my new job ( building & supporting Golf Simulators), playing with the new 3d printer and home duties, the ship yard has been vacant.
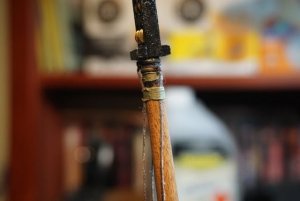
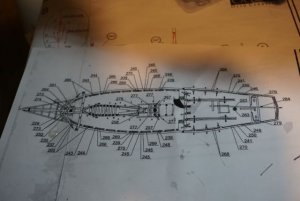
Anyway the first stage of rigging (is now complete). I must say this is a very different approach. The shrouds consist of 3 parts. An upper fixed pendant shroud which is lashed to the mast, a lower fixed shroud Becket and running shroud rigging in the center. The ti points on the deck plan are poorly marked and the shroud lengths are excessively long. If you follow the plans then they are long, but if you look at the photos they are shorter.
I guessed and made the lengths to what appear to be visually correct to me but who knows.
Here is the first stage.
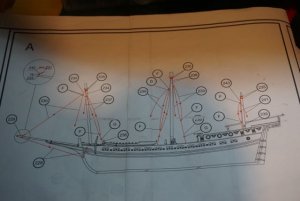
The deck layout ( missing info of course)
280
The first rigging ( all visual sizes wrong)
281
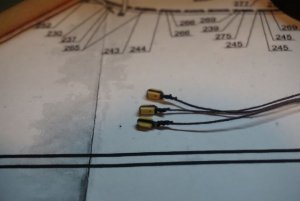
Fist step create all the pendants and Beckets (each was bound and served) (Only 3 shown- 25 in total)
I used brown cotton on the brown rigging and raw on he raw rigging ( which was not supplied. They expected you to use .15 for the bekcts, but the pendants were .5. Luckly I had some .5 raw from other kits. It suits more than .15 on .15
261
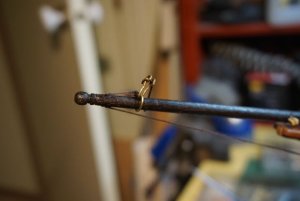
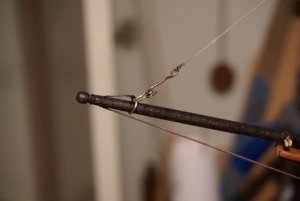
Next was the creation of hook and u bracket from .5 brass wire.
262
268
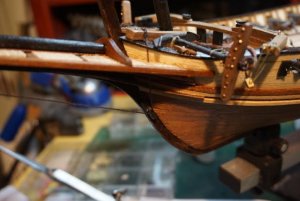
This was then rigged to the bowsprit and up to the hull and over to the fore mast support.
263
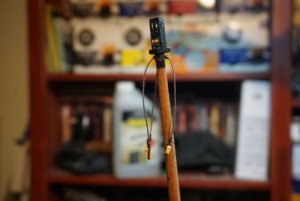
The upper pendants were then added tot he masts and bound under and over to lock into place
264
266
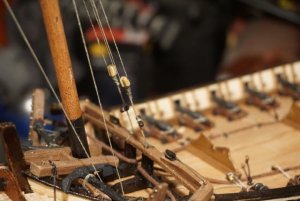
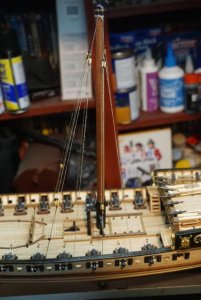
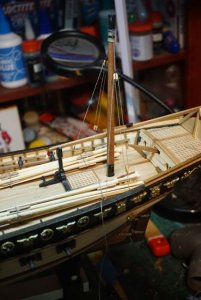
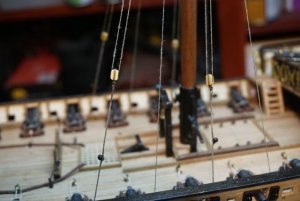
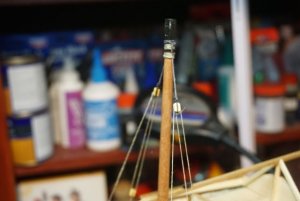
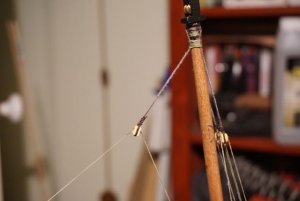
The lower Becket were then tied and the running shrouds added. 3 for the fore mast, 4 for the main and 2 for the mizzen. The fore and mizzen Becket also have toggles fitted.
Fore
267
269
Main
275
277
Mizzen
278
276
On to to part B next
See you then.
Attachments
-
 DSC03262.jpg23.5 KB · Views: 328
 -
 DSC03263.jpg38.9 KB · Views: 336
 -
 DSC03264.jpg27.8 KB · Views: 334
 -
 DSC03266.jpg25.6 KB · Views: 333
 -
 DSC03268.jpg20.4 KB · Views: 335
 -
 DSC03269.jpg40.1 KB · Views: 334
 -
 DSC03275.jpg43.7 KB · Views: 336
 -
 DSC03276.jpg45.5 KB · Views: 334
 -
 DSC03277.jpg35.8 KB · Views: 326
 -
 DSC03278.jpg30 KB · Views: 324
 -
 DSC03280.jpg32.5 KB · Views: 320
 -
 DSC03261.jpg25.7 KB · Views: 313
 -
 DSC03281.jpg32 KB · Views: 321
 -
 DSC03267.jpg24.7 KB · Views: 325
Great work Paul. I am contemplating my rigging at the moment and this is inspiring me for my Xebec.
HI,
Its been along time, but work, a 3d printer and a laser got in the way. Plus doing all the fiddly blocks was a time consuming process.
Anyway I finally completed the mast rigging.
Main mast
Mizzen Mast
Fore Mast
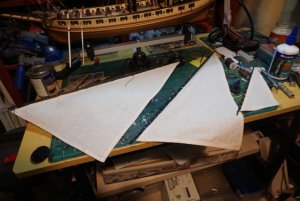
The sails as provided in the kit have bee sewn to the masts, The are not bad and just need some embellishment
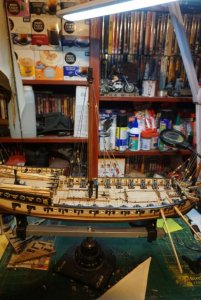
Anyway, after trying to figure out the next set of diagrams for the mast hanging ( ?) I will be back.


