-

Win a Free Custom Engraved Brass Coin!!!
As a way to introduce our brass coins to the community, we will raffle off a free coin during the month of August. Follow link ABOVE for instructions for entering.
-

PRE-ORDER SHIPS IN SCALE TODAY!
The beloved Ships in Scale Magazine is back and charting a new course for 2026!
Discover new skills, new techniques, and new inspirations in every issue.
NOTE THAT OUR FIRST ISSUE WILL BE JAN/FEB 2026
You are using an out of date browser. It may not display this or other websites correctly.
You should upgrade or use an alternative browser.
You should upgrade or use an alternative browser.
Chinese Pirate Junk (Amati; 1:100) - 2nd Build
- Thread starter JohnR
- Start date
- Watchers 14
-
- Tags
- amati chinese pirate junk
Thanks for the note. Much appreciated.Dear john
you are doing excellent work and achieving great results
20201011
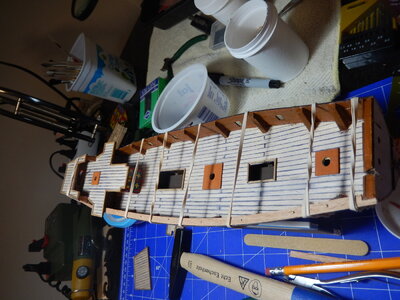
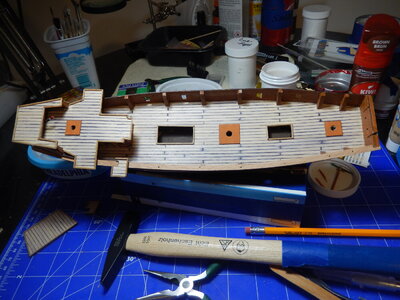
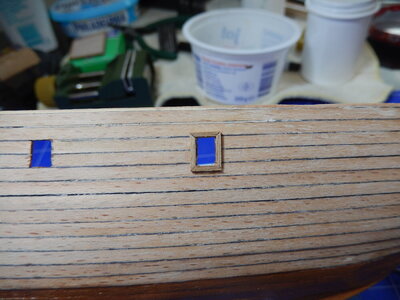
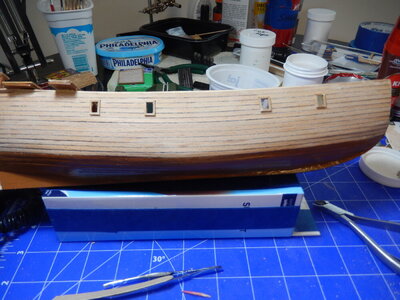
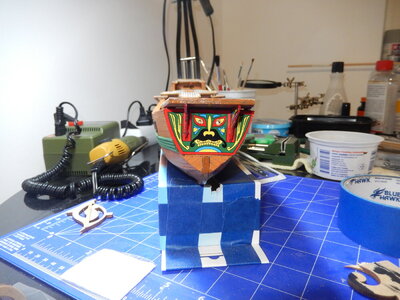
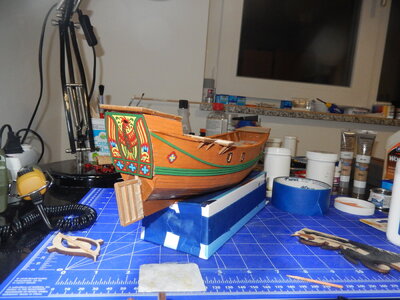
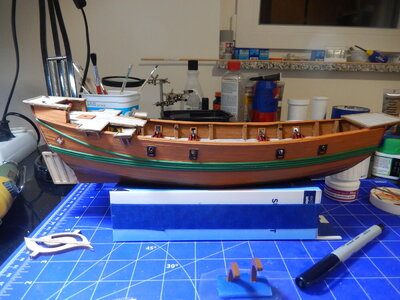
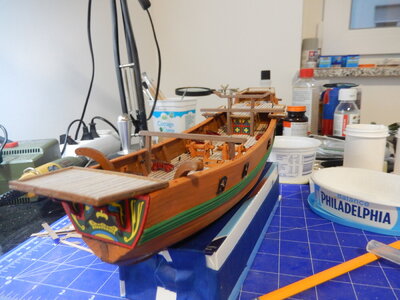
I realized after looking at the ship for a bit last Monday that I have the bulwarks one plank higher than the plans/picture on the box. Decided it looks fine and decided to leave it that way. It makes the sides more than head high; I’m thinking I’ll add some steps in a couple of places on each side to offset the side height.
Added the gunwale. It was a bit of a pain bending the plank against the grain but patience, brass pins and rubber bands seem to have done the trick. I decided to leave the pins in; just painted the tops red as additional decoration.
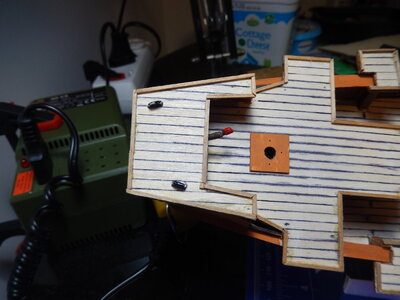
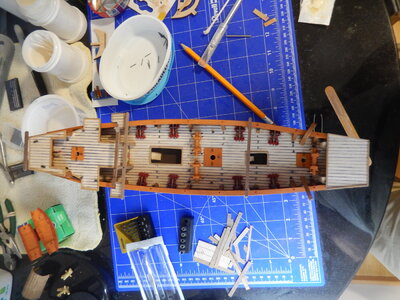
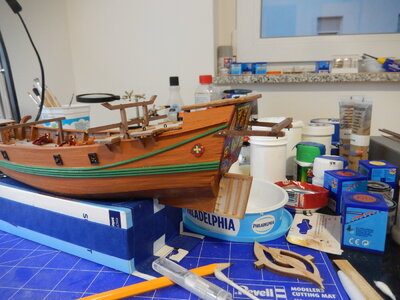
Finished sanding the hull & painting it. I added the trim around the cannon ports (inside and out) and painted that as well. I installed the rear side platforms and bracing then installed the wales (which I had previously painted). Added the forward hull platform along with the fore decorative panel and bracing, then added the aft decorative panel and the small rear side decorations.
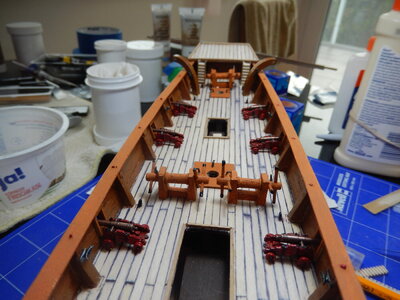
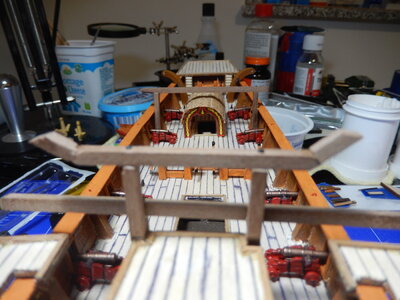
Installed the cannons, the catheads and the anchor hardware for the rigging.
Next up will be the anchors, windlasses, various ladders, deck railings, arches and aft framework for the sampans.
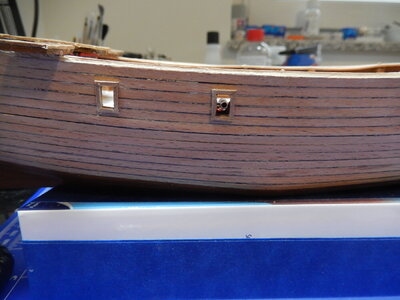
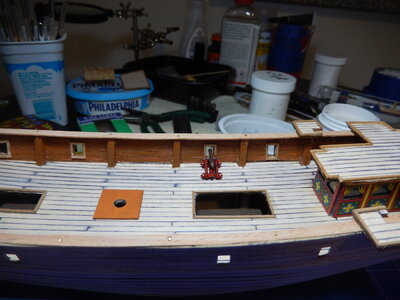
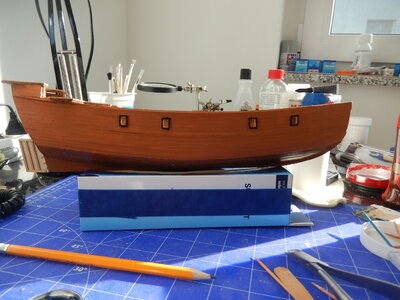
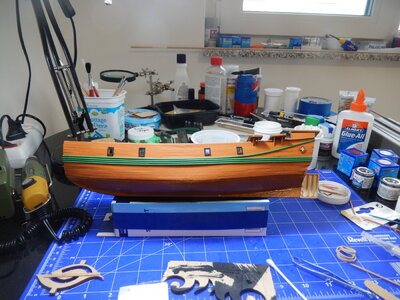
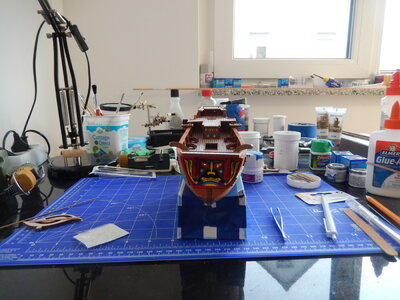
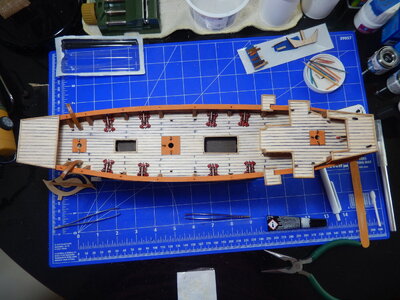
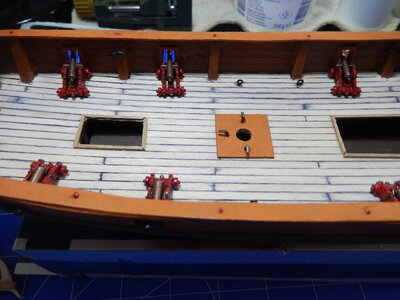


20201017
Interesting week as I was able to get a couple of long days in on the ship (I had the past Monday off from work – yea!) followed by the nightly 1-hr after work session.
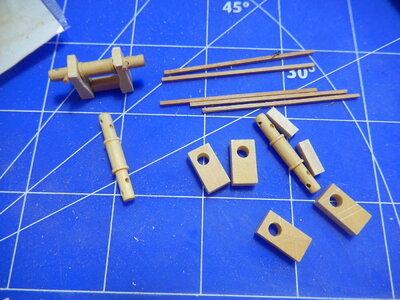
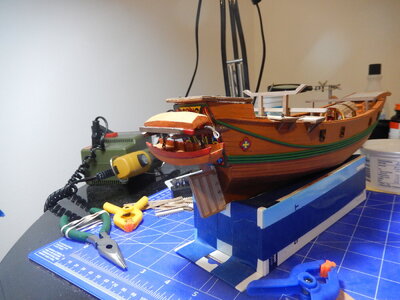
Started by assembling the capstans. The instructions seemed to make it a relatively simple, straight-forward item; however, reality hit when I opened the sub-kit and realized the parts were a bit different from the instructions and that the vertical supports were too thick to allow access to the holes for the inner set of handles. Several hours of X-Acto knife work, files and sandpaper and I had the units assembled. Having now installed them, I’m thinking it would have been better to have wrapped the anchor ropes around the forward one before gluing it in place. Oh well, live and learn.
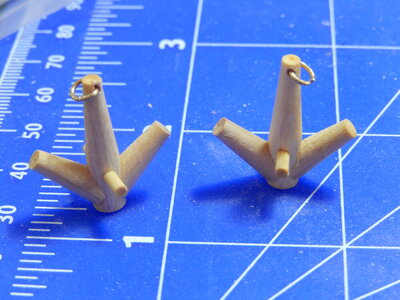
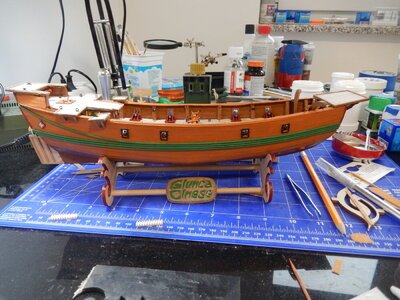
The anchors were straight forward although I will do a bit of shaping work on this weekend before painting. I also assembled the stand that came with the kit (painted the letters on the sign so they stood out a bit).
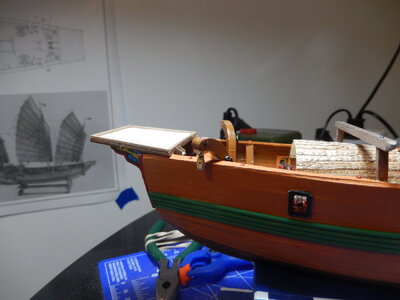
I installed ladders in the main and forward hatches, installed the 3 arches along the deck, installed the small boat hangar at the stern and glued the forward hatch cover in place. I will work on the remaining ladders and the aft deck railings this weekend.
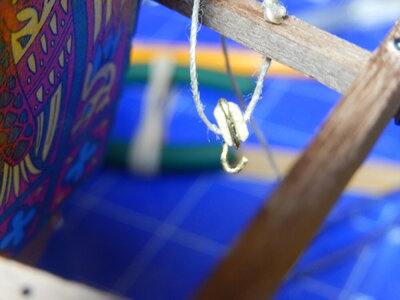
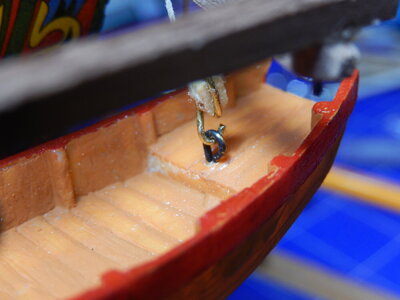
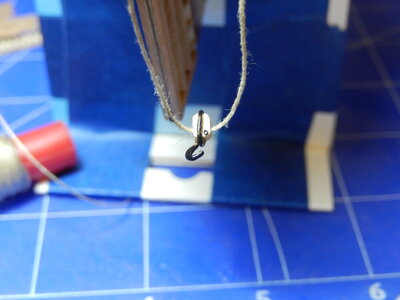
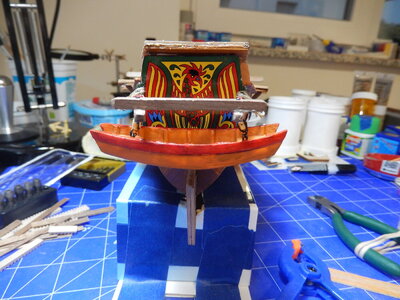
In the evenings I started work on the rig for holing the sampan to the stern framework. I decided that I would construct a couple of snatch blocks from the wooden pully bodies that came with the kit and some excess brass eyelets left over from the last ship build. After some bending and twisting I came up with a workable model; a touch of black paint completed the illusion of a pully held in an iron framework. I didn’t pin the rope to the aft framework opting instead to use a jam knot (painted the knots red as decoration). When the second (smaller) sampan is placed on top of the aft framework how the boat-lifting rope is attached to the frame cannot be seen anyways. Once both snatch blocks were completed, I hung the large sampan from the framework.
Next I decided to tackle the installation of the upper block attached to the port cathead. A bit of patience with the drill making a slightly elongated vertical hole (the horizontal hole was pre-drilled) and I had a means to pin the rope tied around the block into the cathead. One of the excess pins from the last kit and a tiny bit of gel super-glue and the block is pinned in place. Today I’ll finish the block & tackle on both catheads.
Continuing to make progress.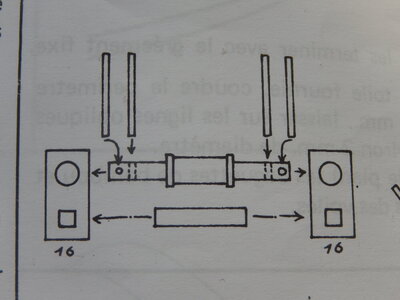


20201023
All ladders are installed along with the two gangways. Cathead rigging is completed and the anchors are hung. Sounds like it was simpler than it was given the small size of everything. More work to come as the railings are created and installed followed by masts, rigging and sails. Enjoying all of it – even the occasional ‘oops’ followed by a few unseemly words. Learning something every day while doing this.
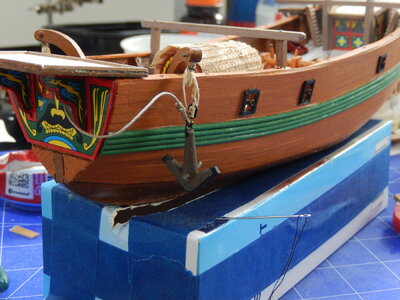
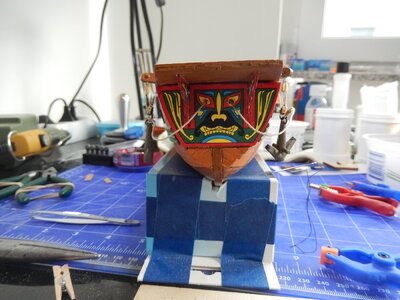
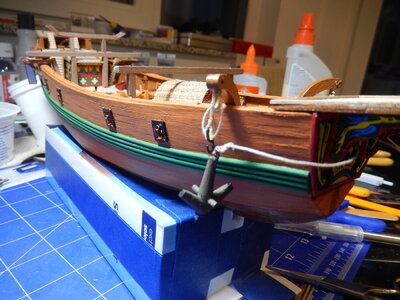
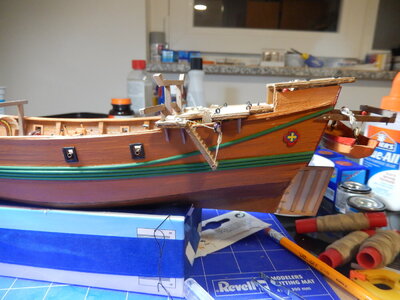
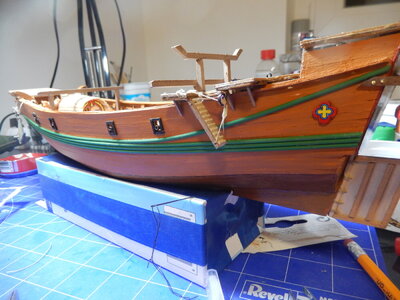
All ladders are installed along with the two gangways. Cathead rigging is completed and the anchors are hung. Sounds like it was simpler than it was given the small size of everything. More work to come as the railings are created and installed followed by masts, rigging and sails. Enjoying all of it – even the occasional ‘oops’ followed by a few unseemly words. Learning something every day while doing this.


20201101
Slowed down on work on the ship so I could start tackling some craft work on Christmas ornaments & decorations for the grandkids. Completed all of the deck railings today and will start shaping masts this week. Hope to have the masts installed by the end of the week so I can start on the rigging.
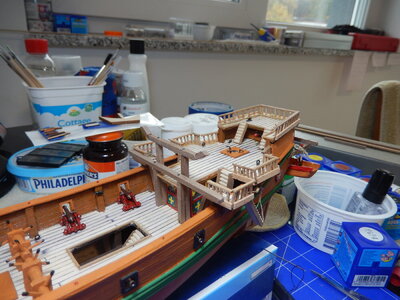
Slowed down on work on the ship so I could start tackling some craft work on Christmas ornaments & decorations for the grandkids. Completed all of the deck railings today and will start shaping masts this week. Hope to have the masts installed by the end of the week so I can start on the rigging.

20201108
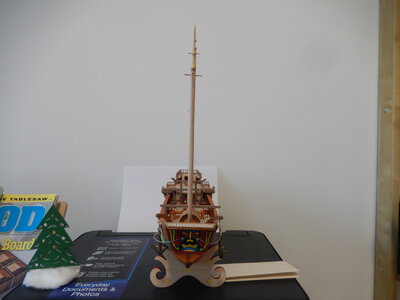
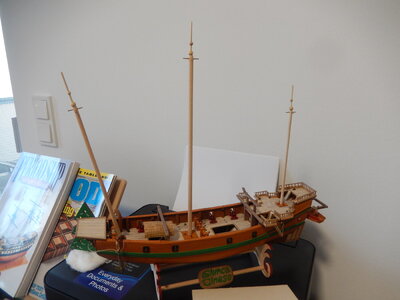
Finished the Christmas ornament project this morning and went to work on the masts for the ship this afternoon. Have them all cut, tapered, assembled and stepped. Will start for on the rigging tomorrow evening.
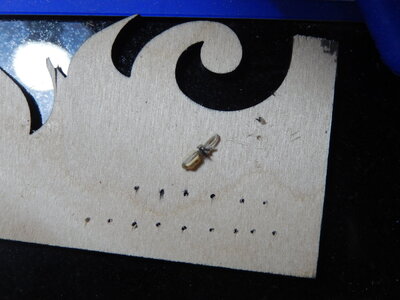
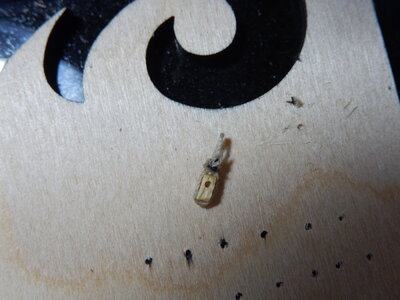
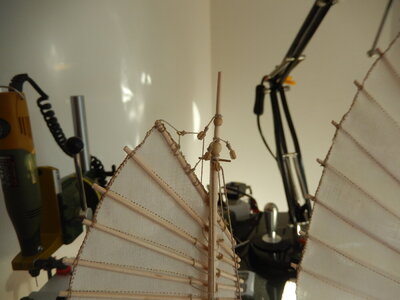
On top of each mast is a smaller diameter ‘flag’ mast. At the base of each ‘flag’ mast is a large bead; a smaller diameter decorative bead is located a bit higher on the ‘flag’ masts. The beads that were supplied had holes that were about 1 mm in diameter; too small for the 2 mm ‘flag’ masts. While drilling out the holes I – oops - dropped one of the smaller beads onto the floor. No idea where the bead went and after several minutes of searching, I gave up and made a replacement from some of the excess mast stock. The right side of the ‘flag’ mast photo shows the small bead provided; the left side shows the replacement I made. (Not too bad a job in my, obviously biased, opinion.)
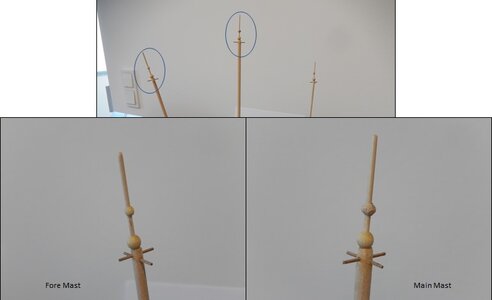


20201115
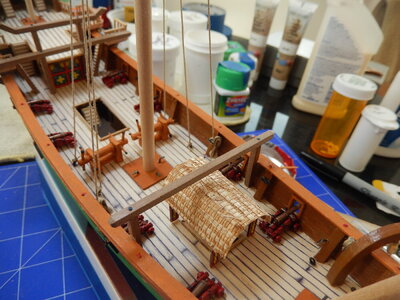
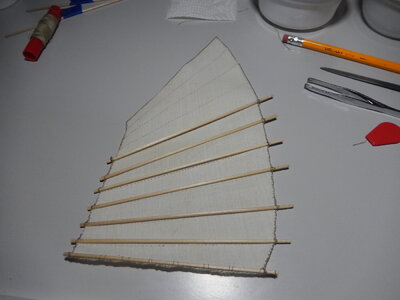
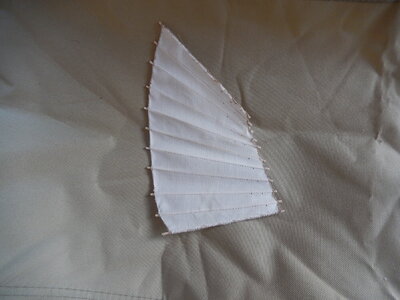
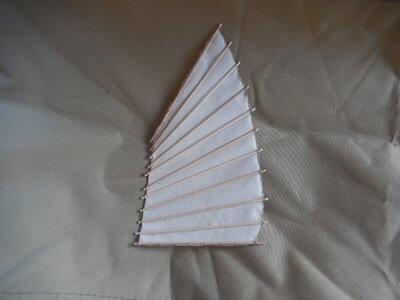
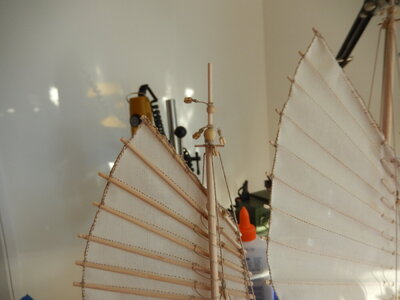
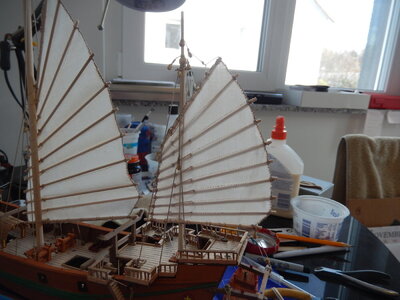
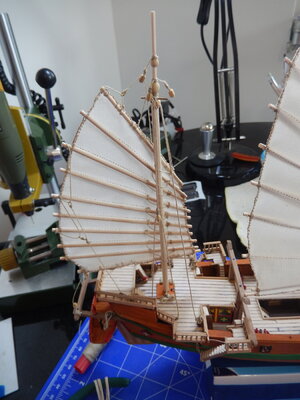
Finished the standing rigging on the main mast and after spending some time looking at it, and the plans of the sails, decide that I would hold off on the standing rigging for the fore and mizen (wonder if that is proper terminology for a junk?) masts. I finished the main sail this week (hand-stitched so the battens could be easily incorporated) and then had an interesting time attaching it to the main mast with needle & largest (0.75 mm) thread while working around the standing rigging (had to ‘unsew’ a couple of times as I accidentally caught the rigging in the sail hold-downs). I’m pleased with the end result but definitely will wait to install the standing rigging on the other two masts until after I have the sails installed.
One thing I've now found out is that the Amati plan seems to be a bit larger than 1:1. When I used the plans to measure the ‘bamboo’ battens and then cut them to those lengths they turned out to be about 6 mm too long for the supplied sails; not enough to be concerned with but still a bit annoying. I’ll cut the rest of the battens to length against the fore and mizzen sails to avoid further wastage. My masts are also about 6 mm too tall but I’ll just leave that; will give me some room for masthead pennants.
This week I’ll finish and mount the fore and mizzen sails and then start to work on the rest of the rigging.
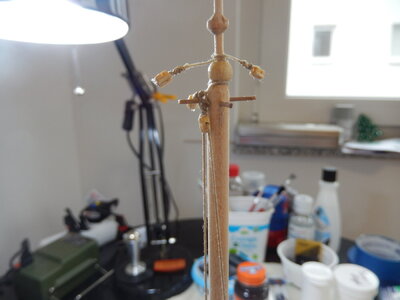
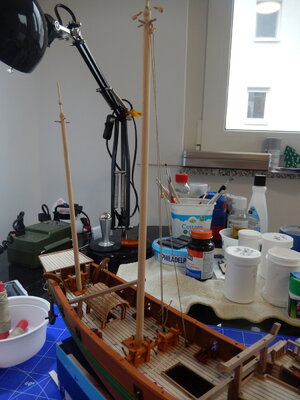
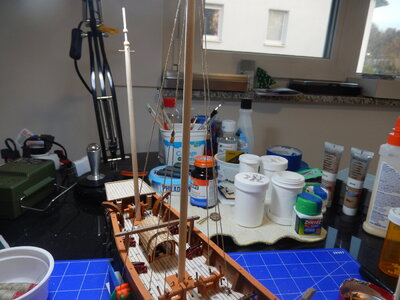


20201122
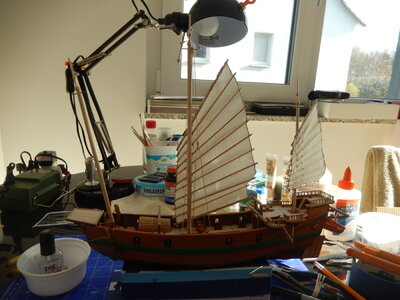
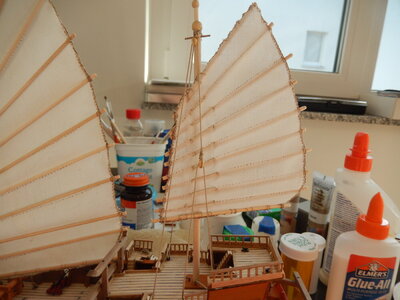
Making progress today during a 6-hr session drilling out blocks, threading line, tying eyes and tying knots. Finished prepping the mizzen sail yesterday and mounting it to the mast. Started today fixing the standing rigging to the mizzen mast then working the running rigging through the various blocks and eyes down to the eyes, cleats and upside-down ‘L’ brackets. Finished off the day with the two main parts of the main sail running rigging.
The blocks have been interesting. None of them had holes large enough for even the medium size line (0.5 mm); the holes seem to be a tad smaller in diameter (maybe 0.4 mm). I’ve been drilling them out to 1 mm as I need them; this is a big enough hole for the medium and large (0.75 mm) line and leaves plenty of wood around the hole. Trying to get them threaded is a pain so I fixed a loop of thread to a sewing needle and use that to pull the line through the holes in the blocks (just have to make sure that the knot in the thread goes through the hole in the block first or the line gets jammed in).
This week will be finishing the main sail running rigging, finishing assembling the fore sail and then rigging the fore mast & sail. Goal is to have the ship completed by the beginning of December.
Thanks to all for the replies, likes, etc.
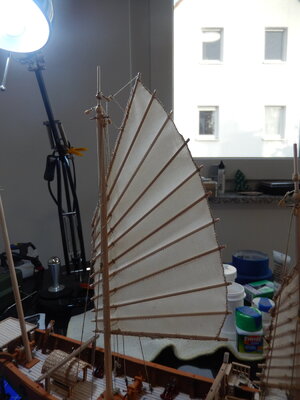
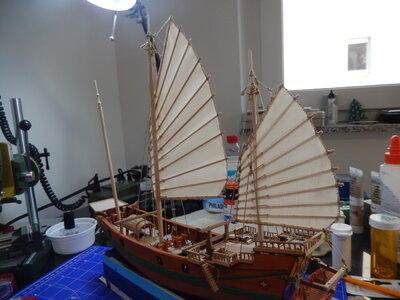


20201129
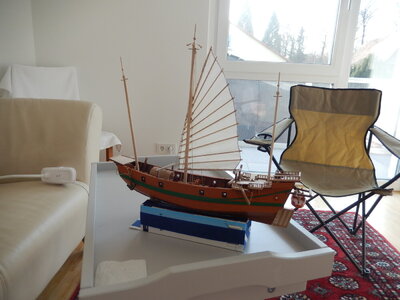
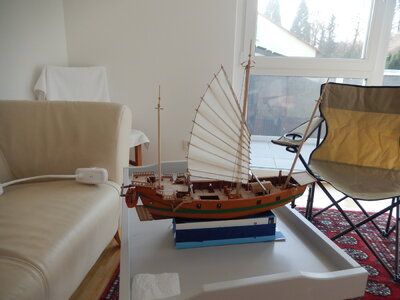
Finished rigging the mainsail on Monday evening; assembled the fore sail with foremast standing rigging on Saturday; completed the fore sail running rigging & added a homemade pennant today – end result: work complete! This has been a fun project. As for what’s next I haven’t decided yet – I have the Revell 1:72 Stearman Kaydet and the Model Shipways 1:24 Grand Banks Dory waiting. May do the ‘Yellow Peril’ first just for a change of pace but expect to start work on the dory before Christmas.
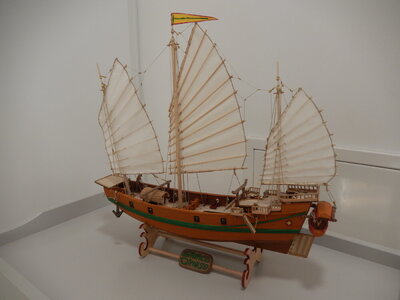
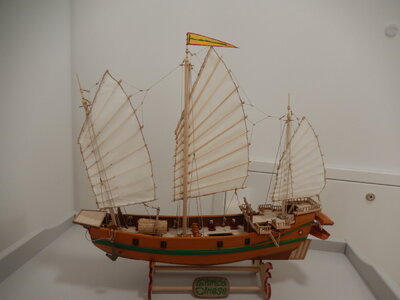
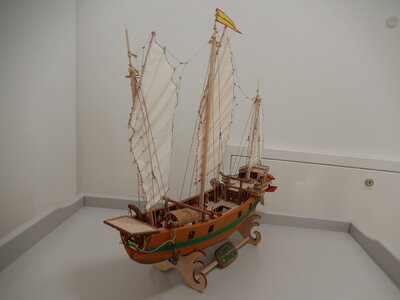
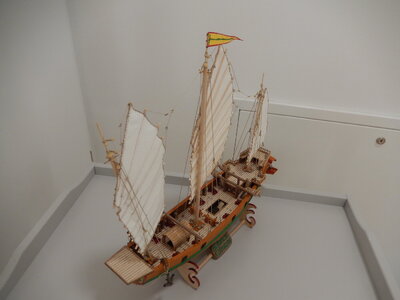
Finished rigging the mainsail on Monday evening; assembled the fore sail with foremast standing rigging on Saturday; completed the fore sail running rigging & added a homemade pennant today – end result: work complete! This has been a fun project. As for what’s next I haven’t decided yet – I have the Revell 1:72 Stearman Kaydet and the Model Shipways 1:24 Grand Banks Dory waiting. May do the ‘Yellow Peril’ first just for a change of pace but expect to start work on the dory before Christmas.


Last edited:
Great model, and something a little out of the ordinary! Nice Work 


Congratulations for finishing this unusual model - very good result !!1
And what comes next? you know we have soon christmas holidays, and being without a new project, it could be very boring at home during the lockdown
And what comes next? you know we have soon christmas holidays, and being without a new project, it could be very boring at home during the lockdown
Started on the 1:72 Revell Stearman earlier this week; all done except for stringing the wires. Will finish it up tomorrow. As for the rest of Dec, will start on the Lowell Banks Dory next week. Expect that I'll go to my local store and see what they have that I just can't do without.Congratulations for finishing this unusual model - very good result !!1
And what comes next? you know we have soon christmas holidays, and being without a new project, it could be very boring at home during the lockdown
Absolutely great to see this type of model. Nicely done.
Jan
Jan
I used a spray on white primer for the undercoat and Revell Aqua Colors (#36185 Brown, matt; #36364 Leaf green, silk matt) for the topcoat. Limited selection where I am in Germany last year when I was working on the ship; tried to come close to the colors on the box.Nice job on the model. I'm building one now. Any chance you could let me know what paint you used on hull?


