-

Win a Free Custom Engraved Brass Coin!!!
As a way to introduce our brass coins to the community, we will raffle off a free coin during the month of August. Follow link ABOVE for instructions for entering.
-

PRE-ORDER SHIPS IN SCALE TODAY!
The beloved Ships in Scale Magazine is back and charting a new course for 2026!
Discover new skills, new techniques, and new inspirations in every issue.
NOTE THAT OUR FIRST ISSUE WILL BE JAN/FEB 2026
You are using an out of date browser. It may not display this or other websites correctly.
You should upgrade or use an alternative browser.
You should upgrade or use an alternative browser.
Looking really good!
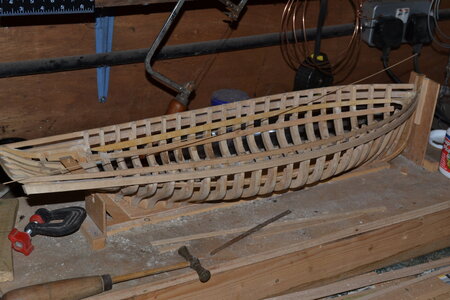
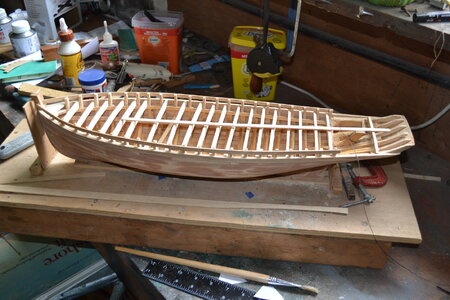
External planking in place. It is pretty rough but I always planned to fill and paint the exterior in traditional colours so I'm just happy to have got to this stage in my rather glacial build. In my defence I have also been teaching myself how to cover traditional car seats in leather for my 1930 Singer Six! Next step is to decide whether to add dowels to the planks, although they shouldn't be necessary as I will be adding a marine epoxy to the inside to add further strength to the glue. If I do them I'll use 1mm copper wire so it will show slightly under the paint.
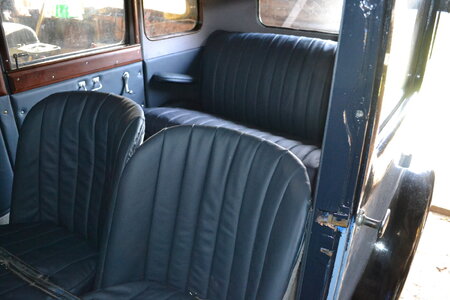
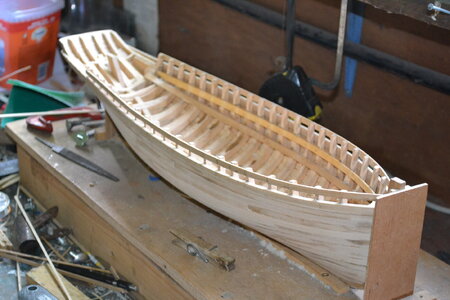


That's looking really superb Colin! It's really good to see you back on stream. My build has come to a complete stop, so I'm glad you're continuing to keep the working boat in the headlights. Speaking of which, great job on the upholstery, did you have to buy a heavy duty industrial sewing machine?
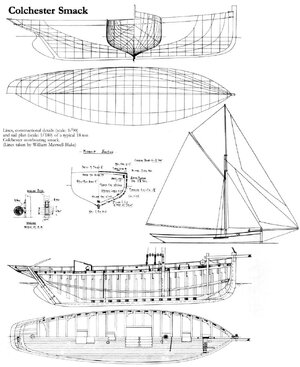
I have filled and faired the hull as planned and painted the interior with West System epoxy. I have bought an aerosol wood primer on line so while waiting for that I have roughly cut out the deck beams to shape and glued the mast step to the keelson. As I don't have any scale plans I am using the proportional dividers to gauge elements from the book but as this is a generic boat I am also going with what looks OK. This is particularly true of the mast partner on deck as I need the mast to be bang on the centre line and vertical from the bow, but also have an appropriate rake from the side.
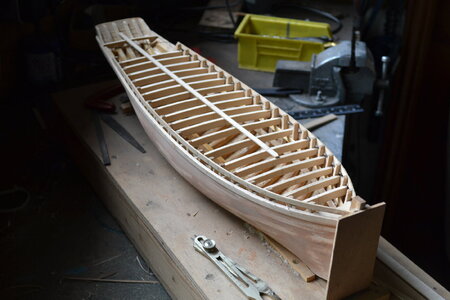
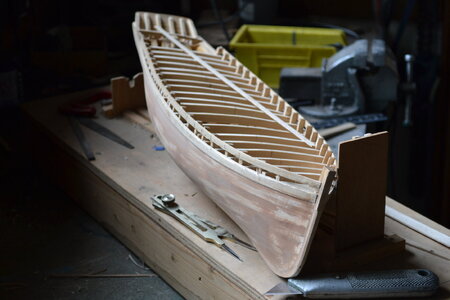


Last edited:
Bravo - looking very good
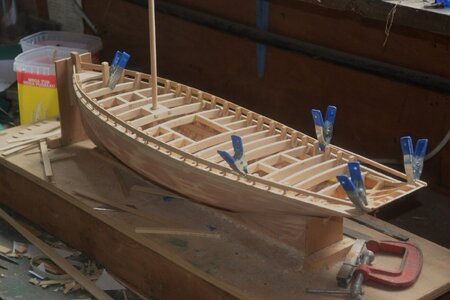
I'm eyeing in the various hatch openings using the book as a basis. As I have mentioned before, I don't have a scale plan of this boat so I'm using the illustration in the book, with my proportional dividers converting the drawings to 1/2":1'. I am very much a 'not perfect but good enough' modeler so I'm happy with how it is going. The deck beams are too deep for a scale size but as the deck will be fully planked and the hatches covered over this won't notice in the end. The mast in the picture is just a temporary dowel - the final one will be 3/8" diameter and octagonal where it goes through the deck, but that will be at a later stage when the deck is planked. From my point of view I am really enjoying being back modeling which is the main thing. 



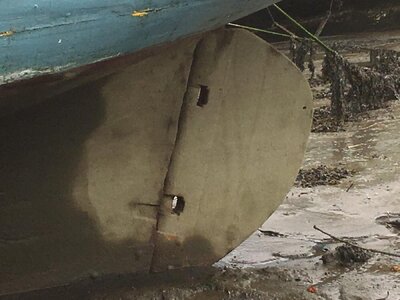
While still puzzling about the rudder, I have cut the covering boards to fit around the stanchions. As I'm using the tops of the frames as stanchions I am making the covering boards in two pieces: a 2mm x 2mm strip to run around the deck side will complete the illusion. I have left the boards wide and will sand them to the outside shape once they are glued into position as they are rather fragile, and I need to shape and smooth off the deck side too. On decking technique for these boats, many of them have the planks joggling into one another rather than into the covering board so that makes this part of the operation much easier to pull off.
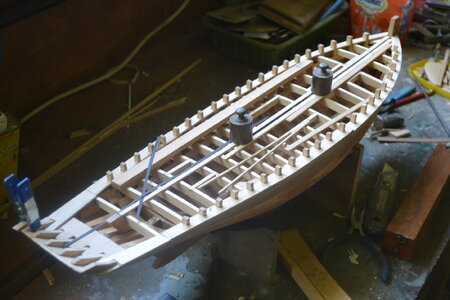
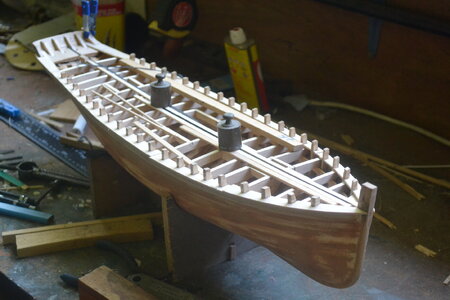


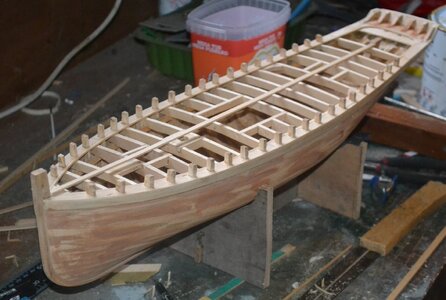
I have got the covering boards in place now having run a 2mm x 2mm batten around the inboard edge and glued it into place . I need to sand everything off and fill any gaps after which I'll be ready for paint on the hull (or at least on the covering boards) before I start on the deck planking. I just have to decide on the colours.

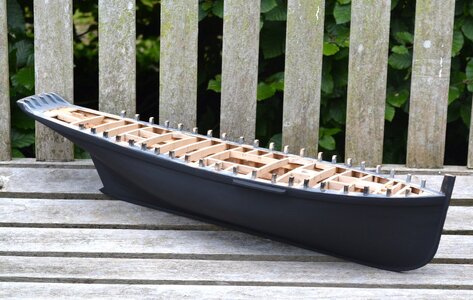
Hull painted in matt black which I hope replicates the finish on working boats. From pictures I have seen the working smacks didn't have antifouling so, unless I am corrected, I will leave the whole hull black. I think I will start on the deck next and I am experimenting with ways to model the caulking. I did a trial using black paper which was pretty good except where the plank sides were not exactly square. I also wonder whether using black glue might work although again I think the plank edges need to be nice and square. I cut the planks (4" scale = about 4mm) from sheets of lime using a steel ruler and a Stanley knife (box cutter) and the edges can be a bit irregular, so I need to work out a way of squaring them up. The other option is to treat myself to a quality desk top circular saw. I have a very old Dremel but it is gutless and you can't get new blades for it.

Wow Colin! For some reason it appears I’ve been missing updates? So it was a nice surprise to see how much further you’ve progressed. I can’t be of any help re your rudder problem, it’s a bit odd I agree. Rather than wait for future updates I’ll try and make a point of checking in more regularly. Great to see you back on the game, if you’ll pardon the expression! Continue the great work.
Best for now.
Best for now.
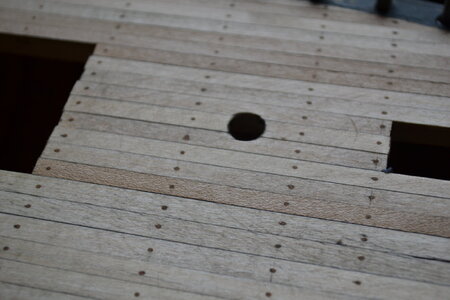
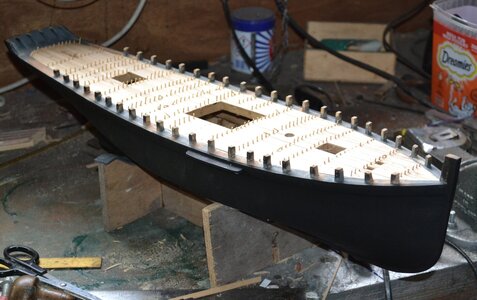
Deck laid and dowels inserted to represent the plugs over the nails or bolts. As usual with my level of skill there is quite a bit of sanding required to level it all off! I did a couple of experiments on simulating caulking, one using black paper and the other using black paint which I scraped off afterwards leaving a trace in the joints. As I hope to make this look like a working boat I will use the latter method as I prefer the look of it but I will try a couple of variations before applying it to the actual model.
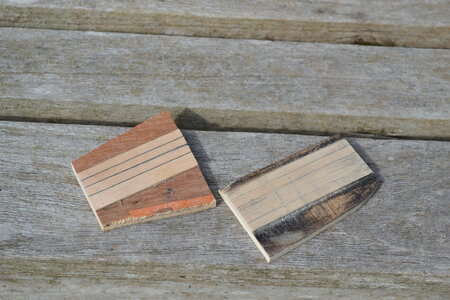


I am looking forward to see how the treenailed deck is looking - the samples are promissing
I made three more samples today to check out other options. Left to right they are 1. garden teak treatment; 2. barrier spray rubbed back with acetone; 3. matt picture varnish mixed with black coach enamel; 4. my original trial with black paint scraped back. I like number 3 the best as it looks most like old weathered oak to my eyes at least and the varnish can be removed with turps if it goes wrong.
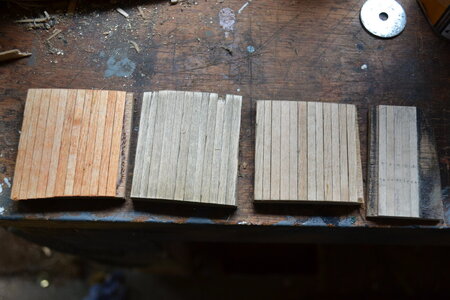

Wow! This is all brilliant work Colin! For the first time though I’ve not been in agreement with you, I thought the second of the last decking samples piccie looked more natural. But, at my age I’ve obviously been wrong before. Also, it doesn’t matter too much what any of us think, you’re the one who needs to be happy.
Keep up the terrific work!
F/S
Keep up the terrific work!
F/S
The deck will be covered with fishing gear if all goes to plan F/S so it may not bother either of us! I have added the bulwarks which has, as ever, highlighted a flaw in my work - the stanchions at the rear are a little to short and they are all a bit fat, so I'll need to fiddle that in some way. In the meantime I am considering whether to paint the outer bulwarks in the same black as the hull or to use a different colour. Both are consistent with local practice as you can see from the two boats I have pictured. I currently favour a cream inside and out for the bulwarks and also for the covering board as I think it will show off the rather lovely sheer of these boats.
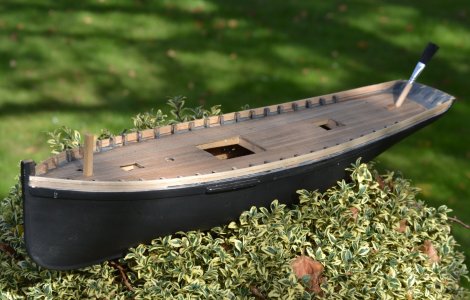
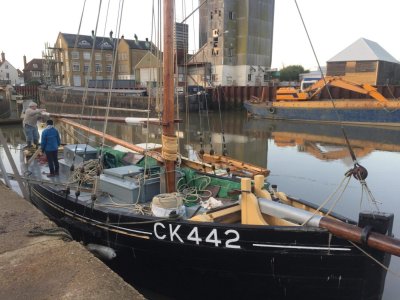
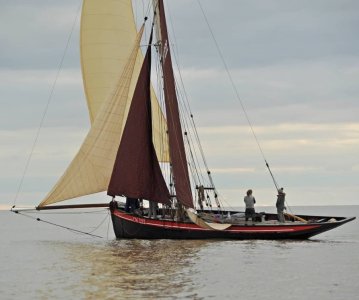


In full agreement on the cream Colin, it was/is the most common colour used I think. Carry on the good work mate, it’s looking terrific.
Hi Colin. I just found your build-log about this very nice fishing boat. And the nicely restored cars. Now I understand why this model of the beautiful lined smack is a ‘over the years’ project.
Regards, Peter
Regards, Peter


