-

Win a Free Custom Engraved Brass Coin!!!
As a way to introduce our brass coins to the community, we will raffle off a free coin during the month of August. Follow link ABOVE for instructions for entering.
-

PRE-ORDER SHIPS IN SCALE TODAY!
The beloved Ships in Scale Magazine is back and charting a new course for 2026!
Discover new skills, new techniques, and new inspirations in every issue.
NOTE THAT OUR FIRST ISSUE WILL BE JAN/FEB 2026
You are using an out of date browser. It may not display this or other websites correctly.
You should upgrade or use an alternative browser.
You should upgrade or use an alternative browser.
Constellation, the sloop of war c.1856 in 1:36 scale for R/C sailing
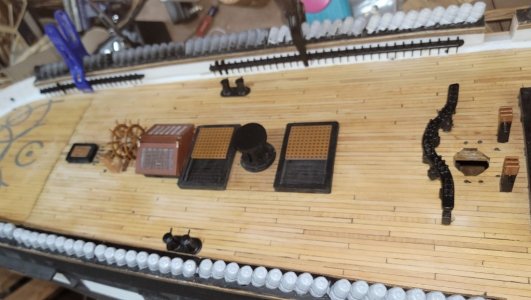
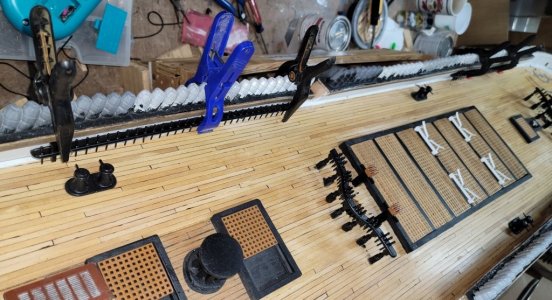
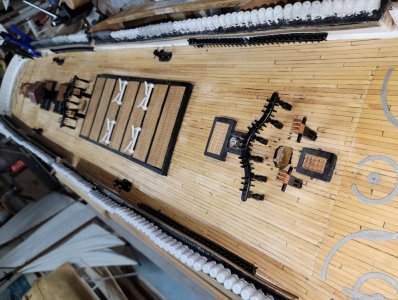
The pin-rails seem to have set-up well, and I cut the mounting pins flush and filed them.

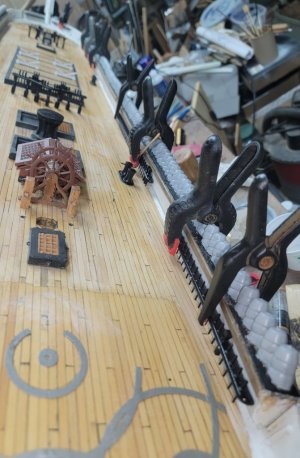
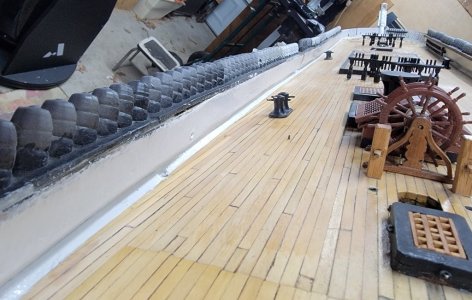
While the port side was up in the air, I ground off the out-board side hammock trays flush with the bulwark on that side of the hull, then cleaned up the dust. (this pics taken from an odd angle and flipped so left is up)

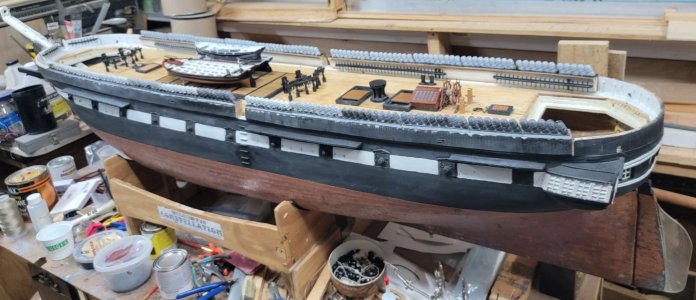
I sat the model upright in it's cradle and painted the outboard side of the hammocks, the trays will get painted black when that's dry.
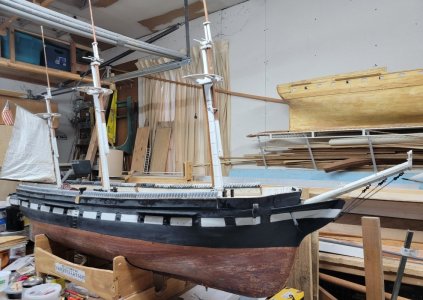

While the port side was up in the air, I ground off the out-board side hammock trays flush with the bulwark on that side of the hull, then cleaned up the dust. (this pics taken from an odd angle and flipped so left is up)

I sat the model upright in it's cradle and painted the outboard side of the hammocks, the trays will get painted black when that's dry.

Last edited:
They're ALL "large" and "unfinished." ')Love seeing this progress, Jerry! The spider-band looks like it came out perfectly! What is that large unfinished vessel in the background?
Blessings.
Chuck
The unpainted one is HMS Macedonian, her (as of 8/13/2025), link is in my signature.

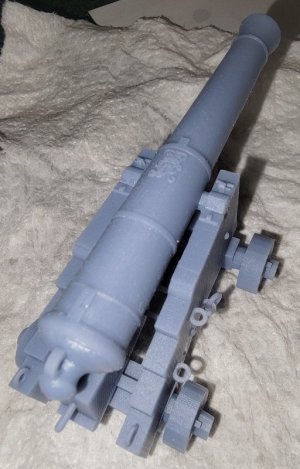
A lot of 3D stuff I did while it was cold was for this one...


Last edited:
- Joined
- May 25, 2020
- Messages
- 1,131
- Points
- 443

They're ALL "large" and "unfinished." ')
The unpainted one is HMS Macedonian, I don't have a build log for her here, but she cover at my web site.
View attachment 523278
A lot of 3D stuff I did while it was cold was for this one...
View attachment 523280 View attachment 523283 View attachment 523282


 Understood! Really fantastic stuff, Jerry! Looks like her hull is very well balanced. It took me a second to see that she was afloat!
On another note - I need to get with you about guns for HSM Warrior 1:100 scale
Blessings.
Chuck
While Pride's bulb got sanded and epoxied, I used a bit to glue on the other bow pin-rail, and painted the spider-band with a coat of white, the boats got some clear-coat on their bottoms. and I printed a test model of one of the bow's spray-screens.
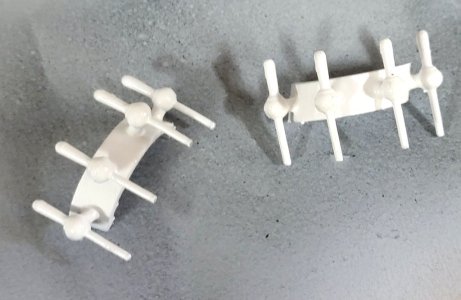
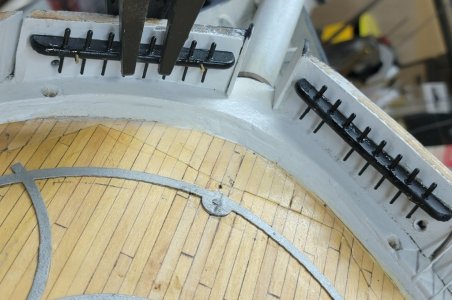
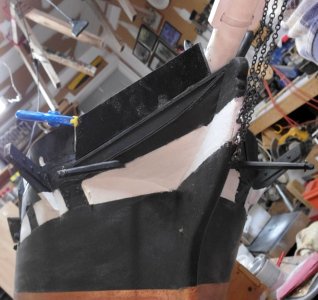
I altered the spray-screen model to put in a little flair, or twist actually for the bowsprit, and started printing one for each side. I'll adjust it some more, and add a concave curve up where it goes under the bow sprit.
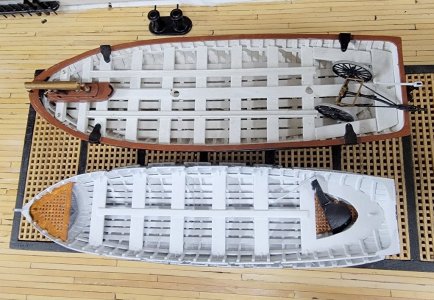
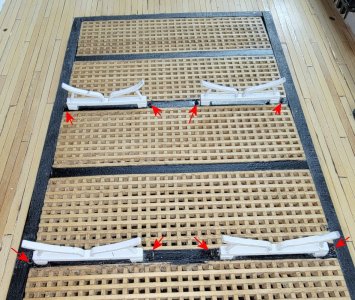
The trim-boards were installed ion the inboard port-side, and the boat cradles were CAed to the hatch cover, and eyebolt for tying down the boats installed.


Last edited:
The spray-screen Looked to fit they way I wanted, so I primed and painted it, though more than 12 hours later it's still tacky. A couple of things with this issue seems to be fine when I gave them some clear-coat, and I'll try that here as well.
It seems my work on the enclosed head wasn't perfectly symmetrical and there's a little bit of an outward bow in the port head rail. If I can't flex things a little to close that gap at the bottom of the spray-screen I alter the 3D model to fix it and print a new one for the port side.

It seems my work on the enclosed head wasn't perfectly symmetrical and there's a little bit of an outward bow in the port head rail. If I can't flex things a little to close that gap at the bottom of the spray-screen I alter the 3D model to fix it and print a new one for the port side.

I cut a cap-rail for up forward and glued and pinned in on with round toothpicks. I made a card pattern first, and cut it from a sheet of wood left-over from a friend's musical instrument project - it was for a guitar face. It was scored at the drop-panel seams, but not cut through.

Here it is with the spray-screen and an end-board sitting in place making it almost look finished.

Giving everything a chance to set, I came back and did the aft rail, and the the forward, starboard one.


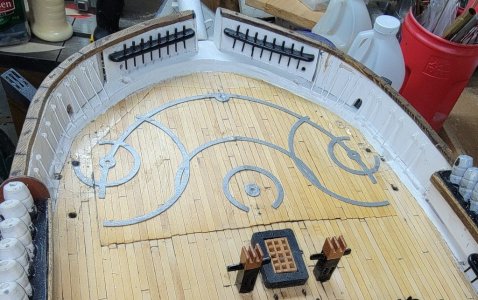


Here it is with the spray-screen and an end-board sitting in place making it almost look finished.

Giving everything a chance to set, I came back and did the aft rail, and the the forward, starboard one.


Last edited:
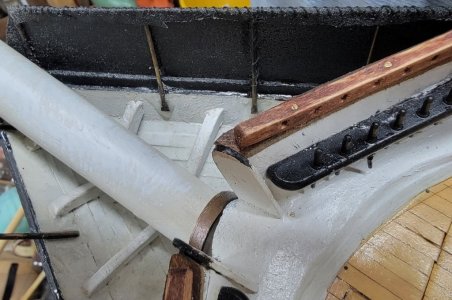
I knew I was forgetting something. There were smaller "end-boards" at the aft end of the bow pin-rails, that I forgot to put in. So I cut a pair from the older thin end-boards I replaced with thicker ones, cut a slot in the rails and installed them. While I was still in the mood, I installed the thicker end-board on the starboard side as well. That should be it on this subject for the bow.
I'm using cherry stain on what's mostly basswood and I think spruce. It give the reddish tint I want to look a bit like mahogany.
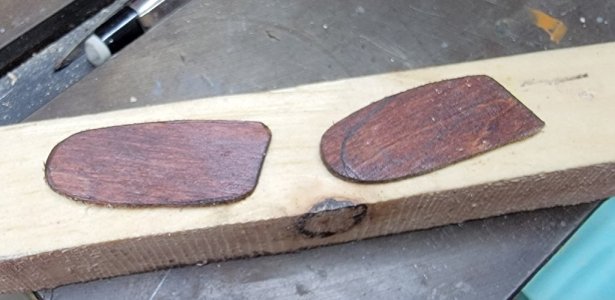
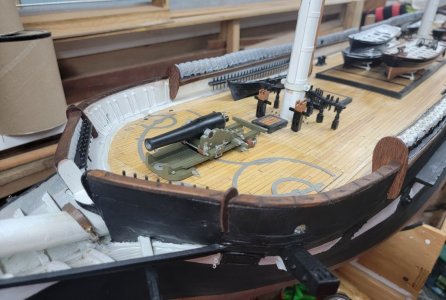

I'm using cherry stain on what's mostly basswood and I think spruce. It give the reddish tint I want to look a bit like mahogany.


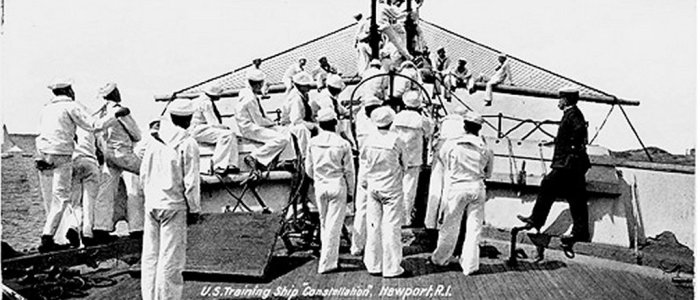
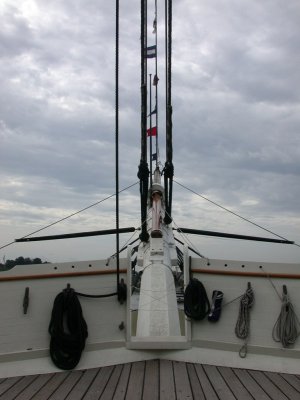
The last detail, I think, is a fairlead log on top of the rail at the bow for the pin-rails there. This guides the heads'l down-hauls, bowlines, and whatever to their belaying pins. I shows up in photos as a simple log with 8 holes above the 8 pins in each pin-rail. The "restored" ship doesn't have pin-rails here, just a couple of cleats, it does have a bit of a fairlead though. Mine are the same wood as the rail, and pinned with brass rod.
You can see the thing to the right and behind that gaggle of squids from the early 1900s; then what's on the ship now; and mine.

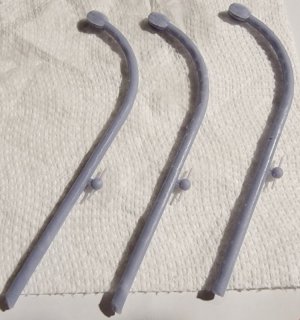
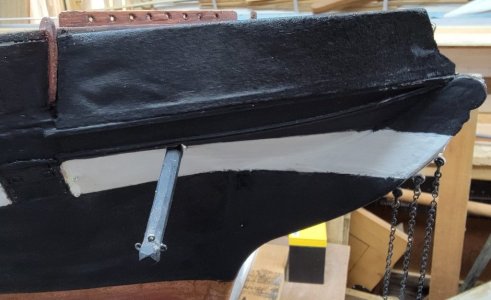
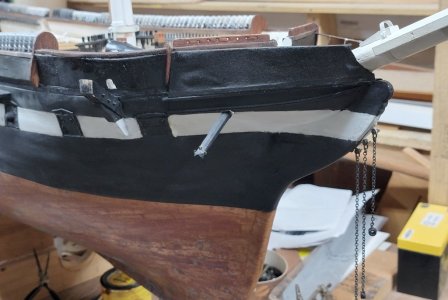
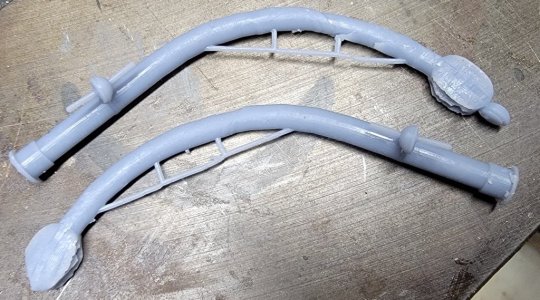
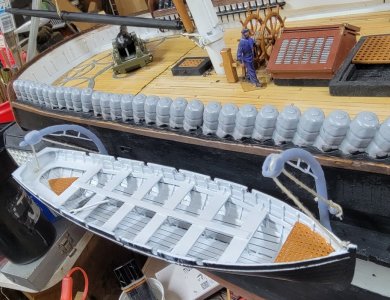
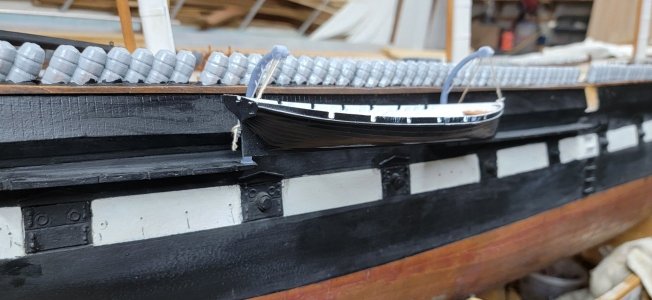
This old dog learned a new trick in my modeling software, to bend objects, so I made a tapered rod, and bent it 85° to form an iron davit. Trying to figure out from paintings what these things looked like has worn out two magnifying glasses and a pair of readers, and I still don't know anything besides they're a bent shadow. The ones on the stern are worse. I test printed a set, but one didn't come out.
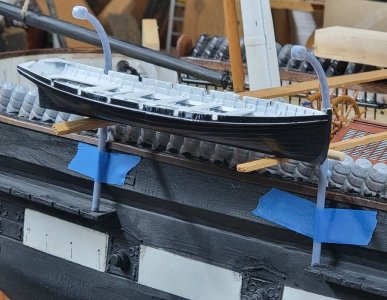
You can see the thing to the right and behind that gaggle of squids from the early 1900s; then what's on the ship now; and mine.


This old dog learned a new trick in my modeling software, to bend objects, so I made a tapered rod, and bent it 85° to form an iron davit. Trying to figure out from paintings what these things looked like has worn out two magnifying glasses and a pair of readers, and I still don't know anything besides they're a bent shadow. The ones on the stern are worse. I test printed a set, but one didn't come out.


The 3D printed spray-screens curled, and I didn't think using them was a good idea, as they'd probably snap while installing them, or after.
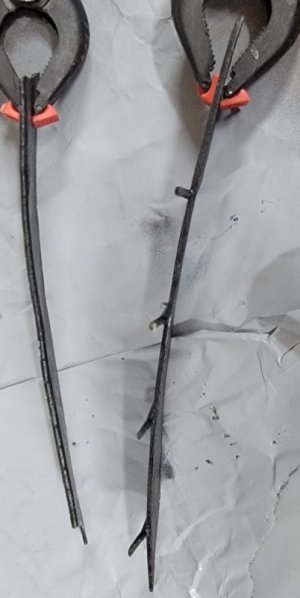
So I glued up some scraps to make a jig, and soldered up some rails from 1/16" brass rod. The ends of the stanchions, or legs, were flattened to make a glue surface, and bent to the correct angle. The rails are then CAed to the head, and epoxied over that.
These will get a painted cloth tarpaulin, like the real one had.
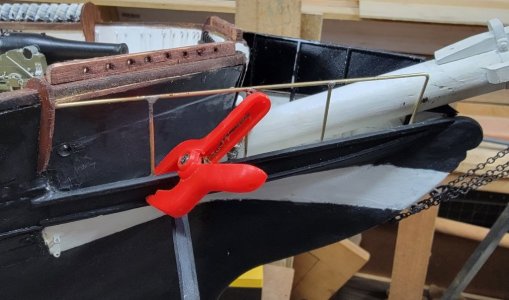
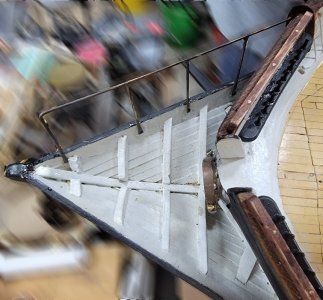
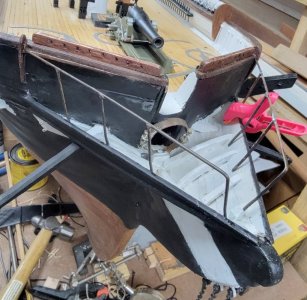


Here's the jig for making the head frame rails, or what's left of it.
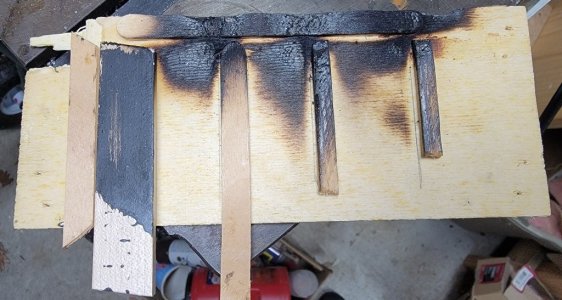
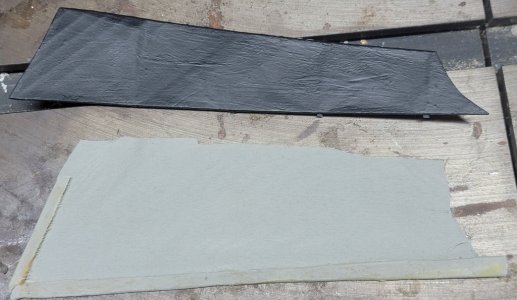
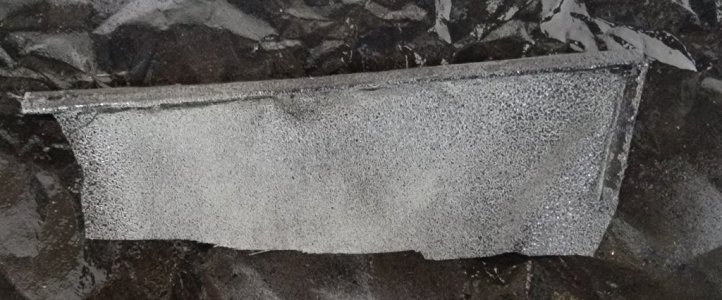
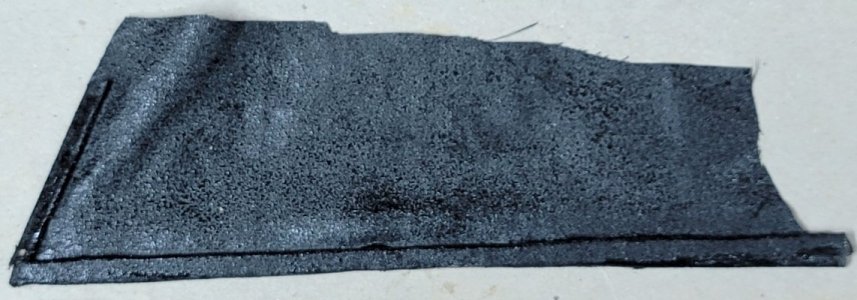
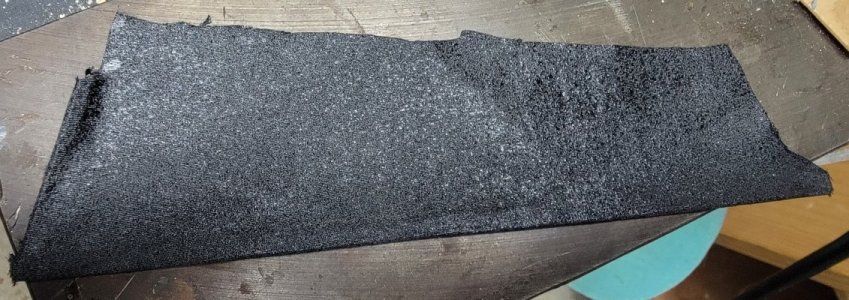
I cut a piece of gray Supplex (cloth for Macedonian's sails), hemmed in a strip of wood at the bottom and the aft end, using the 3D printed version as a template. It's been spray-painted black, 2 coats, front and back. (looks like my Civil War haversack) Pics are left: "inboard" and right: "outboard."

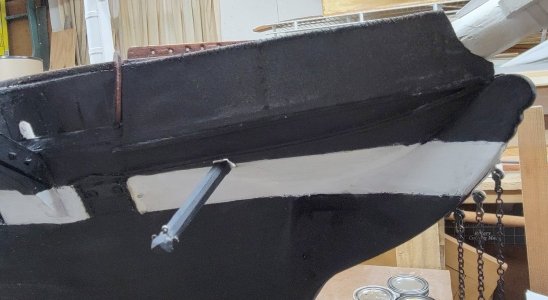
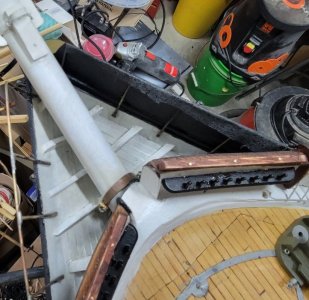
The bottom was CAed to the head-rail and the aft end CAed to the bulwark. I then CAed the floppy bit to the brass frame. This will be laced to the frame with Dacron sail-thread once the other side is to this point.
Tamoso de Simone painted several portraits of the ship, when she visited Naples. I'm trying to base the model on the first one, made in 1856. In that painting, the ship's at anchor with her boats in the water, so this is what he shows for her quarter-boat davits:
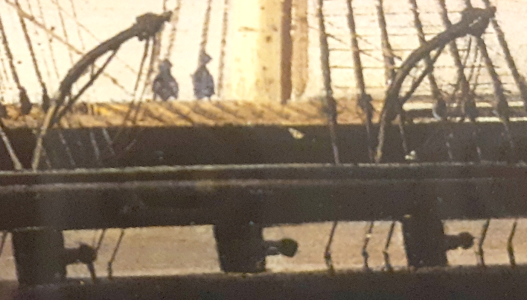
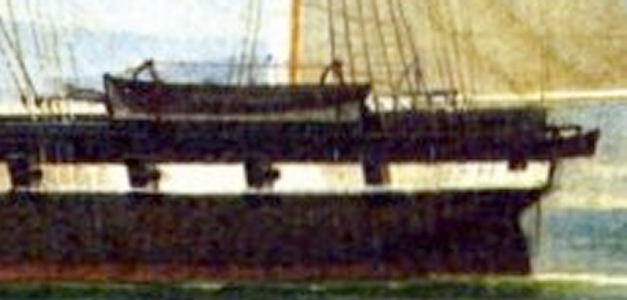
In 1862, she's under weigh, arriving at Naples and he shows her quarter-boats like this:
I haven't found any images of davits that resemble what de Simone painted, the closest I've seen is on a model of a French corvette (build log over at Model Ship World):
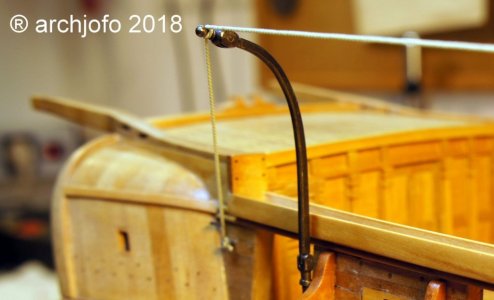
So I adjusted my 3D model to better resemble what de Simone painted. While they may have been in sockets so they could rotate, I can't see there's any tackle into the right, to raise and lower them. I'm sure there must have been a brace of some sort to the bulwark as they don't seem to extend below the channel to brace against the hull.
My models didn't print very well, two of them failed completely, but there's enough here to get an idea.
These will probably be the last things to get installed, so I think I have some time to ponder my questions until them. In the meantime, I'm gonna glue these to a plank and hang something the weight of the quarter-boat on it to see it it sags or breaks over time.

I cut a piece of gray Supplex (cloth for Macedonian's sails), hemmed in a strip of wood at the bottom and the aft end, using the 3D printed version as a template. It's been spray-painted black, 2 coats, front and back. (looks like my Civil War haversack) Pics are left: "inboard" and right: "outboard."


The bottom was CAed to the head-rail and the aft end CAed to the bulwark. I then CAed the floppy bit to the brass frame. This will be laced to the frame with Dacron sail-thread once the other side is to this point.


Tamoso de Simone painted several portraits of the ship, when she visited Naples. I'm trying to base the model on the first one, made in 1856. In that painting, the ship's at anchor with her boats in the water, so this is what he shows for her quarter-boat davits:

In 1862, she's under weigh, arriving at Naples and he shows her quarter-boats like this:

I haven't found any images of davits that resemble what de Simone painted, the closest I've seen is on a model of a French corvette (build log over at Model Ship World):

So I adjusted my 3D model to better resemble what de Simone painted. While they may have been in sockets so they could rotate, I can't see there's any tackle into the right, to raise and lower them. I'm sure there must have been a brace of some sort to the bulwark as they don't seem to extend below the channel to brace against the hull.
My models didn't print very well, two of them failed completely, but there's enough here to get an idea.
These will probably be the last things to get installed, so I think I have some time to ponder my questions until them. In the meantime, I'm gonna glue these to a plank and hang something the weight of the quarter-boat on it to see it it sags or breaks over time.


Last edited:
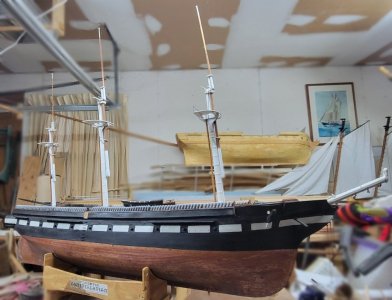
You see that gray tubing stuff up in the left coner of the pic; between the mizzen and main-masts? That's electrical conduit stored on the garage door tracks. Years ago, the lady opened the garage door snapping the mizzen and main masts off. I repaired them until I moved the boat to get at something, hit those tubes, and snapped the mizzen topmast head off at the very spot I had repaired it. Hardly two weeks past and I did it again, only this time above the repair spot.
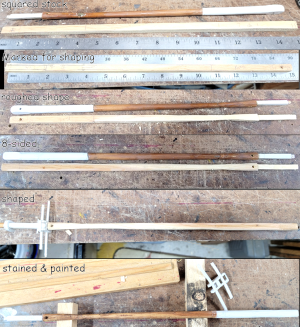
The topmast repair refused to stick, so it was time to make a new one.
The lower mast and topmast were all made of white cedar, which I no longer have any of, long enough to make this spar at least; so, I found a bit of yellow pine from an old cabinet I got for the wood and made it from that.
Here's a step-by-step picture of the new mizzen topmast being made.
Maybe I get do something less bone-headed and more constructive tomorrow :/
After making the new topmast, I sat to listen to some stuff online that was less tense than trying to carefully shave ornery wood with dull tools.
So I attempted to start painting the crew, or what I have of it so far, which led to "how should 1850's sailors be painted?" and searching the Internet.
I know what Marines look like, that's actually pretty easy
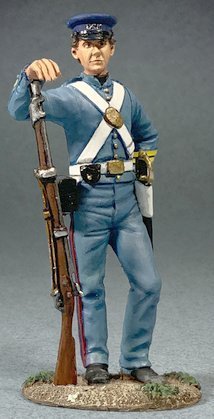
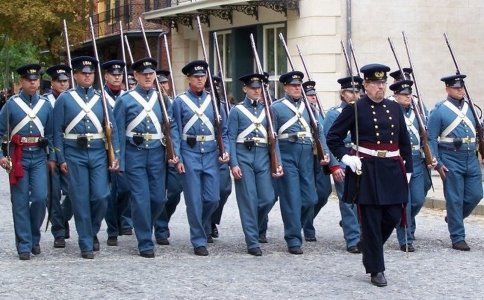
and I can find images of Navy sailors from the 1850s, but the pictures tend to be British. I have ONE that IDs as an American sailor, and another that may be...
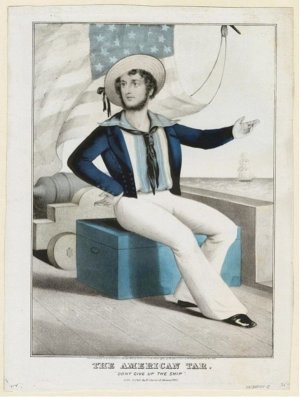
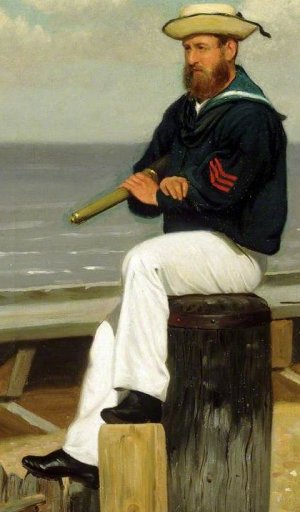
So, all I managed to paint were faces and hands, and not having any white for some reason, I did a couple in light gray as a base for when the white arrives.
Now they all look like the villains henchmen from an episode of the Wild Wild West, except those two
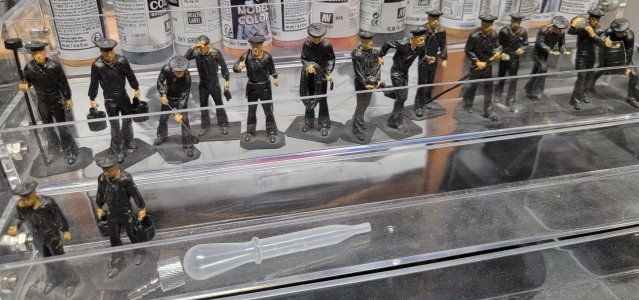
They do add a lot to the model, even with only hands and faces.
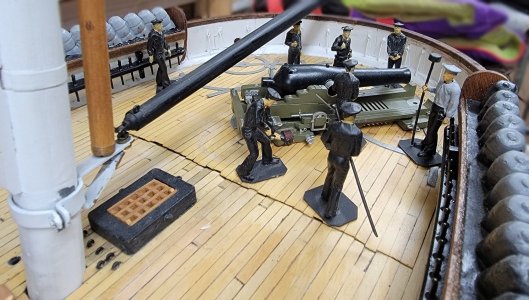
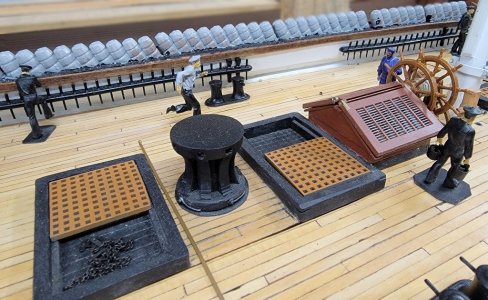
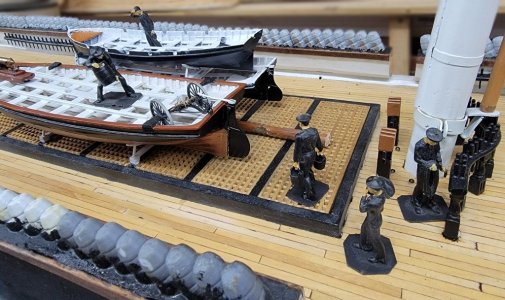
I plan to have 40ish crew on deck and in the rig. I have to edit the STLs to make men climbing the ratline, on the yards, and so forth. I need three of four officers, and some 6-10 Marines.
A busy deck is a happy deck.
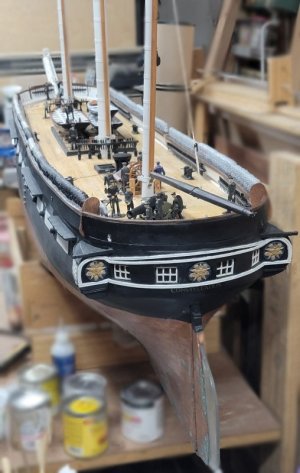
So I attempted to start painting the crew, or what I have of it so far, which led to "how should 1850's sailors be painted?" and searching the Internet.
I know what Marines look like, that's actually pretty easy


and I can find images of Navy sailors from the 1850s, but the pictures tend to be British. I have ONE that IDs as an American sailor, and another that may be...


So, all I managed to paint were faces and hands, and not having any white for some reason, I did a couple in light gray as a base for when the white arrives.
Now they all look like the villains henchmen from an episode of the Wild Wild West, except those two

They do add a lot to the model, even with only hands and faces.


I plan to have 40ish crew on deck and in the rig. I have to edit the STLs to make men climbing the ratline, on the yards, and so forth. I need three of four officers, and some 6-10 Marines.
A busy deck is a happy deck.

Last edited:
I ordered some acrylic colors I didn't have, mainly white, black, and blue, and since they came in today, I blocked in the basic parts of half my skeleton crew, including Ivan*. I need to order some more colors for hair, buckets, casks, etc.
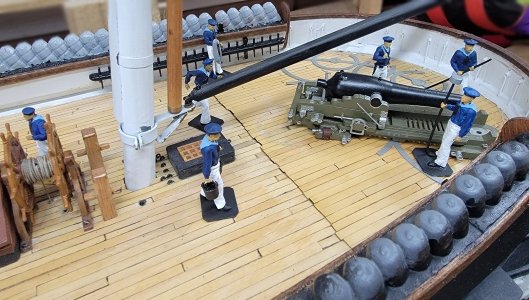
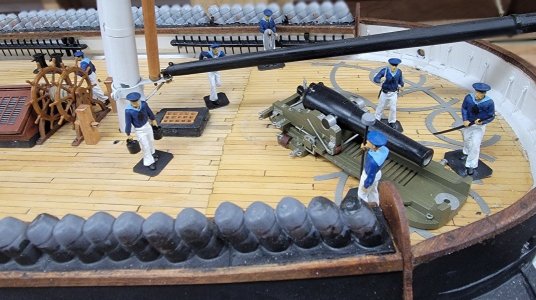
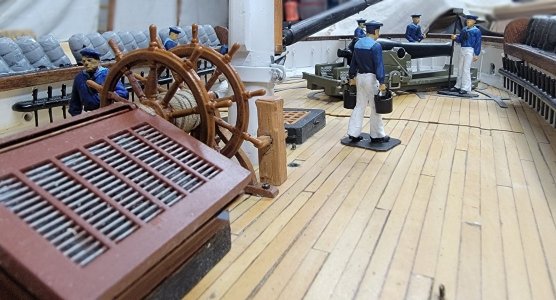
The figures are alleged to be Civil War period sailors and are made by Artejaol Studios. (The STL files, they don't print the figures)
Artejaol claims to focus on figures for dioramas, and have no interest in doing anything they don't think will sell, which they seem to think are subjects that appeal to Americans with right wing politics.
I asked about their doing other figures, citing an untapped market in the ship modeling hobby that I'm sure would out-strip the crowd wanting January 6th mob figures - but I got a lecture about the difficulty of researching and modeling new figures.
Ivan will stay aboard in his position as helmsman, but the Naked Guys* and Ivan's brothers from the kit are all retired, unneeded, since with the advent of 3D printing, the whole plan for acquiring crew figures has changed. I found a YouTube video on how to repose figures that I'm trying to get the hang of, cause I need several more poses than Artejaol provides, or is willing to. Obviously men climbing the ratline, standing on foot-ropes, and sitting, and maybe squatting on deck, sliding down a back-stay, etc.
*Ivan and Naked Guys are explained in post #38 of this log.
Last edited:


