• LUCZORAMA SHIPWRECK SCAVENGER HUNT GIVEAWAY. 4 Weeks of Fun • 1 Legendary Prize ((OcCre’s Fram Ship)) • Global Crew Welcome!
    **VIEW THREAD HERE**

Constitution Cross Section MS20245 Model Expo

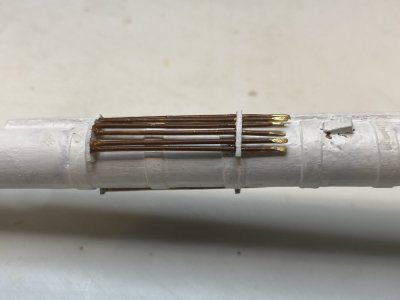
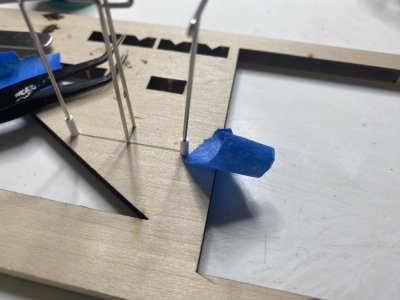
next up were the boarding pikes that attached to the mast. The instructions would have had you attach the 2 wood pieces to the mast before this, However they are 1.32 inches thin and I knew if I attached them they would certainly be destroyed by my handing. I decided to take a page from Tom Culbs building log and make them off the model. I annealed the supplied 1/32" brass wire and cut it into 12, 1 1/4 lengths. I sharpened one end with my nail drill holding the wire in a pin-vise to make it look more realistic.
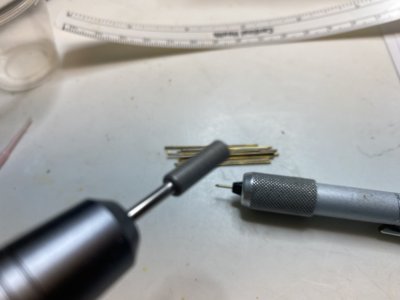
IMG_0395.jpeg

Using the temporary mast used in the beginning, I wrapped a piece of tape sticky side out around it and put a piece of scrap wood to place the edges of the pike holders on.
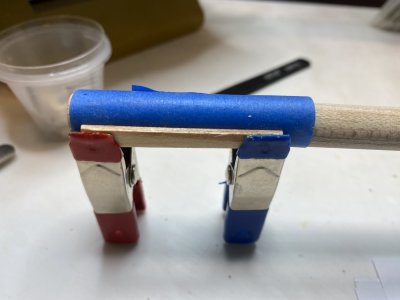
IMG_0394.jpeg
The 2 pike holders were painted white then attached to the sticky tape. The Pikes were treated through the top pike holder and secured to the bottom was a drop of CA. After that dried another drop was placed on the top to secure it to the top pike holder.
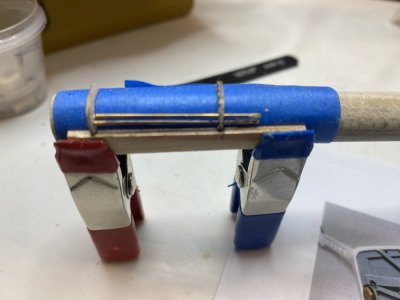
IMG_0396.jpeg

After all the pikes were secured I painted the body of them with some leather brown enamel.
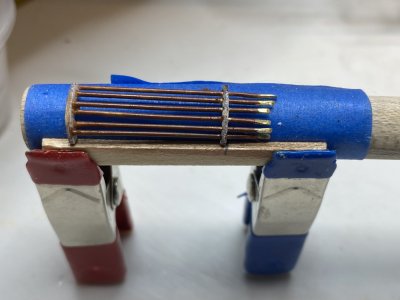
IMG_0398.jpeg
 
The pikes and racks were carefully detached from the jig. I believe making them off the ship like this is much easier and neater than building them in a crowded environment. Looking at the building plans and the instructions the racks were placed just above the first set of rings and glued with CA. The exterior edges of the pike supports were then painted white using the tiny brush on the dental applicators I have mentioned previously.

IMG_0401.jpeg

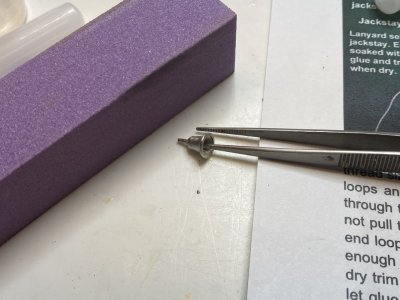
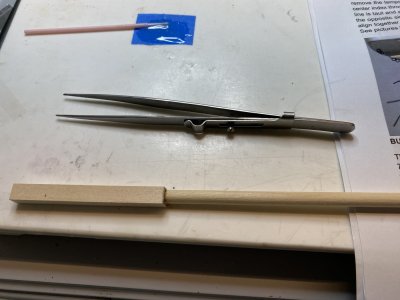
Next the ships bell and its support frame were cleaned up. I trimmed the small amount of flash with an exacto blade, scraping the seams clean. I next polished the bell and really did away with any seams by using an abrasive block used for nail polishing. The difficult part in doing this was holding the bell. After several tries I found that a medium sized tweezers worked best.

IMG_0400.jpeg

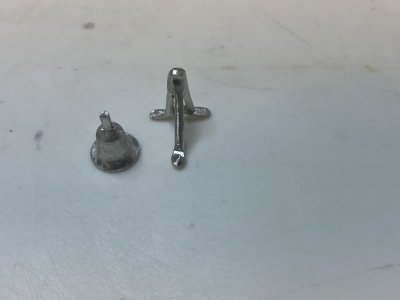
The bell and its holder looked much better after polishing them.
IMG_0402.jpeg
 
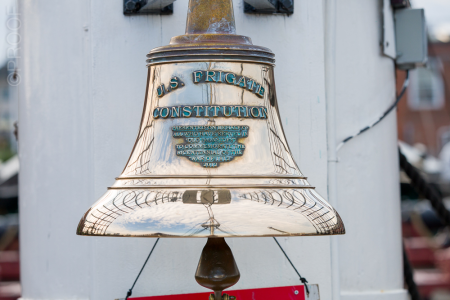
The bell looks great, but was this a brass bell in real life, maybe if so give a coat of brass paint.
Here is a picture I found of the current bell

1752180435936.png

From my reading the original was made of brass by Paul Revere. I do have Brass paint and I may paint it that color. What are other peoples opinions?

Just a note. I will be on vacation for the next few weeks, so if you see even less than my usual activity, you know why.


Rob
 
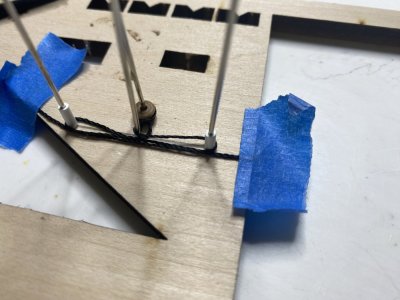
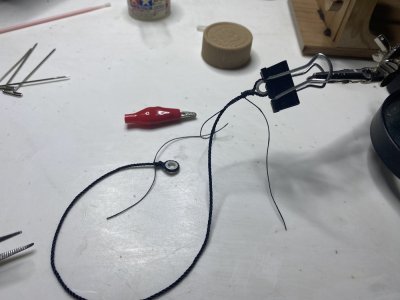
Back from a long cruise! Amazing seeing the Atlantic for days at a time and not seeing land. Now back to a different kind of reality. Next up are the bobstay collars. These are standing rigging that run up from the deck to bullseyes on the rear section of the mast. The bobstays rest upon some cleats that were previously place onto the mast. Following the instruction manual. I made a jig using some scrap wood and T pins. The instruction would have you use small brass tubing at the ends to help form proper size loops. Instead I used some styrene tubing secured wit the T pins on the jig.
IMG_0881.jpeg

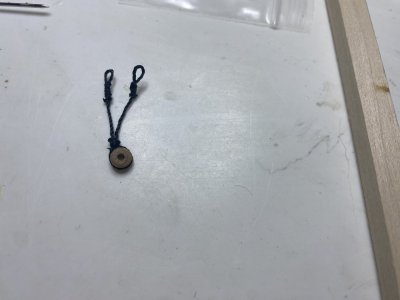
Using the jig made it easy to assemble the bobstay collars. The bullseye was first seized to some .020" line and then placed on the jig. This made it fairly easy to align the rope and form the loops and seize the line.

IMG_0882.jpeg

The bobstays were easy to form. You need 4 of them. Once all the lines were seized with finer black thread, they were coated with dilute white glue and the ends snipped off. Of course the 4th one came out much easier than the first one. Hopefully this learning curve will be put to use with the rest of the rigging.
IMG_0884.jpeg

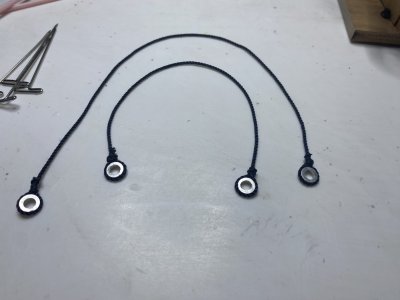
Next two different length pendents were formed. These pendents were used to help assemble and step the mast and also help with lifting other components of the sails. They were easy to make using some .040" black line unto which some 1/4" metal rings were seized onto.

IMG_0885.jpeg
IMG_0886.jpeg

IMG_0887.jpeg
 
OK, as promissed here are photos of my first project, or at least an attempt at it.

I mounted the M6 allen screw in 3-jaw, with enough hanging to turn.

Then after some trials of lining things up I made my first cuts.

After a few cuts and what looked good, I measured and had just a touch more to go.

My end result is screw that will work for a while.

Original was slotted head and this was allen head, but it works.

View attachment 535665View attachment 535667View attachment 535668View attachment 535666

Now the tailstock quill stays where it belongs and the handle on end moves it in and out as designed.
@Kurt Konrath - I suspect you did not mean to post this here?
 
Last edited:
I'm impressed with the detail of this thing. I was looking at some other cross section builds, and I was thinking that this sort of things could be a fun, simplier futuure project. But after combing through your log, I believe I was definately mistaken about that second point!
 
I'm impressed with the detail of this thing. I was looking at some other cross section builds, and I was thinking that this sort of things could be a fun, simplier futuure project. But after combing through your log, I believe I was definately mistaken about that second point!
Thank you. I built a few simpler ships in preparation for this one. I am taking my time (when not working) and am working on the cross section as a series of projects instead of one massive one. I find it more relaxing that way. I am certainly learning!

Rob
 
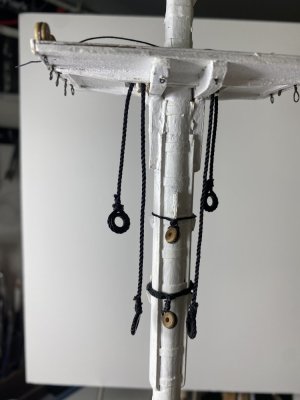
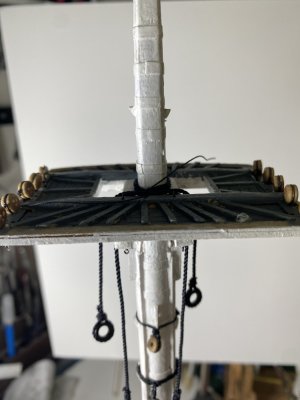
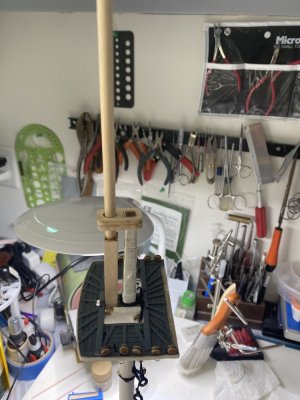
After finishing the bobstays and pendants I attached them to the mast. In order to keep my clumsy fingers from doing too much damage, I will keep the mast off the hull for as long as possible. I am supporting the mast on my vise as I work on it. The bobstay collars were secured by lengths of tan line using simple square knots and sealing the line with diluted white glue. The ends of the pendants were painted black and seized as instructed on the mast just above the fighting top.

IMG_0892.jpegIMG_0893.jpeg
 
I am next making the shroud lines for the lower portion of the main mast. The lower mast is supported by six shrouds on each side; five connected to the hull with deadeyes and lanyards, and the sixth, the swifter, attached by blocks and lanyard. The instructions have you serve the middle 5 inches of the shroud lines. A few other build logs I have read did not seem to serve their shrouds, but I decided to try it on my build.

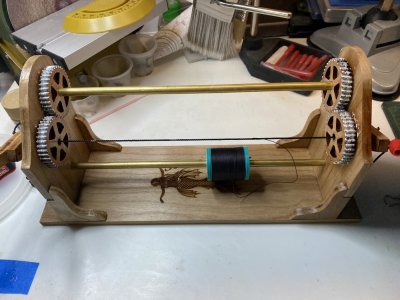
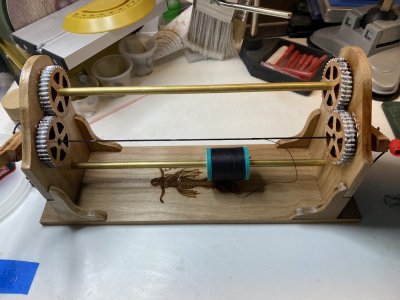
For this project I bought the Serv-o-matic machine from Syren ship models. This has gotten mixed reviews from several different sites. The machine comes as a kit of laser cut gears and the body along with a few brass tubes. After assembling the gars and body I put on several coats of varnish to seal the wood. I use lithium grease to liberally coat the bearing surfaces and the gears. This greatly helped to keep the action smooth.
IMG_0894.jpeg
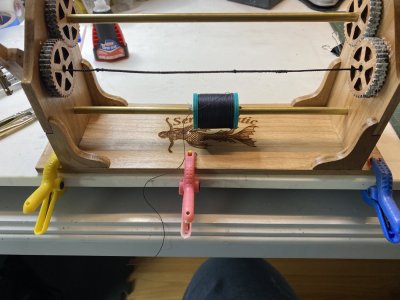
I found that using it this way the whole assembly moved. I secured it with clamps to my work surface which greatly helped with the procedure.
IMG_0895.jpeg
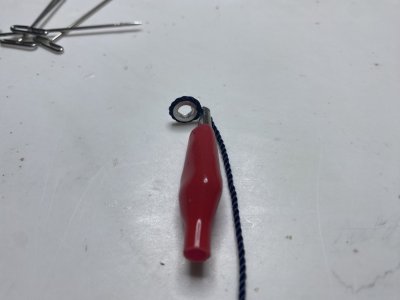
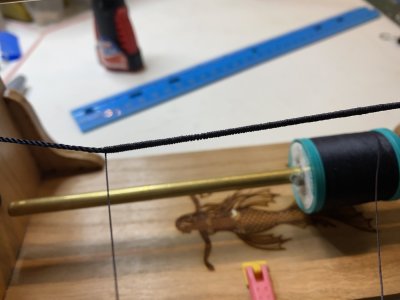
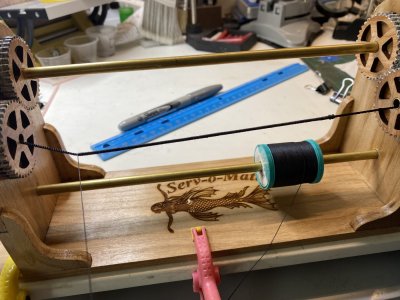
Using alligator clips to secure the lines at the ends of the machine helped keep the line to be served taught. This is vital to produce a good result. After several tries I was able to easily serve the shroud lines in a few minutes.
IMG_0897.jpeg
The ends of the serving thread was held in place with a drop of CA.

IMG_0899.jpeg

IMG_0894.jpeg
 
I have now come to a bit of an inflection point, I can step the mast and proceed with attaching the shroud lines as Tom Culb did or I can leave the mast off the hull and continue with the topmast assembly as done by Jeff T. Knowing my clumsy habits I am inclined to follow the second path. If anyone has any advise at this point I would appreciate it.
 
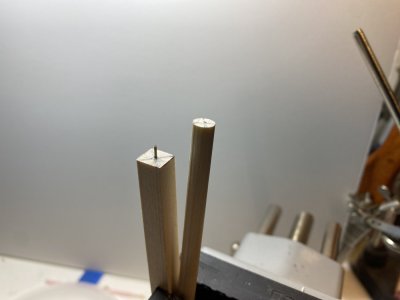
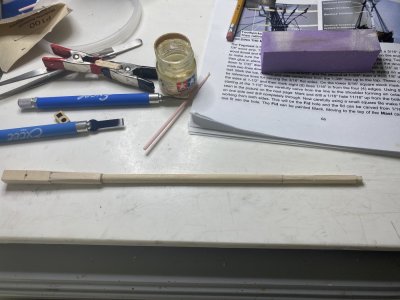
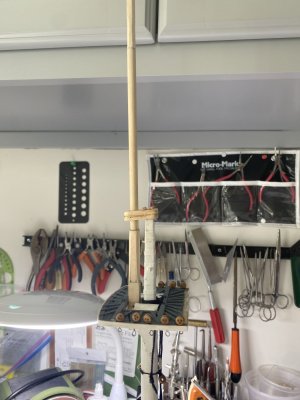
Going a bit ahead of the instructions, I started to assemble the topmast. The instructions would have you use a 1/4 X 7 3/4" dowel and have you create a peg with a 1/2 inch length. This would leave you with a piece that is 7 1/4" long. The plans show a piece without the peg to be 7 5/8" long. I decided to go with the length on the plans. Instead of carving a peg and boring a hole in the 5/16 X 2 7/8" wood strip, I used a 1/4 X 7 5/8" dowel and attached it to the square piece by boring both with a small hole in the middle. In the hole fit a length of brass wire. The assembly was glued together with 5 minute epoxy, which will be allowed to dry overnight.
IMG_0904.jpeg

IMG_0905.jpeg
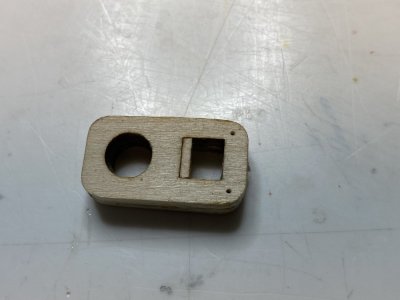
I tested the lower mast cap which helps hold the lower mast and topmast in alignment. When I carved a square peg into the main mast to receive the mast cap, I overdid it a bit and the cap fit pretty loosely. I remedied this by using mall shims which I glued into the main mast cap to ensure a close fit.
IMG_0906.jpeg
 
I did a dry test fit of the topmast just to see how things would go. I had a bit of a problem getting the lower portion of the topmast onto the main mast, but with a little light sanding of the channel the topmast fit into it went into place.
IMG_0908.jpeg
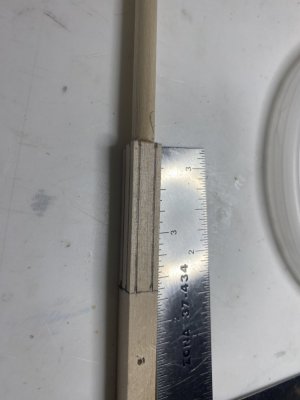
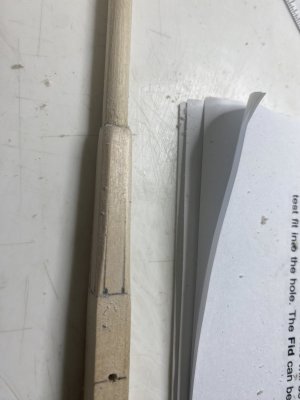
The top segment of the lower square portion of the topmast was made 8 sided and tapered to blend in with the dowel.
IMG_0909.jpeg
IMG_0910.jpeg


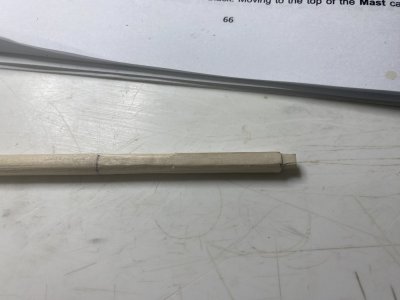
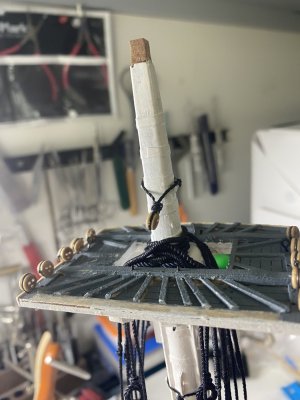
The topmast then had the tenon carved into the top of the topmast as was done for the main mast. This time to support the topgallant mast. below that there is also a square area and an octagon shaped area to be carved. It is importan that these parallel the square bottom section so the mast are not twisted when things are completed.

IMG_0916.jpegIMG_0915.jpeg
 
The topmast was dry fitted again. You can mote the hole on the bottom of the topmast for the Fide to be placed to help secure the mast.
IMG_0917.jpeg

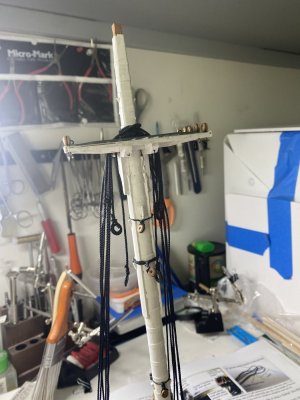
After test witting I put on the completed shrouds, starboard side first then alternating. Not sure why there is an emphasis on the starboard side first. An old superstition? After that the final bobstay was secured into place.

IMG_0919.jpeg
IMG_0922.jpeg
 
Back
Top