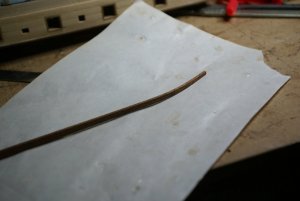
Constructo Prince de Neufchâtel - My first POB ship

  • Thread starter Thread starter Dicas
  • Start date Start date
  • Watchers Watchers 12
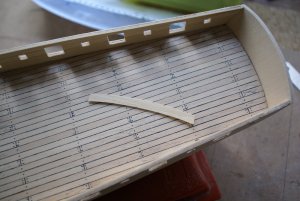
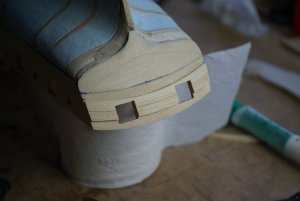
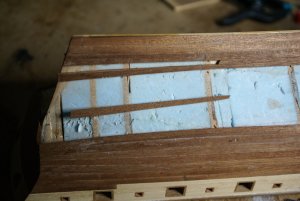
After the inside planking of the bulwarks complete it was time to add the stern transom. The piece supplied in the kit did not fit no matter how hard I tried. Don't ask me what kind of wood that is, it is the kind of "available wood". It fitted, so glued in place it was...
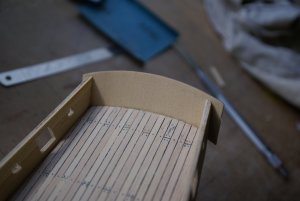
DSC09024.JPG


The inside planking of the tramson gave me some matter of thought, I was born near the sea, there were a some naval yards that made mainly fishing boats and as a boy I visited the yards some times. I remember that the planking of the transom was made of curved planks, following the curve of the deck and just for fun and as I thought it would be more real, I tried to do the same in tne model.

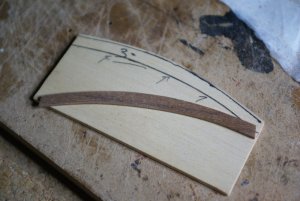
Glueing two planks top to top gave me the necessary width to make the curved planks. How acurate they are, I don't know, as I said before I ignore everything in this ship except that it really existed and some other details of lesser importance...

Anyway, here they are:
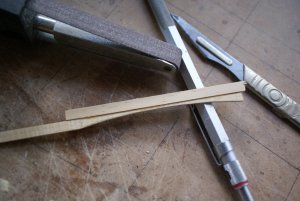
DSC09025.JPG DSC09026.JPG


and in place (and the rear ports opened)
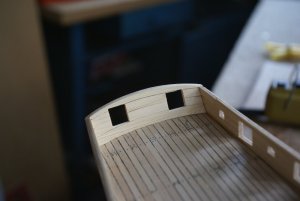
DSC09036.JPG


In the photo the union between the two planks shows a little, but if is very amplified and they are hardly noticeable.

I must say I like the effect.

It is all for now.

Regards

JL
 
How don't know if this happens with every kit or just this one, although the Charles W. Morgan has exactly the same problem, but the stern is the less documented part of the model, what is a problem because I can see that is one of the mosf difficult to get right. Some photos or sketches should be very helpfull if provided, as it is a lot of guess work. Thinking ahead can help but with my short experience a lot of trial and error must be envolved.

I had absolutely no idea how the damm thing should look like I only know that if I followed the instructions I would end up with a pretty mess.

Constructo and Artesania Latina, (the ones I know) should be more careful with the instructions and give useful views of what the finished thing should look like. At least have some more consideration for the fellow who buys their kits.

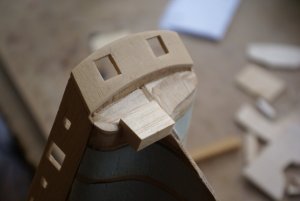
As things were I had to invent my interpretation of what the transom should look like, it is not flat that I can see.

I think that the piece that I added to the transom allows it to al least to look real.


Correcting some faults in the transom.

DSC09038.JPG


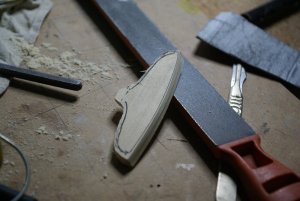
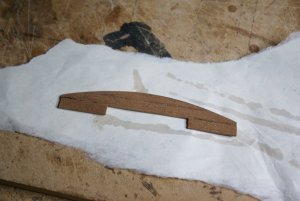
Work on the part to mend the stern

DSC09041.JPG

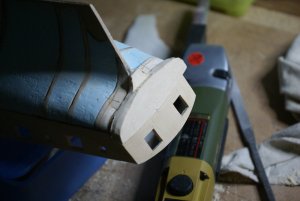
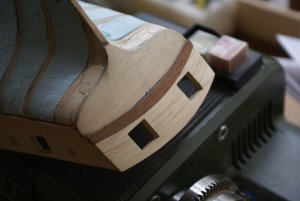
In place and with the exterior planking.

DSC09042.JPG DSC09044.JPG


adding the lower (darker) planking to the stern

DSC09045.JPG DSC09046.JPG DSC09048.JPG

... with the curved planks. I can't figure straight planks there, maybe I'm wrong, but it looks much better to me.

Maybe I'm being picky...

Regards

JL
 
Hello

Back from a small vacation. I don't know what is happening in your countries, bur here in Portugal we are having a strange summer and even in Algarve, in the south, the temperatures are lower than the usual by some 8-10 ºC.

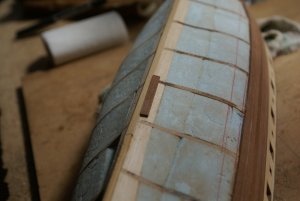
Back to my Prince, it was time to begin the external planking, by the upper plank. The wood was fair, ayous, whatever that is, easy to work, sands well and gives a good finish.

DSC09058.JPG

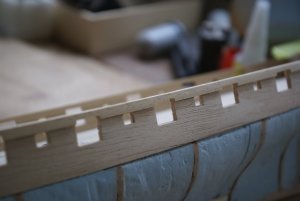
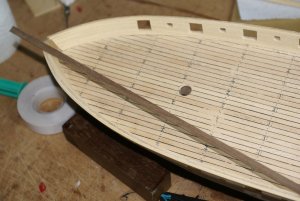
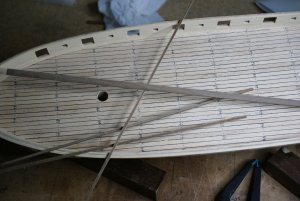
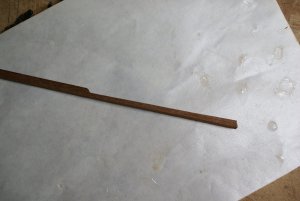
After the upper plankings in place, I opted for shaping the galant rails, what proved to be a major challenge since I was supposed to shape a 6x2mm strip of Manzonia around the width. I was unable to do that, if it is easy to bend the strip around the 2mm, I didn't find a way of bending it around the 6mm. No way.

DSC09062.JPG

I tried my hot air gun with the soaked plank but I found it impossible. Manzonia is not that easy to bend.

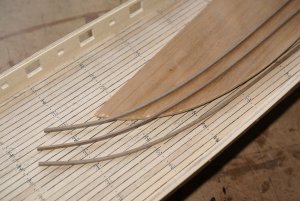
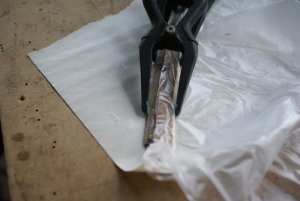
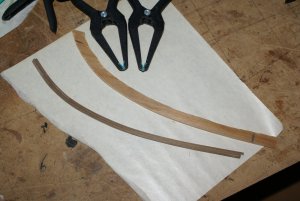
The only way I figured to do what was intended, was to split the strips lenghtwise in 3 2x2 strips, bend them and glue them together using a jig

DSC09063.JPG DSC09067.JPG DSC09069.JPG DSC09070.JPG DSC09071.JPG

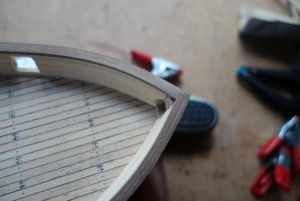
After all it ended much better than I thought, after sanded and in place it turned out very decent,

DSC04795.JPG

The picture is much larger than life and the tiny separation between the strips does not show to the naked eye.

I was pleased with the final result.

Can anyone tell me a method (besides amonia) to bend a 6x2 strip around the 6mm? I'd like very much to hear any different solution than mine.

JL
 
Well, I've absent for a while and working on other projects, but the work on my Prince has gone slowly but where is the hurry?

The galant rails were completed and I am pleased with the result, it does not show they they were laminated.

I still don't know how to bend a 6x2 strip arount its widest dimension, so laminated it was and laminated it is going to remain.

DSC04798.JPG DSC04799.JPG

And I started making some small parts just to keep the interest alive.


DSC04911.JPG DSC04912.JPG DSC04913.JPG DSC04916.JPG DSC04915.JPG

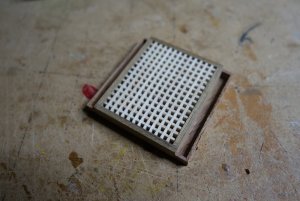
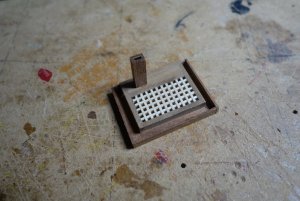
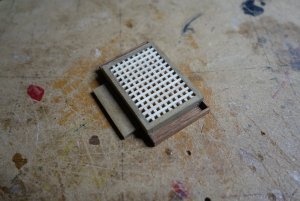
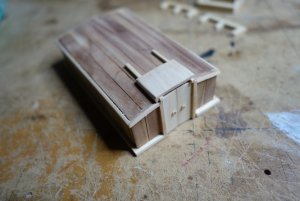
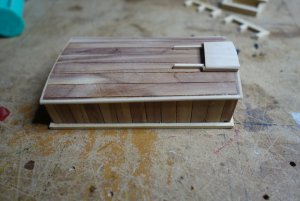
The wardroom (?) was scratch built, the wood supplied was bad and the it did look all wrong. I used a different wood to tehn one supplied and I think the result is much more realistic.

(These much larger than life photos are not very kind to the work, they always show the excesses that you can't see with a naked eye :( )

JL
 
Last edited:
Well it has been a while since I posted about my progress with the Prince. The work has continued slowly but steadily and the feared planking has been attacked and many a thing has been learned.

Also, for my birthday I received two new kits and it seems that now I have a fleet instead of a boat and as I am like a kid in a sweets store the other kits are also been built although I am on the very beginnig on both.

For the curious the kits are Occre Nuestra Señora del Pilar and Artesania Latina San Francisco II (new version). I'll open build logs for both as soon as I have something to show.

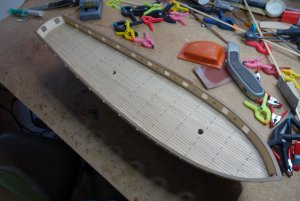
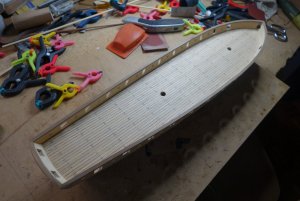
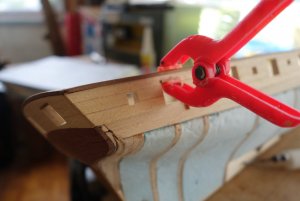
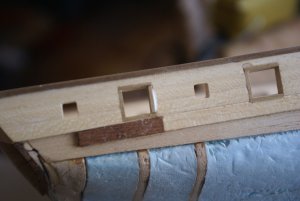
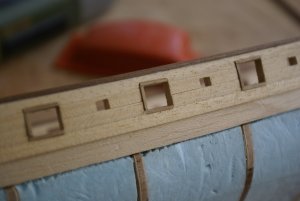
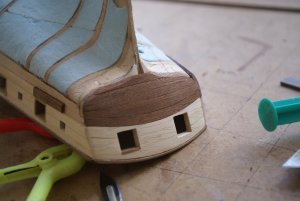
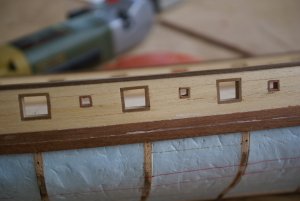
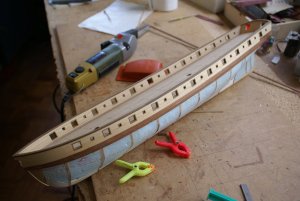
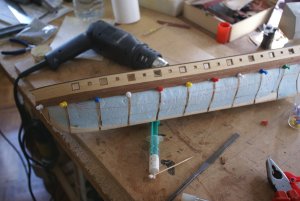
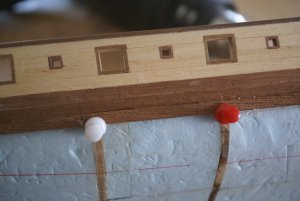
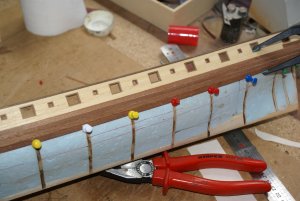
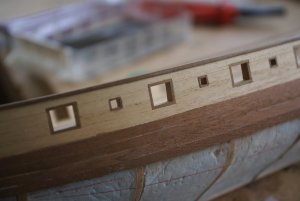
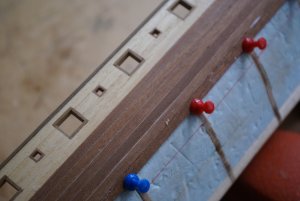
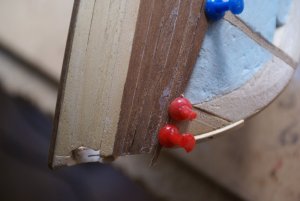
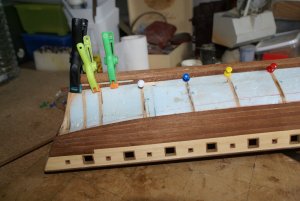
But returning to the Prince there were 22 gun frames (plus two on the stern) plus another 22 oar frames (I suppose that oppenings were for oars) that had to be tackled and so they were. Each port consist of four pieces, so 46 times 4 equals 184 small pieces that had to bet cut and trimmed. Speak of monotony...


DSC04917.JPG

DSC09215.JPG


DSC09216.JPG

DSC09217.JPG

DSC09218.JPG


As I told before, I hate macro photography, it only highlights the defects...


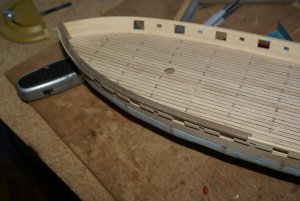
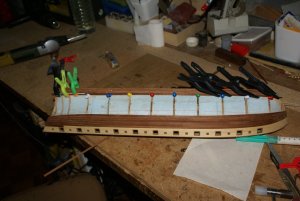
After that task completed I started with the feared planking. Well, I learned a lot with every plank and now that I heve completed one side of the ship, I feel much more confident dealing with the other side.

I know I should have glued the equivalent planks on both sides but solid as that model is there is no way of twisting that hull :)


DSC09219.JPG

DSC09220.JPG


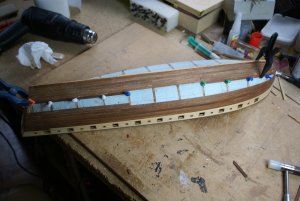
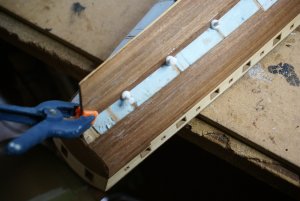
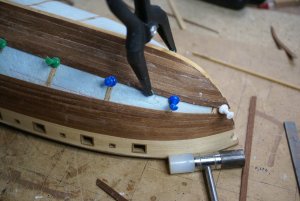
More and more I think that it was a good idea to fill the hull with foam. There is a large surface to cement the planks to and the curves are more harmonious without that problem that I have already seen of appearing "waves" between the bulkheads. Also the bow and stern are easy to plank and I think that without the foam it would be harder and more prone to problems.

It also makes it easy to glue every plak to the one immediately above in all its extension since they are supported by the foam.

Each plank had to be individually shaped and I tried to follow the good examples I have read here about plank shaping and curving. Not easy at the beginning, but plank after plank the thing became better.

to curve the planks I soaked them one hour in water and then used an hot air hun. Woks perfectly.


DSC09221.JPG


Some problems appeared, of course, but I'll deal with them later. The stern for example is a not-so-easy part and one plank splitted.


DSC09222.JPG


But eventually the hull began to take colour and shape.


DSC09234.JPG


DSC09239.JPG


DSC09241.JPG


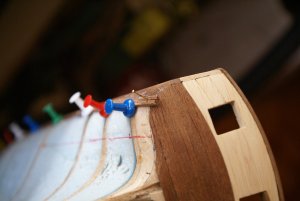
The bow, not as bad as it may seem. Don't forget the dammed macro. :(


DSC09243.JPG


At this point I turned to the keel because the the planks at the bow had to be very pointed to keep following harmoniously the form of the hull

So I decided to put the planks from the bottom to the top and see how it went. I added a piece of wood to the false keel with the same width to have something that would give me a surface to shape the bottom plank. I had already done that to the bow and it worked.

At this point I have to say that I was making experiments because although I had already built a Viking ship, that one gave me no experience on planking since all the planks were pre-cut and there were very few of them. So all was new to me and I tried to follow your methods but also think by my own head.


DSC09244.JPG


Some planks ended up with odd shapes...


DSC09270.JPG


DSC09273.JPG

DSC09275.JPG


DSC09352.JPG


At this point I learned that it was far easier to divide the planks in smaller pieces, this way I had to shape the bow plank, the stern plank and the middle plank and not had to make everything in one large plank. Much easier


DSC09385.JPG


planking the stern


DSC09386.JPG


And the bow...


DSC09387.JPG


At this point I should use stealers on the bow, but I chickened and used pointed planks to fill the space, not satisfied now for having compromised, I should have used those stealers. Next time.

Regards

JL
 

Attachments

  • DSC09271.JPG
    DSC09271.JPG
    100.4 KB · Views: 7
Last edited:
Absolutely excellent - I love all that I see - lots of fantastic tips.
 
As soon as OcCre produced the Nuestra Señora del Pilar, I have been interested in it. I hope to see you build it.
 
You never see the small things what you see on pictures with the normal eye. There is a new telephone waiting for me under the christmas tree with much more pixels then i have now so..... great work! Keep it up!
 
Back
Top