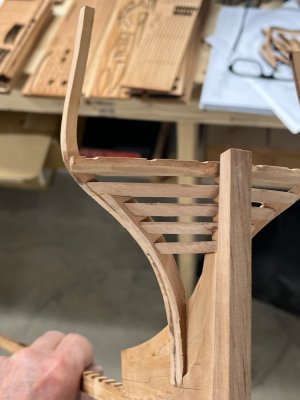
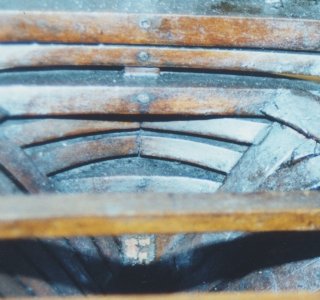
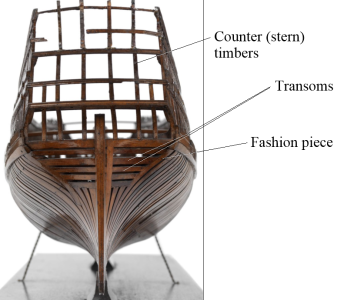
Hi Tim,Those are the old ones, now replaced. Among other things the back bevels were less than great.
New ones installed. Inside bevel sanding still rough, outside done and look pretty nice, glad I re did them……try and get a photo up..
Tim
P.S. A possible tip for the class you might find helpful.
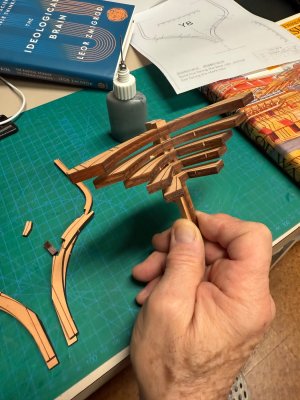
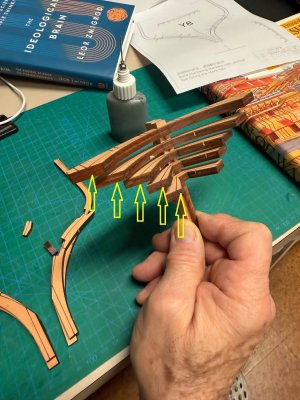
When I re did the transoms I did not want to do the final angle sanding to butt against the 1/2 frame when they were glued up, incase I screwed up, they’d be a bear to remove. I did not want to do it unglued cause they really need to be finished togeather…angle for all four, the same.
What workd out quite well is I secured the notches onto a piece of square stock and spaced them all with double sided foam tape, about the same spacing which allowed final sanding as one non moving unit, saved a ton of time and came out nicely.
IMHO, this is the single trickiest area….glad I’m done with the angles.
View attachment 516171
Good heads-up...Thank you. The stern is always one of the hardest structures to build. Yours looks great. I wish kit designers (Victor, are you there ?) would design a jig to build the stern outside the main construction jig, so the complicated stern pieces could be sanded and beveled together.
Did I understand this correctly: you built a stern jig, (kinda like the jig for the bow hawse pieces), constructed the stern -sanded and trimmed the transom beams, wing transom, etc, in your jig- then joined these to the fashion pieces in the main build jig ?.
I'm thinking: maybe I can make a stern build jig using kit timber and shapes.....Mmmmh.
I have frame 28 to build, then I'm going for the stern..,vacillating, except now I am following my commodore into the unknown wine-dark sea ahead !
Alex R
Last edited:


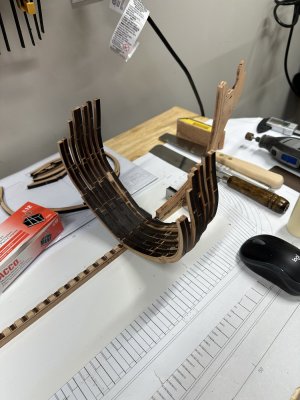

 ..Cheers Grant