Cutter Alert 1/48 cross section [COMPLETED BUILD]

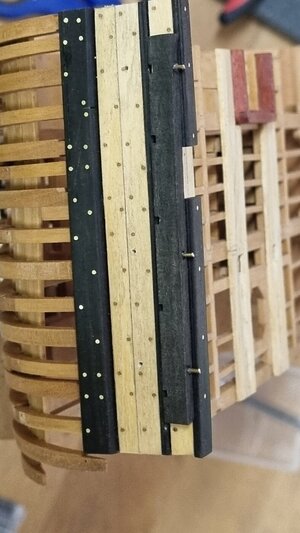
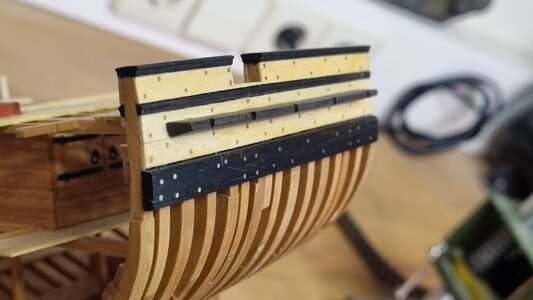
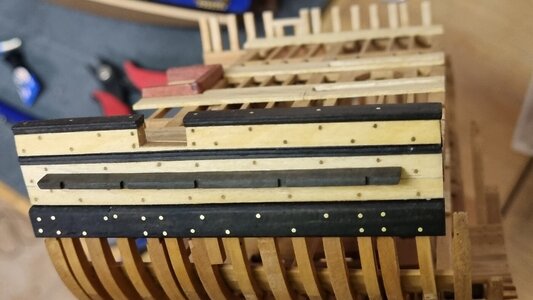
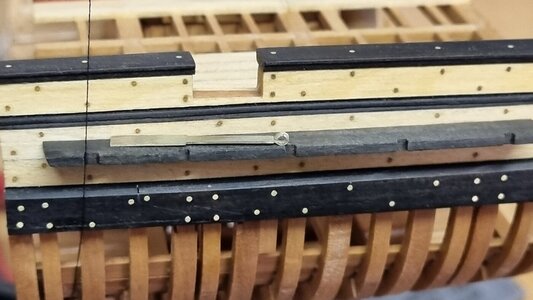
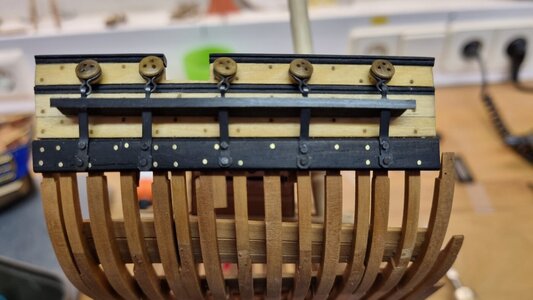
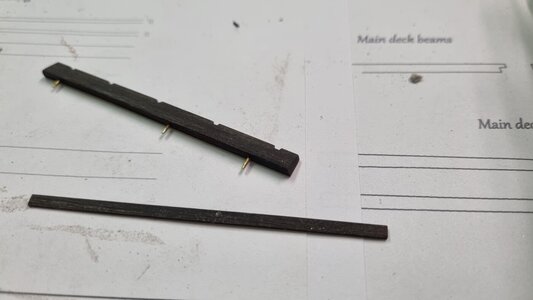
The channel is next, cut and shaped from ebony:

20220121_145948.jpg

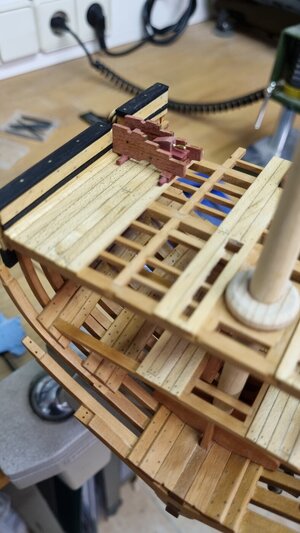
I installed it with brass pins to give it some strength as there are no knees to stabilize it:

20220121_150330.jpg

20220121_150843.jpg

20220121_150903.jpg

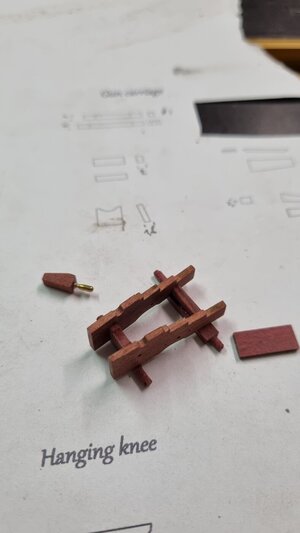
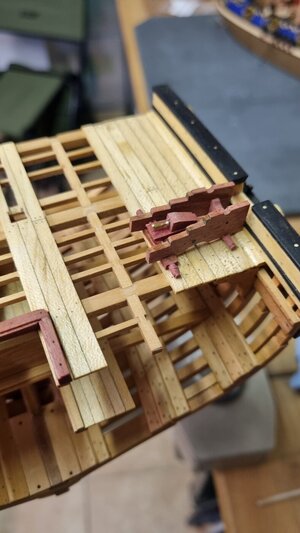
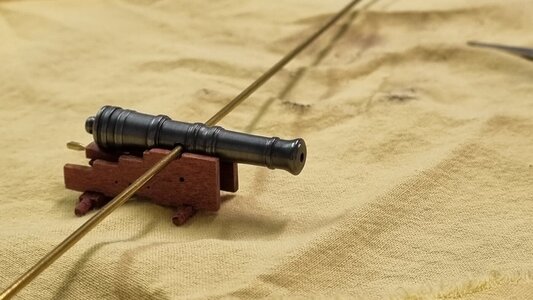
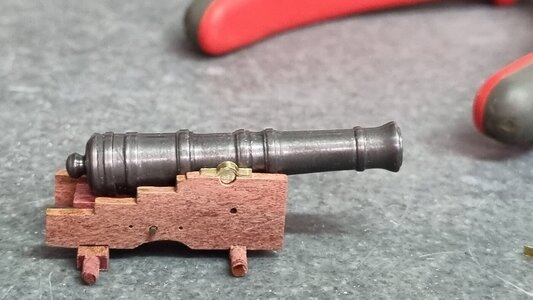
And I started on the gun carriage. This will also be made from pink ivory:

20220121_113144.jpg

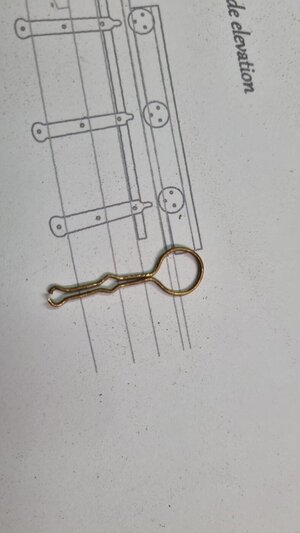
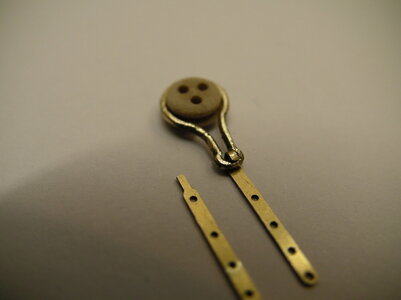
I experimented on making the deadeyes "chain". I tried to make it from one piece as it's shown in the AOTS.
The plan was to shape it around Pins and solder it to make it seem as one solid piece.

But it's not as easy as I imagined it:

20220122_181007.jpg20220122_182640.jpg
 
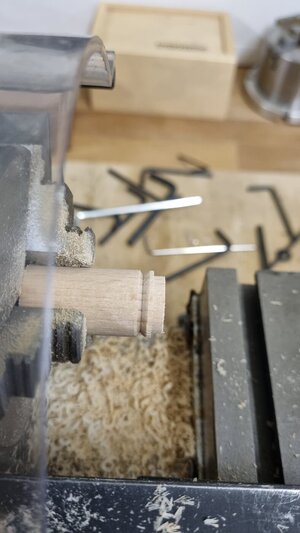
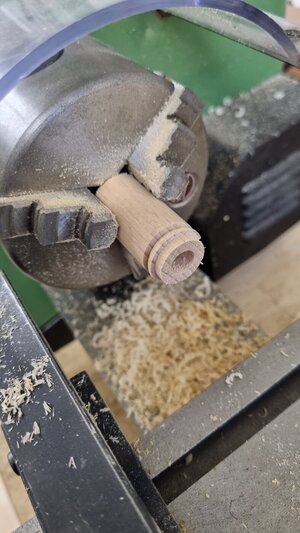
I changed the strategy on mabufacturing the chainplates. First I made a "dummy" mast and "mast wedges" in one turned piece:

20220124_103356.jpg20220124_103402.jpg
20220124_105011.jpg
20220124_110449.jpg
20220124_111447.jpg
With a rope I can determine the exact location of the chainplate for the corresponding shroud. This is then marked on the whale:
20220124_112711.jpg
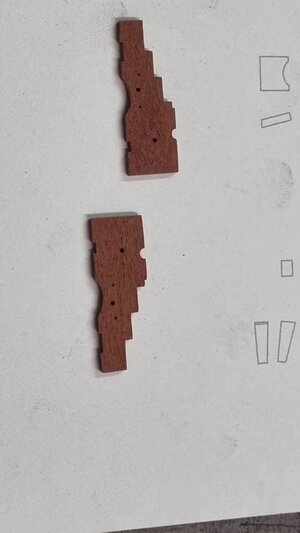
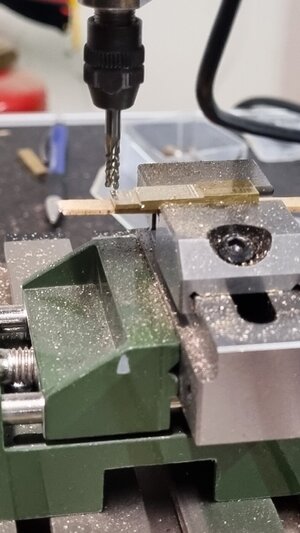
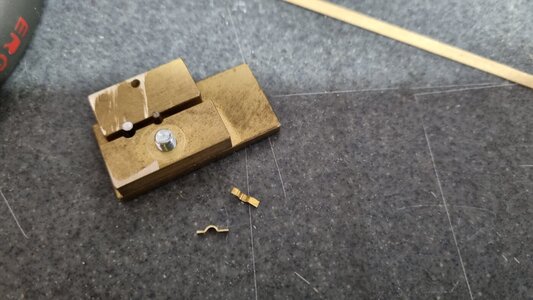
I then milled a block with the profile of the chainplates"
20220124_142214.jpg
 
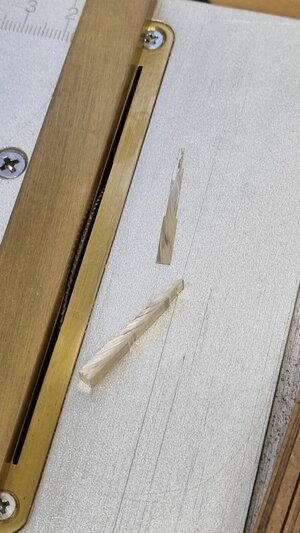
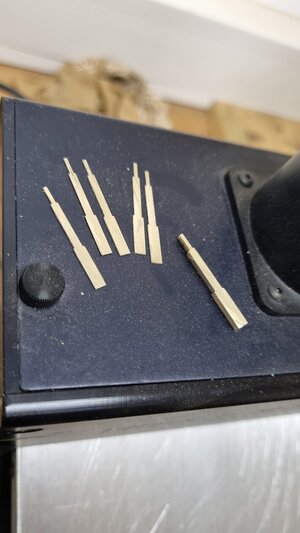
Then they where cut on the tablesaw to a thickness of 0,5mm:
20220124_143014.jpg
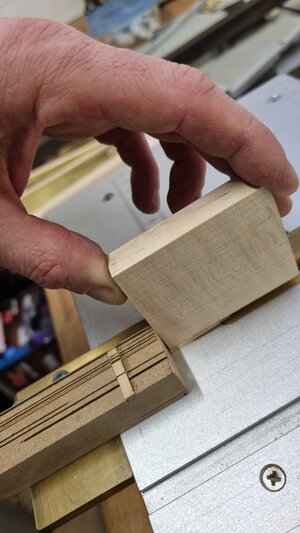
Controlling the cut was challenging:
20220124_143027.jpg
But worked quite well:
20220124_143909.jpg
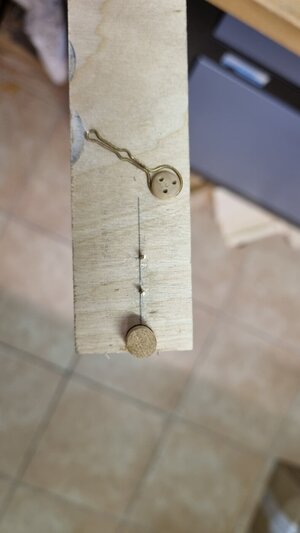
The ring was formed on the narrow piece of the chainplate. I had to heat up the brass, otherwise it broke during the bending process.
20220124_144759.jpg

20220124_150528.jpg

20220124_152201.jpg
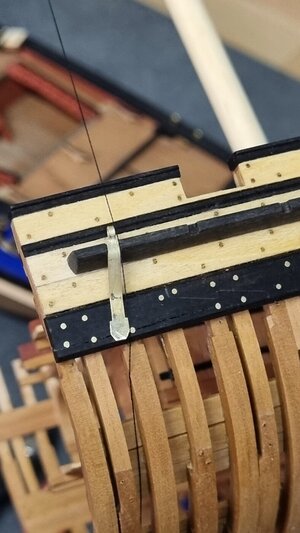
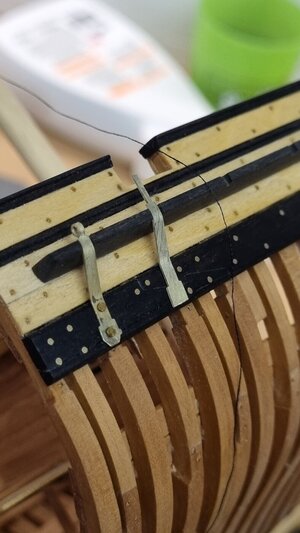
And this is the first one installed:
20220124_152602.jpg

I'm happy with the result although they are not 100% like in the AOTS but as a first experience they are OK. This is a good training when I'm building the Trident Alert.

Thanks for the likes!
 
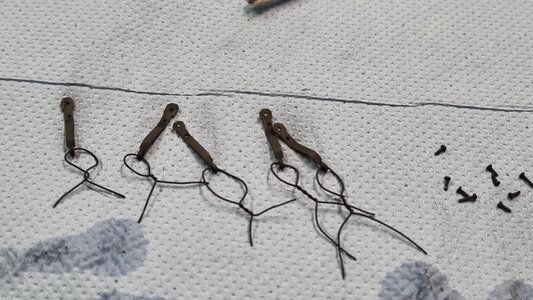
Blackening the chainplates turned out great. I marked the individual pieces with wire, one turn is number one, two turns is number two and so on. This way I don't risk mixing them up.

20220124_205336.jpg

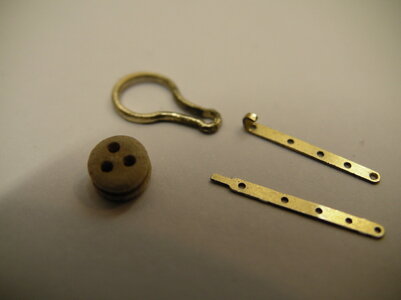
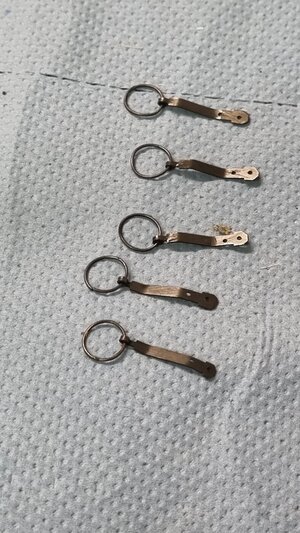
The rings holding the deadeyes where next.
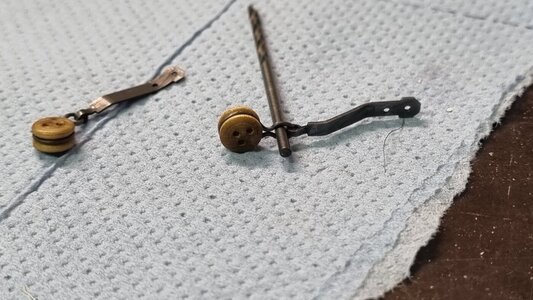
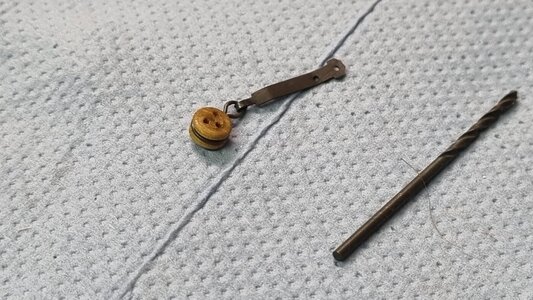
I managed to solder the ring, put the deadeye in and forming the lower part around a drillbit shank.

Now for the tricky part: how to get the wire through the chainplate ring and the deadeye inside the ring when I do need to hardsolder the wire without burning the wooden deadeye to ashes?? Any suggestions?

20220124_213618.jpg
 
SANY1590.JPG
If the section for bending the chain plate is long enough, you can attach the tire of the deadeye directly to it. In my example unfortunately too short.

SANY1591.JPG
First connect the tire of the deadeye to the chain plate, blacken everything, insert the deadeye and then bend the tire closed.

SANY1592.JPG
I soldered a ring in a hole in the chain plate with soft solder. Then blacken everything together, clean off and finally insert the deadeye and bend the tire closed.

SANY1593.JPG
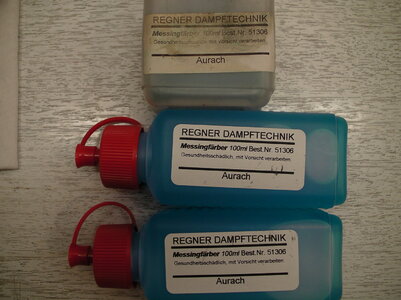
Normally the agent for blackening brass and copper is always the same, no matter from which supplier. With my blackening agent, hard and soft soldered areas are properly and quickly blackened. If the black color is worn off or the metal is too greasy, clean it (degreasing, grinding, filing) and repeat the process again.

Best regards
Thomas
 
Last edited:
Following Thomas' advice I first inserted the degreased Ring into the chainplate and then soldered it.

20220125_163242.jpg
20220125_163902.jpg
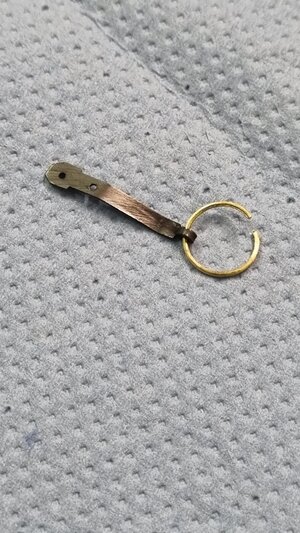
Then the pieces where blackened:
20220125_205435.jpg
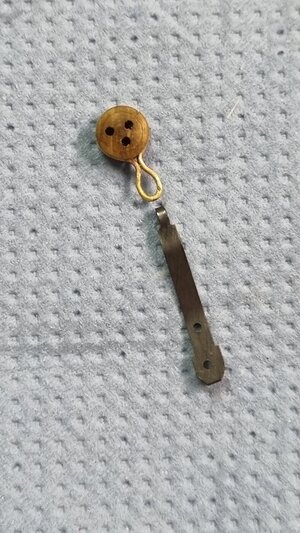
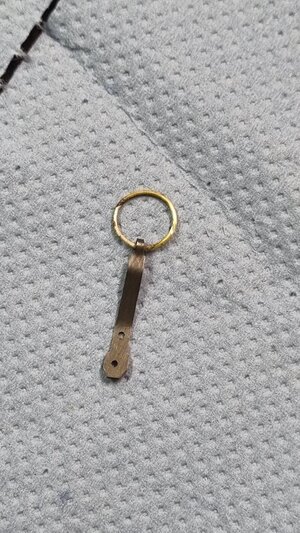
And finally the deadeye was inserted and the ring could be "closed". I inserted a small diameter drillbit to leave it a little oversized:
20220125_210229.jpg
This is the result:
20220125_205929.jpg
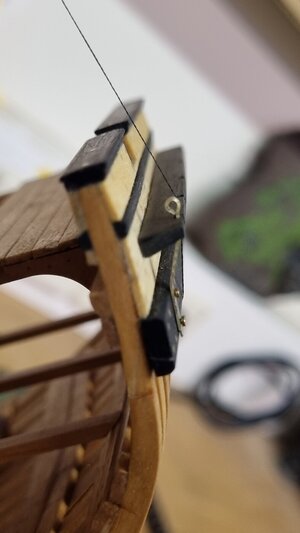
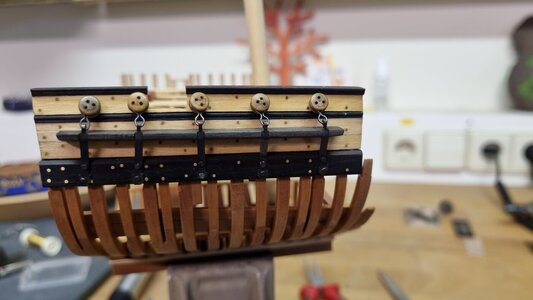
And the final installation:
20220125_214639.jpg

Thank You for the tips. One thing I learned: You have to think it through and execute the steps in the right order to achieve the desired result

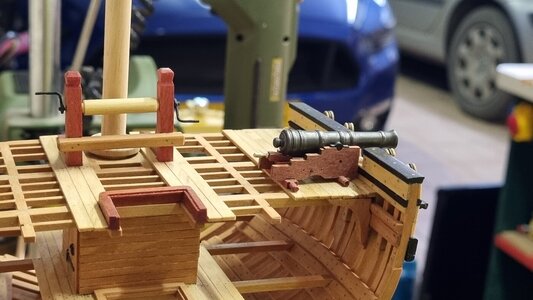
One final image with the plank glued to the channel. This has to be shaped to fit the face of the channel and on to the cannon!

20220125_221230.jpg
 
Seguendo il consiglio di Thomas ho prima inserito l'anello sgrassato nella piastra della catena e poi l'ho saldato.

View attachment 286104
View attachment 286105
Quindi i pezzi sono stati anneriti:
View attachment 286106
E infine è stato inserito il deadeye e l'anello potrebbe essere "chiuso". Ho inserito una punta da trapano di piccolo diametro per lasciarla un po' sovradimensionata:
View attachment 286109
Questo è il risultato:
View attachment 286108
E l'installazione finale:
View attachment 286113

Grazie per i suggerimenti. Una cosa che ho imparato: devi pensarci ed eseguire i passaggi nell'ordine giusto per ottenere il risultato desiderato

Un'ultima immagine con la tavola incollata al canale. Questo deve essere sagomato per adattarsi alla faccia del canale e al cannone!

View attachment 286114
Buona sera , ottima soluzione, OK
 
The joint is to the side of the deadeye as this is the greatest diameter. So the joint would get the least amount of stress in that area but it still broke.

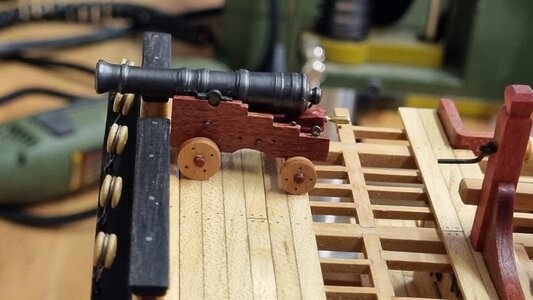
Today I completed the gun carriage, still need to do the wheels and the gun itself.

20220126_191107.jpg20220126_202000.jpg20220126_202006.jpg
 
Very good result with the chainplates - looking very good
also the guncarriage - I guess you did not fix already the stool bed and the quoin -maybe you have to move it for the final adjustment of the gun-muzzle inclination (I made once this mistake o_O )
 
. .I guess you did not fix already the stool bed and the quoin..

Thanks everyone. No the quoin is not glued. In fact I had to thin it down as it was too high so the gun barrel could not be positioned horizontally.

I continued work and finished the gun.
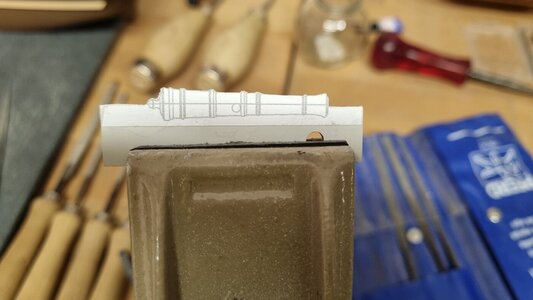
First a template was filed to the profile of the cannon:
20220130_180445.jpg

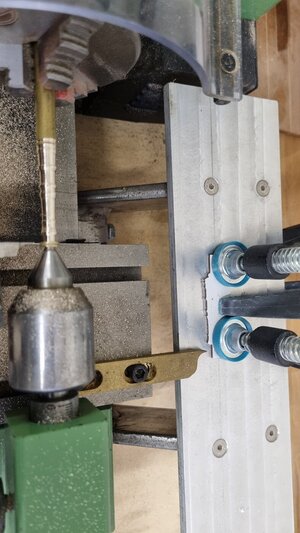
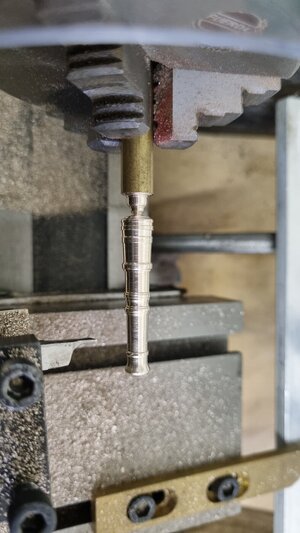
Then mounted in my selfmade tracer attachment on the lathe. The tracer pin is a piece of thick brass, shaped to the same thickness as the cutting tool. This can then follow the profile. I did this when turning 10 cannons for my previous model so I could replicate them within reasonable tolerances.
20220131_133948.jpg

20220131_141127.jpg

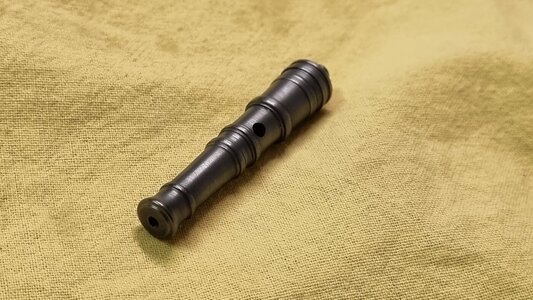
Polished and blackened:
20220131_143946.jpg
20220131_144351.jpg
 
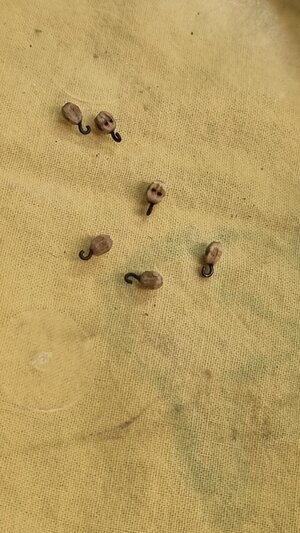
I prepared the blocks for the gun tackles. They are CalderCraft blocks, filed to a "somewhat more convincing shape". This proved to be harder than I thought.

20220204_171214.jpg

The carriage has received its wheels and several ringbolts as well as a coat of oil. The purple heart darkened as expected after oiling, giving it its rich, purple reddish color. I like it.

20220204_171235.jpg

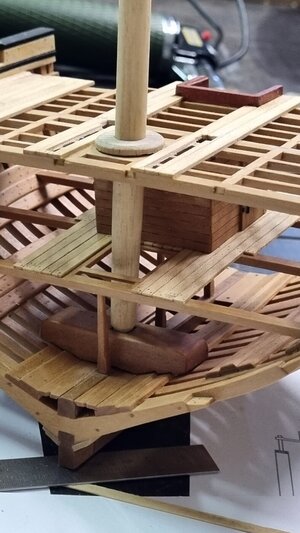
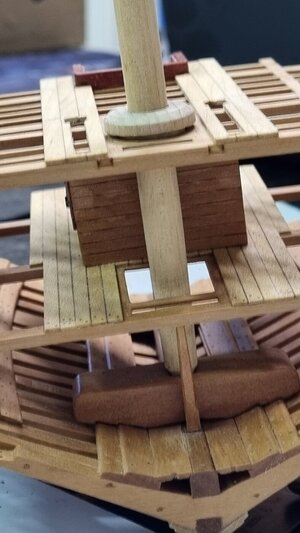
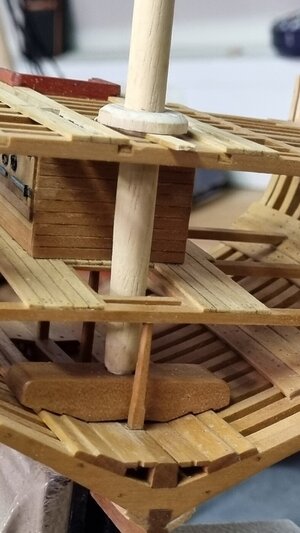
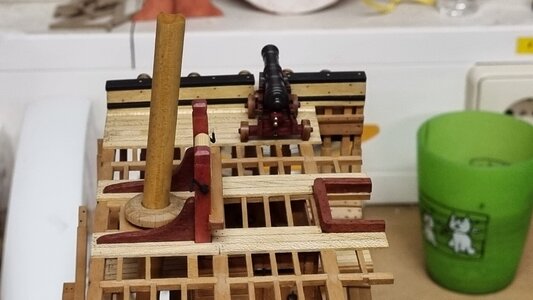
The mast and bitts where mounted:

20220204_171248.jpg

Abd I started making rope for the breeching rope and gun tackles. This is my interpretation of a ropewalk:

20220204_171440.jpg

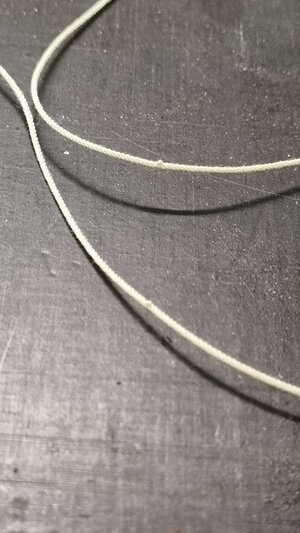
Quite ugly but it produces nice rope:

20220204_171259.jpg

20220204_171312.jpg

Except for some "knots" I get every 40cm or so. It seems as if one strand got a few additional twists in them and they are creating these tiny loops. Someone has an idea what could cause this?
Maybe the strands are not equally tensioned before twisting?!

20220204_171545.jpg
 
Someone has an idea what could cause this?
Hi Dan, this can have several cause.
1 the weight is not enough at the end of your rope walk
2 the ropes are not have the same tension before you start winding up.
3 the strands are not the same length. (is the same as 2)
4 you did to much winding up ( keep the 10% rule)

ps show us more of your rope walk, it looks interesting.

And I walked again through your build log. It's looking real good what you do. Like your inventive mind about the jigs you make. Even your small tablesaw I like. It looks like a accurate tiny saw, where you can make small details.
 
Last edited:
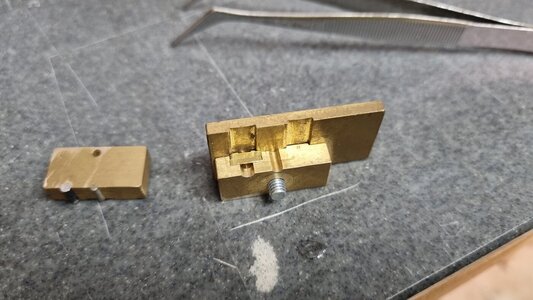
Dan, trying to understand how your tool works to make square cups. Is this tool can make 2 different sizes or i missing how it works...

1644003118597.png
 
Hi Dan, this can have several cause.
1 the weight is not enough at the end of your rope walk
2 the ropes are not have the same tension before you start winding up.
3 the strands are not the same length. (is the same as 2)
4 you did to much winding up ( keep the 10% rule)

ps show us more of your rope walk, it looks interesting.

And I walked again through your build log. It's looking real good what you do. Like your inventive mind about the jigs you make. Even your small tablesaw I like. It looks like a accurate tiny saw, where you can make small details.

Thank You.
Reading this I think it might be due to too much winding. I twist the strands until the length has diminished to about 75% of its initial length. Then start winding the rope.
Is there a trick to get the same tension in the strands? I simply try to "feel it" but that is anything but precise.

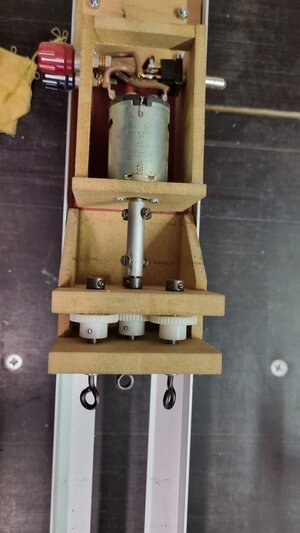
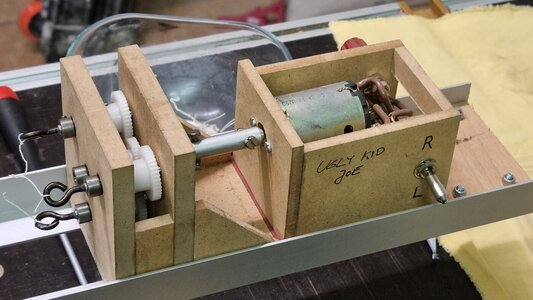
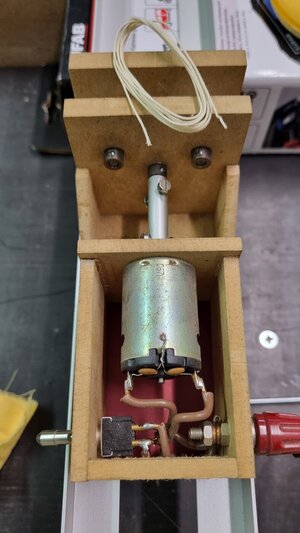
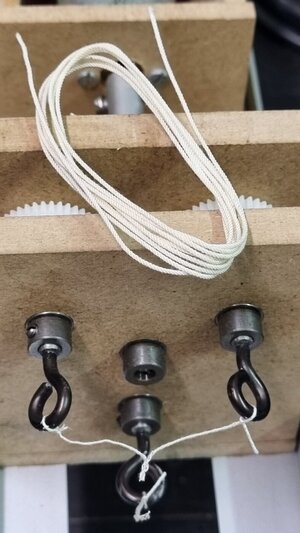
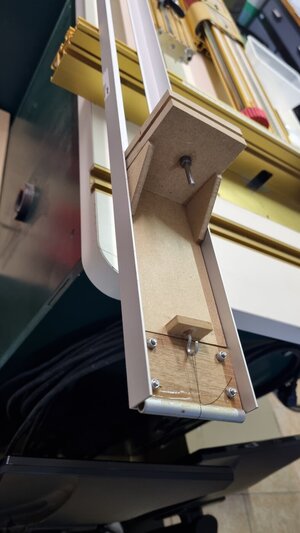
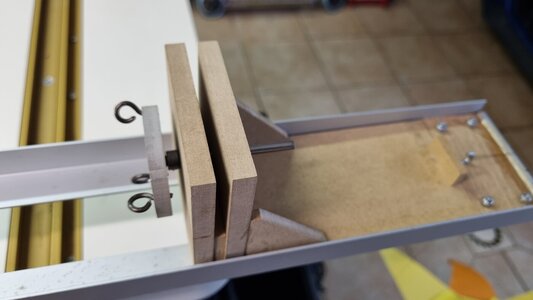
The ropewalk is assembled from MDF, axles, bearings and nylon gears, aluminum profiles and a 12V DC Motor. The moving part simply slides on the alu profiles.
Winding the 3 strands into one rope is done by hand. So nothing fancy but it works...
20220205_091744.jpg
20220205_091756.jpg
20220205_091802.jpg

The table saw is from aliexpress. The machine has enough power to cut hardwood and even brass (with a good blade), of course You can't cut big stock. The rip and crosscut fence were a joke, that's why I made my own as well as a zero clearance insert. Only 90° cuts are possible.
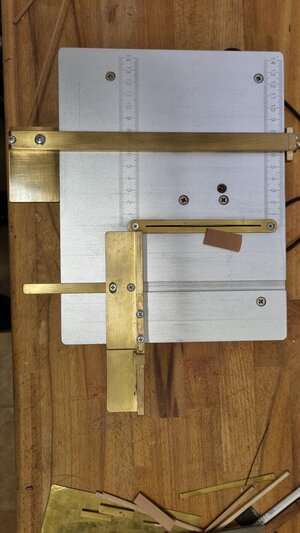
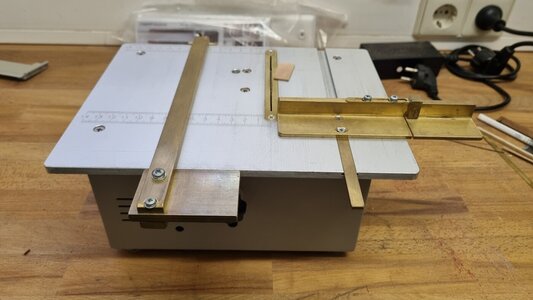
20220205_091839.jpg
20220205_091843.jpg

The rip fence is secured in the front and back:
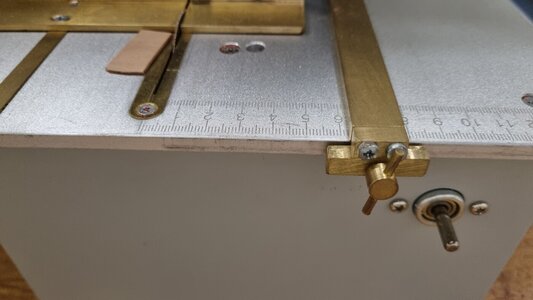
20220205_091907.jpg

The crosscut sled can be used to ways. The "traditional way" and as a "sled" with an adjustable stopper to slice small pieces repeatedly to the exact dimension. The sled prevents the pieces from flying away, holding them securely while travelling through the blade and you keep the fingers away. Even such small blades on these "toylike machines" can hurt you, ask me how I know...
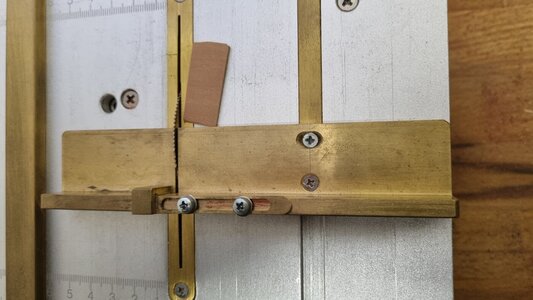
20220205_091857.jpg

The machine does what it is intended for.
Can't expect miracles though.
One day I will treat myself with a Byrnes. I have the Byrnes thickness sander and am really amazed by the quality, so... one day
 
Dan, trying to understand how your tool works to make square cups. Is this tool can make 2 different sizes or i missing how it works...

View attachment 288547

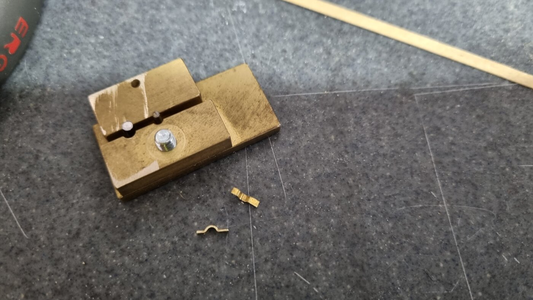
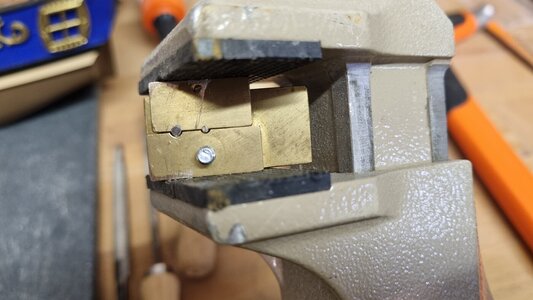
You're right. It's for two sizes, the left for 2mm axles and the right for 1mm.

The backplate has grooves milled in and the moveable part slides in those grooves. So it keeps the two parts aligned while pressing.
I can press up to 4 pieces simultaneously.
There's still room for a third size on the right. By making another base block and counterpart I could do other profiles as well.
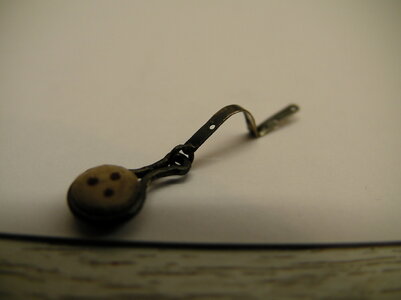
20220131_194326.jpg
20220131_194409.jpg
 
Is there a trick to get the same tension in the strands? I simply try to "feel it" but that is anything but precise
yes just by hand and feel. When you adjust the strands in your rope walk, fix the tool at the end to avoid moving. Also you can use one hook in the middle when you just use a few strands, for example 3x3. This helps you to adjust the strands. I can change on my ropewalk this part from 1 to 4 hooks. I also have motorised this part. You need also have a look to your weight. this should be something about 100 to 300 grams max. This depends on the slider how it moves on the slide. Don't hang to much weight, Once somebody told me he hang 1,5 kg on it. and when he does the rope stretches 20 cm.
But your rope walk looks pretty good. Nice build. And it does what it suppose to do.

The upgrades on your saw are great. Looks like a very precise saw now.
 
Back
Top