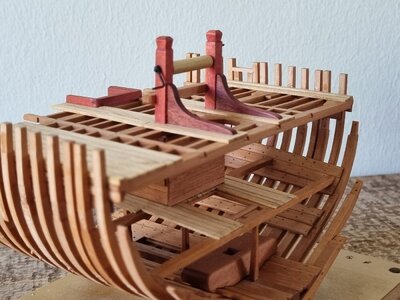
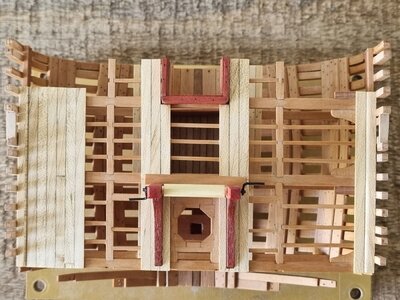
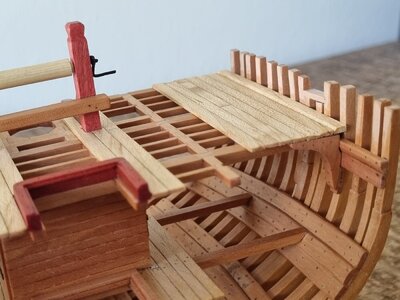
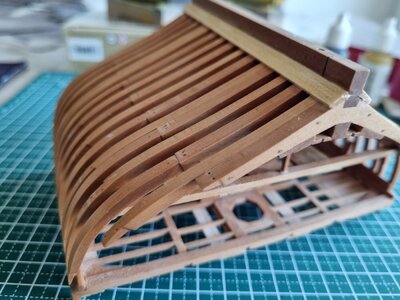
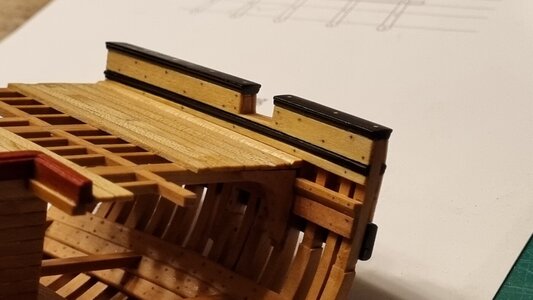
Cutter Alert 1/48 cross section [COMPLETED BUILD]

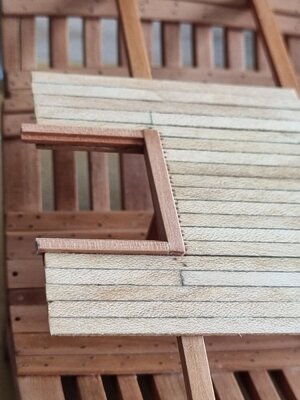
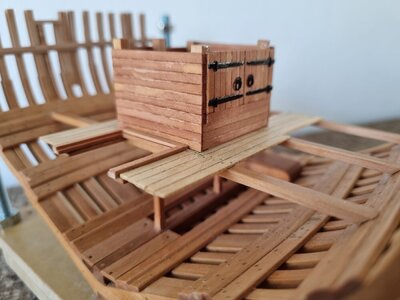
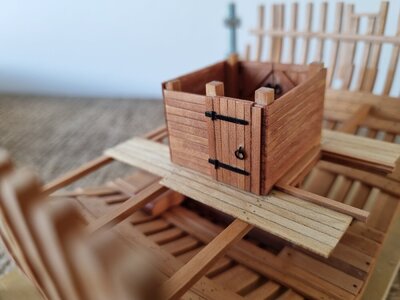
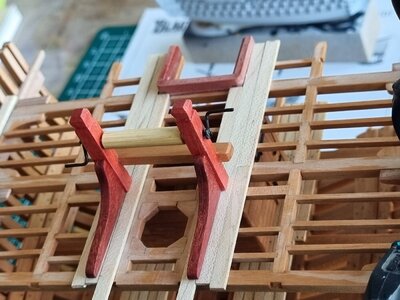
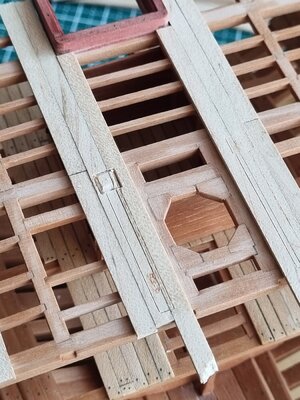
After a long "house-renovation-pause" I can finally continue on my cross section. The last 2 days I corrected an error I made with the hatchway. The one I installed was the one for the main deck. So I took it off and replaced it with the smaller one.
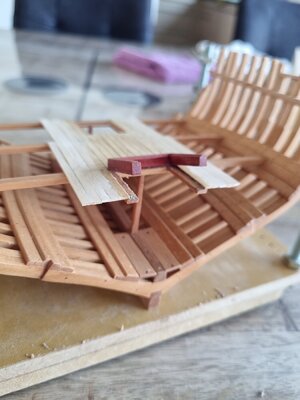
20210428_094736.jpg
20210428_164603.jpg

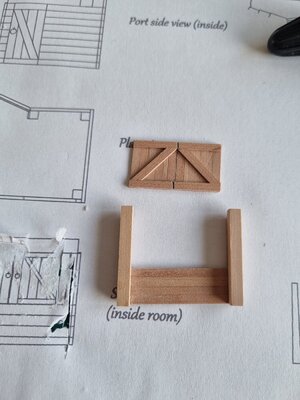
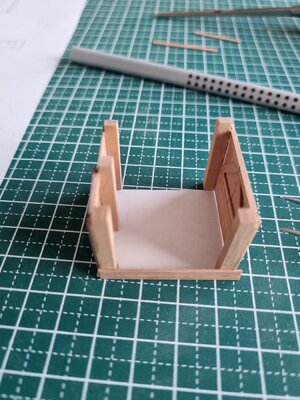
Next is the sailroom on the lower deck.
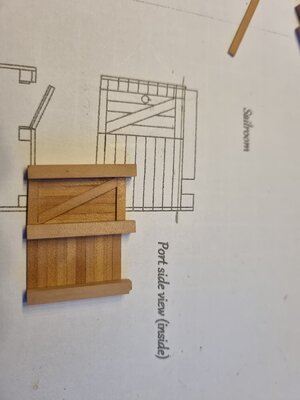
20210428_204109.jpg

20210429_105007.jpg

20210429_111020.jpg

I simplified the hinges by glueing small strips of 0,3mm thick strips of brass and 0,6mm brass wire.
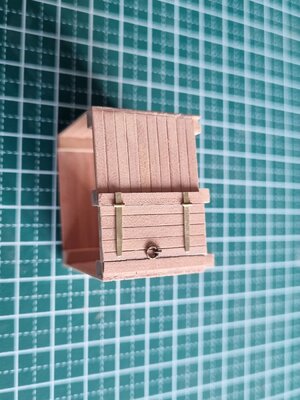
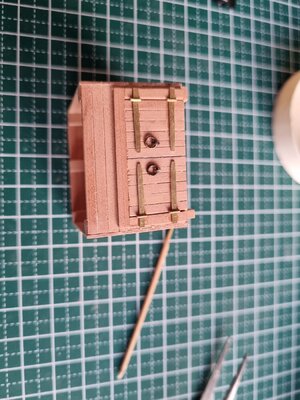
20210429_200555.jpg20210429_203244.jpg

And the dryfit test. It was not an easy task, I had to redraw several components up to 3 times because the lower deck is slanted compared to the main deck. According to the plans in AOTS the vertical elements are truly vertical (like the frames) so that means when the ship was in the water, with the stern sitting lower, all vertical structures are tilted towards the stern...
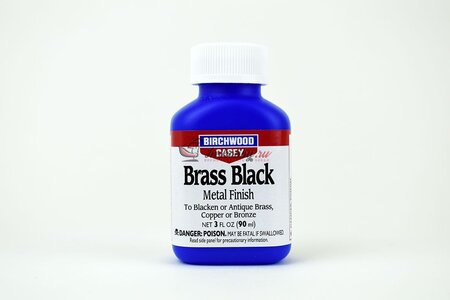
Anyway, I'm happy with it so far. The hinges and rings will be painted dull black as I don't have "blackening liquid" yet. Can someone recommend a good product, preferably an online shop in Germany?
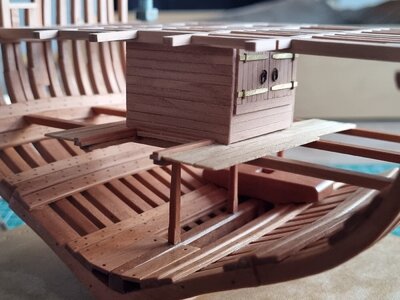
20210429_204227.jpg
 
Last edited:
Looking very good !!!
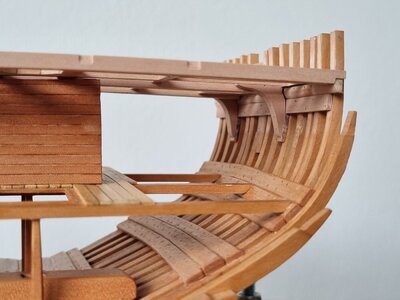
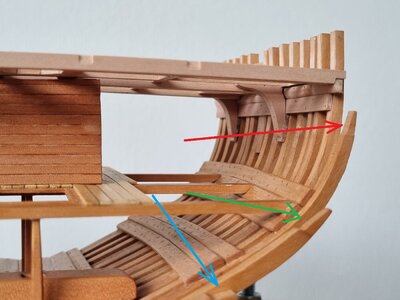
PS: I like the idea very much, how you present the frames on your section model, I refer in detail here at the last double frame(s), which are not complete missing the top timber and a futtock (see arrows in the photo) - this is showing in addition the construction of the frames - very good idea
26.jpg
 
In addition to what Uwe mentioned, have you considered showing the bolts at the most end frames? I think it would a great idea. How about you? ;)
 
Thank You all. The idea for the unfinished frames comes directly from the AOTS perspective drawing, so not really my idea

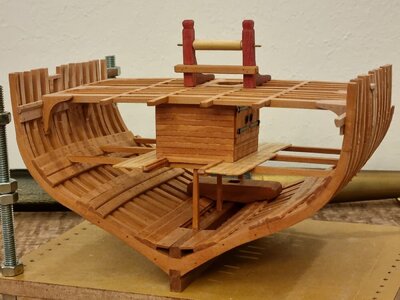
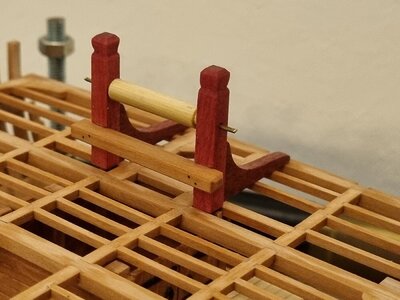
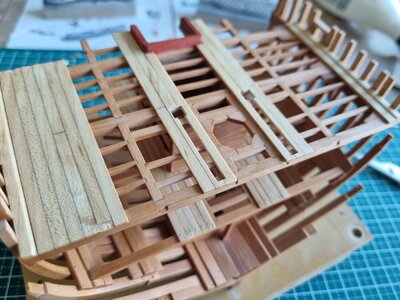
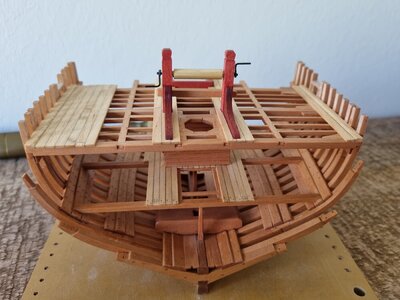
I drilled the holes in the foremost frames as Jimsky suggested, attached the main deck and build the bitts. Just have to attach some handles. I will partially plank the central part around the mast and maybe one side for the cannon, still haven't decided exactly about that.

20210522_211942.jpg20210522_211952.jpg

P.S.: my Trident Alert will be dispatched next week, how cool is that?
 
Finally, the Trident kit arrived. Trident was very cooperative and patient during the "rather complicated" purchase transaction. Anyway, once the payment was done the kit arrived 12 days later

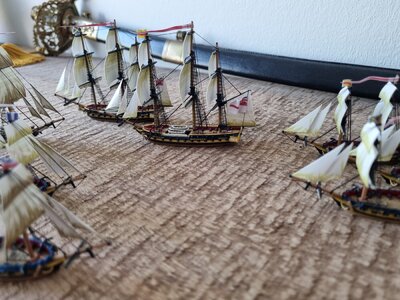
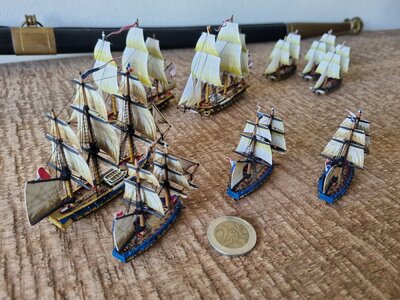
I will start a build log once I get to finish the cross section. I have very little time at the moment as I am currently assembling and painting tiny 1/700 sailing ships for my sons tabletop miniature game. He seems to be developing the same interests as his father's :cool:.
Those ships are tiny, here's a quick pic to show the finished briggs and frigates. 2 first rates (Victory and l'Orient) are in the docks.

20210610_082459.jpg

20210610_082437.jpg

And in the meantime we had to print and paint pirates for his 1:48 "pirate ship" which I am building together with him. So You see, no time for my build, but nothing beats quality time with Your offspring
 
but nothing beats quality time with Your offspring
For me it is also the best time, when my little daughter is visiting me in the workshop - she has her own table, where she is "working" with drilling, sanding etc.
 
Nice Thumbsup Teach her how to use tools, she will be an independent person who does not need to ask someone to do home improvement works :D
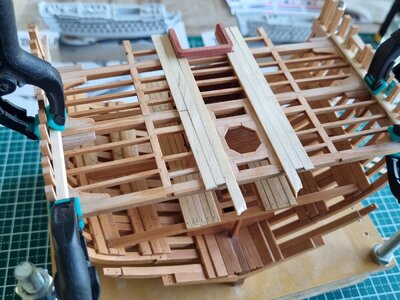
 
Yesterday I could do some work on the cross section. I worked until late to finish the upper deck, next is the outside fairing of the hull.

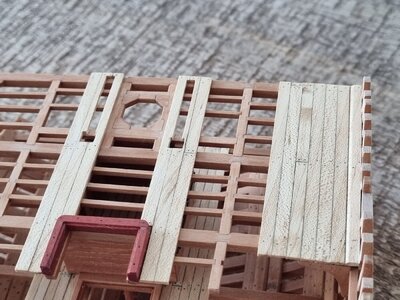
Partial planking around the mast step and installation of the waterway:

200.jpg

Test fitting and tracing the contour of the bitts and knees:

201.jpg

Carving out the planking:

203.jpg

Fiddly work as the planks are only 1mm thick and I had to take care not to cut into the carlings and ledges. I planked the starboard side to be able to install the gun. Port side will be left unplanked:

204.jpg

Here is the actual state of the model. All the planks are sanded up to the edge of the deck beams and overall cleaning up + oil applied.

205.jpg

206.jpg

207.jpg


208.jpg
 
Yesterday I could do some work on the cross section. I worked until late to finish the upper deck, next is the outside fairing of the hull.

Partial planking around the mast step and installation of the waterway:

View attachment 238162

Test fitting and tracing the contour of the bitts and knees:

View attachment 238163

Carving out the planking:

View attachment 238164

Fiddly work as the planks are only 1mm thick and I had to take care not to cut into the carlings and ledges. I planked the starboard side to be able to install the gun. Port side will be left unplanked:

View attachment 238165

Here is the actual state of the model. All the planks are sanded up to the edge of the deck beams and overall cleaning up + oil applied.

View attachment 238166

View attachment 238167

View attachment 238168


View attachment 238169
it's looks wonderful work, well done
 
Thank You all.
Yesterday I could do only the fairing of the hull, the garboard strake and the fake treenailing of the deck planks.

I first wanted to wait with the rest of the planks until I finished the cannon but I will borrow Uwe's idea with the paper guns to determine how far I have to plank the deck. That post came just in the right Moment :D

Here's the faired and oiled frames:

74.jpg

75.jpg

Of course I forgot to do the rabbet for the clinker, so I had to take them off again...

76.jpg

And the deck planks "treenailed"

77.jpg
 
Thank You all.
Yesterday I could do only the fairing of the hull, the garboard strake and the fake treenailing of the deck planks.

I first wanted to wait with the rest of the planks until I finished the cannon but I will borrow Uwe's idea with the paper guns to determine how far I have to plank the deck. That post came just in the right Moment :D

Here's the faired and oiled frames:

View attachment 239150

View attachment 239151

Of course I forgot to do the rabbet for the clinker, so I had to take them off again...

View attachment 239152

And the deck planks "treenailed"

View attachment 239153
great build, looks beautiful
 
Half a year later, I can show some progress on the model.

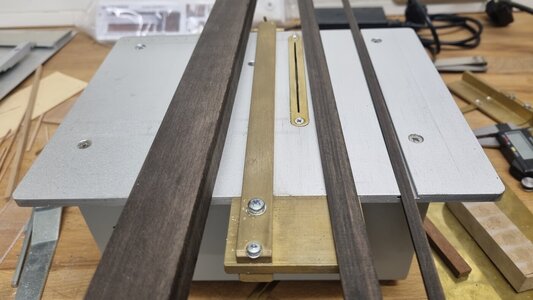
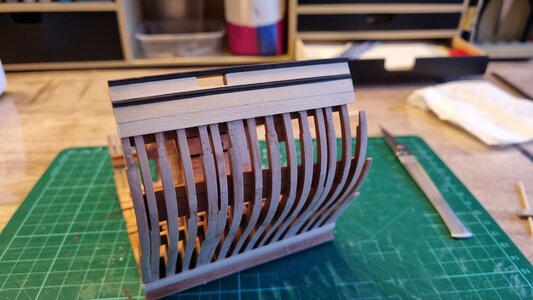
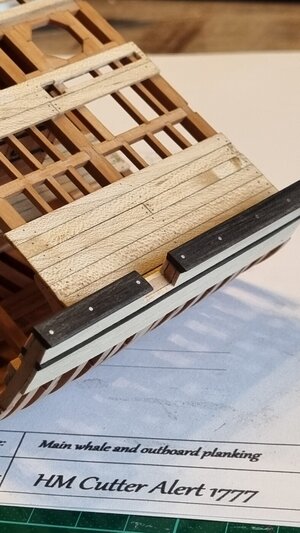
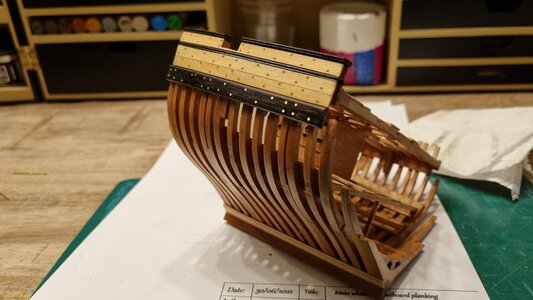
Following my idea to not use paint but instead the color of the wood itself, I prepared some strips from ebony. I love that wood, it's dense, hard and heavy as brass and has nearly no grain at all. Like boxwood but a nice dark brown, almost pure black.

78.jpg

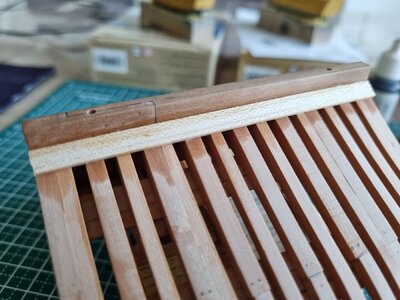
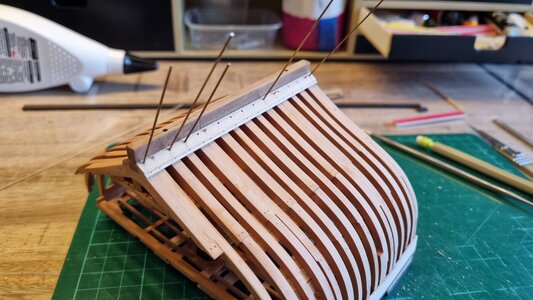
Those strips where used to create the molding and the caprail. The bulwarks are planked in basswood.

79.jpg

Maybe I should have continued the waterway up to the end of the section...

80.jpg

And I inserted brass wire and bamboo treenails on the garboard strake.

81.jpg

And after sanding.

83.jpg

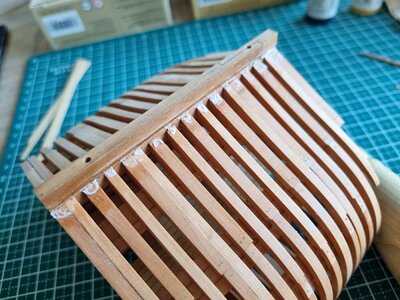
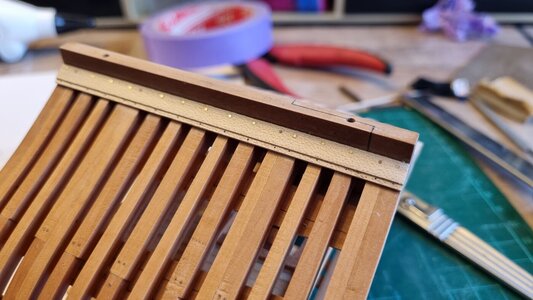
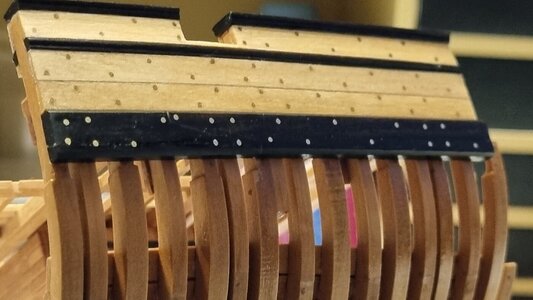
I couldn't find any indication in the AOTS how exactly the caprail was attached. So I just assumed it was bolted to the toptimbers. I just love the contrast of the brass against the ebony Thumbsup

84.jpg
 
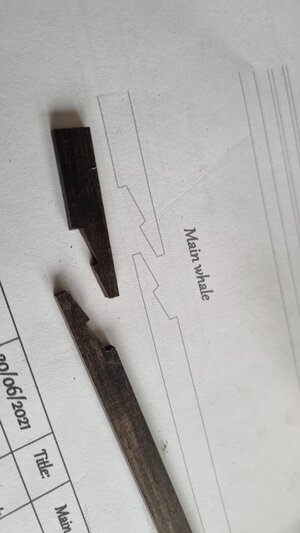
This is the joint of the main whale, cut on the mini mill and adjusted with chisels and a scalpel blade to achieve a tight fit. I don't have pics of the process except for this one:

86.jpg

And the result, all treenailed, brass bolted and oiled. Ebony and brass, just lovely!

87.jpg

"If You can't see the joint you know you worked accurately" ...is that a saying? :cool:

88.jpg

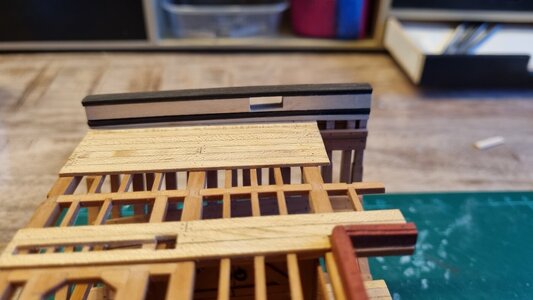
The inside of the bulwark all done. Not sure if the bottom most plank is correct as being so thin at the far end. Anyhow, I'm sure that I messed something up. The caprail should be parallel with the main deck... more or less at least. Too late to correct that now.

89.jpg
 
Back
Top