Cutty Sark by Sergal

Some newbie questions. Doing a Billings CS, purchased in 1973 on honeymoon, but that is another story.
1.I am following Frank Mastini's general outline on rigging and getting everything affixed to masts. He points out that it is very difficult to attach an overlooked block once the masts are stepped, which makes infinite sense. What do I do about such things as braces and stays? Mastini makes no metion of them
2. How did you get the correct rake of the masts? Some sort of jig or fixture? given the offset in the mast due to three part construction, where did you measure toe the rake?
3. Did you glue the masts inside the hull or rely on the rigging to hold it in place?

I know I bit off more than I can chew with this model but I am having a good time with it. It has helped that we had two sailboats so many of the principles are the same.

Thanks
CuttyJimR
 
Well cuttyjimer I hope that by now you have figured out the rake problem. Sorry to have not answered you in a prompt manner but I had a lot going on so was away from the this site for awhile. To answer your question the rake of the masts was built into the model by the manufacturer. You may have a bit of wiggle room to get the masts all lined up right but not much. You may enlarge the step holes if you need to but don't let the masts get sloppy in the holes. I did not glue the masts in. They are held in place by the rigging. On a real ship the standing rigging holds the masts in place but they still move with the wind. Perhaps with a real ship there is some way to secure the masts to the keel but I don't see where that's necessary for a model and it may be necessary to move the masts a bit to get them to line up while your installing the rigging. So if the masts can move a little bit it may keep you from snapping something off as well.
Remember that on a real ship everything moves at least a little bit. Going through the sea the ship twists and turns as it hits the waves and with all the rigging in place this movement is transferred to every piece on the ship from the keel to the very top of the masts. You will notice that as you progress with your rigging the masts and yards become tighter and tighter and when your finished you can move a line at the bow and watch the lines move at the stern too. They all work together to keep the masts upright and the spars where the Captain wants them.
I am not familiar with Mr. Mastini's methods but it makes sense to attach everything to the masts and spars before mounting the mast to the hull. He is correct to say that attaching another block to a mast or spar after they are mounted in place is difficult at best. I have found that the best and easiest way, if there is one, is to start at the bow and the foremast and attach all the standing rigging first. Then do the same with the main mast and the mizzen mast tieing all three mast together and securing them to the stern with a temporary line. This keeps a bit of tension on the standing rigging and you should adjust any standing rigging that is loose at this stage. The running rigging is where you snap stuff off and break things that require repairs that take a long time. Hopefully you have attached all the needed blocks to the spars and deck as needed and now you can run the running rigging. Start from the inside and work your way out. Attach the lines that are toward the middle of the deck first and then those that are closer to the gunwales. Again start at the bow and work aft. Tighten all the lines from time to time as you proceed so they are all snug and doing their job. Remember that every sail has lines to pull it up and pull it down and to pull it from side to side to catch the wind. Also every line that controls the sails on the port side has an opposite line on the starboard side to adjust the sails and hold them in place. It can get confusing and frustrating but just take your time and study what your doing and it will all make sense eventually. Hope all this will help you in some way but the main thing is to get into the work and learn how you want to do it. You model will look great without the rigging but you'll be surprised at how much better it will look as you add the rigging to it. Eventually you'll be very proud of your accomplishment as it nears completion. After this model do another one that's different and pretty soon you'll be up for anything that comes your way. Pete
 
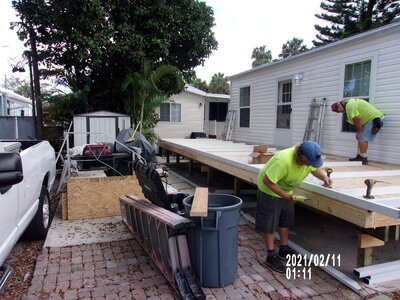
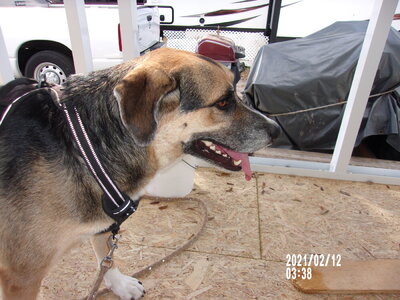
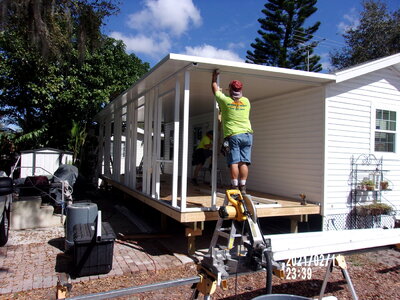
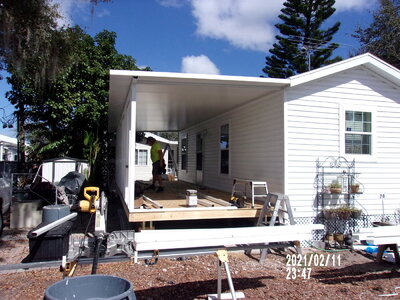
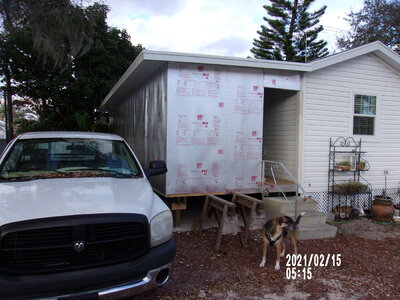
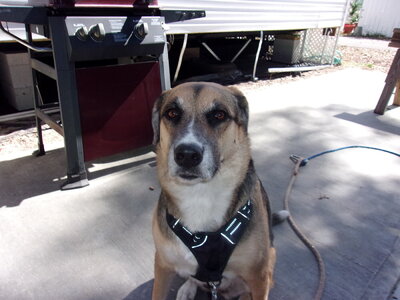
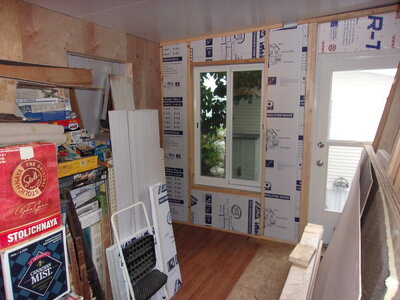
I've now been in my new tiny house for a year and am just now building the added room for my hobbies. The room won't be finished for a week or so and then I will start building the interior for my models. Still a lot to do. I also have added a new dog to the mix. I adopted her from the local Humane Society and she was apparently being trained to be a mean watch dog since she started out barking and growling at everything that moved including my neighbors. However she quicky learned that in order to get treats from people she had to clean up her act so now, a year later, she is actually pretty civil to people. I would still advise anyone not to try and get in my truck or my house if I'm not there. That could get messy. Echo is a four year old German Shepherd mix with Lab and Burnese Mountain dog mixed in for good measure. I had her DNA checked to see just what was what with her.
So I'm getting closer to being back in the ship building saddle and looking forward to more projects after this long interruption. Here are a few pictures of what's going on. The last picture of Echo is captioned "come on and make my day."

100_0002 (6).JPG

100_0003 (8).JPG
Where's the food?
100_0007 (3).JPG

100_0008 (3).JPG

100_0010 (1).JPG

100_0004 (7).JPG

100_0006 (1).JPG
Go ahead! make my day.
 
Last edited:
..... So I'm getting closer to being back in the ship building saddle and looking forward to more projects after this long interruption. Here are a few pictures of what's going on. The last picture of Echo is captioned "come on and make my day."
Good to see your progress in house building - so we are also all looking forward to see you back in the shipyard - BTW: Lovely dog :cool:
 
Well cuttyjimer I hope that by now you have figured out the rake problem. Sorry to have not answered you in a prompt manner but I had a lot going on so was away from the this site for awhile. To answer your question the rake of the masts was built into the model by the manufacturer. You may have a bit of wiggle room to get the masts all lined up right but not much. You may enlarge the step holes if you need to but don't let the masts get sloppy in the holes. I did not glue the masts in. They are held in place by the rigging. On a real ship the standing rigging holds the masts in place but they still move with the wind. Perhaps with a real ship there is some way to secure the masts to the keel but I don't see where that's necessary for a model and it may be necessary to move the masts a bit to get them to line up while your installing the rigging. So if the masts can move a little bit it may keep you from snapping something off as well.
Remember that on a real ship everything moves at least a little bit. Going through the sea the ship twists and turns as it hits the waves and with all the rigging in place this movement is transferred to every piece on the ship from the keel to the very top of the masts. You will notice that as you progress with your rigging the masts and yards become tighter and tighter and when your finished you can move a line at the bow and watch the lines move at the stern too. They all work together to keep the masts upright and the spars where the Captain wants them.
I am not familiar with Mr. Mastini's methods but it makes sense to attach everything to the masts and spars before mounting the mast to the hull. He is correct to say that attaching another block to a mast or spar after they are mounted in place is difficult at best. I have found that the best and easiest way, if there is one, is to start at the bow and the foremast and attach all the standing rigging first. Then do the same with the main mast and the mizzen mast tieing all three mast together and securing them to the stern with a temporary line. This keeps a bit of tension on the standing rigging and you should adjust any standing rigging that is loose at this stage. The running rigging is where you snap stuff off and break things that require repairs that take a long time. Hopefully you have attached all the needed blocks to the spars and deck as needed and now you can run the running rigging. Start from the inside and work your way out. Attach the lines that are toward the middle of the deck first and then those that are closer to the gunwales. Again start at the bow and work aft. Tighten all the lines from time to time as you proceed so they are all snug and doing their job. Remember that every sail has lines to pull it up and pull it down and to pull it from side to side to catch the wind. Also every line that controls the sails on the port side has an opposite line on the starboard side to adjust the sails and hold them in place. It can get confusing and frustrating but just take your time and study what your doing and it will all make sense eventually. Hope all this will help you in some way but the main thing is to get into the work and learn how you want to do it. You model will look great without the rigging but you'll be surprised at how much better it will look as you add the rigging to it. Eventually you'll be very proud of your accomplishment as it nears completion. After this model do another one that's different and pretty soon you'll be up for anything that comes your way. Pete
Thanks for your input.
I have decided I am going to put a spot of what we called sticky stuff (when kids were little) on the bottom of the masts and then step them to the keel. This stuff is for mounting paper on walls and will not harm paint. It has the consistency of PlayDoh. Then I can use small gages to center mast in the hull and achieve the correct rake. Once the mast is in position, I will begin attaching lower shrouds to dead eyes.

The deadeyes brought up another interesting situation. Most of the models I have seen on this and other sites are of ships built before the clipper ship era and have deadeyes mounted outside the hull. Mine are all inside (an attempt at streamlining?)and there is little room in which to work. I decided to pre build the deadeyes and used a gage ( piece of CD jewel case ) to pre-set the distance between the two dead eyes. Then I used annealed black wire to mimic the lower strops. A drop of CA to hold the legs together. Leave enough slack so lower dead eye can self align when the shrouds are attached.

I drilled holes by hand through the rail and deck at each mounting point. The hole is big enough for the two sided wire strop to slide into. Care has to be taken in drilling since the strop is at an angle. Drill a bit and then reverse drill to avoid drill walk.
Put in the dead eyes and used paper tape from doctor's office to insure proper alignment and to get the standing end of the lanyard out of the way.

My next step is to CA the strops to the deck using thick CA. Have to experiment with using a syringe to apply the glue as deck hardware interferes. I will also come up with a way to protect the deck from wayward CA drops. Of these, I am confident there will be many. Any guidance on using a syringe would be most appreciated.

Any thoughts on my methodology. I tend to overthink what needs to be done. That and the fact that my basement gets very cold, this is a hobby and not an obsession, show up in my relative lack of progress.

If anyone is interested, I will take pictures and send them on. I want to forewarn you that my photo skills leave a bit to be desired.

CuttyJimR
 
I started the model back in 2013 and it's still ongoing. It didn't come with sails so I built it for RC with twin screws and two tiny electric motors. As I progressed with the build I realized that with all the rigging there wouldn't be any way to get to the batteries and motors. So I decided to build it with sails that I would make (HA) and not use the model in the water. Had to beef up the hardware that attaches the yards to the mast by making heavier brackets out of brass. There always seem to be a problems with the lower yards breaking off the mast with other models so hopefully that won't happen this time.
Here are some photos that I took earlier and then some that will bring this build up to date. Here we go!
Hallo @Norgale
we wish you all the BEST and a HAPPY BIRTHDAY
Birthday-Cake
 
Eleven months have passed since Uwe wished me a Happy Birthday and although it was a great birthday, my 80th, everything wasn't quite up to snuff. About a year ago last month I found out that I have cataracts in both eyes. It wasn't as serious as all that but it was a problem that had to be taken care of. I had noticed the loss of vision when building models but stronger glasses seemed to handle the problem ok. Then one morning I woke up with the right eye lid stuck to my cornea. In getting it unstuck I tore a hole in the cornea which left me with an unfocused spot right in the middle of my eye which blocked out any clear vision except peripherally. But that wasn't the bad part. It so happened that January 9th was my 80th birthday and in Florida you must go to take a vision test in order to keep driving. I almost passed it because my left eye was still in good shape even with the slight cataract so I have not been able to drive since then. Meantime I had several doctors inspect the right eye and even operated on it to replace the lens but it didn't work. Even after six months that eye will not be right again even though the vision did improve slightly over that time. It has been determined that I had a slight eye stroke which has caused the unfocused spot and that can't be fixed. I am now seeing another doctor about the possibility of getting good results from another operation on the left eye. If that comes to pass then I will probably get my license back. If that eye doesn't get better then I could be stuck with two bad eyes and still no drivers license. It's a crap shoot either way.
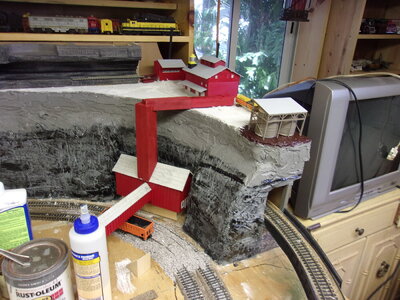
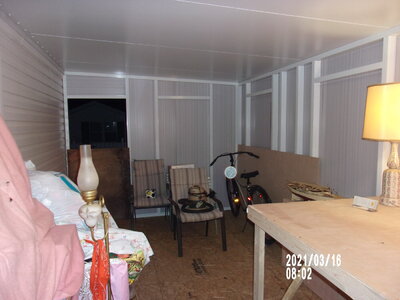
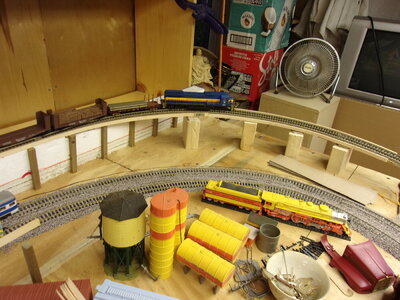
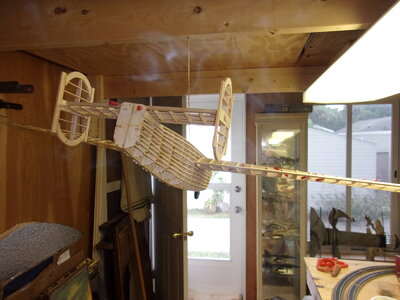
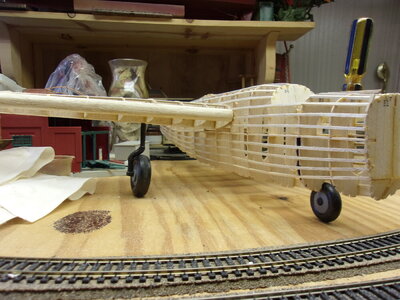
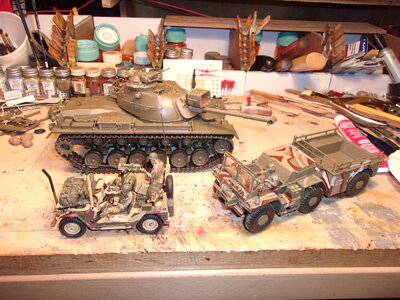
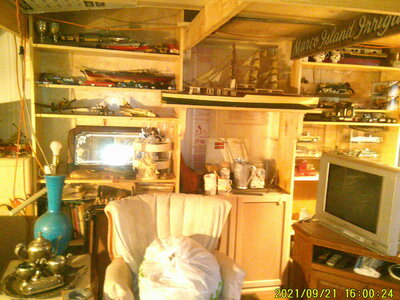
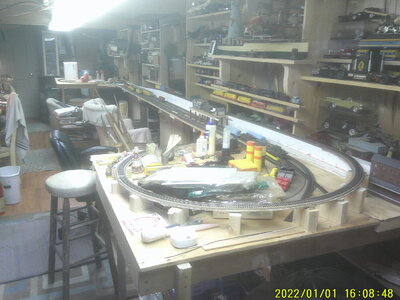
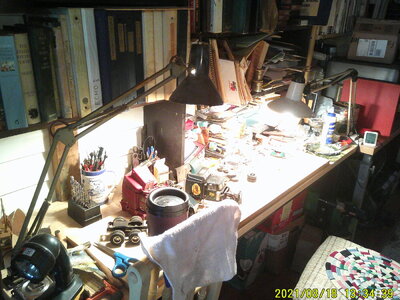
So for the last eleven months I have been learning a new way of living without my own transportation and ordering everything for delivery. Naturally that costs a bit more but I'm saving a bundle on gas by not driving anywhere. I have a good friend who drives me to doctors appointments and such but for the most part I find I'm getting along just fine. However the model building has really slowed down a bunch. I pulled out a Guillows stick and tissue model that I'd had for twenty years or more and am building that right now. I still have the Cutty to work on but without good vision it's a bear to work with the lines and tiny pullies etc. so that model is still on the shelf. I did get the shelving built in my new hobby room and did manage to construct a train layout that actually works so that has kept me busy so far this year. I'm not sure how soon I can get the next eye operation but I'm going for it as soon as I can. I'll post some pictures of the hobby room and some models that I have managed to construct along the way.
One question if I may, I've had to change my email address since I was on here last but don't know how to do that for this web site. Any advice would be appreciated. Meantime the old one will get me on here for now but I won't get any emails sent to me by the site.

100_0001 (29).JPG

100_0001 (39).JPG

100_0003 (10).JPG

100_0003 (23).JPG

100_0017 (1).JPG

100_0021 (1).JPG

100_0027.JPG

100_0031 (2).JPG

DSCF0002 (10).JPG

DSCF0009 (2).JPG

DSCF0009 (3).JPG
 
Welcome back, and get better, we took care of your new email address. For security reasons, I removed it from the public post.
 
Hi Jimsky and thanks for that. Every once in awhile something happens to my computer and I lose all my contacts. Then I have to start all over again with new emails.Appreciate your doing that for me. Pete
 
Thanks for your input.
I have decided I am going to put a spot of what we called sticky stuff (when kids were little) on the bottom of the masts and then step them to the keel. This stuff is for mounting paper on walls and will not harm paint. It has the consistency of PlayDoh. Then I can use small gages to center mast in the hull and achieve the correct rake. Once the mast is in position, I will begin attaching lower shrouds to dead eyes.

The deadeyes brought up another interesting situation. Most of the models I have seen on this and other sites are of ships built before the clipper ship era and have deadeyes mounted outside the hull. Mine are all inside (an attempt at streamlining?)and there is little room in which to work. I decided to pre build the deadeyes and used a gage ( piece of CD jewel case ) to pre-set the distance between the two dead eyes. Then I used annealed black wire to mimic the lower strops. A drop of CA to hold the legs together. Leave enough slack so lower dead eye can self align when the shrouds are attached.

I drilled holes by hand through the rail and deck at each mounting point. The hole is big enough for the two sided wire strop to slide into. Care has to be taken in drilling since the strop is at an angle. Drill a bit and then reverse drill to avoid drill walk.
Put in the dead eyes and used paper tape from doctor's office to insure proper alignment and to get the standing end of the lanyard out of the way.

My next step is to CA the strops to the deck using thick CA. Have to experiment with using a syringe to apply the glue as deck hardware interferes. I will also come up with a way to protect the deck from wayward CA drops. Of these, I am confident there will be many. Any guidance on using a syringe would be most appreciated.

Any thoughts on my methodology. I tend to overthink what needs to be done. That and the fact that my basement gets very cold, this is a hobby and not an obsession, show up in my relative lack of progress.

If anyone is interested, I will take pictures and send them on. I want to forewarn you that my photo skills leave a bit to be desired.

CuttyJimR
Yes I would like to see more pics of your build. Also the best way to take good pictures is to take a lot of them and keep 'em coming. We all have the same problems so you either practice,practice practice or skip it. As for using the "needle" for gluing I may have to do that with the Cutty Sark when I get to it but so far I have never used them at all. Always thought the needle would clog up and I'd be throwing away good needles. Maybe someone on here who has experience with such would give us some hints on their use.
 
Had to take a few days off because the cute little thing in my avatar had to be put down from cancer. I knew it was coming and talking a bit with you guys and spending some time looking over this forum helped a lot to pass the time we had left together. She would have been 11 today but missed it by a week. I'm sure many of you have been through the same thing a time or two and it never gets easier.
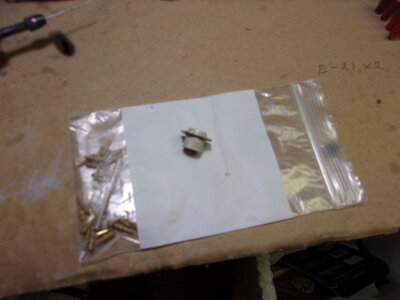
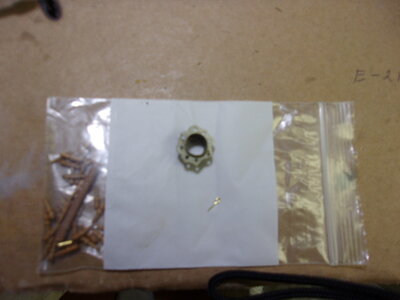
Anyway I took a couple of pics of the hardware I made for attaching the spars to the masts. Takes extra time to do this and it doesn't look very prototypical but I don't think these will break like some of my others have done. In the bottom picture I made the pin ring from a brass washer that I filed to fit over the mast and then drilled the holes for the pin. Should work ok.

I just found out yesterday that this ship did NOT have pin rings on the masts. There are pin racks adjacent to the masts instead.
 
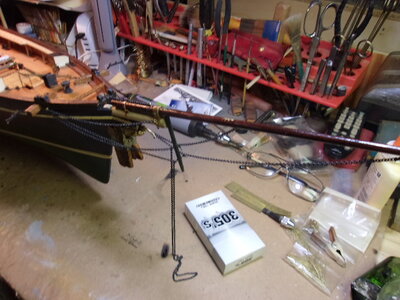
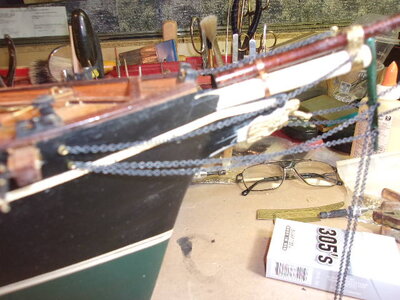
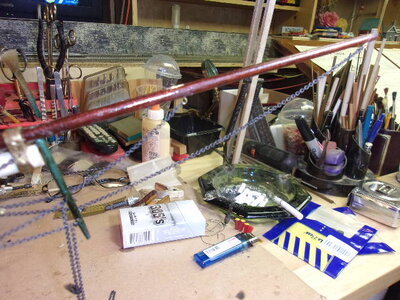
So here we are on March 2nd, 2023 and I'm finally back to work on the Cutty Sark. I have to get new batteries for my camera to take more pictures but that will happen very soon. Meantime I'm catching up where I left off with the model and starting at the bow I'm adding all the deck furniture and the bow sprit rigging to start. The tiny eyes and chain for the bow sprit are driving me nuts. I'm figuring out what is the best method for dealing with all this tiny stuff and have come to the conclusion that the chain needs to be attached to the eyes BEFORE I attach the eyes to the ship. meantime I removed the main mast and the mizzen mast to get them out of the way and will be working with the fore mast and the bow sprit attachments first. I'm making a list of the standing rigging and the sizes I'll need for that which I will order from Dry Dock. They seem to have the best selection of rigging sizes etc. as well as pulleys and other furnishings. You can look all their parts up on line at Dry Dock Models and Parts to see what you need. Pictures of everything so you don't order anything you don't want and very fair prices and the bag quantities as well as the number of parts in stock. Can't ask for more than that. Waiting for my belaying pins right now. Ok, time for some pictures. Tada!
 
Here come some pictures.

100_0014 (5).JPG
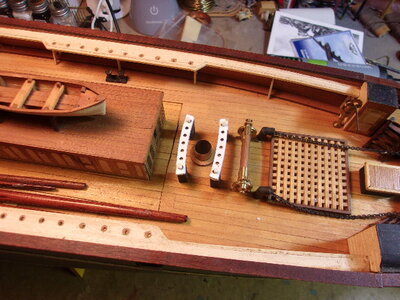
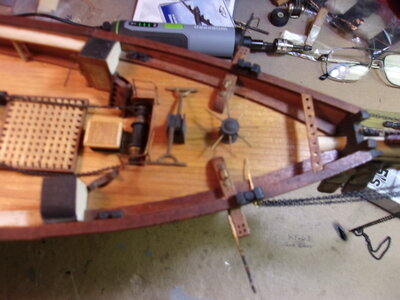
Foreward deck with belaying pin racks and anchor chains.
100_0015 (7).JPG
More bow.
100_0016 (7).JPG
Bow sprit and chains
100_0017 (5).JPG
Notice the crossed chains. One of my many mistakes that have to be torn out and done correctly.
100_0019 (6).JPG
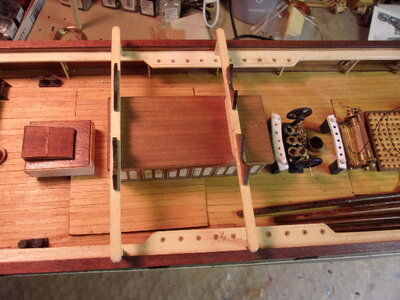
Main mast hole to the right of the rear deck cabin.
100_0021 (5).JPG
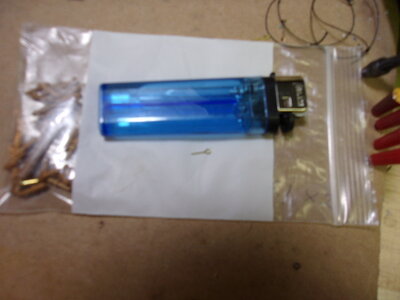
See the tiny eye pin next to the lighter? This stuff is tiny for sure.
100_0022 (6).JPG
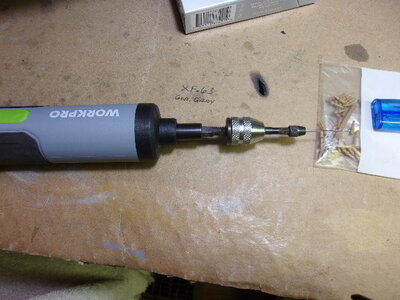
For slow drilling holes get an electric screw driver and a chuck that fits the driver and a smaller chuck for tiny drill bits. Great for drilling small holes in th hull and pulleys and masts and spars for attaching blocks. The Dremel works way to fast for me. This is just right for speed and control.
100_0023 (4).JPG
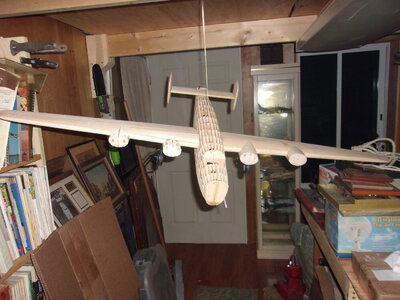
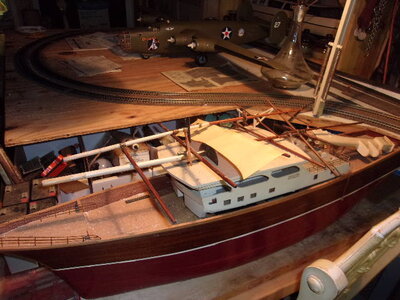
Set the main and mizzen masts to the side and out of the way. The Dumas tuna boat was real handy for that. The B-24 in the background is appearing at Page Field this weekend. It's pretty close to me so I'll try and get up to see it in real life.
100_0025 (4).JPG
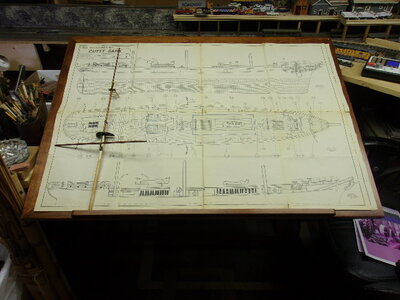
Dug out my drafting board and made some space for it to show me the plans. Works very well so far. Fore mast on the left.
100_0026 (5).JPG
 
Last edited:
I just found out yesterday that this ship did NOT have pin rings on the masts. There are pin racks adjacent to the masts instead.
According to pictures in Longridges's book, there are two bands near bottom of mast. Lower one is for tackle and the upper one is for belaying pins.
These are driving me crazy. The Billings kit has a plywood ring for pins. Looks clunky. Tried to make new one out of nylon washer but it is too tough for 50 grit sandpaper so I gave up. Next attempt was an aluminum jig over annealed brass strip. Struck out again due to drill drift. Using an Dremel tool which may be too high of a speed.
How did you construct from brass washer?

Jim
 
I took a large washer, hollowed out the center hole (drilled) to fit over the mast, soldered a slice of brass tubing that also fit over the mast to the washer and used an electric drill (screw driver) to make the pin holes. Seems like it took forever to finish two of them but they fit well and looked ok until I found no pin ring on the masts on my plans. I'll get a picture later today. Question still remains, did the Cutty have then originally or not? Same thing for the shrouds holding the masts up. Plans show several shrouds but the pictures here of the real thing shows only four or five. Since the Cutty was around for so long the extra things may have been added over the years. Wonder what the preserved remains show?
 
Not very clear but if you can enlarge these pics you can see what was done. I cut the tubing first then drilled out the washer to fit over the tubing. I drilled the holes with the washer on a flat board an then ground the scallops on the edge with a small grinder on the bench. After that I soldered the washer to the brass tubing and it fit pretty well. It will need two small holes drilled opposite each other to keep it from sliding up and down on the mast. The brass tubing is just a tad too lose.


100_0029 (5).JPG

100_0031 (4).JPG
 
Last edited:
The round wooden rings that are provided in the kit are (I thought) rings that go around the mast at the deck supposedly to keep water from dripping down the mast to the decks below. When glued to the deck they also help keep the masts aligned on the model. I see no second ring on my plans unless the wood ring is not for sealing the mast and is used for a pin ring or something else. This is way too confusing if ya ask me. Must be some dated pictures of all this somewhere.
 
Wooden rings in kit have locations for holes on them, so I assume they are the rings on the masts. Look terrible which is why I am constructing new ones. I backed myself into a corner by putting the fore mast in place and rigging it before discovering the need for the bands. Will have to cut that one to get it on. Rookie mistake!!
Regarding your question on the number of lower shrouds, the Campbell rigging plan I am using shows five on each mast. The last four have ratlines on them, the most forward does not. This agrees with my Billiings drawings which came with the model. I also consulted Longridge's book (1930) and "Masting and Rigging the Clipper Ship..." by Harold Underhill (1946). Both show the same. The Longridge book has photos of the rings, although they are not the quality one might expect these days.
 
Back
Top